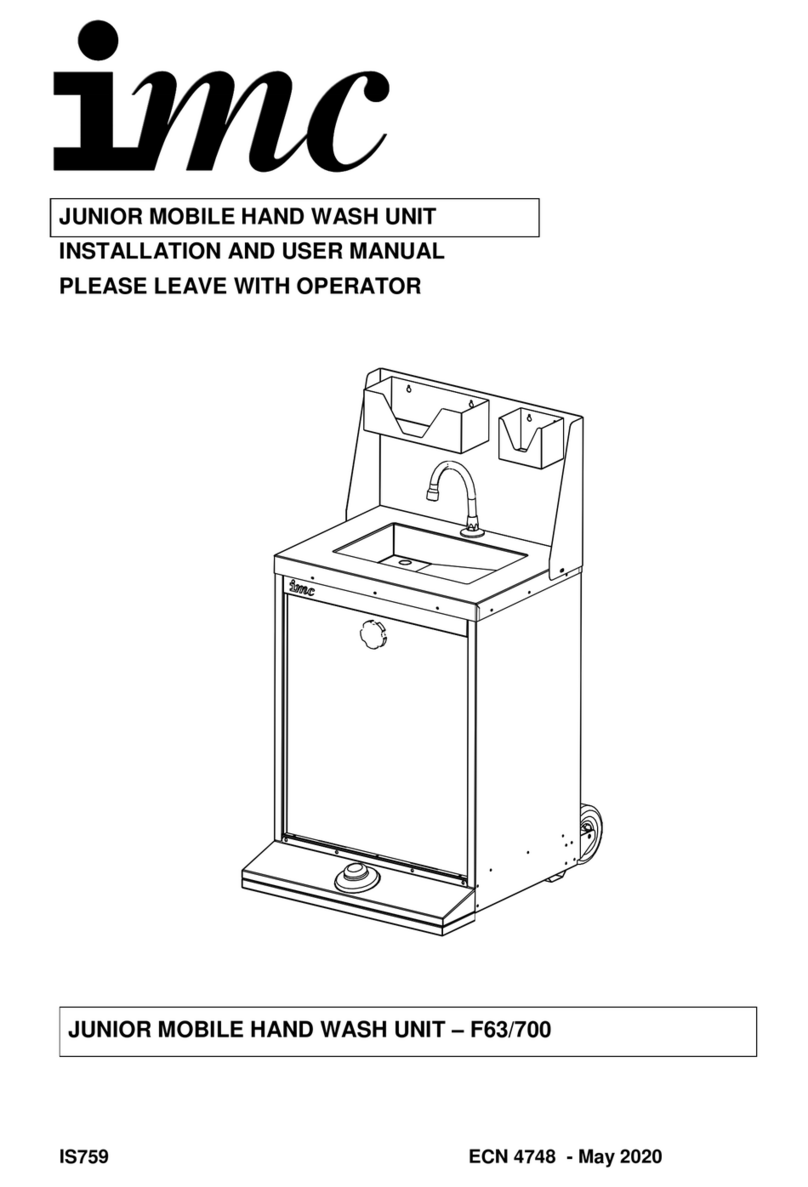
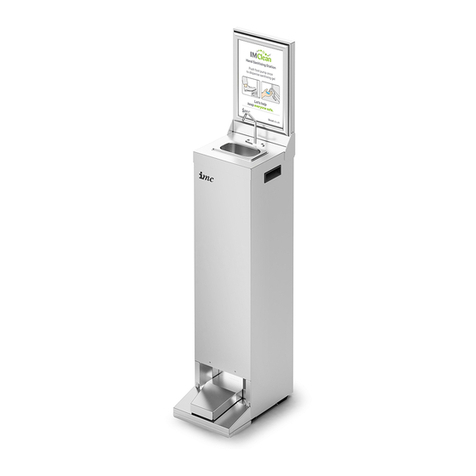
IMC F63/502 Instruction manual

IS761 ECN 4744 - June 2020
MOBILE HAND WASH UNIT
INSTALLATION, OPERATION & MAINTENANCE MANUAL
PLEASE LEAVE WITH OPERATOR
MOBILE HAND WASH UNIT –F63/502

INDEX
INPORTANT INFORMATION
1
Guarantee
1
Delivery
1
DIMENTIONS
2
SPECIFICATION
2
PRODUCT FEATURES
3
INSTALLATION
4
Procedure
Location
Electrical Connection
4
4
5
Commissioning
6 - 7
Emptying / Refilling / Draining
7 - 8
Cleaning
8
SPARE PARTS
Spare Parts List
Ordering Spear Parts
9
9
9

MOBILE HAND WASH UNIT 1
IMPORTANT INFORMATION
Read these instruction carefully. This manual outlines the installation, operation
procedures relevant to this unit.
WARNING
The unit should be used under adult supervision
Guarantee
The Mobile Hand Wash unit is guaranteed by Lincat for 1 years from the date of
purchase from Lincat, or from one of its stockists, dealers or distributors. The
guarantee is limited to the replacement of faulty parts or products and excludes
any consequential loss or expense incurred by purchaser. Defects which arise
from faulty installation, inadequate maintenance, incorrect use or fair wear and
tear are not covered by the guarantee.
The guarantee applies in this form to installations within the United Kingdom.
Please observe these instructions carefully. Keep this manualfor future reference
The manufacturer disclaims any liability for incidental, or consequential damages.
Attendance is based on reasonable access to the appliance to allow the
authorised technician to carry out the warranty work.
Delivery
The packaged unit contains:
IMC MOBILE HAND WASH UNIT:
Fully Assembled Hand Wash Unit
Splashback Panel
Paper Tower Dispenser
Soap Dispenser
1
1
1
1
Funnel with flexible spout
1
Water container 20L - Natural
1
Drain adapter
1
Instruction Booklet
1
Please notify LINCAT-IMC on the day of receipt if anything is missing or
damaged.
UK: 01522 875555
Check that the correct machine has been supplied. The data plate is located on
the rear of the unit.

2MOBILE HAND WASH UNIT
DIMEMSIONS
SPECIFICATION
E
520
E
916
1220
540
Part No.
F63/502
Power rating
3 kW
Voltage
230 V ~50 Hz
Tank Capacity
20 litres
Net Weight
33.6kg
Water Temperature
42 oC

MOBILE HAND WASH UNIT 3
PRODUCT FEATURES
TOWEL HOLDER SOAP HOLDER
SURROUND
WATER SPOUT
SINK
ACCESS KNOB
FOOT PUMP WHEEL
MANUAL FILL
COVER
WATER LEVEL

4MOBILE HAND WASH UNIT
INSTALLATION
These Instructions contain important information designed to help the user obtain
the maximum benefit from their investment in an IMC Mobile Hand Wash Unit.
Please read them carefully before starting work and consult with your
distributor/supplier in the event of any queries.
Be sure to leave this Instruction Manual with the user after installation of the
machine is complete.
Procedure
WARNING
The following table shows the weight and the minimum quantity of
people required to lift each unit:
Net Weight
Quantity of People
IMC Mobile Hand Wash Unit
33.6 kg
2
Before connecting the unit to a power supply; remove all packaging and ensure
that the unit is checked over for damage, any damage must be reported to the
carrier or distributor/supplier immediately.
Remove any protective plastic coating on the unit.
Water may be present in the tanks of the unit due to rigorous testing prior to
dispatch.
Location
The Mobile Hand Wash Unit is only suitable for use where there is no risk for the
unit to be adversely affected by its surrounding environment or for the electrical
components/connections to get wet.
The unit must be stationed on a flat surface capable of safely supporting the units
weight when fully laden with water.
Ensure that the surface which the unit is to be stationed on is dry to avoid any
water ingress into the lower electrical compartment.
Always ensure that the unit is unplugged before moving, move the unit using the
handle on the back which also acts as a wrap bracket to hold the power cord in
place when not in use.
The unit must be stationed at a reasonable distance from the power outlet socket
so as not to put strain on the electrical connections, or causing a trip hazard. The
power cord should not come in contact with any hot surfaces at any time.

MOBILE HAND WASH UNIT 5
Electricity Supply Connection
Position the unit at the chosen site, the electricity supply connection should be
made to a power outlet socket or isolator mounted on the wall close to the
machine. This socket or isolator must be accessible once the machine isinstalled.
Before connecting, check that the voltage shown on the rating is correct for the
electricity supply you have available. If the plug does not fit your sockets or a
longer lead is required, changes must be made by an approved electrician.
NOTE: The plug is fitted with a 13amp fuse.
The plug fuse cover must be refitted when changing the fuse. In the event of
losing the fuse cover the plug must NOT be used until a replacement fuse cover
has been obtained and fitted or the plug replaced.
WARNING: This machine must be earthed!
Should the supply cord become damaged then a replacement must be fitted by
an approved electrician. The IEE Codes of Practice must be observed.
The wires in the mains lead are coloured in accordance with the following code:
Green and yellow Earth
Blue Neutral
Brown Live

6MOBILE HAND WASH UNIT
USING YOUR IMC MOBILE HAND WASH UNIT
Commissioning
Firstly; ensure that the unit is unplugged from any power source before following
the steps outlined below.
Remove the front panel by unscrewing the black knob, tilt the panel backwards
and pull away from the unit at an upward angle. This will enable the operator to
gain access to the inner components of the unit.
Once the front panel has been removed, ensure that the waste water tank is in
place and that the drain tube from the sink is correctly located within the waste
water tank. Rotate the manual fill cover and locate the flexible plastic funnel . Fill
the tank up to the level shown on the fill level indicator on the tank. Store the
funnel within the cabinet, close the filling spout cover and fit the front cover.
FRONT PANEL
MANUAL FILL
COVER
FLEXIBLE FUNNEL
WASTE WATER
TANK
A
A - FILL LEVEL INDICATOR
DRAIN VALVE

MOBILE HAND WASH UNIT 7
Power the unit up by connecting it to a suitable power source. Once the unit has
been connected, the element in the hot water tank will start heating up the water
immediately; it should take approximately 15 minutes to reach operating
temperature on a full tank of water.
We advise that you operate the foot pump and pass water through the unit before
refitting the front panel. To prime the pump depress the foot pump several times
until water is seen coming out of the spout located above the sink on the unit.
Once all of the above steps have been completed and the front panel has been
refitted, your Mobile Hand Wash Unit should now be ready for operation.
Emptying / Refilling
Once the unit has completed its total number of operations, the waste water tank
will need emptying before the hot water tank is refilled.
To empty the waste-water tank; remove the front panel as described above.
The waste-water container can now be slid out of the unit whilst easing the flexible
drain tube from the container and the waste emptied appropriately.
To re-install the waste-water tank, follow the above steps in reverse ensuring that
the flexible drain tube is within the waste-water container.
To refill the hot water tank, follow the steps outlined inthe commissioning section.
Draining
At the end of a day’s use, the hot water tank must be drained in order to reduce
the risk of bacteria and other harmful organisms multiplyingin the water reservoir.
A drainage valve has been integrated in to the design of the tank which can be
seen in the figure below.
ADAPTER
DRAIN TAP
HANDLE

8MOBILE HAND WASH UNIT
To drain
Connect the adapter finger tight on to the drain valve and position a suitable
container to collect the water.
Open the tap and allow enough time for the water to flow out.
Close the tap and remove the adapter and place it back in its stowing position.
Ensure that the waste water is disposed of appropriately.
Cleaning
NOTE: This hand wash station is not waterproof and therefore must not be
cleaned using a hose or any type of water jet equipment.
Clean the externals of the unit as required; using a damp cloth and an appropriate
cleaning product.
DO NOT USE CLEANING MATERIALS CONTAINING ABRASIVES OR
BLEACHES.
Descaling
In addition to regular cleaning the unit will also need to be descaled on a regular
basis, the frequency of which depends on the hardness of the water being used.
Descaling is required when calcium carbonate deposits are left on the water
heating element and interior of the hot water tank after repeated use.
Use a propriety descaling product recommended for stainless steel kettles; follow
all instructions provided with the descaling product. Upon using the descaling
product, ensure that the hot water tank is filled with water, heated and emptied to
ensure that no remnants of the product remain in the tank

MOBILE HAND WASH UNIT 9
SPARE PARTS
Spare Parts List
PART NUMBER
QTY
DESCRIPTION
WC01
1
WASTE WATER TANK
WP02
1
FOOT PUMP
A10/498
1
PLASTIC FUNNEL WITH FLEXIBLE SPOUT
A19/042
2
MOBILE HANDWASH WHEEL
A21/044
2
KNOB 2160_M M8 x 14 BLACK
G45/190
1
THERMOSTAT
G45/194
1
THERMAL CUT-OUT
G60/908
1
PLUG & CABLE (UK)
PS07
1
PRESSURE SWITCH
EL297
1
HEATER ELEMENT
J03/171
1
TAP ASSEMBLY
Ordering Spare Parts
In the event that spare parts or accessories need to be ordered, please always
quote the SERIES AND SERIAL NUMBER of the machine. This is to be found on
the rating plate located near the supply cable if applicable or at the rear of the
appliance.
For help with the installation, maintenance and use of your Lincat - IMC
equipment, please contact our service department:
UK: 01522 875520
For non-UK customers, please contact your local Lincat dealer
All service work, other than routine cleaning should be carried out by one of our
authorised service agents. We cannot accept responsibility for work carried out
by other persons.
To ensure your service enquiry is handled as efficiently as possible, please tell
us:
Brief details of the problem
Product code
All available on serial plate
Type number
Serial number
Lincat reserve the right to carry out any work under warranty, given reasonable
access to the appliance, during normal working hours, Monday to Friday, 08:30
to 17:00.
Table of contents
Other IMC Plumbing Product manuals
Popular Plumbing Product manuals by other brands

Kohler
Kohler K-11076 Installation and care guide

Franke
Franke PESCARA PULL DOWN FF4700 installation manual

SFA
SFA SANICUBIC 1 manual

Franke
Franke F5 Series Installation and operating instructions

Hans Grohe
Hans Grohe Talis S 72418000 Instructions for use/assembly instructions

BELLOSTA
BELLOSTA Revivre Young Installation instruction