NewSound’s Rocker User manual
User Manual
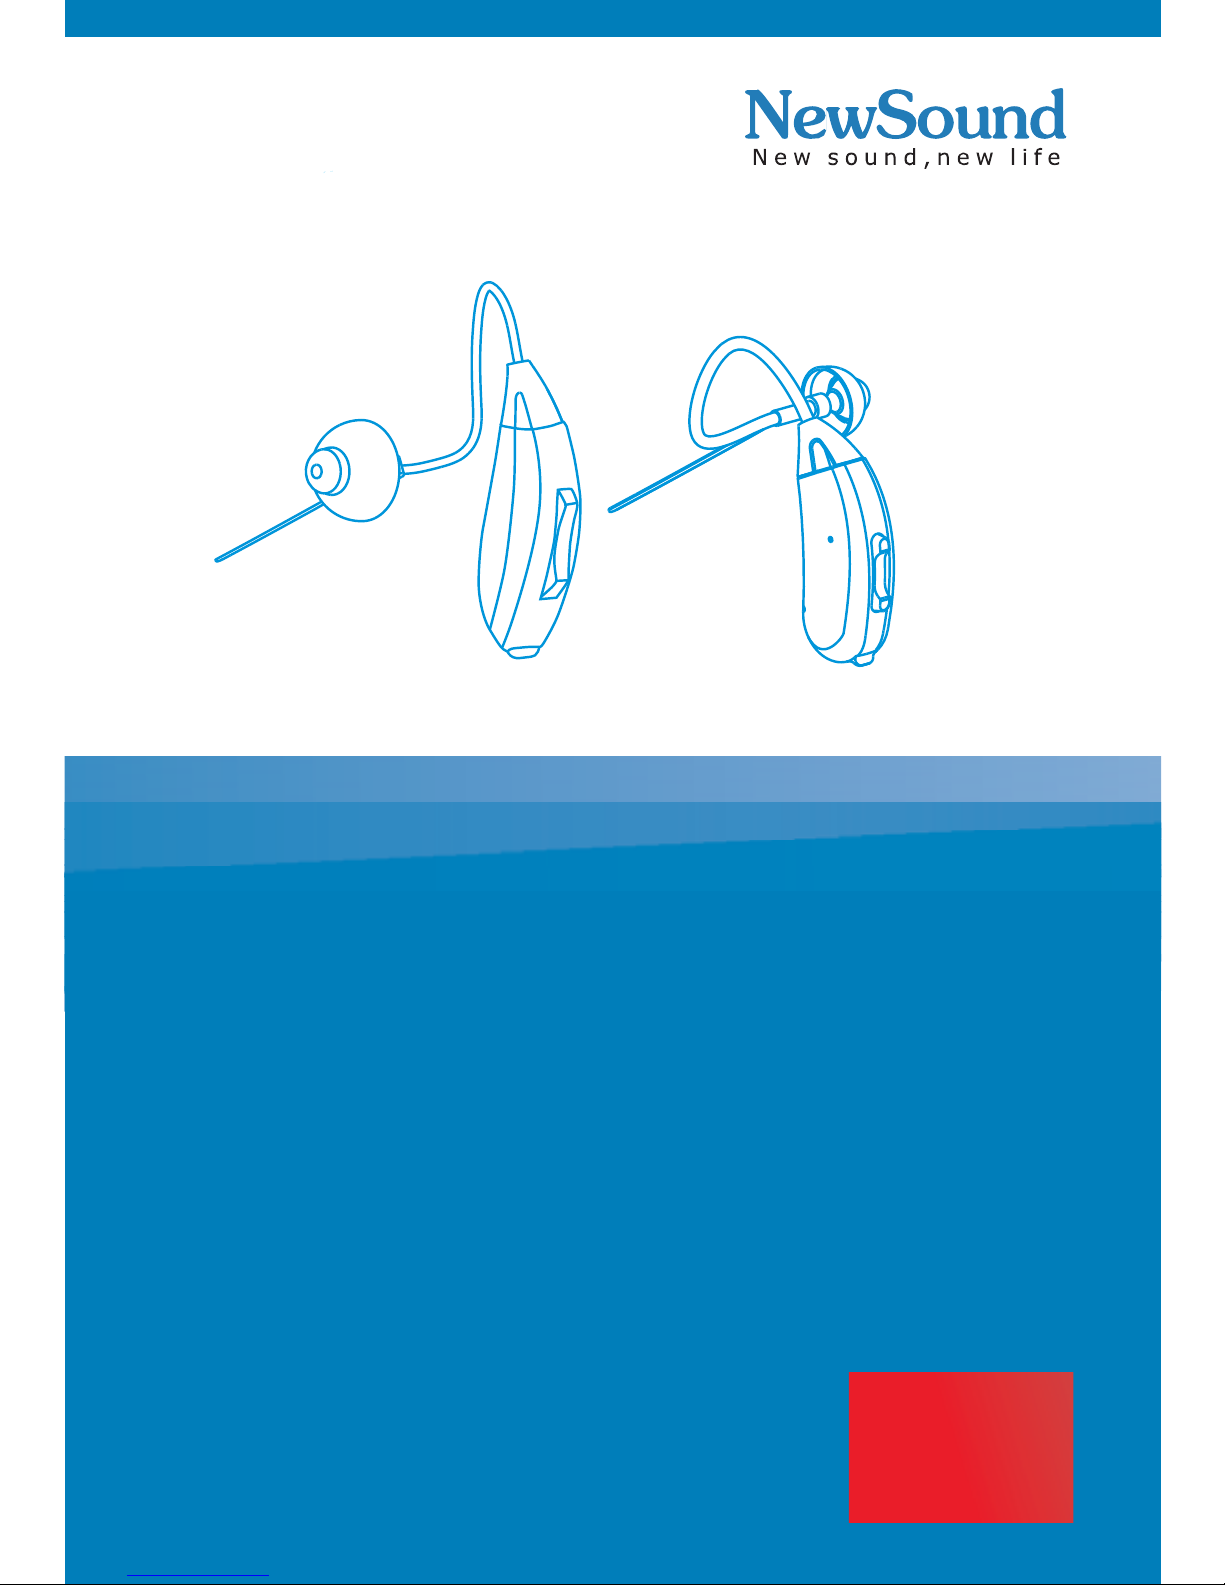
Rocker! Your partner of graceful life
Roockerr


Contents
Preface
Features
Preparation
Operation
Appendix
ON and OFF
How to wear your hearing instrument
Volume control
Memory switch
Replacing the battery
Cleaning the instrument
Low battery Warning
Battery caring
Troubleshooting Guide
Working Condition
Technical Data standard
FDA information
Maintenance
Cleaning &changing tube
1
2
3
4
6
6
8
9
11
11
12
13
14
15
13
10
6
15
15
16

Congratulations! Welcome to a New Life created by
NewSound’s “Open-Fit” hearing instrument-ROCKER.
Please read this manual carefully before use.
Hearing instrument is a kind of electronic devices which
amplifies sound from your surroundings. It is used to help
hearing impaired people recover hearing ability by
compensating for the hearing loss. Your OF is only one
type of hearing instruments.
This user manual only applies to ROCKER hearing
instrument.
Intended use
Scope
Precautions
For patients with middle ear infection, it’s suggested not to
wear hearing instrument until cured or follow the doctor’s
advice.
Please consult your hearing healthcare professional first if
you have any questions about your hearing loss or your
hearing instrument.
THE MANUFACTURER RESERVES THE RIGHT TO
MODIFY THE TECHNICAL SPECIFICATIONS OF THE
PRODUCT WITHOUT ANY PRELIMINARY OPINION.
Preface
2
Features
3
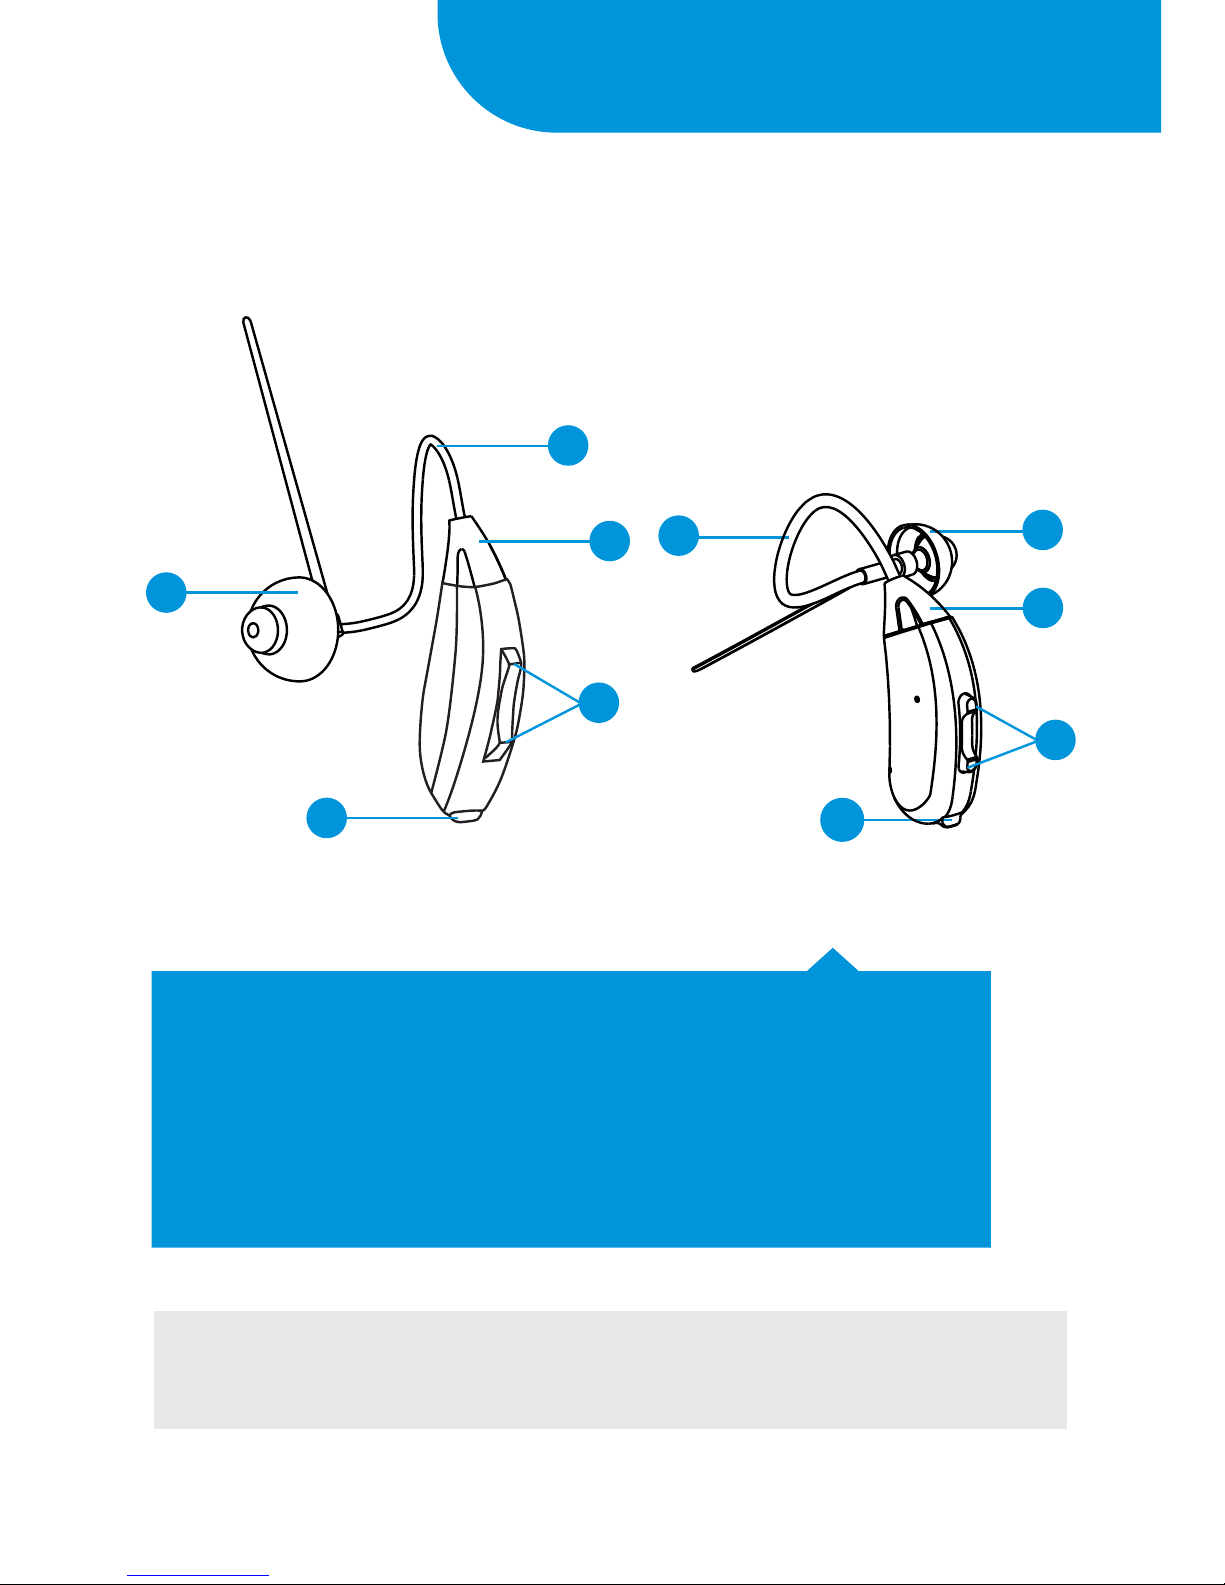
1.Microphone inlet
2.Tube /Sound outlet
3.Rocker VC
4.Dome
5.Battery door
2
1
4
3
5
NOTICE: Please use closed dome to avoid whistling
when you maximum the gain.
5
3
1
4
2

Preparation
Battery
The ROCKER uses a 10A Battery.
When placing the battery in your ROCKER, position the
battery with the positive (+) side (or totally flat side) up
and insert it into the battery compartment section of the
battery door. If the battery is inserted incorrectly or
upside down, the door will not be closed. Do not force
the door closed.
CAUTION: Batteries are dangerous if swallowed! Keep
batteries out of the reach of children. Never put batteries
in your mouth for any reason they are easily swallowed. In
the event a battery has been swallowed, seek immediate
medical attention.
4
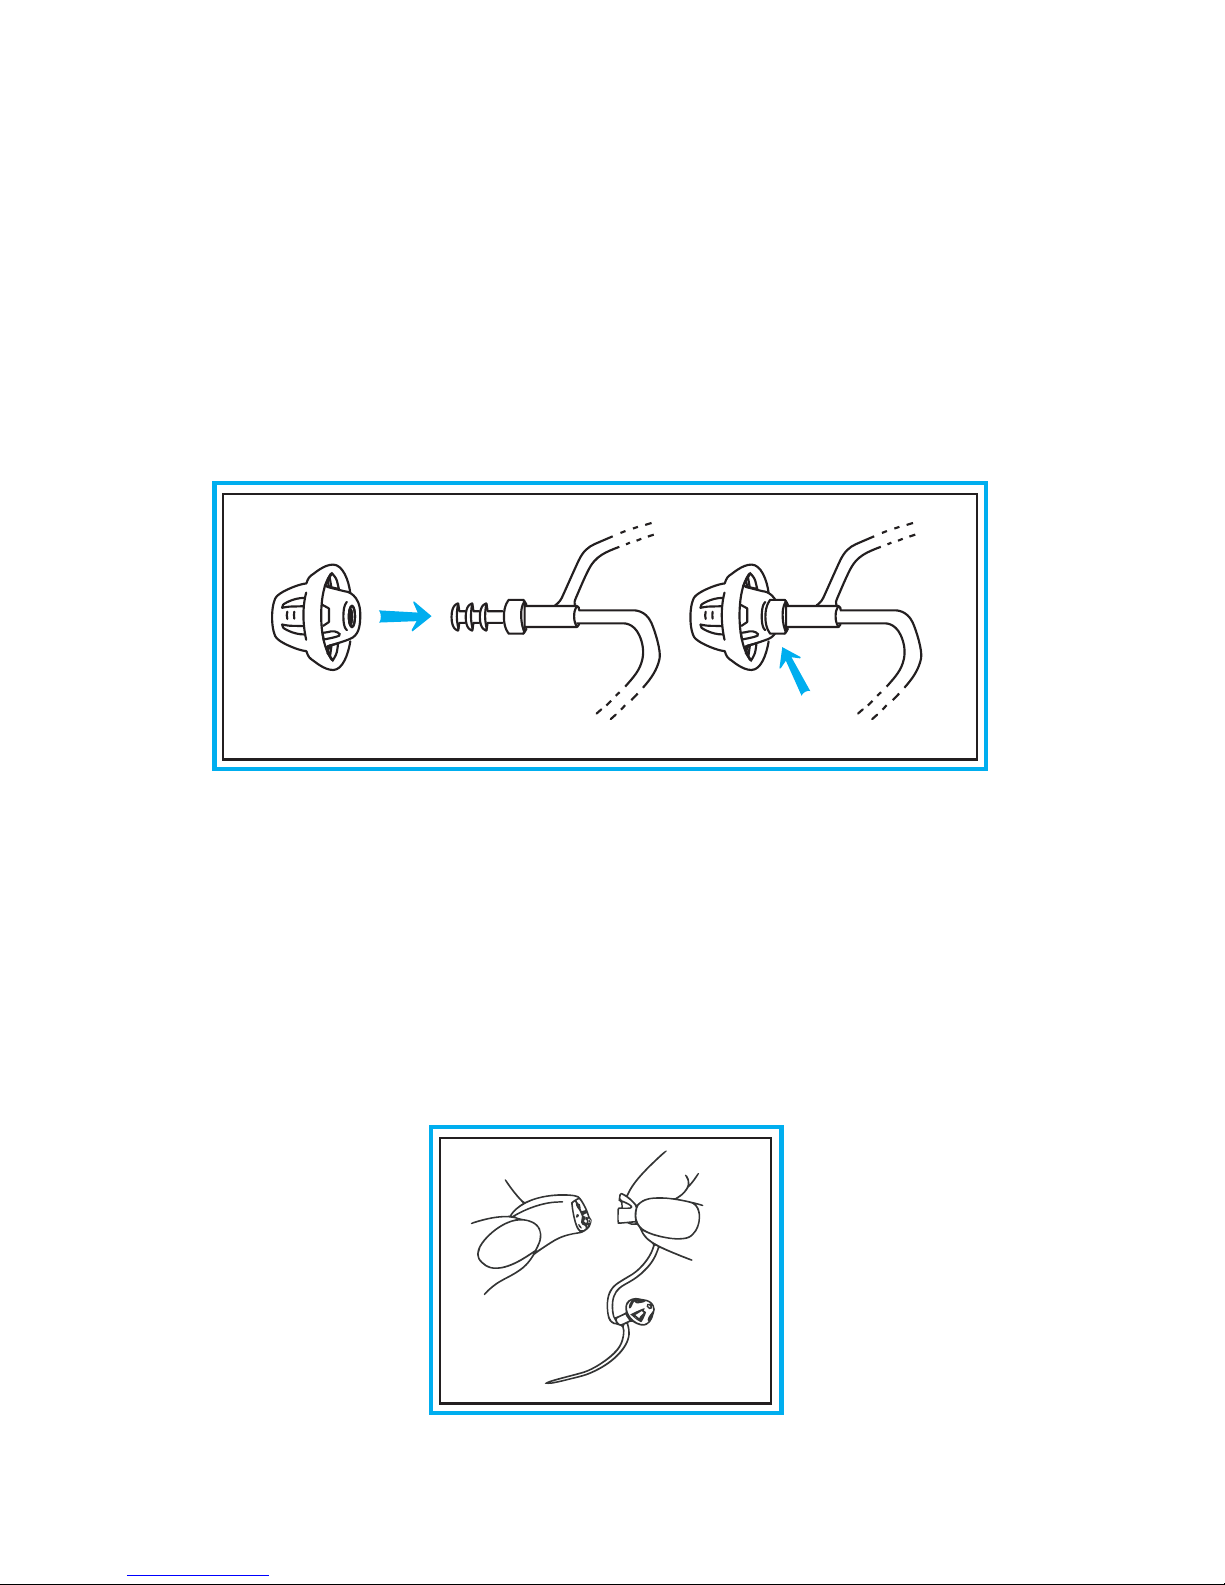
Dome
Attach the dome
Attach the sound tube
The Dome is connected directly with the sound tube.
Push the dome over the grooves on the tube to mount it.
Hold the end of the sound tube in one hand and the
hearing instrument by the other. Line up the sound tube
on top and push onto the adaptor that sticks out of the
hearing instrument case. There is no need to twist the
tube when you push it on.
5

6
ON and OFF
How to wear your hearing instrument
TO TURN ON - With your finger, gently open the battery
door. Insert battery and close .Your ROCKER is equipped
with a power on delay, you will be given several seconds to
seat the device comfortably in your ear before it turns on.
TO TURN OFF - To remove the device simply grasp the
tubing close to the earbud or earmold and remove from
the ear canal.Then remove instrument from the top of the
ear. To turn your ROCKER off, simply open the battery
door completely. Store in a safe dry place.
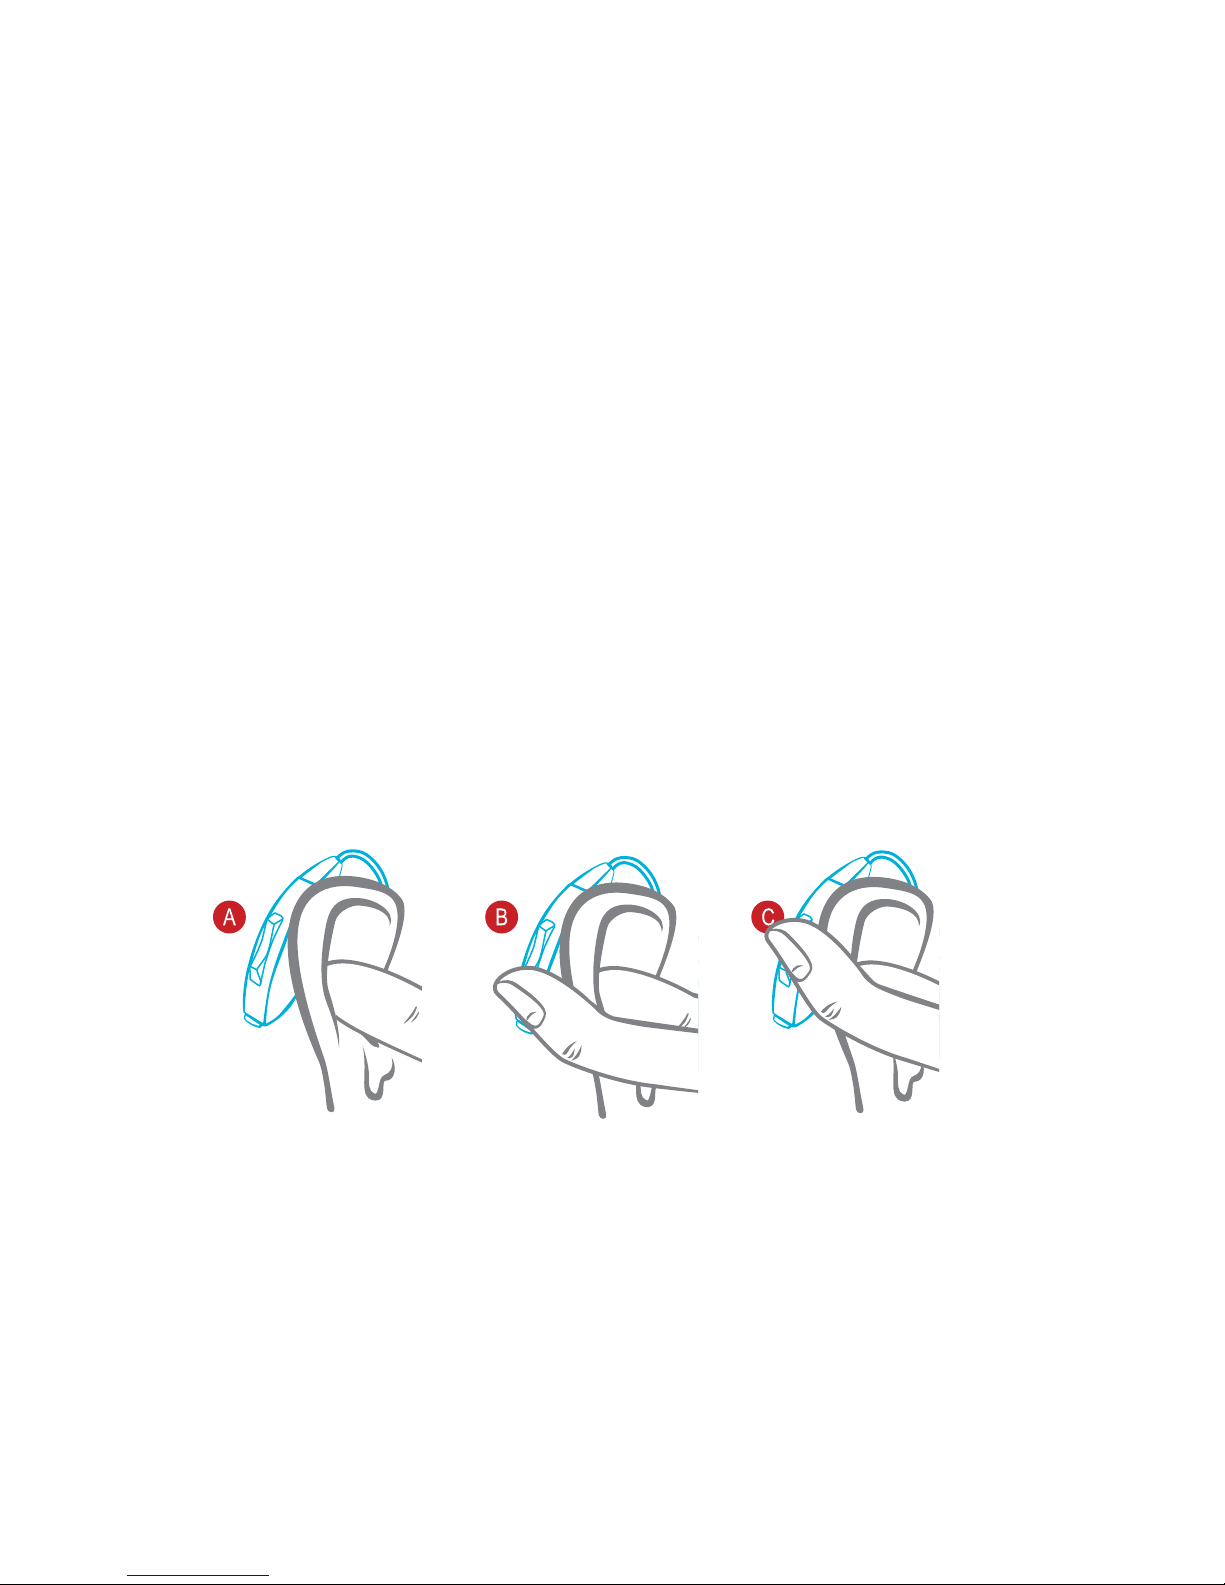
Before insertion, please clean your ear and make sure the
battery door is closed properly. Follow the procedure for
how to wear your instrument :
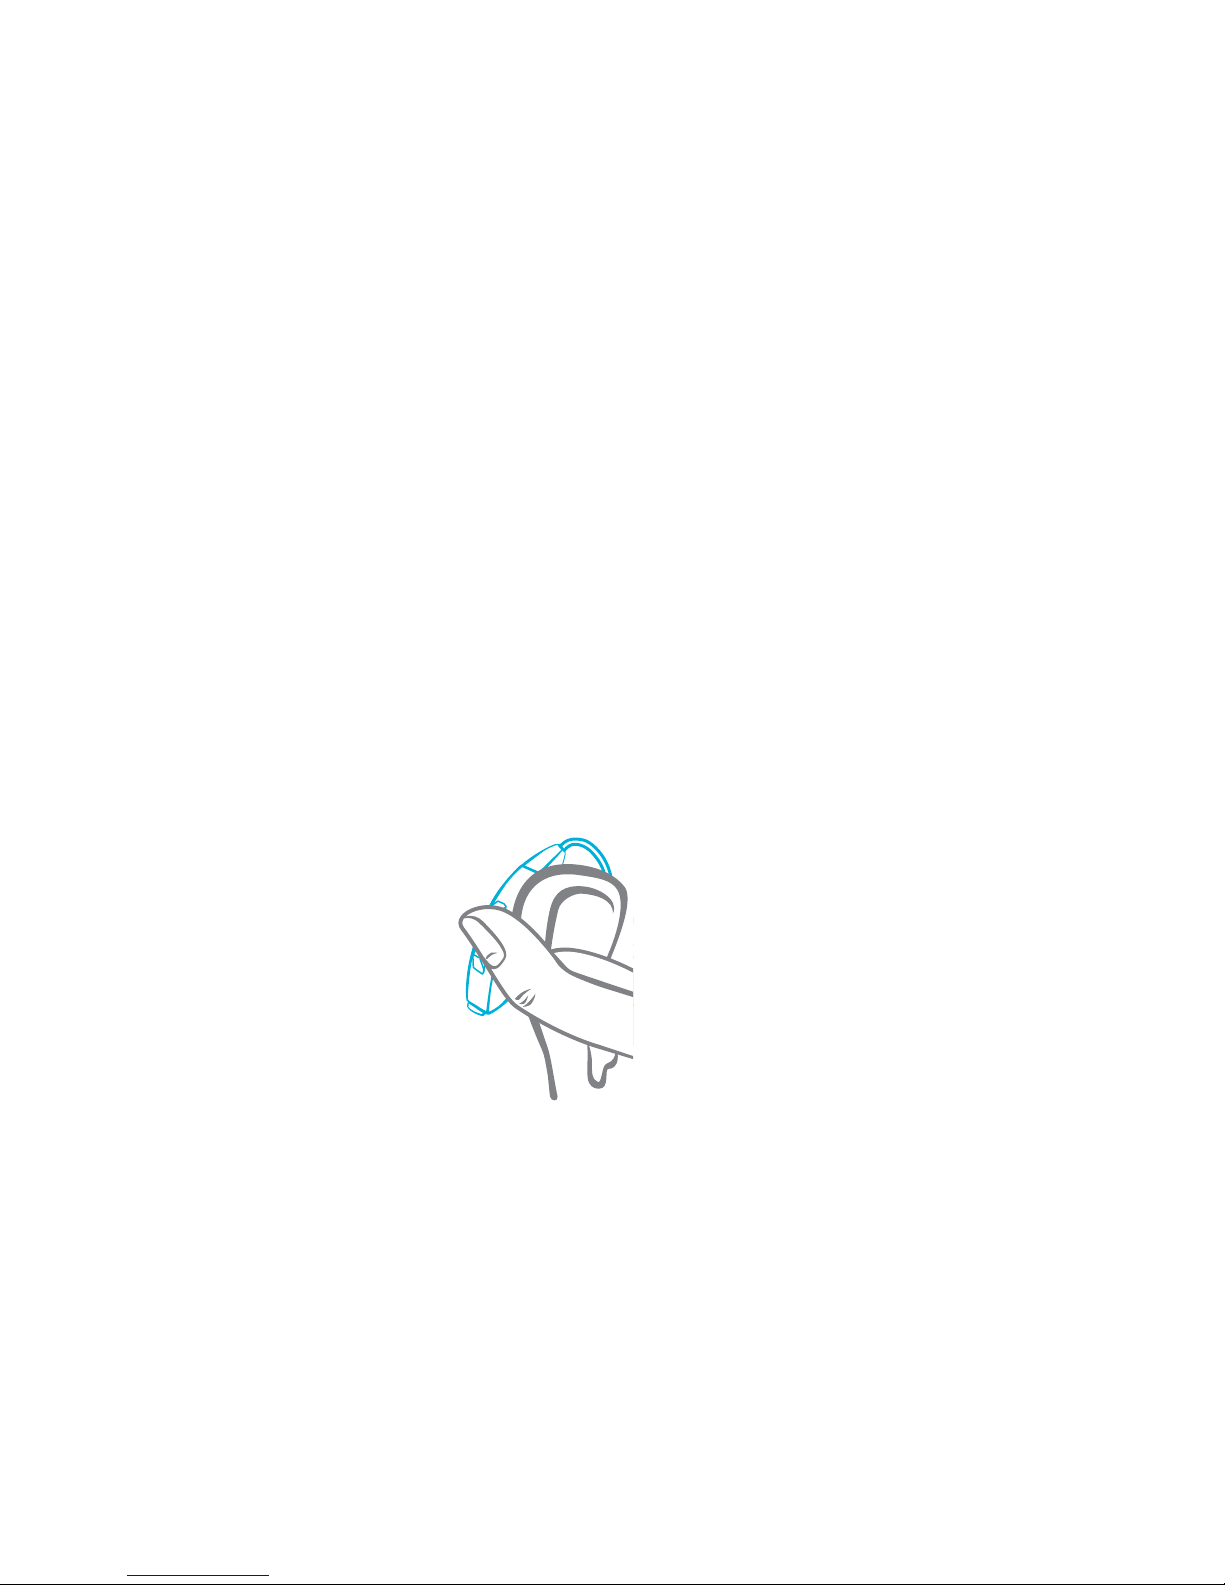
Operation
• Hold the tubing with your thumb and index finger close
to the ear dome.
• Place the instrument over the top of the ear.
• Gently insert the ear dome into your ear canal.
• Move the retention lock into position by lifting and
placing it into the bowl of your ear.

7
NOTE: Some irritation may occur due to becoming
accustomed to wearing a new hearing instrument. If
swelling or redness occurs, discontinue use and visit your
hearing professional.
A B
CD
Volume control
The rocker switch serves as the volume control. The
volume control operates as described below:
For all adjustments place thumb into the helix portion of
your ear. Next, take your index finger and place it on the
rocker switch.
Briefly push/release the top half of the switch to increase
volume .
and bottom half of switch to decrease the volume .
Each short press changes the volume slightly.
8
Memory switch
The device starts in program one when turned on. Press
the top/bottom half of the switch for 3 seconds, and the
current listening program will shift to another. The
number of beeps corresponds to the program. The
programs will cycle up in sequence 1,2,1,2 etc....The
programs will cycle down in sequence 2,1,2,1
Find the program that is most comfortable for you and
meets the need of the environment that you are in.
9
The rocker switch serves as the program control as well.
Replacing the battery
1. Switch off the hearing instrument by opening the
battery door.
2. Remove the old battery.
3. Remove the protective foil from the new battery.
4. Insert the new battery, be sure that the plus (+) is facing
up.
5. Close the battery door.
Important: Handle the battery door gently. The operation
requires only a minimum force. If there is any resistance
when closing the battery door, ensure that the battery is
correctly inserted. The battery door cannot be closed if
the battery is inserted incorrectly.
10

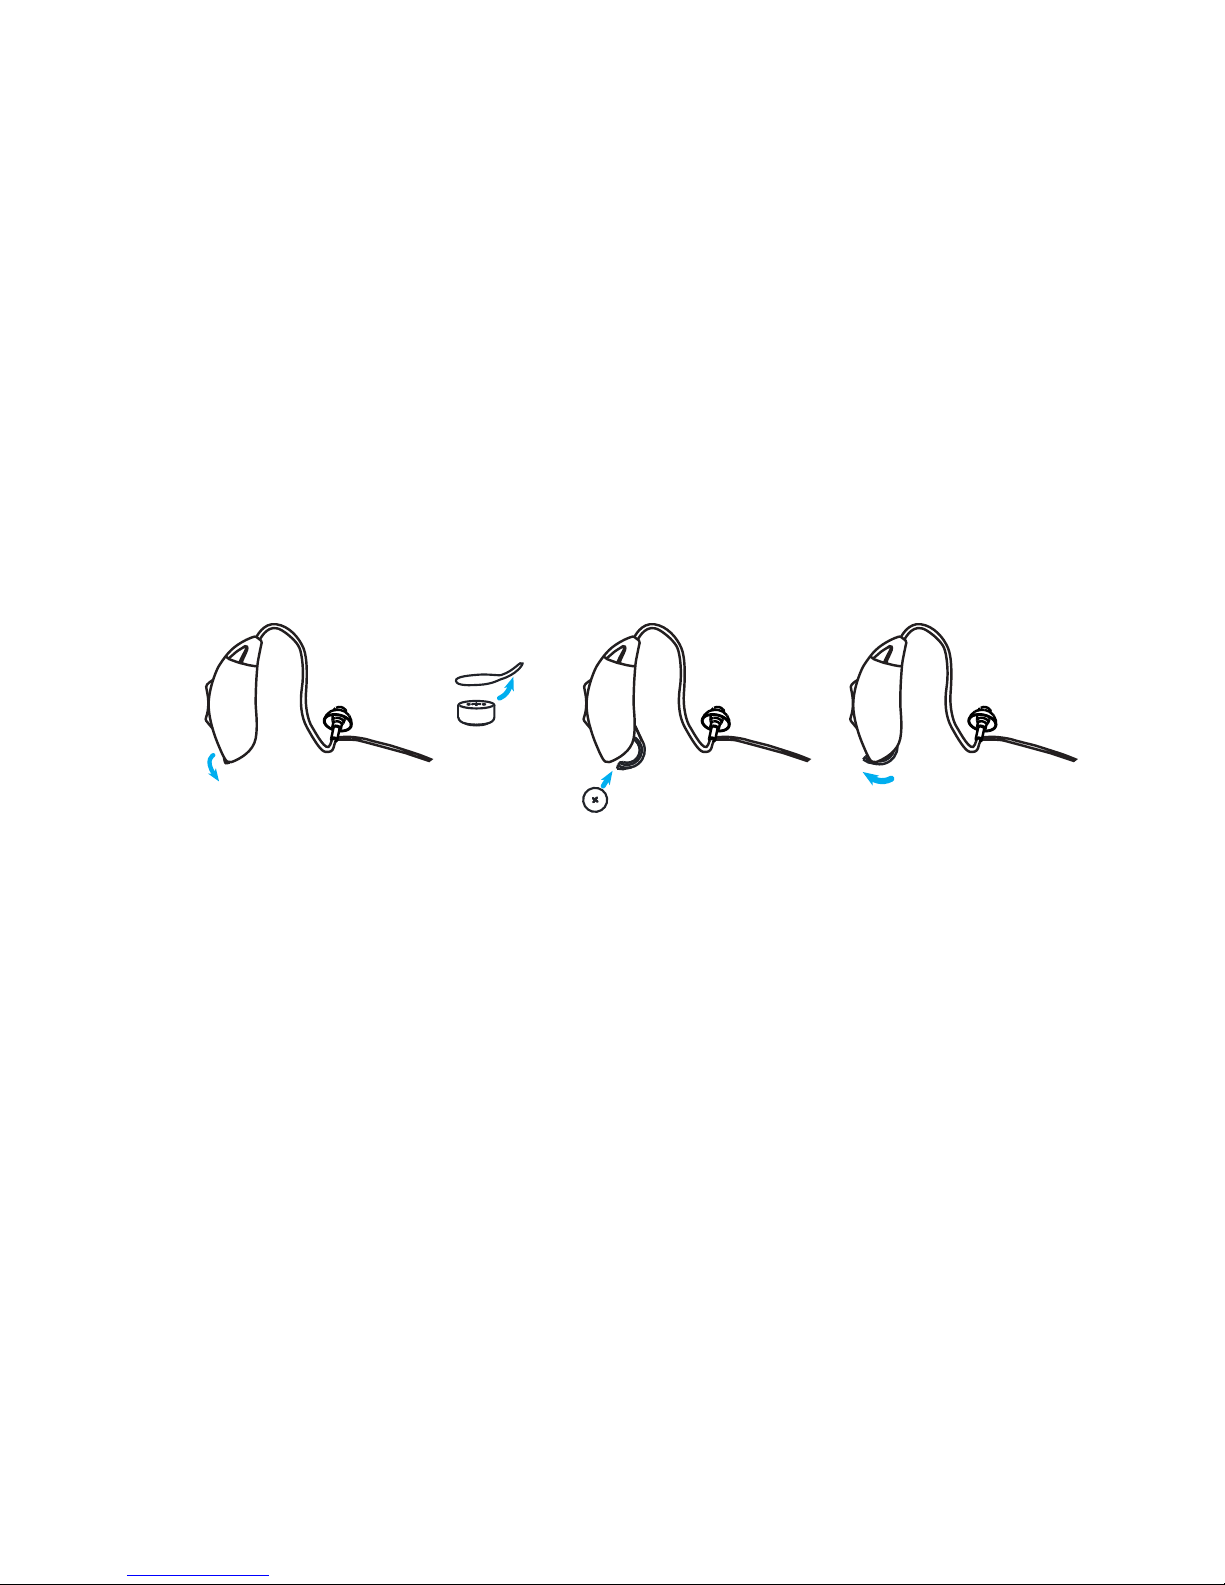
Cleaning & Changing Tube
Cleaning
Changing
Use a soft cloth to wipe the OF after use to remove any
particles or moisture.The Cleaning Tool is used to remove
debris / wax from the sound tubing and earbud.
11
ABC
DEF
Maintenance
1.To remove tube gently rotate the sound tubing holding
the instrument firmly.
2. Pull sound tubing from the hearing instrument.
3.To clean, insert the cleaning tool through the nose cone
end.
Thread all the way through the tubing & earbud.
4.To reassemble or change sound tubing simply line up
and push tubing until it snaps into place.
Cleaning the instrument
Ear wax is one of the main causes of problems with
hearing aids. Filter and other devices are used for
preventing wax from entering the instrument.
Cleaning is easier when ear wax is dry in the morning
before you insert the instrument to your ear.
Clean your instrument with a soft, dry cloth and a small
brush. Do the cleaning on a soft table to avoid damage or
scratch in case the instrument falls.
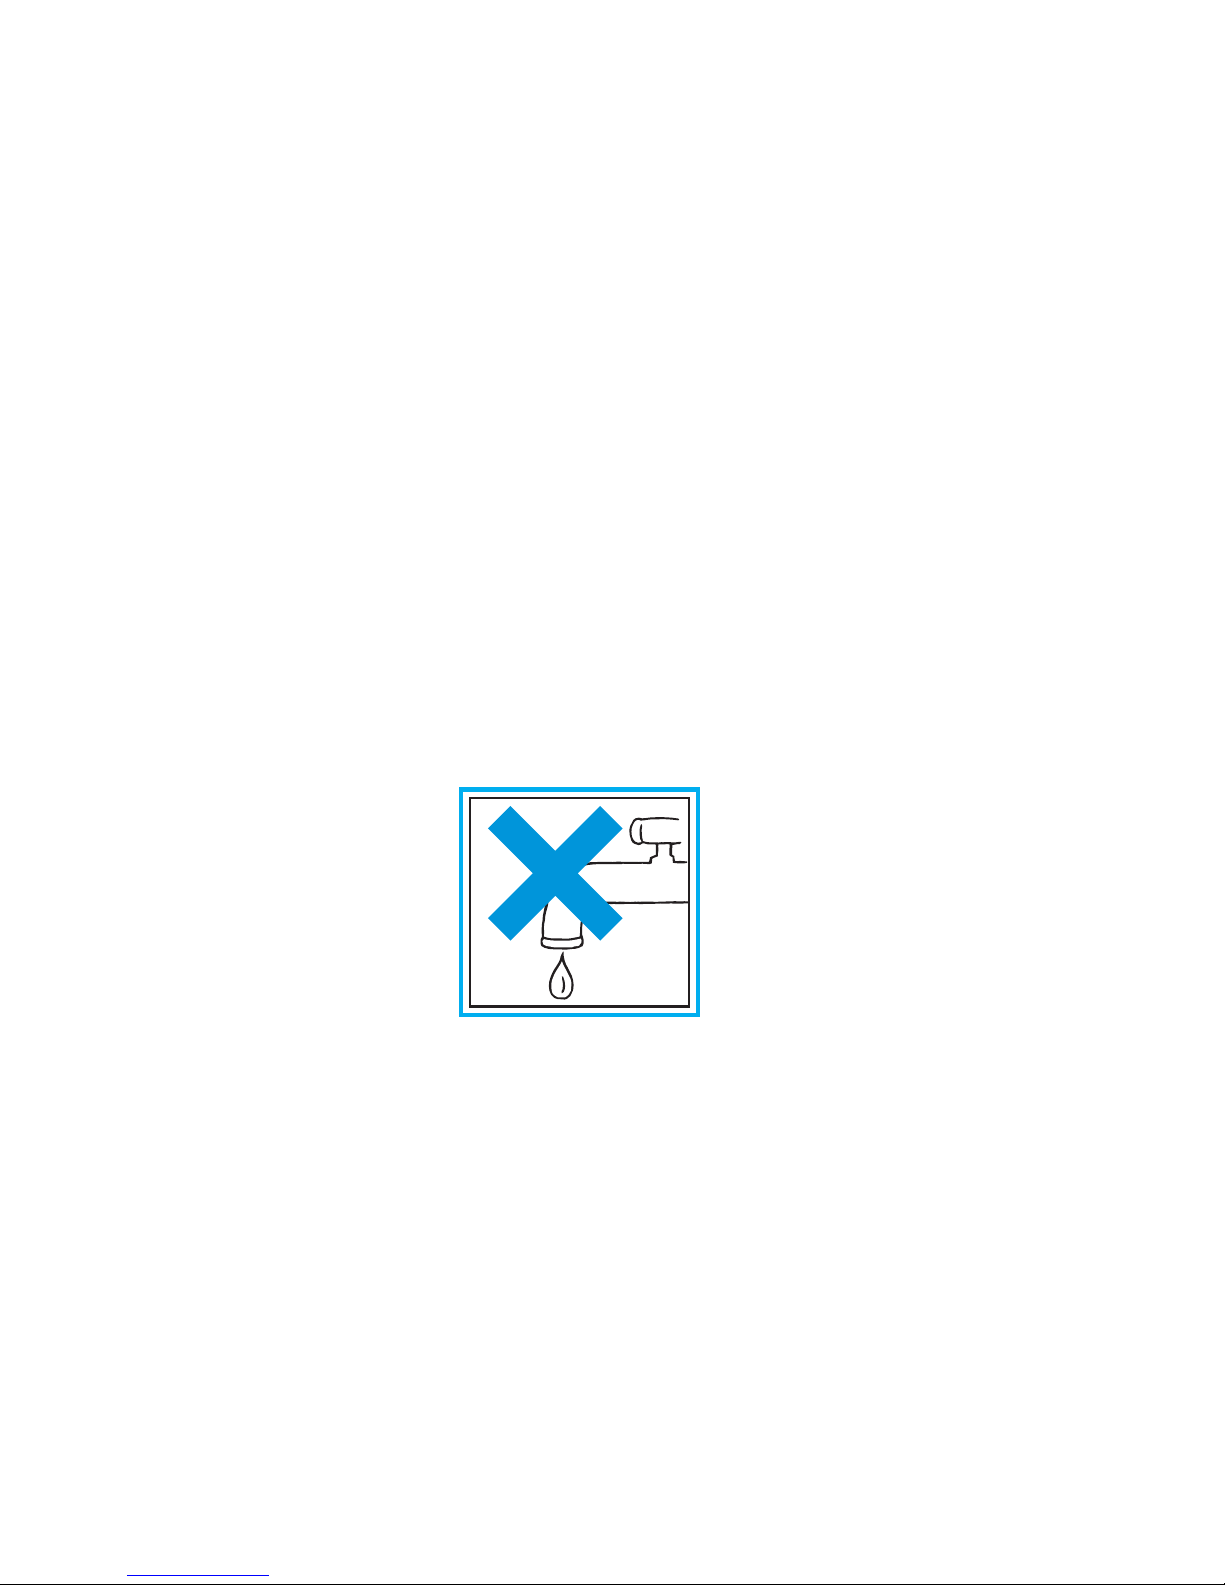
• Do not use water or other fluids.
Do not use water
or other fluids.
12

13
Battery caring
The performance of hearing instrument greatly depends
on the quality of the battery using.
1) It is important to use high-quality batteries. With
reliable high-quality batteries, you can avoid periodic
hearing instrument failures.
2) It is also important that the batteries are well packed
before use. Each battery is therefore provided with an
adhesive label which ensures the battery is sealed and
fresh till use.
3) Never leave an exhausted battery in the hearing
instrument. Exhausted battery may leak and it would
damage the instrument.
Low battery warning
When you hear one short beep, it means that the battery
is running out. Intermittent warning exists until you
replace the battery.
The sound quality may be influenced after the first
warning, this is normal and can be remedied by inserting a
fresh battery in the hearing instrument.
Always remove the battery if your instrument is not in use
for long periods of time.

SYMPTOM POSSIBLE CAUSES SOLUTIONS
No battery Insert the battery
Trouble shooting guide
Dead or low battery Replace battery
Battery improperly
inserted Insert battery correctly
Wax or debris in the
microphone or receiver
Clean both microphone
and receiver with brush.
Remove and clean the
dome
Low battery Replace battery
Excessive ear wax Consult your physician
Volume set too low Turn the trimmer
clockwise
Wax or debris in the
microphone or receiver
Clean both microphone
and receiver with brush.
Remove and clean the
dome
Hearing loss change Contact your hearing
care professional
No sound
Not loud
enough
Loose insertion of hearing
instrument Remove and reinsert
Whistling,
feedback Excessive ear wax Consult your physician
Dome of improper size Change domes of proper
size
Low battery Replace battery
Not clear or
distorted
sound
Hearing instrument
damaged
Contact your hearing care
professional
Hearing instrument settings
not optimal
Contact your hearing care
professional
14

Working Condition
Temperature should not exceed limits of –20°/60° Celsius
at a relative air humidity of 85% for extended periods
during transportation and storage. Air pressure between
500 and 1100 hPa is not detrimental to the instrument.
Appendix
15
Technical Data standard
Maximum Output IEC-60118-7/2005(2cc-coupler)
Manufactuer
Wellkang Tech ConsultingSuite B, 29 Harley Street,
LONDON W1G9QR, United Kingdom
www.CE-marking.com

16
FDA information
Following the medical evaluation, the physician will give you a
written statement that states that your hearing loss has been
medically evaluated and that you may be considered a
candidate for a hearing aid.The physician will refer you to an
audiologist or hearing aid dispenser, as appropriate, for a
hearing aid evaluation.
The audiologist or hearing aid dispenser will conduct a
hearing aid evaluation to assess your ability to hear with and
without a hearing aid. The hearing aid evaluation will enable
the audiologist or dispenser to select and fit a hearing aid to
your individual needs.
If you have reservations about your ability to adapt to
amplification, you should inquire about the availability of a
trial rental or purchase-option program. Many hearing aid
dispensers now offer programs that permit you to wear a
hearing aid for a period of time for a nominal fee after which
you may decide if you want to purchase the hearing aid.
Federal law restricts the sale of hearing aids to those
individuals who have obtained a medical evaluation from a
licensed physician. Federal law permits a fully informed adult
to sign a waiver statement declining the medical evaluation
for religious or personal beliefs that preclude consultation
with a physician. The exercise of such a waiver is not in your
best health interest and its use is strongly discouraged.

E-mail: sales@usnewsound.com
www.usnewsound.com
Table of contents
Other NewSound’s Hearing Aid manuals


