8
9
Take a photo of your ear so
that you can clearly see the
measuring tool on your ear.
You may need to ask a family
member or friend to assist
you with this step, if you
experience any difficulties.
At the bottom of each slim tube, you will find a number in either
blue or red. Just as with the ear measuring tool, a slim tube with
a red number on it, will indicate that the slim tube is intended
for the right ear and a slim tube with a blue number on it, will
indicate that the slim tube is intended for the left ear.
Once you have determined the correct slim tube length for your
ear, find the slim tube with the correct number and color that is
needed for your hearing aid.
Select the correct slim tube recommended by the ear measuring
tool. If you have two hearing aids, repeat this process for your
opposite ear.
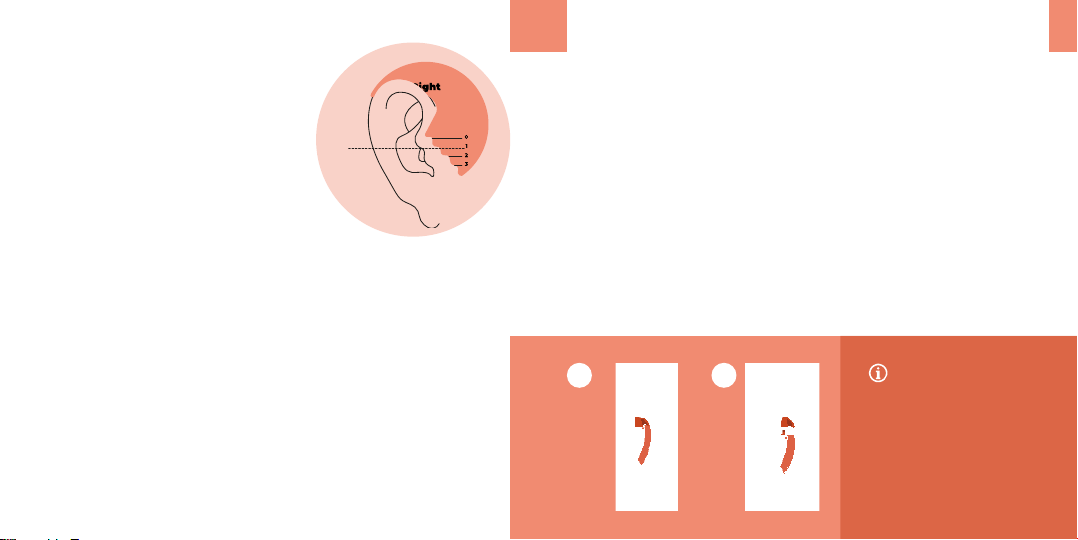
On your ear measuring tool, locate
the closest number that is most
parallel to the top of the opening of
your ear canal. This number will be
needed in order to select the correct
slim tube length.
2.
4.
5.
6.
3.
Top of
ear canal
Removing and attaching your slim tube to
your hearing aid
Each Lexie hearing aid comes with a standard size ‘2B’ slim tube
attached to it. Should you need to replace this slim tube, follow the
steps below:
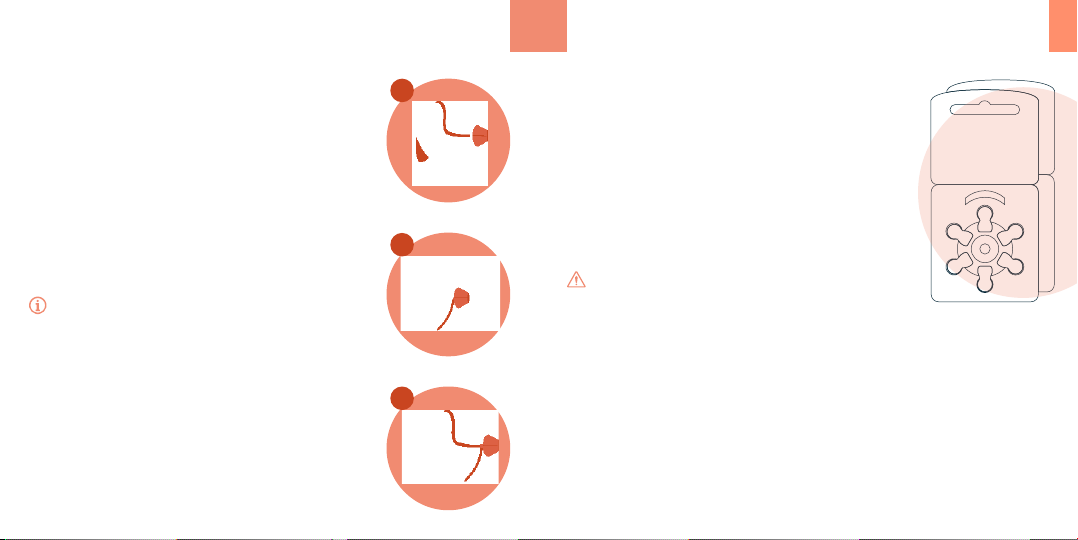
In order to remove the slim tube, hold the slim tube firmly in
one hand at the attachment between the slim tube and hearing
aid and use your opposite hand to gently unscrew the slim tube
approximately 90 degrees in an anticlockwise direction and pull
to remove the slim tube from your hearing aid.
Take the correct sized slim tube and gently push it onto your
hearing aid until it snaps into position.
Note:
Make sure to grip the slim
tube attachment and not
the tube itself.
1.
2.
12