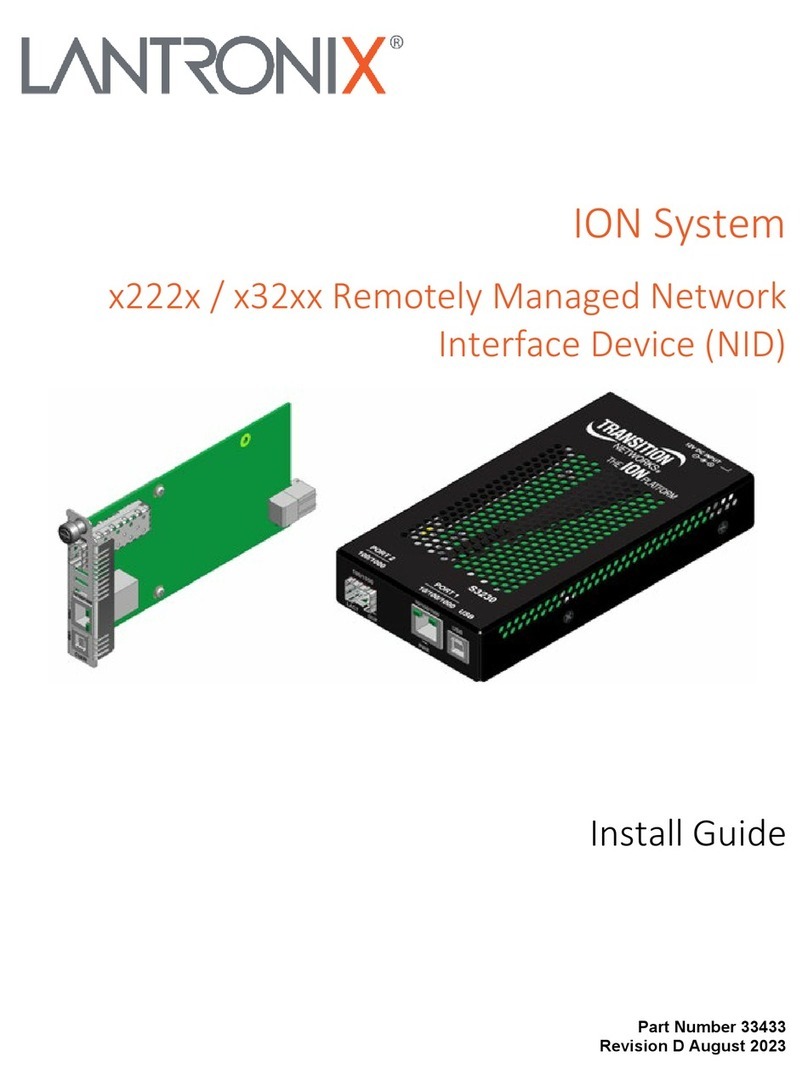
Newtons4th ADI40 Series User guide

ADI40 series
START UP GUIDE
Revision 1.01
20th January 2016

Analogue<>Digital Interface User Manual
i
IMPORTANT SAFETY INSTRUCTIONS
This equipment is designed to comply with BSEN 61010-1
(Safety requirements for electrical equipment for
measurement, control, and laboratory use) – observe the
following precautions:
•Ensure that the supply voltage agrees with the rating
of the instrument printed on the back panel before
connecting the mains cord to the supply.
•This appliance must be earthed. Ensure that the
instrument is powered from a properly grounded
supply.
•High voltages can be generated if current flow to
inductive components is interrupted. Turn off the
output before connecting or
disconnecting any component.
•Keep the ventilation holes on the underneath and
sides free from obstruction.
•Do not operate or store under conditions where
condensation may occur or where conducting debris
may enter the case.
•There are no user serviceable parts inside the
instrument – do not attempt to open the instrument,
refer service to the manufacturer or his appointed
agent.
Note: Newtons4th Ltd. shall not be liable for any
consequential damages, losses, costs or expenses
arising from the use or misuse of this product
however caused.

Analogue<>Digital Interface User Manual
ii
DECLARATION OF CONFORMITY
Manufacturer: Newtons4th Ltd.
Address: 1 Bede Island Road
Leicester
LE2 7EA
UK
We declare that the product:
Description: Analogue<>Digital Interface
Product name: ADI40
Conforms to the requirements of Council Directives:
2014/30/EU relating to electromagnetic compatibility:
EN 61326-1:2013
2014/35/EU relating to the safety of laboratory
equipment:
EN 61010-2-30:2010
01/10/2015
Stuart Chappell
(Director Newtons4th Ltd.)

Analogue<>Digital Interface User Manual
iii
WARRANTY
This product is guaranteed to be free from defects in
materials and workmanship for a period of 36 months from
the date of purchase.
In the unlikely event of any problem within this guarantee
period, first contact Newtons4th Ltd. or your local
representative, to give a description of the problem. Please
have as much relevant information to hand as possible.
If the problem cannot be resolved directly then you will be
given an RMA number and asked to return the unit. The
unit will be repaired or replaced at the sole discretion of
Newtons4th Ltd.
This guarantee is limited to the cost of the ADI40 itself and
does not extend to any consequential damage or losses
whatsoever including, but not limited to, any loss of
earnings arising from a failure of the product or software.
In the event of any problem with the instrument outside of
the guarantee period, Newtons4th Ltd. offers a full repair
and re-calibration service – contact your local
representative.
It is recommended that the ADI40 be re-calibrated
annually.

Analogue<>Digital Interface User Manual
iv
ABOUT THIS MANUAL
The Analogue<>Digital Interface from Newtons4th Ltd
(ADI40) is a precision interface for use with the PPA45/55
range of power analysers.
This manual is concerned specifically with the ADI40 and
its use to measure and output DC voltages – a working
knowledge is assumed of the PPA instrument that it is
used with.
A detailed description of the PPA45/55 Power Analyser
may be found in the appropriate user manual.
Revision 1.01
This manual is copyright © 2015 Newtons4th Ltd. and all
rights are reserved. No part may be copied or reproduced
in any form without prior written consent.
06 November 2018

Analogue<>Digital Interface User Manual
v
CONTENTS
1ADI40 – an overview .......................................... 1-1
2Getting started .................................................. 2-1
2.1 Unpacking..............................................................2-1
2.2 Initial setup............................................................2-1
3Using the ADI40................................................. 3-1
3.1 Basic Operation ......................................................3-1
3.2 Example Application Overview ..................................3-2
3.3 Initial Setup ...........................................................3-3
3.4 Making Measurements.............................................3-3
3.5 Mapping Data to the Outputs....................................3-4
4Communications Commands................................ 4-1
5Compensation.................................................... 5-1
5.1 Thermocouples .......................................................5-1
5.2 Standard Input Calibration.......................................5-2
5.3 Input Calibration Procedure......................................5-3
6Specification...................................................... 6-1

Analogue<>Digital Interface User Manual
vi
APPENDICES
Appendix A Accessories
Appendix B ADI40 variant information
Appendix C Contact details

Analogue<>Digital Interface User Manual
1-1
1ADI40 – an overview
The ADI40 Analogue<>Digital Interface unit is a powerful
multi-channel measurement system for use in conjunction
with the PPA4500 and PPA5500 Power Analysers. It offers
a seamless interface between the Power Analyser,
Analogue Signals and Software.
The unit can also interface with chart recorders via 20 DC
output channels, which may be mapped to any of the
internally computed/logged measurements made by the
PPA. These outputs can produce DC voltages within the
range of +/-10V at 5mV intervals and have an output
impedance of 10 ohms.
Each unit has 20 input channels with the number of each
input type varying according to ADI40 variant, as shown in
the table below.
Model
+/- 10Vdc inputs
Thermocouple inputs
ADI40
16
4
ADI40-8
12
8
ADI40-12
8
12
The inputs are differential with a range of +/-10VDC and
can be driven up to 20VDC without causing irreversible
damage to the internal circuitry. Each input’s impedance to
ground is 1MΩ.
The thermocouple inputs are differential with a range of
+/-20mV. The correct compensation can be applied for
both type J and K. An internal temperature sensor
provides cold junction compensation to within +/-0.4degC.
Model variants with more than 12 thermocouple channels
are available upon request, please contact customer
services at Newtons4th Ltd.

Analogue<>Digital Interface User Manual
2-1
2Getting started
The ADI40 is supplied with appropriate leads and
accessories for use with the PPA45/55 Precision Power
Analyser from Newtons4th Ltd. The ADI40 calibration can
be performed with any PPA45/55 and can then be used
with any other unit without recalibration – see the later
chapter on calibration.
2.1 Unpacking
Inside the carton there should be the following items:
One ADI40 unit
One appropriate mains lead
One 2mm slotted screwdriver
Eight 10 way 3.5mm straight plugs
ADI40 Start up Guide
There may also be a number of optional accessories if
these have been ordered with the unit.
Having verified that the entire above list of contents is
present, it would be wise to verify that your ADI40
operates correctly and has not been damaged in transit.
2.2 Initial setup
Site the ADI40 under the instrument that it will be used
with. Connect the ribbon cable from the extension port on
the back of the ADI40 to the extension port on the rear of
the PPA.
Verify that the voltage ratings on the rear panels of the
ADI40 and the instrument are appropriate for the supply,

Analogue<>Digital Interface User Manual
2-2
and then connect the mains cords to the inlets on the rear
panels and the supply outlet.
Switch on the ADI40 and the instrument. The POWER led
should illuminate and the AUX led will flash, indicating that
the auxiliary cable is connected but communication has not
yet been established.
Press the AUX key on the instrument, ensure that
“master/slave” is disabled and then select “ADI40” from
the “auxiliary device” menu. Press the HOME key twice for
the change to take effect. The AUX led should stop flashing
and the OUT and IN leds will begin to flash sequentially.
If the led’s do not flash, then check that the extension port
cable has not been damaged and has been correctly fitted
between the instrument and the ADI40.
In the event of any problem with this procedure, please
contact customer services at Newtons4th Ltd. or your local
authorised representative: contact addresses and
telephone numbers are given in the appendix at the back
of this manual.

Analogue<>Digital Interface User Manual
3-1
3Using the ADI40
3.1 Basic Operation
Continuous measurements are made by the ADI40 inputs
whenever it is connected to a PPA45/55 with the correct
AUX menu setup. Measurement data can be accessed in
the following ways:
-Using the ANALOG,channel? command to monitor the
inputs in CommView2
-Assigning inputs to MULTIL,1-60 and reading back
with MULTIL? or MULTIL,lines?, in CommView2
-Using the N4L PPALoG software to log and export
measurement data.
The ADI40 inputs can be used with a wide variety of
sensors and components such as Airflow rate sensors,
pressure sensors and DC fans.
The ADI40 outputs are also updated whenever it is
connected to a PPA45/55 with the correct AUX menu
setup. Outputs can be accessed in the followings ways:
-Using the ANALOG,channel,value command to
manually set the output voltage to a DC value
between +/-10.
-Using the ADIMAP command to map a PPA parameter
or ADI40 input back onto one of the outputs.
A detailed example of using the MULTIL and ADIMAP
commands are given in section 3.2.

Analogue<>Digital Interface User Manual
3-2
When not in use, it is recommended that short linking
wires be screwed between each + and – thermocouple
terminal pair. This eliminates noise pickup and allows the
internal temperature of the ADI40 to be monitored.
3.2 Example Application Overview
This example will demonstrate how the ADI40 can be used
to monitor the performance of a desktop PC. Internal
chassis pressure, external atmospheric pressure, airflow
through the chassis and DC fan voltage are monitored with
the +/-10V inputs. The thermocouple inputs are used to
measure, main CPU temperature, air temperatures on and
off the heat sink and chassis ambient temperature. An
example of how this would be wired to the ADI is shown
below. The PPA45/55 Phase 1 voltage and current inputs
are connected to the PC mains inlet to monitor its power
consumption.

Analogue<>Digital Interface User Manual
3-3
3.3 Initial Setup
First, confirm that all sensor wires and thermocouples are
of sufficient length to reach the DUT comfortably. If
possible, avoid running thermocouples close to very noisy
electrical equipment.
Unplug the terminal blocks to be used and secure sensors
and thermocouples to their respective terminals, using a
2mm flathead screwdriver.
The ADI40 and PPA45/55 should now be set up as
described in section 2.2. Once powered up, connect the
terminal blocks back into the ADI40. The thermocouples
being used must all be of either type J or K, a mixture of
the two is not supported. The appropriate thermocouple
type can be chosen in the AUX menu.
The outputs can then also be connected to a Chart
Recorder, using appropriate gauge and length of wire.
Disconnecting the terminal blocks before securing wires in
place is advisable to ensure good contact is made.
3.4 Making Measurements
A PC running the N4L Commview2 or PPALoG software is
required to observe and/or record measurements made by
the ADI40. For this example, Commview2 will be used to
observe all measurements made and output some of them
to the Chart Recorder.
First, confirm that all inputs are reading within the
expected range by using the ANALOG? command.
ANALOG,1?;ANALOG,2?;.....

Analogue<>Digital Interface User Manual
3-4
If the measurements confirm that the ADI40 has been
connected correctly, the inputs can next be assigned to
Multilog channels with the MULTIL command.
The MULTIL command is used to assign up to 60 data
values or parameters to be read back in a single multi
string reply. In this example we wish to read back the
following:
-The various sensors and DC fan on ADI inputs 1 – 4
-The various PC temperatures on ADI inputs 17 - 20
If we assign these inputs using MULTIL, they can then be
read back as a single multi string response using MULTIL?:
MULTIL, 0 (clear anything previously assigned)
MULTIL, 1, 6, 1
The commands shown above clears any old Multilog setup
and then assigns ADI input 1 (6,1) to MULTIL channel 1
(MULTIL,1,). The same is then done for the rest of the ADI
inputs:
MULTIL,2,6,2; MULTIL,3,6,3;... MULTIL,8,6,20
Sending the MULTIL? command will now return a string
containing the last set of readings made on channels 1-4
and 17-20. The changes in voltages and temperatures can
now be monitored.
3.5 Mapping Data to the Outputs
To send some of this data back to the ADI40 outputs, the
ADIMAP command is used. Any data value stored in one of

Analogue<>Digital Interface User Manual
3-5
the MULTIL channels can be offset, scaled and then sent to
an ADI40 output.
In this example, we want to map PPA PH1 Watts, chassis
ambient temperature, airflow sensor output and DC fan
voltage to the ADI40 outputs. Assuming the inputs are
assigned to the same Multilog channels as given in the
previous section, we can map the airflow sensor (input 3)
to output 8 by sending:
ADIMAP,8 ,3 ,0 ,0.8
This assigns Multilog channel 3 to ADI output 8, with 0
offset and scaled by 0.8. As a further example, if PH1
Watts is assigned to Multilog,9 with:
MULTIL,9 ,1 ,2
Then Watts (multiplied by 0.5) can be mapped to output 6
with the command:
ADIMAP,6 ,9 ,0 ,0.5
Providing the ADI40 is correctly setup, the outputs
selected will begin to map their assigned Multilog channel.
The MULTIL? and ANALOG? commands can still be used
after mapping inputs to outputs, without issue.
N4L Software is available as a free download from our
website www.newtons4th.com (support section).

Analogue<>Digital Interface User Manual
4-1
4Communications Commands
ANALOG
ANALOG
Function:
Interface with ADI40
Description:
Write to individual ADI40 outputs
Format:
ANALOG,channel,value
Arguments:
Channel:
1-20
Value:
-10.00 to +10.00
Reply:
None
Example:
ANALOG,5,-3.14
Notes:
Up to 9 outputs can be written to with one
CommView transfer,
by separating each
instance with a “;”.

Analogue<>Digital Interface User Manual
4-2
ANALOG?
ANALOG?
Function:
Interface with ADI40
Description:
Read from individual ADI40 inputs
Format:
ANALOG,channel?
Arguments:
Channel:
1-20
Reply:
ASCII characters in scientific format:
1 - 16 in Volts
17- 20 in ˚C
Example:
ANALOG,12?
Notes:
Up to 9 inputs can be read back at once
with this command by separating each
instance with a “;”.

Analogue<>Digital Interface User Manual
4-3
MULTIL
MULTIL
Function:
Selects data for multi string reply
Description:
Selects data values across phases and
functions that can be read in a single
string.
Format:
MULTILOG,index,type,function
Arguments:
index:
0 clear all
1-60 select data 1-20
type:
1-3 phase 1-3
4 sum
5 neutral
6 adi40
function:
1-60 assign to value
Reply:
none
Example:
MULTIL,0
MULTIL,1,6,1
MULTIL,2,6,2
MULTIL,3,6,3
MULTIL?
3 data values returned for inputs 1 - 3

Analogue<>Digital Interface User Manual
4-4
MULTIL?
MULTIL?
Function:
Reads multi string reply
Description:
Waits for data to be available then returns
selected results.
Format:
Or:
MULTILOG?
MULTILOG,lines?
Arguments:
Lines:
Integer
Reply:
Up to 60 data values as selected by the
MULTILOG command in a single reply
string
OR
Up to 60 data values as selected by the
MULTILOG command in a single reply
string, replying “lines” times.
Example:
MULTIL,0
MULTIL,1,6,2
MULTIL,2,6,2
MULTIL,3,6,3
MULTIL?
3 data values returned
MUTLIL,5?
Replies 5 times, each containing 3 data
values
Notes:
The MULTILOG,lines? command will reply
each time a new data point is available.

Analogue<>Digital Interface User Manual
4-5
ADIMAP
ADIMAP
Function:
Map multilog parameters to outputs
Description:
Applies offset and scaling to a multilog
value and maps value to chosen ADI
output
Format:
ADIMAP,output,multilog,offset,scale
Arguments:
output:
1-20
multilog:
1-64
offset:
Float
scale:
Float
Reply:
None
Example:
MULTIL,0
MULTIL,2,1,1 (PH1 Frequency)
ADIMAP,1,2,0.2,0.5
Output 1 = 0.5 * (PH1 frequency – 0.2)
Notes:
Offset is subtracted from multilog value,
then scale is applied within the limits of
+/- 10
Table of contents
