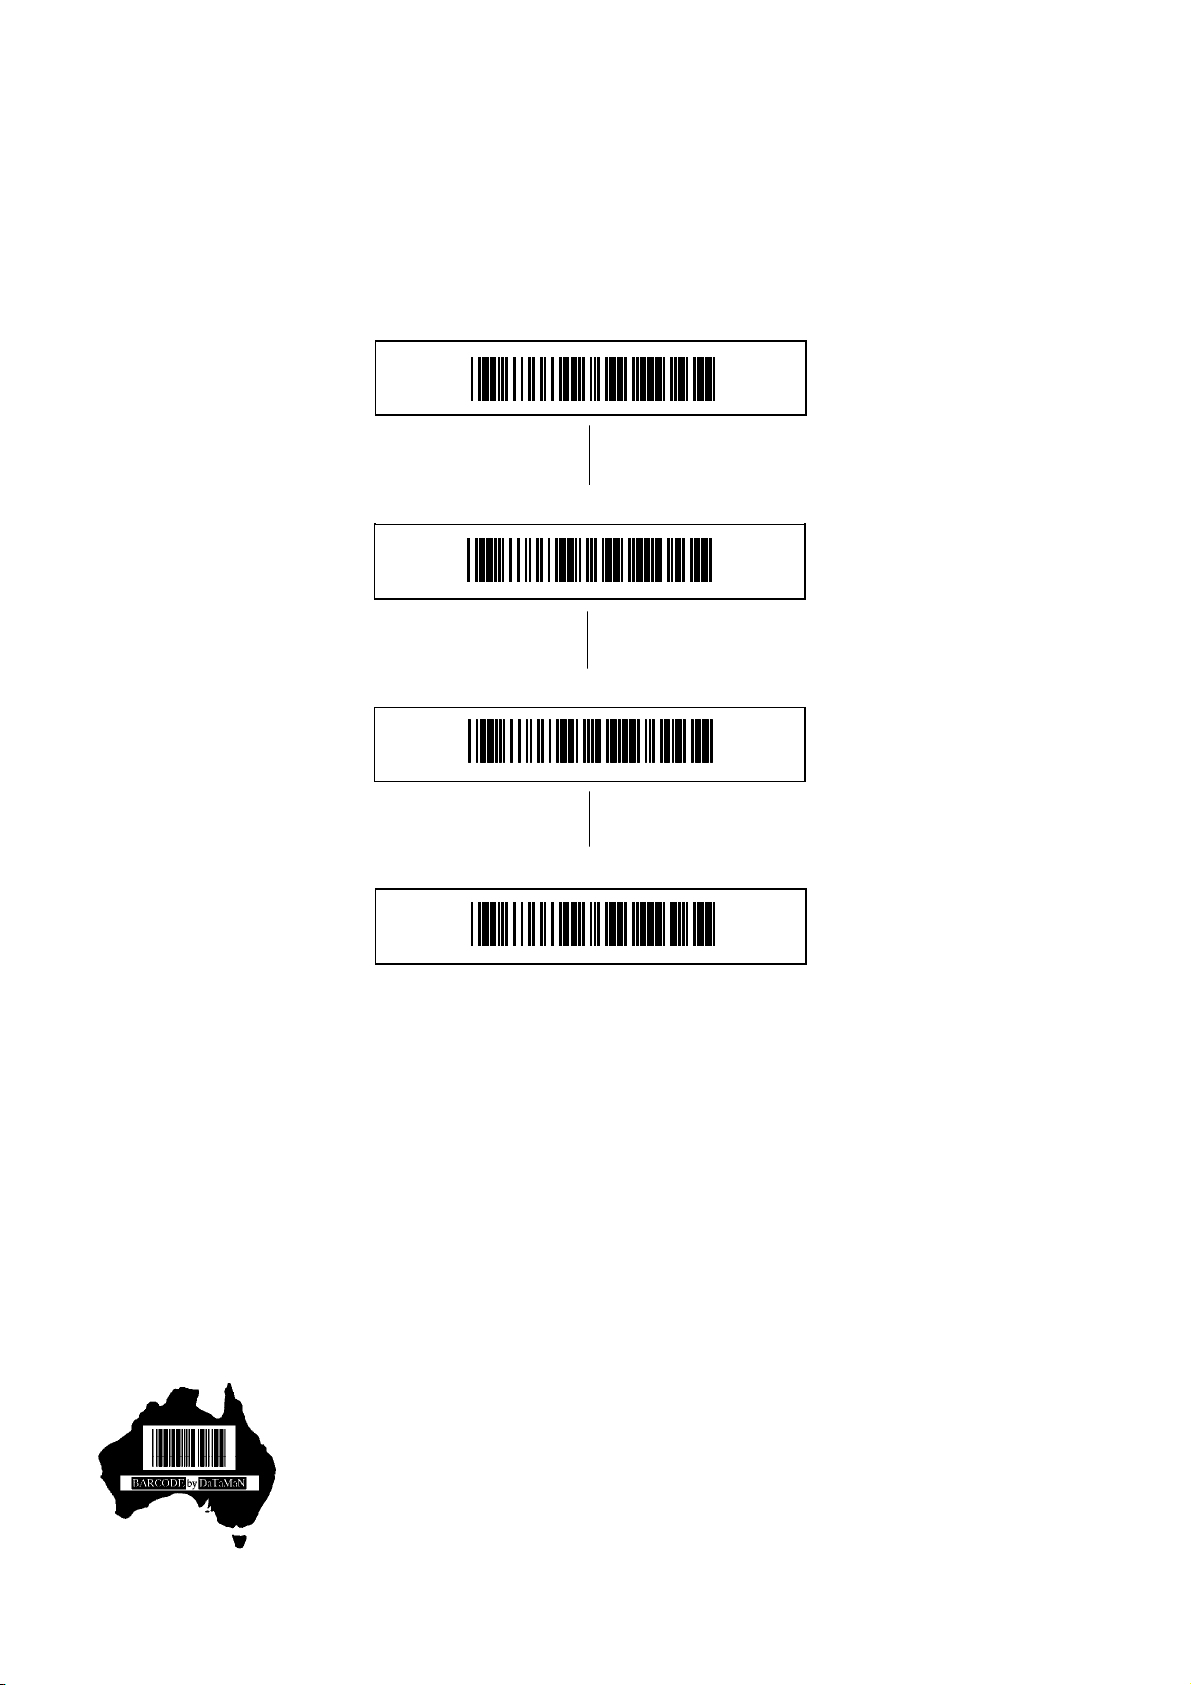
The NEXA Quick Start Guide that accompanies the NL-1800 does provide important detailed information and
instructions necessary for the NL-1800 to be programmed and customised for personal preference. Dataman
Barcode Systems recommend that the NL-1800 is operated on its default settings.
Testing the NEXA NL-1800 wireless scanner.
The scanner can now be tested. The NL-1800 is a laser scanner and emits a thin red laser line that should
be positioned equally about and upon the bar code to be scanned.
The NL-1800 should be held a short distance away from the bar code to be scanned (20 – 100 mm) and not
immediately upon it. The required distance will vary between bar code types and depends upon the original
density at which the bar code was produced, generally bar codes produced at higher print densities will
require the NL-1800 to be held closer to the bar code. The scanner should NOT be held perpendicularly
above the bar code but should be held at a slight angle to the perpendicular for best scanning results.
Depressing the trigger will cause the unit to emit the scanning beam, the scanner will give an audible beep
once the bar code has been read successfully. With the trigger depressed and while scanning gently adjust
the distance the NL-1800 is held from the bar code until the beep is heard, this will indicate the optimum
focal range for the particular style of bar codes being used. Once this optimum range is discovered this
should be the distance the scanner should normally be held away from the bar code during regular use.
Charging and recharging the battery.
When the NL-1800 is first received the on-board fitted battery is only partially charged and will require
topping up, use a spare USB port on the host computer and the supplied USB charging cable for this.
Note: It is possible to continue using your scanner while the battery is being charged and the charging cable
is attached, the USB receiver will still require to be connected.
While the scanner is being charged a green light will be illuminated on the head of the scanner, when the
scanner is fully charged the green light will go off. A fully drained battery will take approximately 4 hours to
charge
A red light will come on when the battery level is low, recharge the scanner immediately when this occurs.
About the NL-1800 wireless scanner.
The NL-1800 operates on “real time”, the NL-1800 does not incorporate any storage memory and relies on
being in constant communication with the USB receiver.
When a bar code is scanned the decoded data is transmitted directly to the USB receiver and consequently
to the host computer without delay. If the scanner is not connected to the receiver or is out of range the data
will be lost. (The NL-1800 will emit 4 beeps to indicate that the data transfer was not successful).
The absolute wireless range of the NL-1800 can vary and is dependent upon the surrounding conditions
under which it is operating. Wireless communication ranges as great as 100 meters can be achieved, the
NL-1800 has also been successfully tested while operating behind partitions and similar obstacles.
Due to the fact that the NEXA NL-1800 does not incorporate internal memory capabilities it should not be
compared or considered to be useable in the same manner as more expensive remote stocktaking bar code
scanners. Stocktaking operations may however be conducted with the NL-1800 in real time.
For more detailed information consult the NEXA Quick Start Guide that accompanies the NL-1800.
These instructions and any accompanying bar code command charts have been created by Dataman Barcode
Systems and are copyright. It is recommended that copies are made and at least one copy laminated.
Dataman Barcode Systems
P.O. Box 855, Happy Valley Tel:- 088 322 7675 International Tel:- +(618) 8322 7675
S.A. 5159, Australia Fax:- 088 322 7288 International Fax:- +(618) 8322 7288
Web:- www.datamanbarcode.com.au
E-mail:-sales@datamanbarcode.com.au