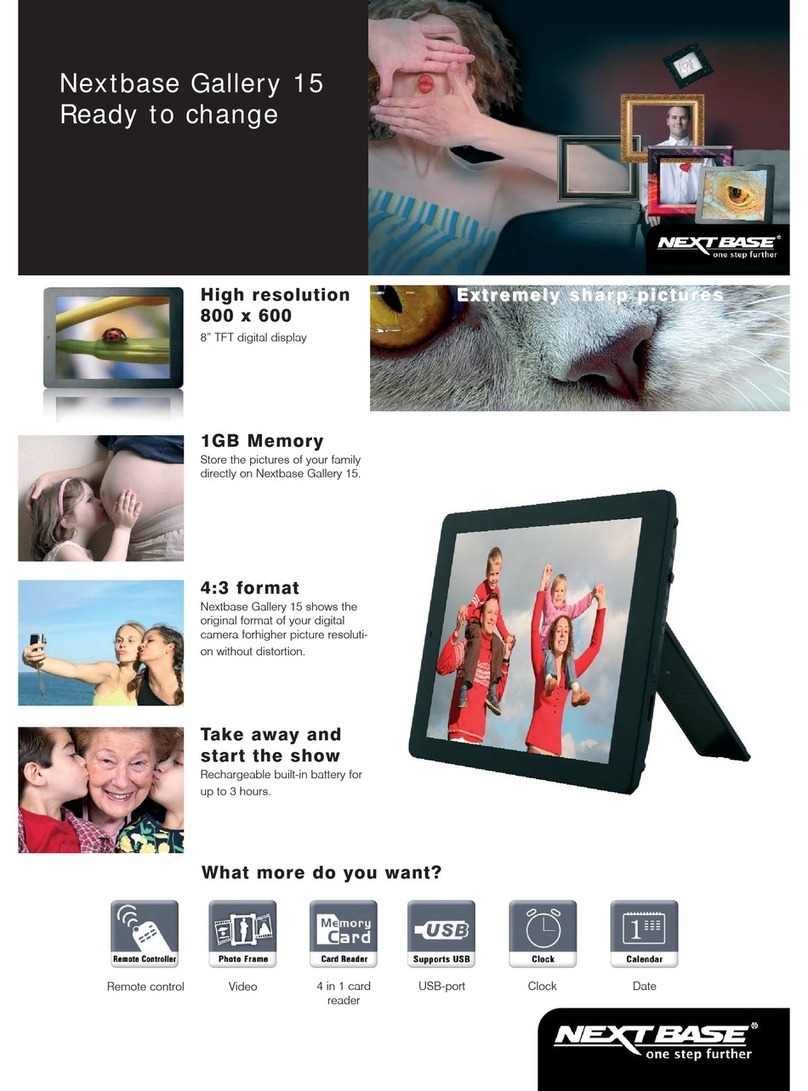
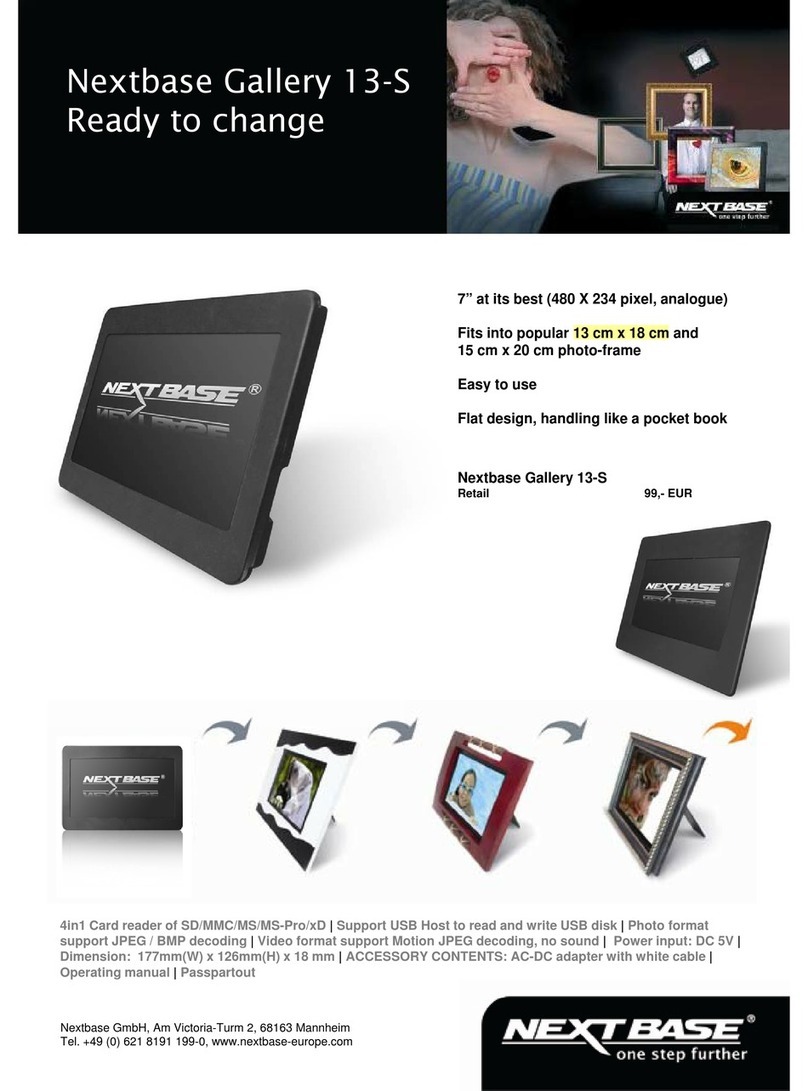
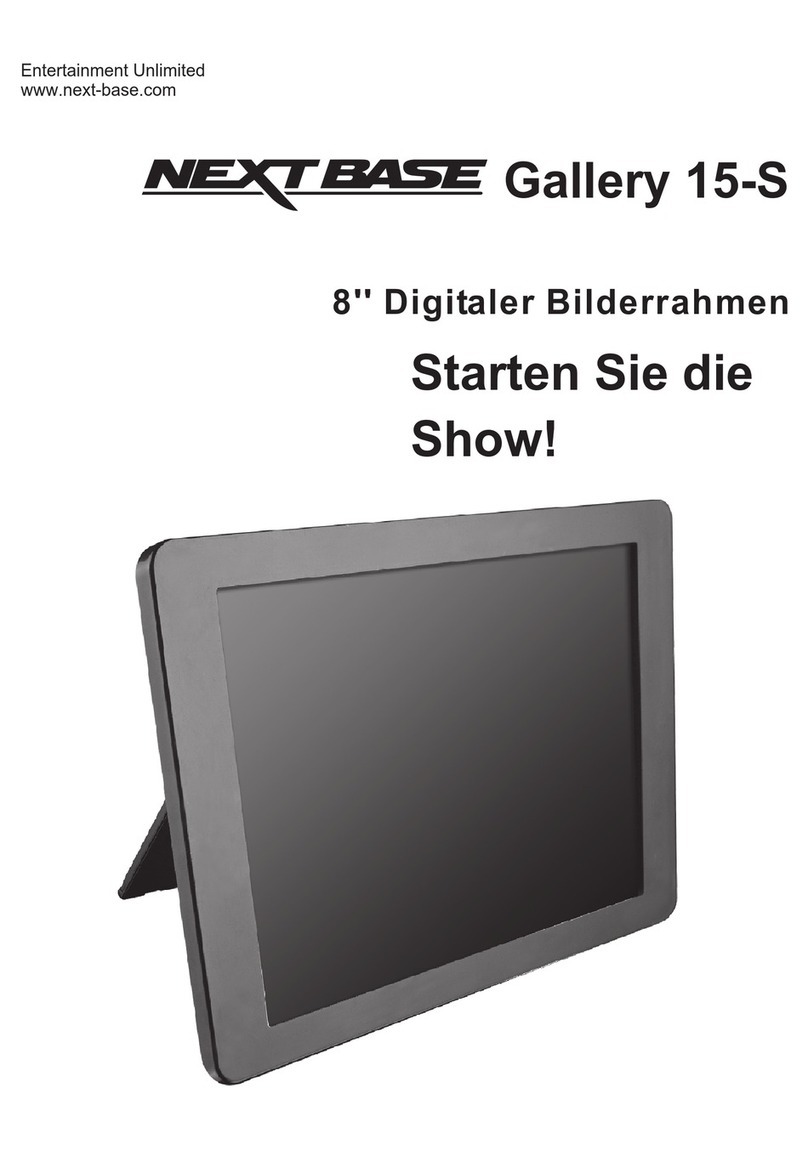
NextBase GALLERY 15-S - User manual

Enterta
inment
Unlimited
www.next-base.com
Gallery
15-S
8''
D
igita
l
Phot
o
Frame
Ready
to
Show

,
Nextbase
Gallery
15-S
-
User
s
Guide
CONTENTS
CONTENTS......................................................1
IMPORTANT
SAFETY
INST
RUCTIONS
..........
2
GENERAL
IN
TRODUCTION............................3
PACKING
CO
NTENTS
....................................
4
PARTS
AND
C
ONTENTS.................................5
Button
definitions.........................................5
Right
side....................................................
5
Bottom
side.................................................
5
Back
side.....................................................6
Connect
to
the
8''
x
6''
frame.......................
6
Frame
mount...............................................
7
How
to
use
the
integral
stand
support........
7
CONNECTIONS..............................................
8
Connect
th
e
adapter
to
the
socket..............
8
Inserting
a
memory
card
to
Gallery
15-S....
8
Inserting
a
USB
stick
to
Gallery
15-S..........
9
BASIC
OPER
ATIONS.....................................10
Turning
on
the
unit.....................................10
Turning
off
or
sleep
the
unit.......................
11
Selecting
the
file
storage
location..............
11
Enjoy
photo...............................................
12
Photo
men
u...............................................
12
Mark
operation...........................................13
Displaying
effect........................................
14
Enjoy
video................................................15
Video
effect................................................15
GENERAL
SETUP.......................................16
Slideshow...............................................16
Video......................................................18
INITIAL
SETUP...........................................
19
Language
setup.....................................
19
Display...................................................
19
Restore
factory
setting...........................20
OTHER.......................................................
21
Dimension
and
parameter.....................
21
Trouble
shooting................................
....
22
Smashed
screen
identification...............22
General
Introduction
1

IMPORTANT
SAFETY
INSTRUCTIONS
1.
Read
these
instruction
s.
2.
Keep
these
instructions.
3.
Heed
all
warnings.
4.
Follow
all
instructions.
5.
Do
not
use
this
apparatus
near
water.
6.
Clean
only
with
dry
cloth.
7.
Do
not
block
any
ventilation
openings.
Install
in
ac
cordance
with
the
manufacturer's
instructions.
8.
Do
not
install
near
any
heat
sources
such
as
radiators,
heat
registers,
stoves,
or
other
apparatus
(Including
amplifiers)
that
produce
heat.
9.
Do
not
defeat
the
safety
purpose
of
the
polarized
or
grounding-
type
plug.
A
polarized
plug
has
two
blades
with
one
wider
than
the
other.
A
grounding
type
plug
has
two
blades
and a
third
grounding
prong.
The
wide
blade
or
the
third
prong
are
provided
for
your
safety.
If
the
provided
plug
does
not
fit
into
your
o
utlet,
consult
an
electrician
for
replacement
of
the
obsolete
outlet.
10.
Protect
the
power
cord
from
being
w
alked
on
or
p
inched
particularly
at
plugs,
convenience
receptacles,
and
the
point
where
the
y
exit
from
th
e
apparatus.
11.
Only
use
attachments/accessories
specified
by
the
manufacturer.
12.
Unplug
this
apparatus
during
lightning
storms
or
w
hen
unused
for
long
periods
of
time.
13.
Refer
all
servicing
to
qualified
servic
e
personnel.
Servicing
is
required
when
the
apparatus
has
been
damaged
in
any
way,
such
as
power-su
pply
cord
or
plug
is
damaged,
liquid
has
been
spi
lled
or
objects
have
fallen
in
to
the
apparatus,
the
apparatus
has
been
exposed
to
rain
or
moisture,
does
not
operate
normally,
or
has
been
dropped.
14.
To
reduce
the
risk
of
fi
re
or
electric
s
hock,
do
not
expose
this
appliance
to
rain
or
moisture.
15.
Apparatus
shall
not
be
exposed
to
dripping
or
splashing
and
no
objects
filled
with
liquids,
shall
be
placed
on
the
apparatus.
16.
WEEE
statement:
Please
do
not
throw
electronic
devices
into
household
waste
and
separate
them
for
correct
recyc
ling.
2
G
eneral
Introdu
ction

,
Nextbase
Gallery
15-S
-
User
s
Guide
GENERAL INTRODUCTION
Thank
you
for
purchasing
this
digital
photo
frame.
P
lease
read
this
manual
carefully
before
operating
and
reserve
it
for
future
reference.
Nextbase
Gallery
15-S
digital
photo
fr
ame
can
be
placed
either
vertically
or
horizontally
to
fit
the
photos
on
display.
You
c
an
place
it
so
mewhere
in
a
room
for
a
co
ntinuous
display
by
simply
connecting
it
to
the
mains
power
supply.
General
Introduction
3

PACKING CONTENTS
Gallery
15-S
AC-DC
Adapter
User
Manual
Frame
Mount
4
G
eneral
Introdu
ction

,
Nextbase
Gallery
15-S
-
User
s
Guide
PARTS AND CONTENTS
BUTTON DEFINITIONS
E
SC
D
IR
/OK
M
E
NU
P
O
WER
R
ESET
1 2 3 4
1.
ESC
(Escape)
2.
DIR
/OK
3.
MENU
4.
POWER
5.
RESET
RIGHT SIDE
1.
USB
port
Connect
USB
memory
stick
here.
E
SC
D
I
R
/
OK
M
E
NU
P
O
WER
R
ES
ET
USB
BOTTOM SIDE
1.
DC
IN
5V
Connect
the
included
AC
/D
C
adapter
here.
2.
Card
Jack
Support
SD
/MMC
/MS
Pro
/xD
cards.
2 1
General
Introduction
5

BACKSIDE
1
2
1
S
D/MMC/
MS
/xD
DC
I
N
5V
1.
Wall
hanging
mount
(Horizontal
or
ver
tical
option)
2.
Table
top
s
tand.
Flip
out,
adjust
to
either
vertical
or
horizontal
use
(see
page7).
CONNECT TO THE 8'' X 6'' FRAME
Nextbase
Gallery
15-S
can
be
fitted
to
match
all
standard
8''
X
6''
wooden
frames
as
shown
below:
1.
Match
the
standard
8''
X
6''
frame
with
Gallery
15-
S.
2.
Move
the
locking
latches
upon
the
frame
to
secure
the
Gallery
15-S.
S
D/MM
C/M
S
/x D
DC
IN
5V
6
G
eneral
Introdu
ction

,
Nextbase
Gallery
15-S
-
User
s
Guide
FRAME MOUNT
Your
Nextbase
Gallery
15-S
can
be
mounted
with
all
standard
10"
X
8"
wooden
frames
by
using
the
frame
mount
contained
in
the
ac
cessories:
HOW TO USE THE INTEGRAL STAND SUPPORT
Nextbase
Gallery
15-S
can
be
placed
on a
table
top
using
the
integral
support.
The
Gallery
15-S
can
be
positioned
hori
zontally
or
vertically
as
desired.
1.
Pull
out
the
support
from
the
back
of
the
Gallery
15-S.
2.
Rotate
the
support
to
either
horizontal
or
vertical
modes
as
required.
3.
Adjust
the
length
of
the
support
by
sliding
the
"Lock-Unlock"
latch,
and
then
pull
the
support
stand
to
the
desired
length.
4.
Push
the
latch
to
lock
to
fix
the
position.
5.
Lean
the
Gallery
15-S
back
to
the
desired
position.
1 2 3 4 5
General
Introduction
7

an
CONNECTIONS
1.
CONNECT
THE
ADAPTER
TO
THE
SOCKET
2.
INSERTING
A
MEMORY
CARD
TO
GALLERY
15-S
Insert
the
card
as
s
hown
Note
:
1.
Because
of
various
size
of
memo
ry
card
provided
by
differen
t
suppliers,
please
adjust
the
angle
slightly
if
the
memory
card
c
,t
be
read.
2.
The
mini
SD
adapter
or
dual
voltage
SD
cards
may
not
be
recognized
by
the
Gallery
15-S.
3.
Please
do
not
use
the
MS-PRO
adapter
with
a
raised
paint
surface,
or
damage
to
the
Galler
y
15-S
may
be
caused.
8
G
eneral
Introdu
ction

,
Nextbase
Gallery
15-S
-
User
s
Guide
3.
INSERTING
A
USB
STICK
TO
GALLERY
15-S
Insert
the
USB
stick
as
shown.
Note
:
1.
Supply
USB
1.1
only.
2.
Support
JPEG,
BMP,
Motion
JPEG
(AVI,
MOV).
3.
Connect
the
memory
stick
directly
to
the
Gallery
15-S.
Do
not
use
an
external
cable
or
this
may
cause
problems.
E
SC
D
I
R
/OK
ME
NU
P
O
WER
R
E
SET
General
Introduction
9

BASIC OPERATIONS
TURNING
ON
THE
UNIT
1.
Connect
the
AC-DC
adapter
to
a
socket.
2.
Connect
the
DC
output
plug
of
t
he
adapter
to
the
DC
input
jack
of
the
main
unit.
3.
Press
Power
for
two
seconds
to
start
the
Gal
lery
15-S.
SD/MMD/MS
/xD
1
1.
Navigate
to
choose
Photo
or
Video
,
press
OK
to
enter,
photo
or
video
will
be
in
grey
if
no
memory
card
or
USB
device
is
connected.
2.
Navigate
down
to
choose
Setup
,
press
OK
to
enter
setup.
Please
refer
to
page
16
for
details.
E
SC
D
I
R
/OK
ME
NU
P
O
WER
R
E
SET
Note:
If
memory
card
is
inserted
or
pictures
contained
in
USB
device,
slideshow
will
automatically
start
after
turning
on
the
power.
Priority
will
be
Memory
Card,
US
B.
10
Basic
Operations

,
Nextbase
Gallery
15-S
-
User
s
Guide
TURNING
OFF
OR
SLEEP
THE
UNIT
Sleep
Power
Off
Exit
1.
Press
P
ower
to
go
back
Sleep,
Po
wer
off,
Exit
menu.
Navigate
to
select
Sleep
,
press
OK
to
enter
s
leep
status,
press
any
key
can
restart
the
operation.
2.
Naviga
te
down
to
select
Power
of
f
,
press
OK
to
turn
off
the
u
nit.
3.
Naviga
te
down
to
select
Exit
,
pres
s
OK
to
exit
the
menu.
SELECTING
THE
FILE
STORAGE
LOCATION
1.
Press
E
SC
to
go
back
to
Setup,
Memory
Card,
USB
menu.
Mem
ory
Card
Photo
Video
USB
Photo
Video
Setup
2.
Highlight
Setup,
Memory
card
or
U
SB,
select
your
desired
storage
location.
3.
Enter
the
storage
loc
ation
and
start
your
desired
show.
Note:
Please
always
select
the
storage
location
first.
Bas
ic
Operations
11

ENJOY
PHOTO
1.
Navigate
down
to
highlight
Photo
,
pr
ess
OK
to
enter
Thumbnail.
2.
Use
Up
/D
own
/Right
/Left
buttons
on
Gallery
15-S
to
choose
photos
for
displaying,
pres
s
OK
for
full
screen
display.
3.
Press
UP
to
go
to
the
p
revious
pictur
e,
and
press
Down
to
go
the
next
picture.
Note:
1.
It
supp
orts
up
to
1600
pieces
of
pictures.
2.
The
speed
of
displaying
pictures
will
vary.
More
time
is
required
for
larger
file
sizes.
BMP
is
also
slower
to
load
than
JPEG
formats.
Memory
Card
Photo
Video
USB
Photo
Video
Setup
PHOTO
MENU
1.
Press
Menu
in
Thumbnail,
choose
th
e
effect
from
Play
Slid
eshow
,
Copy
one,
Copy
all,
Delete
one, Delete
all,
Mark
.
2.
Select
Play
Slideshow
to
enter
slideshow
display.
Please
refer
to
Slideshow
setup
for
different
effect
setup.
3.
Navigate
down
to
select
Copy
one
,
s
elect
the storage
lo
cation
from
Memory
Card,
USB
.
Select
one and
''
File
copying
''
appears
on
screen,
and
''
Files
Co
pied
''
indicates
copying
finished.
4.
Navigate
down
to
select
Copy
all
,
follow
the
same steps
to
copy
all
pictures
to
your
requ
ired
storage
location.
5.
Navigate
down
to
select
Delete
one
,
select
Yes
to
delete
one
single
picture.
6.
Navigate
down
to
select
Delete
All
,
s
elect
Yes
to
delete
all
pictures.
7.
Navigate
down
to
select
Mark.
Pleas
e
refer
to
Mark
Operation
for
details.

,
Nextbase
Gallery
15-S
-
User
s
Guide
Note:
Press
Menu
during
the
slideshow
can
stop
the
slideshow
and
enter
relative
menu
for
effect
choosing.
Press
ESC
to
go
back
to
Th
umbnail,
pres
s
OK
to
pause
the
photo
slideshow.
MARK
OPERATION
1.
Navigate
down
to
select
Ma
rk
.
Press
OK
,
a
tick
box
will
appear
next
to
each
thumbnail
displayed.
A
tick
mark
will
also
be
shown
against
the
selected
photo.
2.
Use
the
navigating
key
to
choose
pictures
you
want
to
mark,
press
OK
to
set a
mark
in
the
tick
box,
press
OK
again
to
unmark.
Bas
ic
Operations
13

3.
Pres
s
Menu
to
enter
the
menu
S
lideshow
Marked,
Slideshow
Unmarked,
Copy
Marked,
Copy
Unmarked,
Delete
Marked,
Dele
te
Unmarked,
Cancel
All
Mark.
4.
Pres
s
OK
to
selec
t
Slideshow
Marked
.
The
marked
pictu
res
will
play
a
slideshow
automatically.
5.
Navigate
down
to
select
Slidershow
unmarked
.
The
unmarked
pictures
will
play
a
slideshow
automatically.
6.
Navigate
down
to
select
Copy
Marked
.
The
marked
pictu
res
will
be
copied
automatically.
7.
Navigate
down
to
select
Copy
U
nmarked
.
The
unmarked
pictu
res
will
be
copied
automatically.
SlideshowMarked
SlideshowUnmarked
Copy Marked
Copy Unmarked
Delete MarkedDe
lete Unmarked Ca
ncelAll Mark
8.
Navigate
down
to
select
Delete
Marked
.
The
marked
pictures
will
be
deleted
automatically.
9.
Navigate
down
to
select
Delete
Unmarked
.
The
unmarked
pictures
will
be
deleted
automatically.
10.Navigate
Down
to
Cancel
All
Marked
.
All
marks
will
be
cancelled.
DISPLAYING
EFFECT
1.
Press
Menu
during
full
screen
display,
select
from
Play
Slid
eshow,
Counter
Clockwise
Rotate, Clockwise
Rotate,
Zoom
in,
Copy,
Delete.
2.
Navigate
down
to
Play
Slideshow
to
start
the
slideshow.
3
.
Navigate
down
to
Counterclockwise
Rotate
,
picture can
be
counterclockwise
rotated.
4.
Navigate
down
to
Clockwise
Rotate
,
picture
can
be
clockwise
rotated.
5.
Navigate
down
to
Zoom
in
,
press
OK
to
zoom
2x,
4x,
8x,
16x.
Press
ESC
to
cancel
zoom.
6.
Navigate
down
to
Copy,
OK
to
select
storage
location,
press
OK
again
to
confirm.
7.
Navigate
down
to
Delete,
OK
to
sele
ct
between
Yes
/No
.
Press
OK
again
to
confirm.

,
Nextbase
Gallery
15-S
-
User
s
Guide
ENJOY
VIDEO
1.
Navigate
down
to
select
Video
,
press
OK
to
enter
video
l
ist.
2.
Us
e
UP
/DOWN
buttons
on
Gallery
15-S
to
choose
video
file
and
press
OK
to
play.
Memory
Card
Photo
Video
USB
Photo
Video
Setup
Memory Card> Video>
01- Don,t Cry ( Original).mov
02- china roses.mov
03- china roses.mov
04- Moment.mov
05- Stand ByMe.avi
3.
When
the
video
files
are
listed,
press
M
enu
to
select
Copy
One,
Copy
All,
Delete
One,
Delete
All,
Mark.
VIDEO
EFFECT
1.
While
the
video
is
playing,
pre
ss
Menu
to
enter
Pause,
Stop,
Next,
Previous
menu.
2.
Press
Pause
to
pause
the
video.
3.
Navigate
down
to
stop
the
video.
4.
Navigate
down
to
select
Next
and
press
OK
to
go
to
the
next
video.
5.
Navigate
down
to
select
Previous
and
press
OK
to
go
to
the
previous
video.
6.
Press
ESC
to
go
back
to
the
video
list.

GENERAL SETUP
SLIDESHOW
1.
Choose
Setup
to
enter
the
setup
menu.
Press
Slideshow
to
enter
Slideshow
setup.
Setup
Slideshow
Video La
nguage
Display
Restore Factory Setting
Slideshow
Delay Time
Transition
RepeatRa
ndom
Play Slideshow
2.
Press
Delay
Time
to
select
the
slideshow
delay
time,
you
will
have
the
selected
delay
time
,
betwe
en
two
pictur
es.
There
ll
be
longer
interval
when
displaying
pictures
of
bigger
size.
Slideshow
Delay Time
Transition
RepeatRa
ndom
Play Slideshow
3 Sec
10 Sec
30 Sec
60 Sec
300Sec
3.
Navigate
down
to
s
elect
Transition
,
select
different
effects
of
picture
emergence.
Select
Off
to
disable
the
transition,
and
Random
to
enable
random
effect
of
transition.
Slideshow
DelayTime Transition RepeatRandom
Play Slideshow

,
Nextbase
Gallery
15-S
-
User
s
Guide
4.
Navigate
down
to
select
Repeat
,
select
On
,
slideshow
will
repeat
from
the
first
picture
to
the
last
one
automatically.
Slideshow
Delay Time
Transition
RepeatRa
ndom
Play Slideshow
On
Off
5.
Navigate
down
to
select
Random
,
select
On
,
slideshow
will
pick
pictures
rand
omly;
select
Off
,
slideshow
will
play
one
by
one
follow
ing
the
order
Slideshow
DelayTime Transition RepeatRandom
Play Slideshow

VIDEO
1.
Press
Video
to
enter
Video
setup.
Video
Play Mode
Random
2.
Press
Play
Mod
e
to
select
from
Play
One,
P
lay
All,
Sing
le
Repeat,
Repeat
All.
Video
Play Mode
Random
Play One Play
All Single R
epeat Repeat
All
3.
Press
Random
,
select
On.
Gallery
15-S
system
will
pick
video
random
ly
from
the
video
list,
select
Off,
video
will
be
played
one
by
one
following
the
o
rder.
Video
Play Mode
Random
On
Off
18
Setup

,
Nextbase
Gallery
15-S
-
User
s
Guide
INITIAL SETUP
LANGUAGE
SETUP
1.
Pres
s
Setup
to
en
ter
the
setup
menu.
Setup
Slideshow
Video La
nguage
Display
Restore Factory Setting
2.
Navigate
down
to
select
Language
and
press
OK
to
confirm.
There
are
six
languages
for
you
to
select:
English,
German,
French,
Italian,
Spanish,
D
utch.
Language
English De
utsch Fra
ncais It
aliano Espa
nol Ne
derlands
DISPLAY
1.
Navigate
down
to
sele
ct
Display
,
press
OK
to
enter
Brightness,
Contrast,
C
olor
menu.
Display
Brightness >
Contrast >
Color >
2.
Press
Br
ightness
to
enter
brightnes
s
adjustment,
press
OK
and
Left
/Right
to
adjust,
press
OK
again
to
confirm
and
exit
the
adjustment.
Setup
19
Other manuals for GALLERY 15-S -
3
Table of contents
Other NextBase Digital Photo Frame manuals

NextBase
NextBase GALLERY 15-S - User manual

NextBase
NextBase Gallery 13-S User manual

NextBase
NextBase Gallery 15 User manual

NextBase
NextBase Gallery 13-S User manual

NextBase
NextBase GALLERY 15-S - User manual

NextBase
NextBase Gallery 15 User manual

NextBase
NextBase Gallery 15 User manual

NextBase
NextBase Gallery 15 User manual

NextBase
NextBase PhotoM@il-X User manual

NextBase
NextBase GALLERY 15-S - User manual