Nextiva S5250 User manual

All users should read the user manuals for complete details on installation, usage and functionality.
Quick Installation Guide for S5120 and S5250 - BX Models
1
Nextiva S5100/5200 Series
Hardware Overview
The S5120BX-DN features a 2-Megapixel sensor and S5250BX-DN features a 5-Megapixel sensor.
Lenses are not included with the camera, but Verint offers multiple lenses that are available for purchase. If
you choose to purchase a lens elsewhere, ensure it has the following characteristics:
●2MP rated for the S5120BX-DN or 5MP rated for the S5250BX-DN
●CS mount, 1/2.7 inch format for the S5120BX-DN or 1/2 inch format for the S5250BX-DN
●Manual or automatic DC iris
●Day/night support
Front and Side View Description:
1. Zoom controller*
2. Focus controller*
3. DC-Iris Control connector
4. Built-in microphone
5. Light sensor
*The position of the zoom and focus
controllers vary depending on the lens
manufacturer.
Back View Description:
1. Status LED
2. Audio/video out, 1/8in (3.5mm) jack
3. Focus Assist button
4. SD/SDHC card slot
5. 12V DC power connector
6. Terminal block
7. NTSC/PAL switch
8. External/Internal microphone switch
9. Hardware reset button
10. RJ-45 Ethernet connector
11. External microphone in
Terminal Block Description:
1. 12V DC output
2. Relay output
3. Dry contact input
4. Ground
5. 24V AC input
6. RS 485+
7. RS 485-

2
Setting the Video Standard
The IP camera can run in one of two video standards (NTSC or PAL).
►To set the video standard:
1. On the back on the IP camera, move the DIP switch to NTSC or PAL.
Installing the Nextiva IP camera
This section explains how to mount and connect a lens onto the Nextiva IP camera.
CAUTION: Verint will not be held liable for damages to persons or property due to the improper installation of
the Nextiva S5120BX or the Nextiva S5250BX IP cameras.
►To mount and connect the lens:
1. Mount the lens by turning it clockwise onto the camera mount until it stops.
2. Connect the lens cable plug to the camera DC-Iris control connector.
Connecting the Nextiva IP camera
This section explains how to connect the power and network cables to the Nextiva IP camera. A power
supply is not included with the Nextiva IP camera and must be purchased separately.
CAUTION: Never use a Power over Ethernet (PoE) connection and a 12V DC connection at the same time.
This can damage the device.
►To use a 802.3af compliant PoE kit:
1. Plug a straight-through Ethernet cable into the RJ-45 connector on the back of the IP camera.
2. Plug the other end of the cable into a POE switch or to the Data&PWR port of a PoE injector. If you use a
PoE injector, make sure the Data port of the injector is properly connected to the Ethernet switch.

3
►To use a 12V DC power supply:
1. Connect the power supply cable to the camera.
2. Plug an Ethernet cable into the RJ-45 connector on the back of the IP camera.
3. Plug the power supply cable to the power outlet.
►To use a 24V AC power supply:
1. Connect the wires from the power supply cable to the 24V AC connector.
2. Plug an Ethernet cable into the RJ-45 connector on the back of the IP camera.
3. Plug the power supply cable to the power outlet.

4
Adjusting the Field of View and Focus
Based on the live image retrieved from the IP camera, you can adjust the field of view and focus.
NOTE: The position of the zoom and focus controllers varies depending on the lens manufacturer.
►To adjust the lens zoom factor and focus range:
1. Connect the 1/8in (3.5mm) jack from the Video to BNC connector to the A/V out connector.
2. Connect the BNC connector to a CCTV test monitor.
3. Turn the zoom controller to adjust the zoom factor.
4. While viewing the image on the CCTV test monitor, turn the focus controller to adjust the focus range.
T
W
∞
N

5
Setting the IP Address
Once the IP camera is installed, you need to set the IP address from a computer. By default, all Nextiva IP
cameras are Dynamic Host Configuration Protocol (DHCP) enabled. If you have a DHCP server, the IP
camera automatically obtains a valid IP configuration. If the DHCP configuration fails, the IP camera assigns
itself a temporary IP address based on the Automatic Private IP Addressing (APIPA) format.
►To configure SConfigurator:
1. On a computer, download the latest version of SConfigurator from www.verint.com/manuals.
2. Extract the executable file (SConfigurator.exe) to the desktop.
3. Double-click SConfigurator.exe to start SConfigurator.
4. In the General tab, click Program Options.
5. Select the IP address of the correct LAN interface from IP Address of the PC list.
6. Select Detect All Units on LAN.
7. Ensure that the Discovery IP Address is 255.255.255.255; otherwise, click Broadcast.
8. In the S5100 Authentication section, type the username and password for the Nextiva IP camera.
NOTE: The default username and password for the Nextiva S5100 is admin.
9. Click OK.
►To set the IP address of an IP camera in DHCP mode:
1. Open SConfigurator.
2. Select the Units tab, then click Discover. In a DHCP environment, the Address column displays the IP
address assigned by a DHCP server.
3. Select the Nextiva IP camera model, and click Configure.
4. In the tree view, expand the Network node and click IP.

North America:+1-888-747-6246 | CALA: +1-970-382-4681
Email: [email protected]
EMEA: +44 (0) 845-843-7333 | Mobile Support:+49 (0) 4321-269 81 36
Email: customersupport.emea@verint.com | mobilesupport@verint.com
APAC: Hong Kong: +852 2797 5678 |Singapore: +65-68266099
Email: APAC_VIS_Services@verint.com
© 2011 Verint Video Intelligence Solutions. All Rights Reserved Worldwide.
All other trademarks and product names are the property of their respective owners. Revision: A00
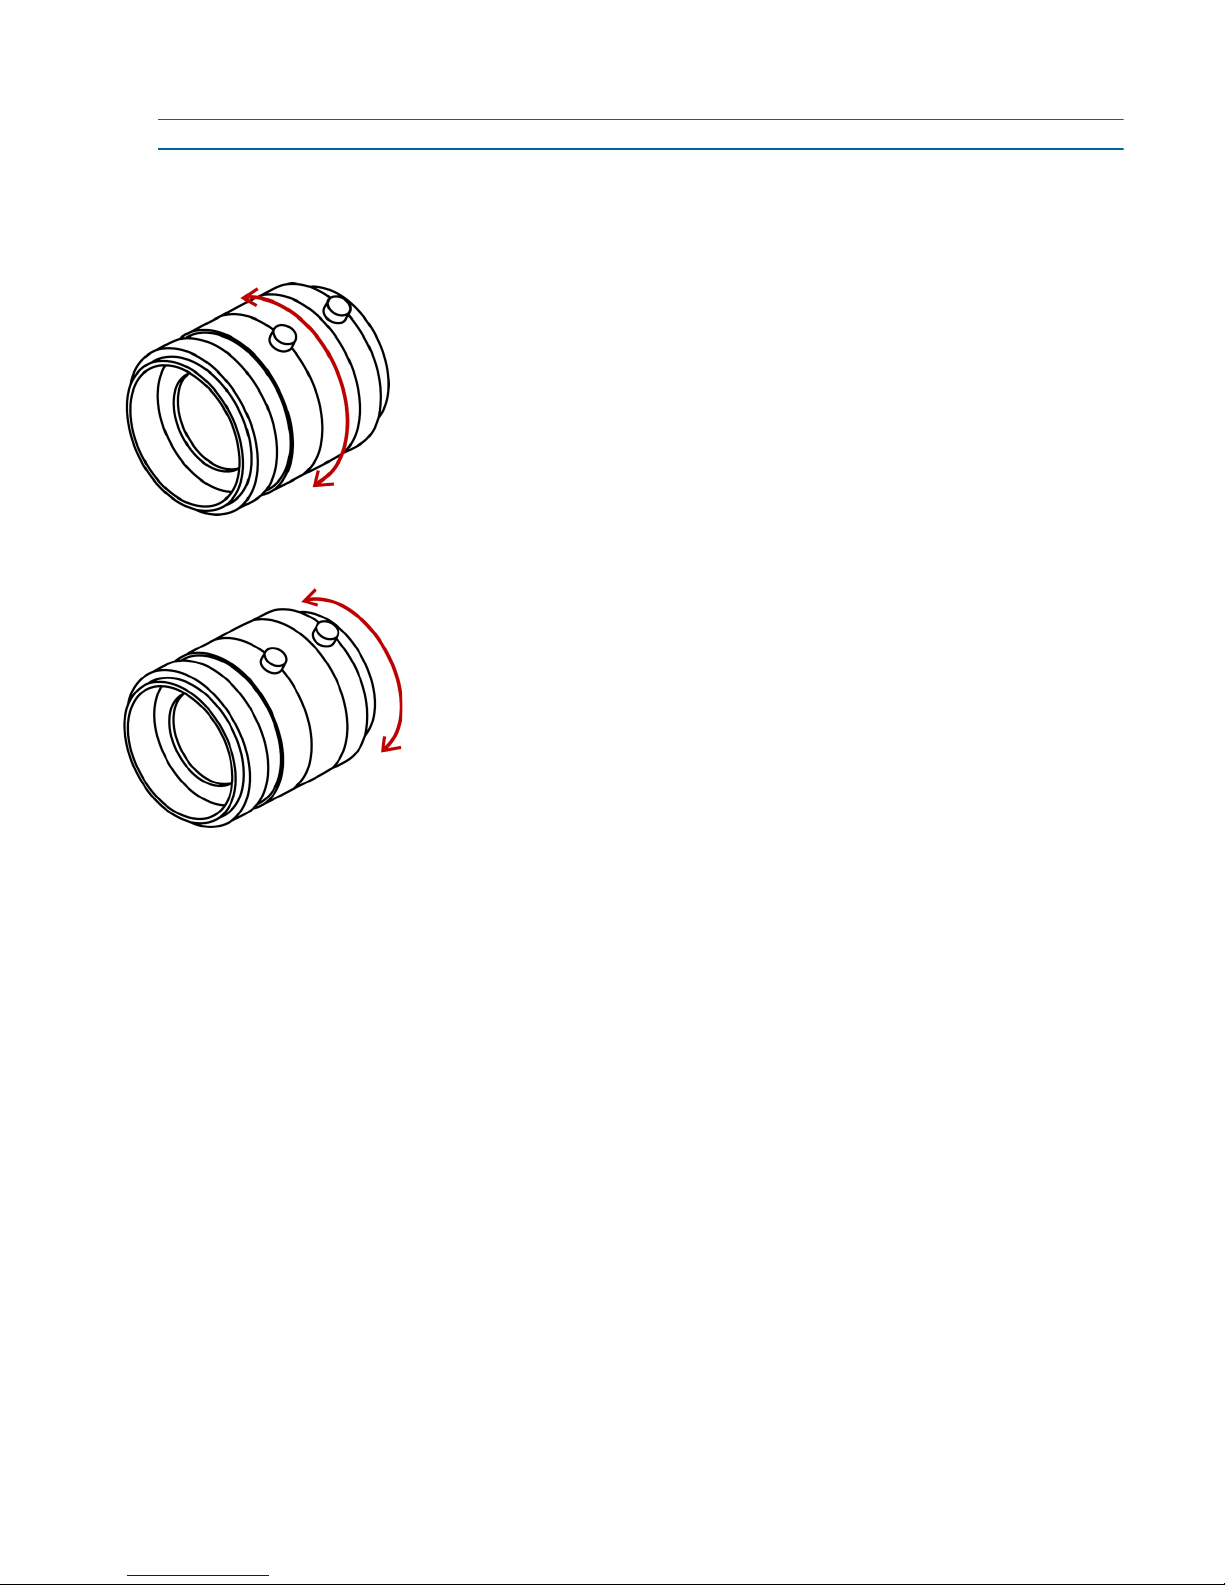
Documentation
To minimize our carbon footprint, we are removing the supporting
product documentation CD that was shipped with our Nextiva
Intelligent Edge Device products. To obtain the latest version of the
manuals, please visit: www.verint.com/manuals
5. Select Use the following IP address.
6. In the IP Address box, type the IP address for the IP camera.
7. In the Subnet Mask box, type the address specifying the subnet in which the IP address belongs.
8. In the Gateway box, type the IP address of the server that acts as an access point to another network.
NOTE: You do not need to use a gateway if the IP camera communicates with other devices on the same
subnet.
9. In the Host Name box, type a unique name for the IP camera.
10. Click OK to close the dialog box.
11. Click Exit to close SConfigurator.
►To set the IP address of an IP camera in APIPA mode:
1. Open SConfigurator.
2. Select the Units tab, then click Discover. In APIPA mode, the Address column displays an IP address
that begins with 169.254 and the text is red.
3. Select the Nextiva IP camera, and double-click the device.
4. Click Yes in the Reconfigure unit dialog box asking you if you want to set a new network configuration on
the unit.
5. Clear Use DHCP if it is selected.
6. In the IP Address box, type the IP address for the IP camera.
7. In the Subnet Mask box, type the address specifying the subnet in which the IP address belongs.
8. In the Gateway box, type the IP address of the server that acts as an access point to another network.
NOTE: You do not need to use a gateway if the IP camera communicates with other devices on the same
subnet.
9. In the Host Name box, type a unique name for the IP camera.
10. Click OK to close the dialog box.
11. Click Exit to close SConfigurator.
This manual suits for next models
1
Table of contents
Other Nextiva IP Camera manuals
Popular IP Camera manuals by other brands

TRENDnet
TRENDnet TV-IP572W Quick installation guide

Bosch
Bosch NWD-455 FlexiDome Specifications

Guide
Guide THERMOPRO TP9 user manual

Electrophysics
Electrophysics Hotshot HD Series quick start

Apexis
Apexis APM-J0233-WS-IR Quick installation guide

Samsung
Samsung GV-CLRIRH - GV-CLRIRH Day/Night Bullet IR... Product specifications