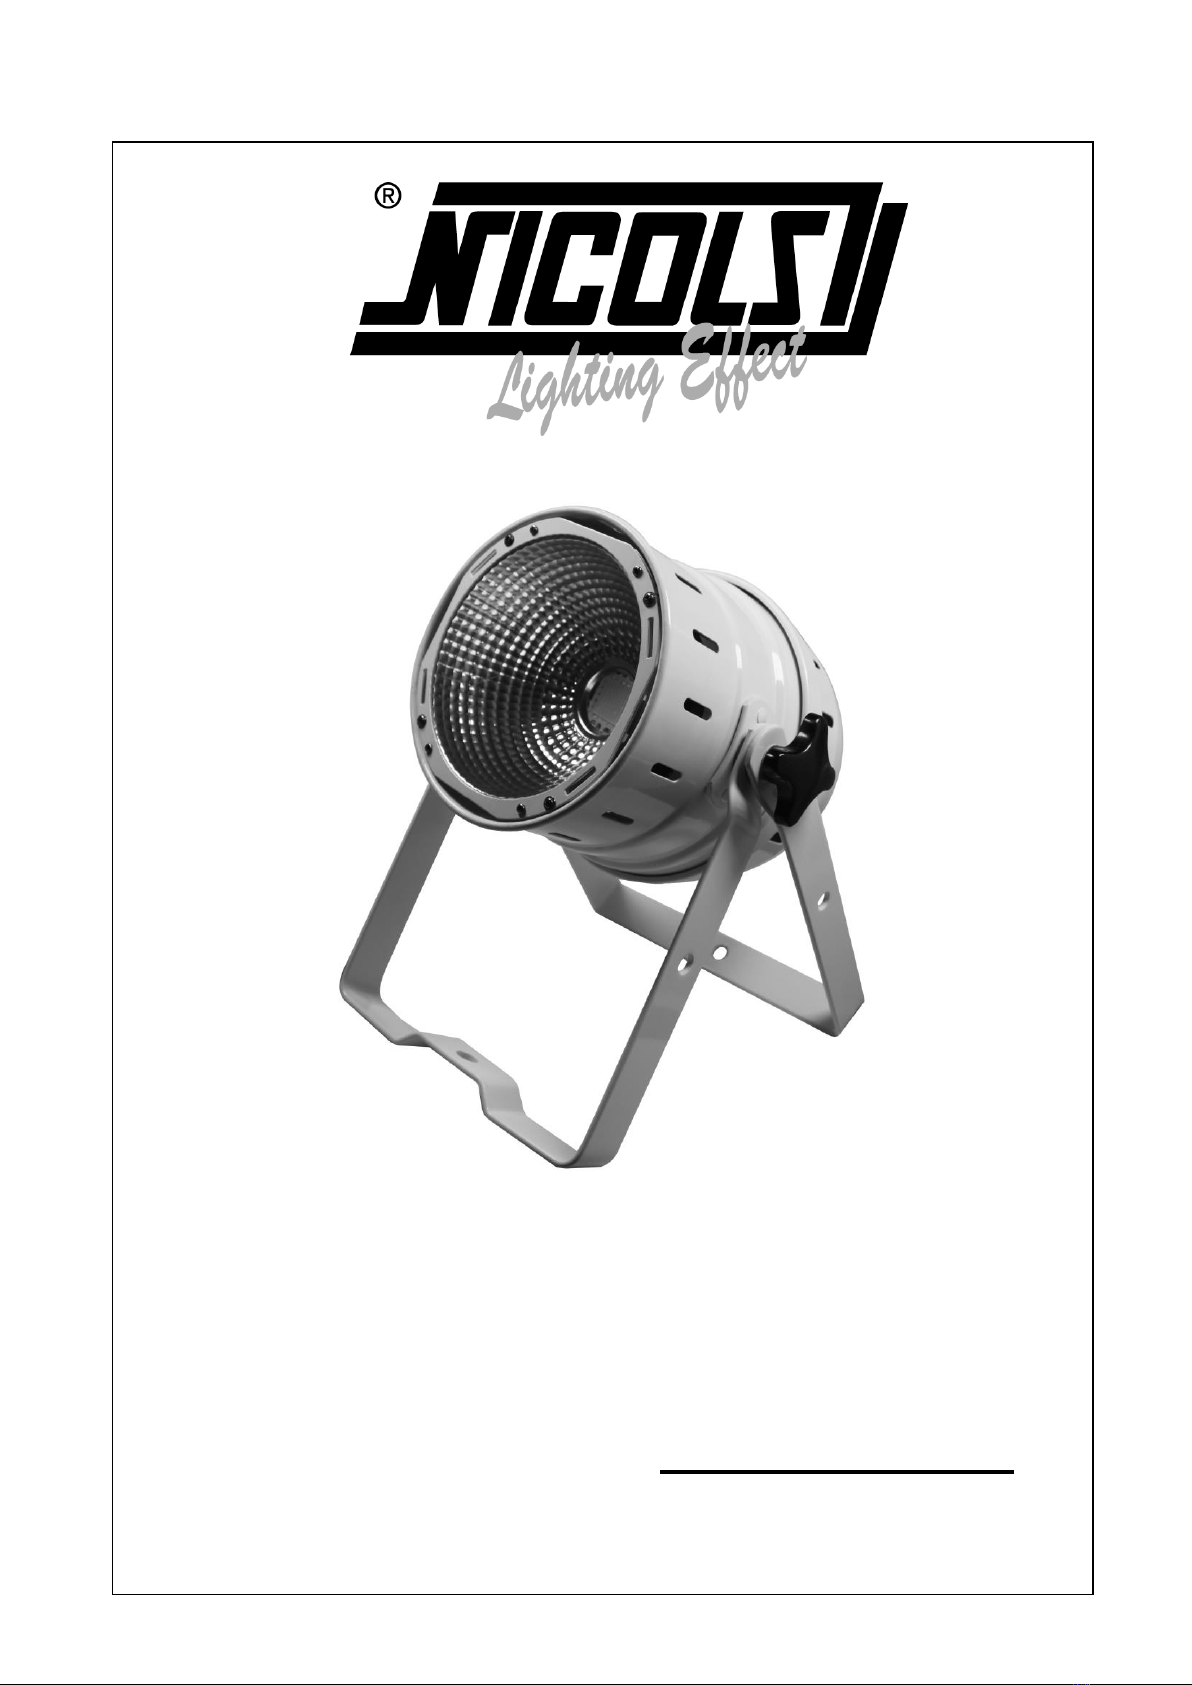
Nicols PAR COB 70 W User manual
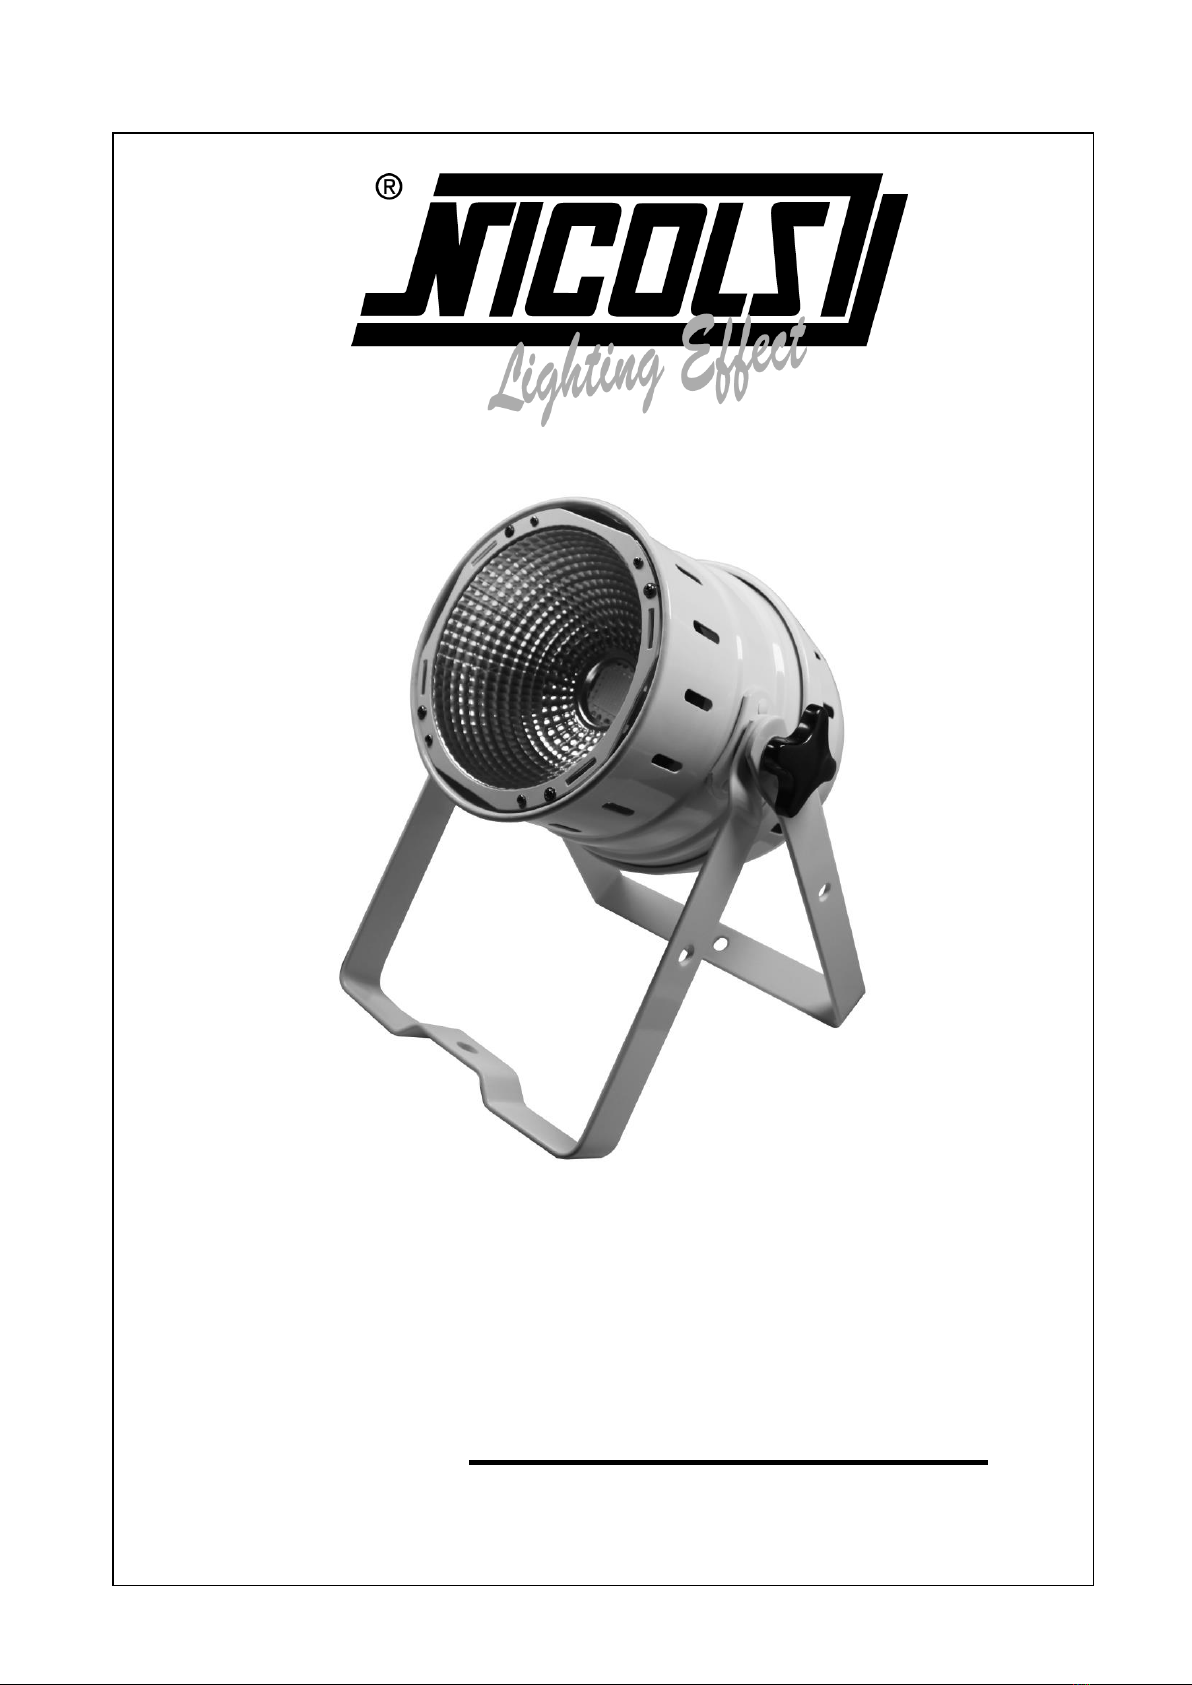
PAR COB 70 W
Notice d’Utilisation

CONSIGNES DE SECURITE
Conservez le présent manuel avec l’équipement pour références ultérieures. En case de vente de l’équipement à un
autre utilisateur, il est important que la notice d’utilisation soit jointe à l’appareil afin que le nouvel utilisateur dispose
des informations nécessaires à son utilisation et puisse prendre connaissance des mises en gardes relatives à la
sécurité.
Important:
En cas de disfonctionnements liés à une mauvaise utilisation de l’appareil et à un non-respect des
consignes décrites dans cette notice, l’annulation de la garantie est applicable et votre revendeur pourra
décliner toute responsabilité
Déballez le produit et vérifiez qu’il n’y ait pas eu de dommages pendant le transport.
L’appareil est destiné à un usage en intérieur uniquement. Utilisez-le dans un endroit sec.
L’appareil DOIT être installé et utilisé par du personnel qualifié.
NE PAS laisser l’appareil à portée des enfants. Ne pas les laisser utiliser l’appareil.
Utilisez des élingues de sécurité pour fixer l’appareil. Ne jamais porter l’appareil par sa tête mais
toujours par sa base.
L’appareil doit être installé dans un endroit aéré et bien ventilé. Placez-le à au moins 50 cm de tout
objet ou de toute surface.
Assurez-vous que les ouïes de ventilation ne soient pas obstruées afin d’éviter une surchauffe de
l’appareil.
Avant d’utiliser l’appareil, assurez-vous que l’alimentation soit compatible avec la tension locale.
Il est important de relier le fil jaune/vert à la terre afin d’éviter tout risque de choc électrique.
Température ambiante maximum : 40°C. Ne pas faire fonctionner l’appareil quand la température est
au-dessus de 40 °C.
NE PAS connecter l’appareil à un dimmer.
Lors de la première utilisation, il peut y avoir un léger dégagement de fumée ou odeur, ceci est normal.
Les effets vont disparaître au bout de 15 minutes environ.
Assurez-vous qu’il n’y ait pas de produits inflammables à côté de l’appareil afin d’éviter tout risque de
feu.
Surveillez régulièrement le cordon d’alimentation. S’il est endommagé, veuillez les remplacer
immédiatement.
La température du boitier peut atteindre 85°C. Ne jamais toucher l’appareil à mains nues pendant son
fonctionnement. Attendez 15 minutes avant de remplacer la lampe ou d’effectuer toute autre
Lire attentivement les consignes ci-après. Elles contiennent des informations importantes sur la
sécurité de l'installation ainsi que sur l'utilisation et la maintenance de l'équipement.

réparation.
NE PAS verser des liquides inflammables ou de l’eau et ne pas introduire d’objet dans l’appareil. Si
cela arrivait, éteignez et débranchez immédiatement l’appareil.
NE PAS utiliser l’appareil dans un endroit sale et poussiéreux. Nettoyez l’appareil régulièrement.
NE PAS toucher les fils pendant le fonctionnement de l’appareil afin d’éviter tout choc électrique.
NE PAS laisser le cordon d’alimentation s’enrouler avec d’autres câbles.
La distance minimum entre l’appareil et la surface éclairée doit être de plus de 12m.
Débranchez l’appareil avant de changer la lampe ou le fusible ou avant de faire toute réparation ou
entretien de l’appareil.
Remplacez le fusible ou la lampe par un de même type.
Dans le cas de problèmes importants dans le fonctionnement de l’appareil, arrêtez l’appareil
immédiatement.
Ne jamais allumer ou éteindre l’appareil plusieurs fois d’affilée.
Le boîtier, les lentilles ou le filtre UV doivent être remplacés s’ils sont endommagés.
NE PAS ouvrir l’appareil, il n’y a pas de pièces détachées
Ne jamais essayer de réparer l’appareil par vous-même. Les réparations faites par des personnes non
qualifiées peuvent entraîner des dommages importants sur l’appareil. Veuillez contacter votre
revendeur.
Débranchez l’appareil du secteur si vous ne l’utilisez pas pendant une longue période.
Toujours utilisez le carton d’emballage d’origine lors du transport de l’appareil.
Caution:
Ne pas exposer l’appareil à la pluie ou à l’humidité pour éviter tout risque de choc électrique.
Risque d’explosion due à la chaleur de la lampe. Ne pas ouvrir l’appareil pendant les 15 minutes après
avoir éteint l’appareil.
Remplacez la lampe si celle-ci est endommagée, déformée ou si la durée d’utilisation est expirée.
NE JAMAIS regarder le faisceau lumineux directement.
NE JAMAIS toucher la lampe à mains nues.
NE PAS utiliser l’appareil sans la lampe ou si le boitier est endommagé.
CARACTERISTIQUES TECHNIQUES
- Alimentation: AC 100V-260V, 50Hz/60Hz
- Consommation: 82W
- LED: COB 70W white
- Ecran LED pour une naviguation plus facile
- Chaînes : 13pcs@240V / 5pcs@110V
- Dimensions: 349 x 244 x 252
- Poids: 2.2kg
FONCTIONS PRINCIPALES
1. BUILT-IN PROGRAMS –programmes pré-enregistrés
Appuyez sur “MODE” jusqu’à ce que PRO s’affiche (menus : vitesse fader + vitesse strobe)
Appuyez quelques secondes sur “MODE” jusqu’à ce que le signal qui s’affiche commence
par 5, relâcher le bouton. Utilisez “UP” ou “DOWN” pour ajuster la vitesse du fader: 5.01-
5.FL. Appuyez sur “Mode” pour revenir au menu précédent
Appuyez quelques secondes sur “MODE” jusqu’à ce que le signal qui s’affiche commence
par F, relâcher le bouton. Utilisez “UP” ou “DOWN” pour ajuster la vitesse du strobe: F.00-
F.99. Appuyez sur “Mode” pour revenir au menu précédent.
2. MONOCHROME DIMMING
Appuyez sur “MODE” jusqu’à ce que s’affiche (menus : intensité LED + vitesse strobe)
Appuyez quelques secondes sur “MODE” jusqu’à ce que 000-255 s’affiche. Relâcher le
bouton. Utilisez les boutons « UP » ou « DOWN » pour ajuster la luminosité. Appuyez sur
« Mode » pour revenir au menu précédent.
Appuyez quelques secondes sur “MODE” jusqu’à ce que le signal qui s’affiche commence
par F, relâcher le bouton. Utilisez “UP” ou “DOWN” pour ajuster la vitesse du strobe: F.00-
F.99. Appuyez sur “Mode” pour revenir au menu précédent.

3. DMX MODE
Appuyez sur “MODE” jusqu’à ce que s’affiche (menus : adresse DMX + mode DMX)
L’appareil détecte automatiquement le signal DMX. Si le signal est bien reçu, le 3ème chiffre s’affichant à
l’écran va clignoter. Si le signal n’est pas reçu, le mode précédent sera rétabli.
Appuyez quelques secondes sur “MODE” jusqu’à ce que 000-255 s’affiche. Relâcher le
bouton. Utilisez les boutons « UP » ou « DOWN » pour ajuster l’adresse DMX. Appuyez sur
« Mode » pour revenir au menu précédent.
Appuyez quelques secondes sur “MODE” jusqu’à ce que s’affiche 1.CH ou 2.CH, Relâcher
le bouton. Utilisez les boutons “UP” ou “DOWN” pour ajuster le mode DMX. Appuyez sur
« Mode » pour revenir au menu précédent.
Sheet 1 DMX 1CH fonction
CANAL
VALEUR
FONCTION
1
0-255
Intensité LED 0-100%
Sheet 1 DMX 2CH fonction
CANAUX
VALEUR
FONCTION
1
0-255
Intensité LED 0-100%
2
0-19
LED sans strobe
20-255
LED strobe (plus la valeur est
importante, plus la vitesse sera
importante)
4. MODE MASTER/SLAVE
Appuyez sur “MODE” jusqu’à ce que SLA s’affiche
Si le signal du Master n’est pas reçu, il n’y a pas d’affichage. Si le signal est reçu correctement, l’appareil
va suivre les réglages du Master.
5. RETABLISSEMENT DES REGLAGES D’ORIGINE
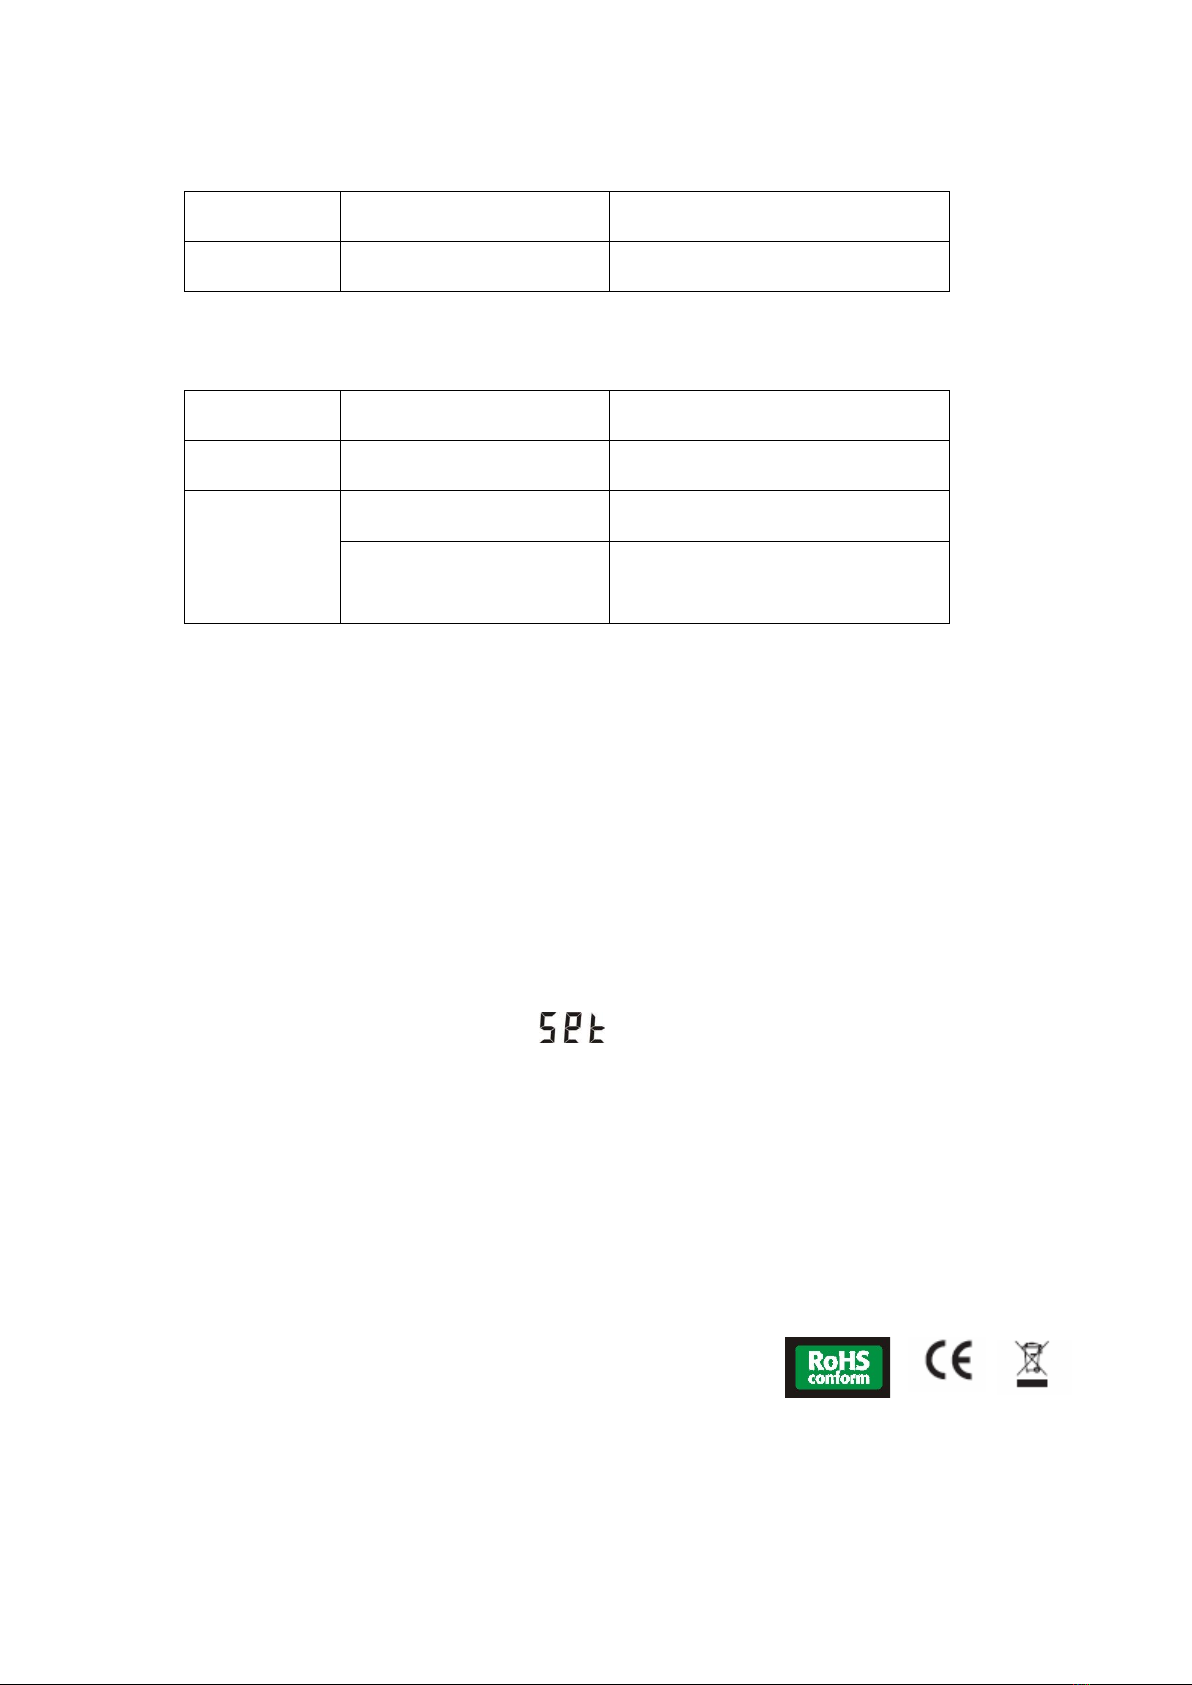
Appuyez sur “MODE” jusqu’à ce que s’affiche .
Appuyez quelques secondes sur “MODE” jusqu’à ce que r St, s’affiche. Relâcher le bouton.
Appuyez sur ”UP” pour rétablir les réglages d’origine.
Si l’appareil ne s’allume pas correctement, appuyez sur “MODE” + “UP” un long moment
jusqu’à ce que r St s’affiche et clignote. Relâcher les boutons pour rétablir les réglages
d’origine.
PAR COB 70 W
User Guide

SAFETY INSTRUCTIONS
Please keep this User Guide for future consultation. If you sell the unit to another user, be sure that
they also receive this instruction manual.
Important:
Damages caused by the disregard of this user manual are not subject to warranty. The dealer will not
accept liability for any resulting defects or problems.
Unpack and check carefully that there is no transportation damage before using the unit.
The unit is for indoor use only. Use only in a dry location.
DO install and operate by qualified operator.
DO NOT allow children to operate the fixture.
Use safety chain when fixing the unit. Handle the unit by carrying its base instead of head only.
The unit must be installed in a location with adequate ventilation, at least 50cm from adjacent
surfaces.
Be sure that no ventilation slots are blocked, otherwise the unit will be overheated.
Before operating, ensure that the voltage and frequency of power supply match the power
requirements of the unit.
It’s important to ground the yellow/green conductor to earth in order to avoid electric shock.
Maximum ambient temperature Ta: 40℃. DO NOT operate it when the temperature is higher.
DO NOT connect the device to any dimmer pack.
During initial start-up some smoke or smell may arise. This is a normal process and does not
necessarily mean that the device is defective, and it will decrease gradually within 15 minutes.
Make sure there are no flammable materials close to the unit while operating to avoid fire hazard.
Examine the power wires carefully; replace them immediately if there is any damage.
Unit’s surface temperature may reach up to 85℃. DO NOT touch the housing bare-handed during its
operation, and allow about 15 minutes for cooling the unit down before replacing bulb or maintenance
as it could be very hot.
Avoid any inflammable liquids, water or metal objects entering the unit. Once it happens, cut off the
mains power immediately.
DO NOT operate in dirty or dusty environment, do clean fixtures regularly.
DO NOT touch any wire during operation as there might be a hazard of electric shock.
Avoid power wires together twist other cables.
Please read carefully the instruction, which includes important information about
the installation, usage and maintenance.

The minimum distance between light output and the illuminated surface must be more than 12 meters.
Disconnect mains power before fuse/lamp replacement or servicing.
Replace fuse/lamp only with the same type.
In the event of serious operating problem, stop using the unit immediately.
Never turn on and off the unit time after time.
The housing, the lenses, or the ultraviolet filter must be replaced if they are visibly damaged.
DO NOT open the unit as there are no user serviceable parts inside.
Never try to repair the unit by yourself. Repairs carried out by unskilled people can lead to damage or
malfunction. Please contact the nearest authorized technical assistance center if needed.
Disconnect the mains power if the fixture is has not been used for a long time.
DO use the original packing materials before transporting it again.
Caution:
To prevent or reduce the risk of electrical shock or fire, do not expose the unit to rain or moisture.
Hot lamp explosion hazard. Do not open the unit within 15 minutes after switching off.
DO replace the bulb once it is damaged, deformed or life-expired.
DO NOT look directly at the light while the bulb is on.
Never touch bulb with bare fingers, as it is very hot after using.
DO NOT start on the unit without bulb enclosure or when housing is damaged.
TECHNICAL SPECIFICATION
- Power Supply: AC 100V-260V, 50Hz/60Hz
- Consumption: 82W
- LED: COB 70W white
- LED display for easier operation
- Power Linking : 13pcs@240V / 5pcs@110V
- Dimensions: 349 x 244 x 252
- Weight: 2.2kg

MAIN FONCTIONS
1. BUILT-IN PROGRAMS
Press “MODE” until the LED display shows PRO (menus: LED fading speed + LED strobe speed)
Press a few seconds on “MODE”, when LED display shows a signal starting with 5, release
the button. Use buttons “UP” or “DOWN” to adjust the fading speed: 5.01-5.FL. Press
“MODE” to go back to the previous menu
Press a few seconds on “MODE”, when LED display shows a signal starting with F, release
the button. Use buttons “UP” or “DOWN” to adjust the strobe speed: F.00-F.99. Press
“MODE” to go back to the previous menu
2. MONOCHROME DIMMING
Press “MODE” until the LED display shows (menus: LED brightness + LED strobe speed)
Press a few seconds on “MODE”, the LED display will show 000-255, release the button.
Use “UP” or “DOWN” to adjust the brightness. Press “MODE” to go back to the previous
menu
Press a few seconds on “MODE”, when the LED display shows a signal starting with F,
release the button. Use “UP” or “DOWN” to adjust the strobe speed: F.00-F.99. Press
“MODE” to go back to the previous menu
3. DMX MODE
Press “MODE” until the LED display shows (menus: DMX address + DMX mode)
The fixture can automatically identify the DMX signal. If the signal is well received, the third digit of LED
display will flash. If the DMX signal disappears, the previous mode will be restored.
Press a few seconds on “MODE”, when the LED display shows 000-255, release the button.
Use “UP” or “DOWN” to adjust the DMX address. Press “MODE” to go back to the previous
menu
Press a few seconds on “MODE”, when the LED display shows 1.CH or 2.CH, release the
button. Use “UP” or “DOWN” to adjust current DMX mode. Press “MODE” to go back to
the previous menu
Sheet 1 DMX 1CH function
CHANNEL
NUMBER
FUNCTION
1
0-255
LED brightness 0-100%
Sheet 1 DMX 2CH function
CHANNELS
NUMBER
FUNCTION
1
0-255
LED brightness 0-100%
2
0-19
LED no strobe
20-255
LED strobe,the high number, the
high strobe frequency
4. MASTER/SLAVE MODE
Press “MODE”until the LED display shows SLA
If the host signal (Master) is not received, the LED is off. If the host signal (Master) is received, it will
follow the host operation.
5. RESTORE FACTORY SETTINGS
Press “MODE” until the LED display shows .
Press “MODE” for a long time until the LED display shows r St, release the button. Press
”UP” to restore the factory settings.
When the fixture doesn’t start normally, press “MODE” + “UP” a long time until the LED
display shows r St and flashes. Release the buttons to restore factory settings.
Table of contents
Languages:
Other Nicols Spotlight manuals


