manuals.online logo
Brands
  1. Home
  2. •
  3. Brands
  4. •
  5. Night Stick
  6. •
  7. Lighting Equipment
  8. •
  9. Night Stick NSR-2124 User manual

Night Stick NSR-2124 User manual

Bayco Products, Inc. • 640 South Sanden Blvd. • Wylie, TX 75098 • 1-800-233-2155 • 1-469-326-9400 • www.nightstick.com
INS-NSR-2124-18
Instruction Manual
NSR-2124
THANK YOU FOR PURCHASING THE NSR-2124 RECHARGEABLE EMERGENCY
AREA LIGHT. SAVE THESE INSTRUCTIONS.
Please read these instructions before using your work light. Be sure to charge the
work light before the  rst use.
yCAUTION: Do not use this work light in explosive atmospheres, near  ammable
liquids, or where explosion-proof lamps are required. Do not immerse in water.
yCAUTION: For light duty work only.
CHARGING
INITIAL USE
Fully charge the work light before the  rst use. If the battery is new or has been
unused for several months, several charge and discharge cycles may be needed to
reach full battery capacity. To reach maximum performance, run the light to completely
discharge the battery and then recharge. Each charge cycle will extend the operation
time until maximum capacity is achieved. The charge time for maximum capacity is
approximately 4 hours.
REGULAR USE
yUse only the supplied AC or DC charging adapter.
yFor best performance, charge the work light when the LED’s start to dim.
yConnect the AC power adapter to the light. The red indicator will light.
yThe red light indicates the work light is being charged. The red light remains on until
the battery is fully charged. At full charge, the light turns green. The total time to full
charge varies depending on the remaining charge in the battery pack.
yKeep the work light plugged into the charger to maintain a trickle charge.
TIPS TO EXTEND BATTERY LIFE
yThe work light Lithium-ion internal battery pack does not have a memory effect.
Charging the work light often helps extend its useful life.
yA new work light or one that has not been used for a long period of time may not
accept a full charge initially. This is normal and does not indicate a problem. Fully
discharge and then charge the unit several times to condition the battery pack for full
capacity. As the battery pack capacity increases the charge time shortens.
yCharge the unit after each use, whether the work light is fully discharged or not.
yStore the work light at room temperature
OPERATION
TURNING THE WORK LIGHT ON/OFF
The work light has two switches that work in tandem, one in each of the handles.
The light can be controlled by either switch regardless of which switch is pressed  rst.
THE SWITCHES HAVE 3 FUNCTIONS:
yFirst press - White  oodlight
ySecond press - Alternating red/blue strobe
yThird press - All LEDs off
MOUNTING OPTIONS
USING THE SPRING-LOADED CARRIER:
ySnap the work light into the spring-loaded carrier.
yHook one end of the carrier on the hood. While holding the light, extend the opposite
hook to grasp the other edge of the hood
yRotate and position the light as needed - The light can be rotated in the carrier
approximately 90° for optimal illumination
USING THE HANGER-HOOKS:
yRotate the centers of each end handle to expose the recessed hanger-hook. Grasp
the hanger-hook and rotate each out in to position for use
yHang the light using one or both hooks
USING THE END-MAGNETS:
yRemove the work light from the spring-loaded carrier.
yAttach the light handle to a steel object to hang the light vertically. The magnets are
strong enough to support the light’s weight using one or both sets of magnets.
WARNING: DO NOT HANG ANYTHING FROM THE LIGHT WHILE MAGNETICALLY
ATTACHED
CLEANING:
yDisconnect the light from the power source
yWipe with a clean dry soft cloth
yDo not use any solvent or abrasive cleaners
WARRANTY
LIMITED LIFETIME WARRANTY
Bayco Products, Inc. warrants this product to be free from defects in workmanship
and materials for the original purchaser’s lifetime. The Limited Lifetime Warranty
includes the LEDs, housing and lenses. Rechargeable batteries, chargers, switches,
electronics and included accessories are warranted for a period of two years with proof
of purchase. Normal wear and failures which are caused by accidents, misuse, abuse,
faulty installation and lightning damage are excluded.
We will repair or replace this product should we determine it to be defective. This
is the only warranty, expressed or implied, including any warranty of merchantability or
 tness for a particular purpose.
For a complete copy of the warranty, go to www.nightstick.com/nightstick-product-
support/warranties. Retain your receipt for proof of purchase.
Mode d’emploi
NSR-2124
MERCI D’AVOIR ACHETÉ LA LAMPE DE TRAVAIL RECHARGEABLE NSR-2124.
VEUILLEZ CONSERVER CES DIRECTIVES.
Veuillez lire ces instructions avant d’utiliser ce produit. Veillez à charger la baladeuse
avant de l’utiliser pour la première fois.
yAVERTISSEMENT : Ne pas utiliser ce produit dans une atmosphère explosive,
à proximité de liquides in ammables, ou dans des endroits exigeant un éclairage
antidé agrant. Ne pas immerger dans l’eau.
yAVERTISSEMENT : uniquement pour les travaux légers.
CHARGE
UTILISATION INITIALE
Chargez la baladeuse à bloc avant la première utilisation. Si la batterie est neuve
ou n’a pas été utilisée depuis plusieurs mois, il est possible qu’il faille plusieurs cycle de
charge et décharge pour que la batterie atteigne sa capacité maximale. Pour obtenir les
meilleurs résultats possibles, utilisez la baladeuse de façon à complètement décharger
la batterie puis rechargez-la. Chaque cycle de recharge prolongera la durée d’utilisation
jusqu’à ce que la capacité maximale soit atteinte. La durée maximale de charge requise
est d’environ 4 heures.
UTILISATION NORMALE
yUtilisez exclusivement l’adapteur de chargeur c.a ou c.c fourni.
yPour de meilleurs résultats, chargez la baladeuse quand les LEDs commencent à
s’affaiblir.
yConnectez l’adapteur de courant c.a. à la baladeuse. Le voyant rouge s’allumera.
yLe voyant rouge indique que la baladeuse est en train de charger. Le voyant reste
rouge jusqu’à ce que la batterie soit complètement chargée. Une fois complètement
chargée, le voyant vert. La durée totale de charge varie en fonction de la charge qui
reste dans la batterie.
yConservez la baladeuse branchée dans le chargeur pour obtenir une charge
d’entretien.
CONSEILS POUR PROLONGER LA VIE DE LA BATTERIE
yL’ensemble de piles internes au lithium-ion de la lampe n’a pas d’effet de mémoire.
Recharger la lampe de travail souvent contribue à prolonger sa durée de vie.
yUne nouvelle baladeuse, ou une baladeuse qui n’a pas été utilisée pendant
longtemps, n’accepte pas initialement de charge complète. Cela est normal et
n’indique pas de problème. Déchargez complètement puis chargez la baladeuse
plusieurs fois pour permettre à la batterie d’atteindre sa capacité maximale. Le temps
de charge devient plus bref au fur et à mesure que la capacité de la batterie augmente.
Bayco Products, Inc. • 640 South Sanden Blvd. • Wylie, TX 75098 • 1-800-233-2155 • 1-469-326-9400 • www.nightstick.com
INS-NSR-2124-18
yChargez la batterie après chaque utilisation, que la baladeuse soit complètement
déchargée ou non.
yStockez la baladeuse à température ambiante.
FONCTIONNEMENT
ALLUMER ET ÉTEINDRE LA LAMPE DE TRAVAIL
La lampe de travail dispose de deux interrupteurs qui fonctionnent simultanément et
qui sont placés dans chaque manche. La lampe peut être contrôlée par n’importe lequel
des deux interrupteurs indépendamment de celui que vous avez appuyez en premier.
LES INTERRUPTEURS DISPOSENT DE 3 MODES DE FONCTIONNMENT :
yAppuyer une fois - Projecteur à faisceau concentré blanc
yAppuyer deux fois - Effet stroboscopique qui alterne du bleu au rouge
yAppuyer trois fois – toutes les lumières DEL sont éteintes
OPTIONS D’INSTALLATION
UTILISATION DU SUPPORT À RESSORT :
yPlacer la lampe de travail dans le support à ressort.
ySuspendre une extrémité du support sous le capot. Pendant que vous maintenez la
lampe, étirer le crochet opposé an de saisir l’autre bout du capot.
yPlacer et pivoter la lampe selon les besoins – La lampe peut être tournée à un angle
d’approximativement 90° dans le support pour un éclairage optimal
UTILISATION DES CROCHETS DE SUSPENSION :
yFaire pivoter le centre de chaque bout de manche pour faire apparaître le crochet
de suspension caché. Saisir le crochet de suspension et le faire pivoter en position
d’utilisation
ySuspendre la lampe en utilisant un ou les deux crochet(s)
UTILISATION DES AIMANTS SITUÉS AUX EXTRÉMITÉS :
yEnlever la lampe de travail du support à ressort.
yAttacher le manche de la lampe à un objet en acier pour accrocher la lampe
verticalement. Les aimants sont assez robustes pour soutenir le poids de la lampe
que vous utilisez un ou les deux ensembles d’aimants.
AVERTISSEMENT : NE RIEN ACCROCHER SUR LA LAMPE PENDANT QU’ELLE
EST ATTACHÉE MAGNÉTIQUEMENT.
NETTOYAGE :
yDébrancher la lampe de la source d’alimentation
yNettoyer avec un chiffon doux, sec et propre
yNe pas utiliser de solvants ou de produits abrasifs
GARANTIE
GARANTIE À VIE LIMITÉE
Bayco Products, Inc. garantit que ce produit est exempt de défauts de matériaux
et de fabrication à l’acheteur original durant toute sa vie. La garantie à vie limitée inclut
les DEL, les boîtiers et les lentilles. Les batteries rechargeables, les chargeurs, les
interrupteurs, les électroniques et les accessoires compris sont garantis pour une
période de deux ans avec une preuve d’achat. L’usure normal et les défaillances qui
sont causés par des accidents, une mauvaise utilisation, un abus, une installation
défectueuse et un système d’éclairage endommagé sont exclus.
Ce produit sera réparé ou remplacé si nous déterminons qu’il est défectueux. Ceci
est la seule garantie explicite ou implicite, y compris toute garantie de qualité marchande
ou d’adéquation à un usage particulier.
Pour une copie détaillée de la garantie, vous rendre sur le site www.nightstick.com/
nightstick-product-support/warranties. Gardez ce reçu comme preuve d’achat.
Manual de Instrucción
NSR-2124
GRACIAS POR COMPRAR LA LINTERNA DE TRABAJO RECARGABLE NSR-
2124.
GUARDE ESTAS INSTRUCCIONES.
Por favor, lea estas instrucciones antes de utilizar su linterna de trabajo. Asegúrese
de cargar la linterna de trabajo antes del primer uso.
yPRECAUCIÓN: No utilice esta linterna de trabajo en atmósferas explosivas, cerca
de líquidos inamables o donde se requieren lámparas a prueba de explosión. No la
sumerja en agua.
yPRECAUCIÓN: Para trabajo liviano solamente.
CARGANDO
USO INICIAL
Cargue completamente la linterna de trabajo antes del primer uso. Si la batería es
nueva o no se ha utilizado durante varios meses, varios ciclos de carga y descarga
pueden ser necesarios para alcanzar la capacidad total de la batería. Para alcanzar
el máximo rendimiento, deje prendida la linterna hasta que se descargue por
completo la batería y después recargarla. Cada ciclo de carga extenderá el tiempo de
funcionamiento hasta que se consiga la máxima capacidad. El tiempo de carga para la
capacidad máxima es de aproximadamente 4 horas.
USO REGULAR
yUtilice sólo el adaptador de carga AC o CC suministrado.
yPara un mejor rendimiento, cargue la linterna de trabajo, cuando el LED sea tenue.
yConecte el adaptador de alimentación de AC a la linterna. El indicador rojo se
encenderá.
yLa luz roja indica que la linterna de trabajo se está cargando. La luz roja permanece
encendida hasta que la batería está completamente cargada. A plena carga, la
linterna se pone en verde. El tiempo total de carga completa varía dependiendo de la
carga restante en la batería.
yMantenga la linterna de trabajo conectada en el cargador para mantener una carga
de mantenimiento.
CONCEJOS PARA PROLONGAR LA DURACIÓN DE LA BATERÍA
yEl paquete de batería interna de la Linterna de trabajo Litio-ion no tiene un efecto
de memoria.
yUna nueva linterna de trabajo o una que no se ha utilizado durante un largo período
de tiempo no pueden aceptar una carga completa inicial. Esto es normal y no indica un
problema. Descargue completamente y después cargue la unidad varias veces para
preparar la batería para máxima capacidad. A medida que la capacidad de la batería
aumenta el tiempo de carga se acorta.
yCargue la unidad después de cada uso, aunque la linterna de trabajo se encuentre
completamente descargada o no.
yGuarde la linterna de trabajo a temperatura ambiente
FUNCIONAMIENTO
ENCENDIDO DE LA LINTERNA DE TRABAJO ON / OFF
La linterna de trabajo tiene dos interruptores que trabajan conjuntamente, uno
en cada una de las asas. La linterna puede ser controlada por cualquiera de los
interruptores, independientemente de cual es presionado primero.
LOS INTERRUPTORES TIENEN 3 FUNCIONES:
yPrimera presión - Reector blanco
ySegunda presión - Alternando luz estroboscópica roja y azul
yTercera presión - Todos los LED apagados
OPCIONES DE MONTAJE
USO DEL TRANSPORTADOR DE RESORTES:
yAjuste la linterna de trabajo en el transportador de resortes.
yEnganche un extremo del transportador en el capó. Mientras sostiene la linterna,
extienda el gancho opuesto para agarrar el otro borde del capó.
yGirar y posicionar la linterna cuando sea necesario - La linterna se puede girar en el
transportador unos 90° para una iluminación óptima
UTILIZAR EL SOPORTE DE GANCHOS:
yGire los centros de cada asa para exponer la suspensión empotrada de los ganchos
para colgar. Sujete el gancho de colgar y rote cada uno hacia afuera en la posición
de uso
yCuelgue la linterna utilizando uno o dos ganchos
USO DE LOS IMANES:
yRetire la linterna de trabajo del transportador de resortes.
yColoque el mango de la linterna en un objeto de acero para colgar la linterna
verticalmente. Los imanes son lo sucientemente fuertes como para aguantar el peso
de la linterna utilizando uno o ambos conjuntos de imanes.
ADVERTENCIA: NO CUELGUE NADA DE LA LINTERNA MIENTRAS QUE ESTÉ
SUJETA MAGNÉTICAMENTE
LIMPIEZA:
yDesconecte la linterna de la fuente de alimentación
yLimpie con un paño suave, limpio y seco
yNo utilice limpiadores que contengan disolventes o abrasivos
GARANTÍA
GARANTIA LIMITADA DE POR VIDA
Bayco Products, Inc. garantiza que este producto está libre de defectos de mano
de obra y materiales durante la vida del comprador original. La garantía de por vida
limitada incluye los LED, la carcasa y los lentes. Las pilas recargables, los cargadores,
los interruptores, la electrónica y los accesorios incluidos están garantizados por un
período de dos años con un comprobante de compra. Se excluyen el desgaste y
los fallos normales, que son causados por accidentes, mal uso, abuso, instalación
defectuosa y daños por rayos.
Repararemos o reemplazaremos este producto si lo determinamos como
defectuoso. Esta es la única garantía, expresa o implícita, incluyendo cualquier garantía
de comerciabilidad o idoneidad para un propósito particular.
Para obtener una copia completa de la garantía, visite www.nightstick.com/
nightstick-product-support/warranties. Conserve su recibo para comprobar la compra.

Other Night Stick Lighting Equipment manuals

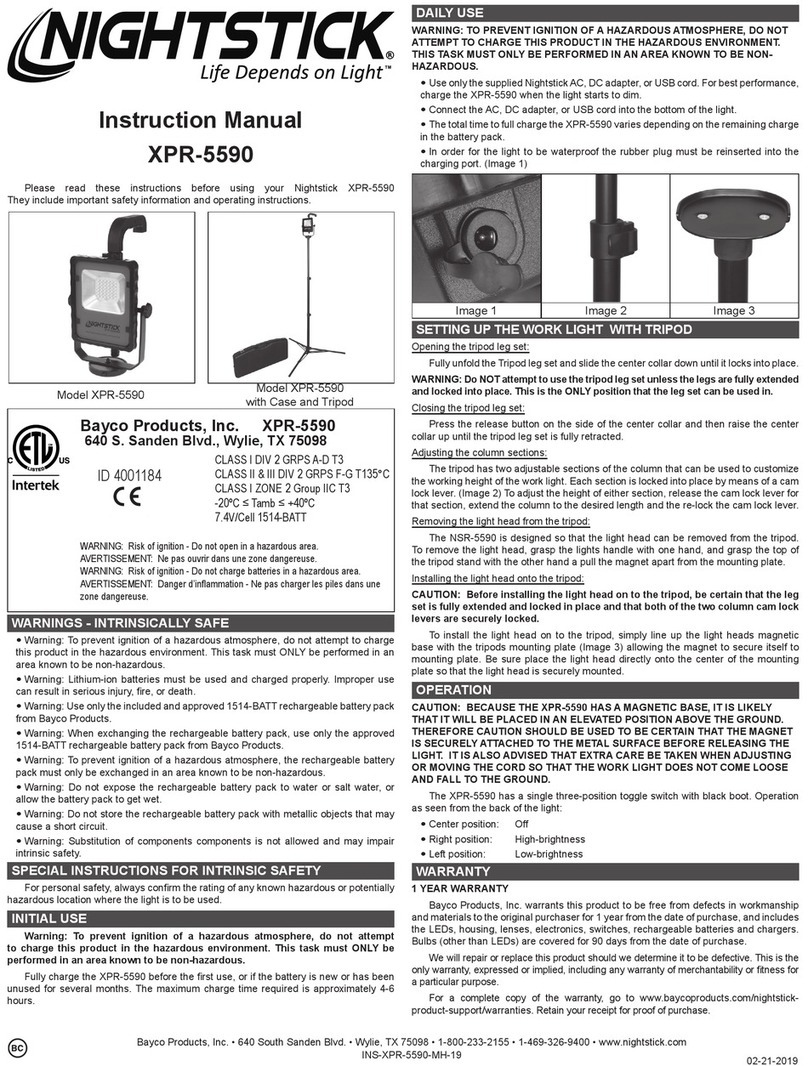
Night Stick XPR-5561G User manual

Night Stick

Night Stick XPR-5561G User manual

Night Stick XPP-5410G User manual

Night Stick

Night Stick XPP-5410G User manual

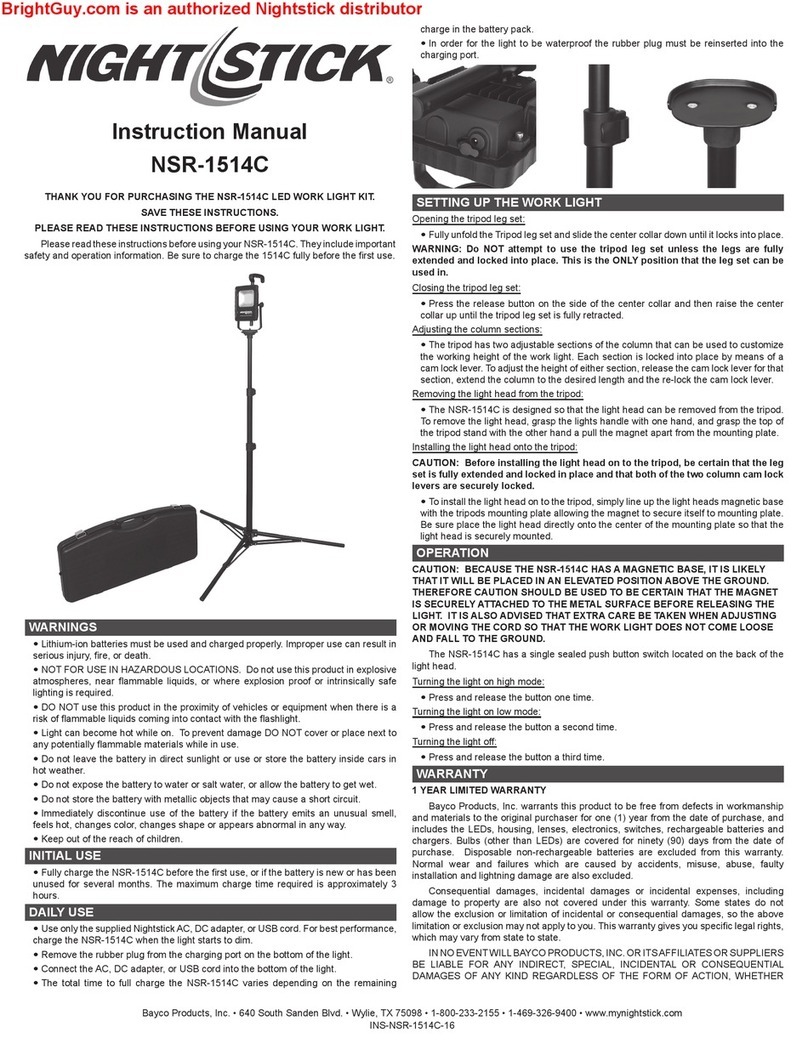
Night Stick NSR-1514C User manual

Night Stick

Night Stick NSR-1514C User manual

Night Stick 5568-CHGRDC5 User manual

Night Stick

Night Stick 5568-CHGRDC5 User manual

Night Stick XPP-5411GX User manual

Night Stick

Night Stick XPP-5411GX User manual

Night Stick XPP-5412G User manual

Night Stick

Night Stick XPP-5412G User manual

Night Stick 5560-CHGR50 User manual

Night Stick

Night Stick 5560-CHGR50 User manual

Night Stick NSP-1164 User manual

Night Stick

Night Stick NSP-1164 User manual

Night Stick XPR-5590 User manual

Night Stick

Night Stick XPR-5590 User manual

Night Stick XPR-5560GA User manual

Night Stick

Night Stick XPR-5560GA User manual

Night Stick XPP-5410G User manual

Night Stick

Night Stick XPP-5410G User manual

Popular Lighting Equipment manuals by other brands

ADJ ENCORE FR50Z user manual

ADJ

ADJ ENCORE FR50Z user manual

LIGMAN ZE-50391 installation manual

LIGMAN

LIGMAN ZE-50391 installation manual

Spectroline NANO 365 Series manual

Spectroline

Spectroline NANO 365 Series manual

DPM CL4-CNB-18W manual

DPM

DPM CL4-CNB-18W manual

Vision & Control LDLF60x480-IR850/24V Instructions for use

Vision & Control

Vision & Control LDLF60x480-IR850/24V Instructions for use

HoMedics MyBaby Comfort Creatures Elephant instruction manual

HoMedics

HoMedics MyBaby Comfort Creatures Elephant instruction manual

EuroLite AC-300 user manual

EuroLite

EuroLite AC-300 user manual

GE StayBright HO HO HO Assembly manual

GE

GE StayBright HO HO HO Assembly manual

Pablo CANDEL quick start guide

Pablo

Pablo CANDEL quick start guide

Lightolier Calculite A-E specification

Lightolier

Lightolier Calculite A-E specification

Ansult 422-576 User instructions

Ansult

Ansult 422-576 User instructions

LEGRAND adorne ADWR700MMTU user guide

LEGRAND

LEGRAND adorne ADWR700MMTU user guide

Cameo EVOS W7 IP user manual

Cameo

Cameo EVOS W7 IP user manual

Zennio ZDIDLIV2 Technical documentation

Zennio

Zennio ZDIDLIV2 Technical documentation

X4-Life 701753 instruction manual

X4-Life

X4-Life 701753 instruction manual

Elation SHOW DESIGNER 2CF user manual

Elation

Elation SHOW DESIGNER 2CF user manual

ProLights Halurock user manual

ProLights

ProLights Halurock user manual

Sahara UB3000-3P user manual

Sahara

Sahara UB3000-3P user manual

manuals.online logo
manuals.online logoBrands
  • About & Mission
  • Contact us
  • Privacy Policy
  • Terms and Conditions

Copyright 2025 Manuals.Online. All Rights Reserved.