manuals.online logo
Brands
  1. Home
  2. •
  3. Brands
  4. •
  5. Nikon
  6. •
  7. Digital Camera
  8. •
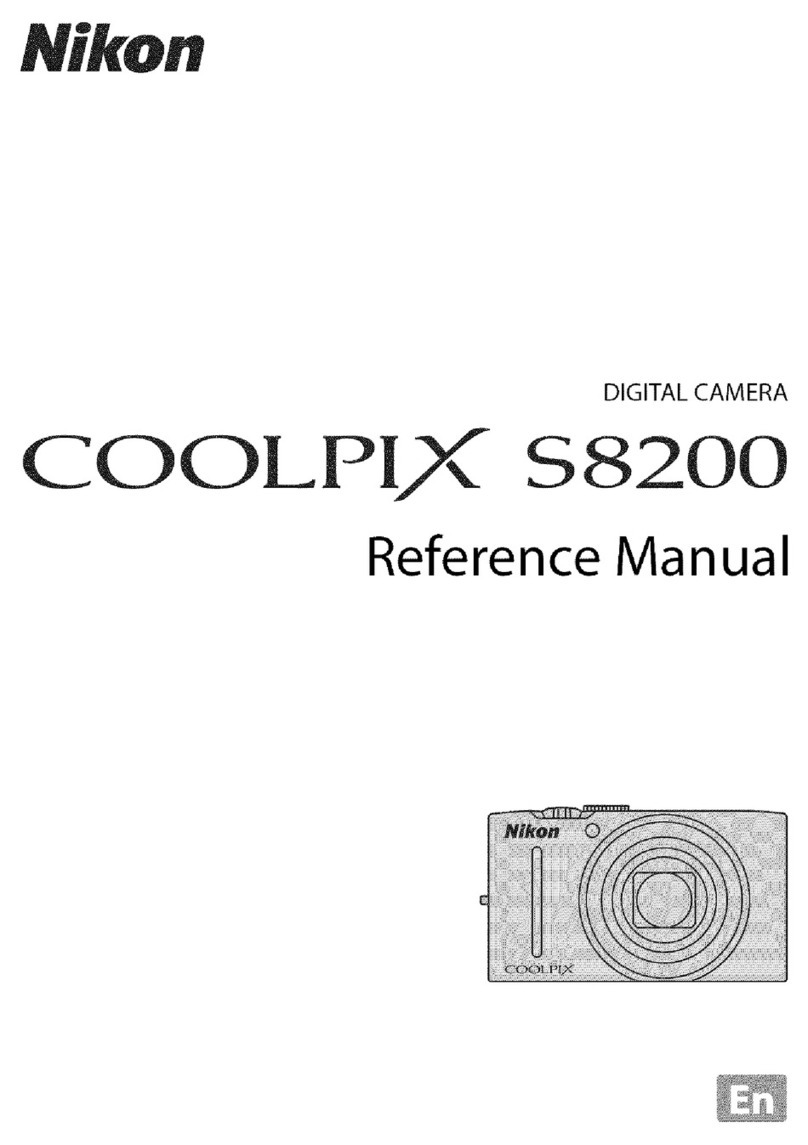
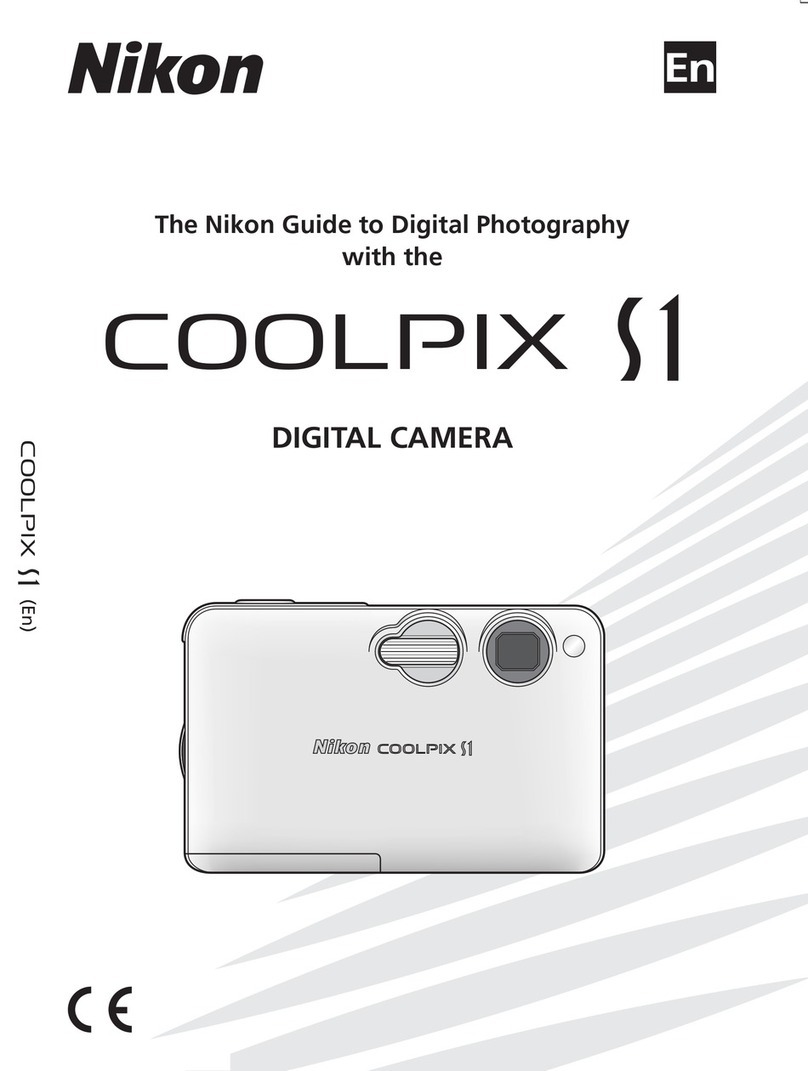
  9. Nikon Coolpix S3000 User manual

Nikon Coolpix S3000 User manual

Other manuals for Coolpix S3000

5

Other Nikon Digital Camera manuals

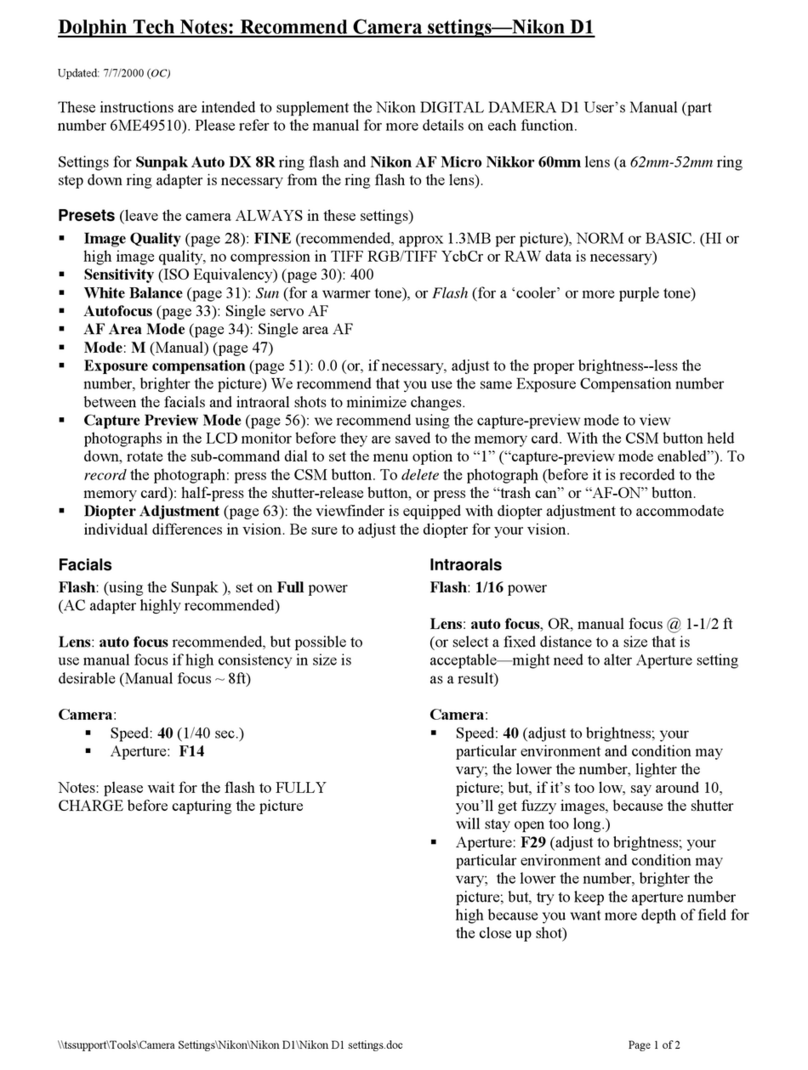
Nikon CoolPix S6000 User manual

Nikon

Nikon CoolPix S6000 User manual

Nikon Nuvis S 2000 User manual

Nikon

Nikon Nuvis S 2000 User manual

Nikon Coolpix 990 Operating manual

Nikon

Nikon Coolpix 990 Operating manual

Nikon D5600 User manual

Nikon

Nikon D5600 User manual

Nikon Coolpix 880 User manual

Nikon

Nikon Coolpix 880 User manual

Nikon 1 v3 User manual

Nikon

Nikon 1 v3 User manual

Nikon Coolpix S630 User manual

Nikon

Nikon Coolpix S630 User manual

Nikon CoolPix 2000 User manual

Nikon

Nikon CoolPix 2000 User manual

Nikon CoolPix S1100pj User manual

Nikon

Nikon CoolPix S1100pj User manual

Nikon CoolPix S70 User manual

Nikon

Nikon CoolPix S70 User manual

Nikon COOLPIX S6150 User manual

Nikon

Nikon COOLPIX S6150 User manual

Nikon COOLPIX P7800 Instruction Manual

Nikon

Nikon COOLPIX P7800 Instruction Manual

Nikon COOLPIX S3500 User manual

Nikon

Nikon COOLPIX S3500 User manual

Nikon 26134 - Coolpix S60 Digital Camera User manual

Nikon

Nikon 26134 - Coolpix S60 Digital Camera User manual

Nikon COOLPIX995 User manual

Nikon

Nikon COOLPIX995 User manual

Nikon 2500 - Coolpix Digital Camera Mounting instructions

Nikon

Nikon 2500 - Coolpix Digital Camera Mounting instructions

Nikon COOLPIX 8700 Installation and operation manual

Nikon

Nikon COOLPIX 8700 Installation and operation manual

Nikon CoolPix 2200 Operating instructions

Nikon

Nikon CoolPix 2200 Operating instructions

Nikon Coolpix S230 User manual

Nikon

Nikon Coolpix S230 User manual

Nikon COOLPIX S9400 User manual

Nikon

Nikon COOLPIX S9400 User manual

Nikon Coolpix P5000 User guide

Nikon

Nikon Coolpix P5000 User guide

Nikon COOLPIX S02 User manual

Nikon

Nikon COOLPIX S02 User manual

Nikon D7000 User manual

Nikon

Nikon D7000 User manual

Nikon Z 7II Use and care manual

Nikon

Nikon Z 7II Use and care manual

Popular Digital Camera manuals by other brands

Canon WP-DC35 user guide

Canon

Canon WP-DC35 user guide

Xiaomi 70mai Dash Cam Lite user manual

Xiaomi

Xiaomi 70mai Dash Cam Lite user manual

Samsung PL70 Quick start manual

Samsung

Samsung PL70 Quick start manual

GE E1680W user manual

GE

GE E1680W user manual

Canon EOS 1200D instruction manual

Canon

Canon EOS 1200D instruction manual

Tevion MD 86497 user guide

Tevion

Tevion MD 86497 user guide

Exakta VX Features

Exakta

Exakta VX Features

Kodak Digital Science DC120 user guide

Kodak

Kodak Digital Science DC120 user guide

Vectra Fitness H1 Quick reference guide

Vectra Fitness

Vectra Fitness H1 Quick reference guide

Olympus IR 500 - 4MP Digital Solutions Camera Manuel de Référence

Olympus

Olympus IR 500 - 4MP Digital Solutions Camera Manuel de Référence

Samsung EC-L100ZBBA brochure

Samsung

Samsung EC-L100ZBBA brochure

FujiFilm FINEPIX BL01124-201 owner's manual

FujiFilm

FujiFilm FINEPIX BL01124-201 owner's manual

Panasonic DMC-L10KPP Service manual

Panasonic

Panasonic DMC-L10KPP Service manual

Hyundai Electric HYU-CC-CHBF12001 Quick installation guide

Hyundai Electric

Hyundai Electric HYU-CC-CHBF12001 Quick installation guide

Sony DSC-WX80 specification

Sony

Sony DSC-WX80 specification

Olympus CAMEDIA C-3030ZOOM overview

Olympus

Olympus CAMEDIA C-3030ZOOM overview

Teledyne Piranha4 user manual

Teledyne

Teledyne Piranha4 user manual

Kodak EasyShare M532 Extended user guide

Kodak

Kodak EasyShare M532 Extended user guide

manuals.online logo
manuals.online logoBrands
  • About & Mission
  • Contact us
  • Privacy Policy
  • Terms and Conditions

Copyright 2025 Manuals.Online. All Rights Reserved.

Nikon
COOLP,X
DIGITAL CAMERA
$3000
User's Manual
o
o
86
The following options are available in the playback menu.
r_,_ Quick retouch _ 100
Easily create retouched copies in which contrast and saturation have been enhanced.
_t_ D-Lighting _ 101
Enhances brightness and contrast in dark portions of pictures.
Skin softening _ 102
The camera detects faces and creates a copy of the picture with softer skin tones in
the faces of portrait subjects.
_, Print set _ 87
Select pictures to print and the number of copies for each,
Slide show _ 91
View pictures stored in the internal memory or on a memory card in an automatic
slide show,
1_ Delete _ 32
Delete _ or seJec_eoolc_ure_
011 Protect _ 34
Protect seJec_eo Dic_ures from accloema deletion.
_L_ Rotate image _ 9_
Change me onenta_lor of olc_ures.
[] Small aicture _ ]04
Create a sma][ copy or _ne curren[ OlCiure,
I_ Voice memo _ 9.5
Record voice memos fol alc[ures.
P._ Copy _ 37
Copy files between memory card and internal memory.
Displaying the Playback Menu
Pressthe [] button to enter playback mode ([_[_ 28).
Pressthe MENUbutton to display the playback menu.
÷ ...............
• Use the multi selector to choose and apply settings ([_ %.
• Press ti]e MENUbutton to exit ti]e playback menu.
Print Set (Creating a DPOF Print Order)
mode) -)' MENU(Playback menu) --) _3, Print set
When printing pictures stored on the memory card using any of the following
methods, the Print set option in the playback menu is used to create digital "print
orders" for printing on DPOF compatible devices.
• Inserting tile memory card into a DPOF compatible ([_ 166) printer's card slot
• Taking tile memory card to a digital photo lab
• Connecting tile camera to a PictBridge compatible ([_ 1(56) printer ([_ 119). A
print order can also be created for pictures stored in tile internal memory if tile
memory card is removed from tile camera.
,PresstheME,Ubutton,np,aybackmode
The playback menu is displayed.
2Use the multi selector to choose _:_ Print set
and press the _) button.
Proceed to step 4 when playing back in favorite pictures
mode, auto sort mode, or Wistby date mode.
iil: !t
o_
o
3Choose Select images and press the _)
button.
87
o
o
4 Choose pictures (up to 99) and the numberof
copies (up to nine) of each.
Pressthe multi selector • or • to select pictures, and
press • or • to specify the number of copies to be
printed.
Picture selected for printing can be recognized by the
check mark (_') icon and the numeral indicating the
number of copies to be printed. If no copies have been specified for pictures, the
selection is canceled.
Rotate the zoom control to T(% to switch to full-frame playback.
Rotate the zoom control to W(_;;_) to switch back to 12 thumbnail display.
Pressthe _) button when setting iscomplete.
.5 Choose whether or not to print shooting date
and photo information.
Choose Date and press the _) button to print the
shooting date on all pictures in the print order.
Choose Info and press the _) button to print shutter
speed and aperture information on all pictures in the
print order.
Choose Done and press the _) button to complete the print order and exit.
Pictures selected for printing are recognized by the
icon displayed with playback.
88
Notes on Print Set
When a print order is created in _vorite pictures mode, auto sort mode or list by date mode, the
screen shown below is displayed if pictures other than those in the album, the selected category, or
taken on the selected shooting date, have been marked _r printing,
• Select Yes to add pictures in the selected album or category, or taken on the selected shooting
date, to the existing print order.
• Select No to remove print marking from previously marked pictures and restrict the print order to
pictures in the selected album or category, or taken on the selected shooting date,
Favorite pictures mode/
auto sort mode List by date mode o_
If the total number of the pictu res in a print order exceeds 9g, the screen shown below will be
displayed, o
]
• Select Yes to remove pictures previously added from the print order and restrict the print order to
pictures just marked.
• Select Cancel to remove the pictu res just added from the print order and restrict the print order to g-
pictures previously marked.
Favorite pictures mode/
auto sort mode List by date mode
89
_1_ Notes on Printing Shooting Date and Photo Information
When the Date and Info options are enabled in the print set option, shooting date and photo
information are printed on pictures when a DPOF compatible (_ 166) printer which supports
printing of shooting date and photo information is used.
• Photo information cannot be printed when the camera is connected directly to a printer, via the
supplied USB cable, for DPOF printing (_ 124).
• Note that Date and Info settings are reset when the print set option is displayed,
• The date printed is that recorded when the picture was taken,
Changing the camera's date using the Date option in the setup
menu after a picture has been taken has no affect on the date
printed on the picture.
o
r_
[] Canceling Existing Print Order
Select Delete print set in step 3 of"Print Set (Creating a DPOF Print Order)" (_ 87) and press the
button to remove print marking from all pictures and cancel the print order.
[] Date Imprint
When date and time of recording are imprinted on pictures using the Date imprint option
(_ 133) in setup menu, pictures are recorded with shooting date and time imprinted on the
picture when they are taken, Pictures with the date imprinted on them can be printed from printers
that do not support printing of the date on pictures,
Only the date and time imprinted on pictures with the date imprint option will be printed, even if
the Print set date option is enabled,
9O
Slide Show
mode) -) MENU(Playback menu) -.) _ Slide show
Play back pictures stored in the internal memory or on a memory card one by one
in an automated "slide show."
IUse the multi selector to choose Start and
press the _) button.
To change the interval between pictures, choose Frame
intvl, select the desired interval time, and press the _)
button before choosing Start.
To repeat the slide show automatically, choose Loop and
press the _) button before choosing Start. The check
mark (ql_) will be added to the loop option when enabled.
2The slide show begins.
While the slide show is in progress, the following
operations are available:
Pressthe multi selector • to display the subsequent
picture or 4to display the previous picture. Hold down
either button to fast forward or rewind.
Pressthe _) button to pause the slide show.
o
o
R-
When the slide show ends or is paused, choose End and
press the _) button to return to the playback menu, or
choose Restart to play the slide show again.
_1_ Notes on Slide Show
•Only the first frame of movies (_ 11O)included in a slide show is displayed,
• The maximum playback time is up to 30 minutes even if Loop isenabled (_ 137), 91
Delete (Deleting Multiple Pictures)
mode) -_ MENU(Playback menu) -_ _ Delete
Delete selected pictures or all pictures.
Erase Selected images
Select pictures from the picture selection screen and delete them. See "Selecting
Pictures" (_[_ 93) for more information.
Erase all images
Delete all pictures. In favorite pictures, auto sort, and list by date mode, all pictures
in tile album or auto sort category currently displayed, or taken on the selected
date, are deleted. Albums and auto sort categories themselves are not deleted.
o
92
Notes on Deletion
• Once deleted, pictures cannot be recovered, Transfer important images to a computer before
deletion.
Pictures marked with the _ icon are protected and cannot be deleted (_ 94).
Selecting Pictures
Tile picture selection screen like that shown at right is
displayed with tile following menu selections:
• Playback menu: Print set>Select images
(_ 87), Delete>Erase selected images (_ 92),
Protect (_ 94), Rotate image (_ 94), and
Copy>Selected images (_ 97)
•Setup menu: Welcome screen>Select an image
(_ 12s)
Follow the procedures described below to choose the pictures.
1 Press the multi selector _ or i_ to choose the
desired picture, o_
Only one picture can be selected at a time for Rotate g
image and Welcome screen. Proceed to step 3. o
Rotate the zoom control to T(q) to switch to full-frame
playback or W([]) to switch back to 12-thumbnail
display, g-
2Press • or • to select or deselect (or to
specify the number of copies).
When a picture isselected, a check mark (_) is displayed
with the picture. Repeat steps 1and 2to select additional
pictures.
3Press the _) button to finalize selection.
When Erase selected images is selected, aconfirmation dialog is displayed. Follow the
instructions displayed in the monitor.
93
O_ Protect
mode) -_ MENU(Playbackmenu) -_ @,nProtect
Protect selected pictures from accidental deletion.
Select pictures to protect or cancel protection for previously protected pictures
from the picture selection screen. See "Selecting Pictures" ([_ 93) for more
information.
Note that formatting the camera's internal memory or the memory card will
permanently delete protected files ([_ 138).
Protected pictures are recognized by the @_ icon ([_ 7, 70).
o
o
n
ec_ Rotate Image
mode) -_ MENU(Playbackmenu)-_ _L_Rotateimage
Specify the orientation in which recorded pictures are displayed with playback.
Still pictures can be rotated 90 degrees clockwise or 90 degrees counterclockwise.
Pictures that were recorded in portrait ("tall") orientation can be rotated up to 180
degrees in either direction.
Select a picture in the picture selection screen ([_[_g3). When the Rotate image
screen is displayed, press the multi selector 4or i_ to rotate the picture 9(}
degrees.
Rotate 90 degrees Rotate 90 degrees
counterclockwise clockwise
Pressthe _) button to finalize display orientation, and saveorientation data with
the picture.
94