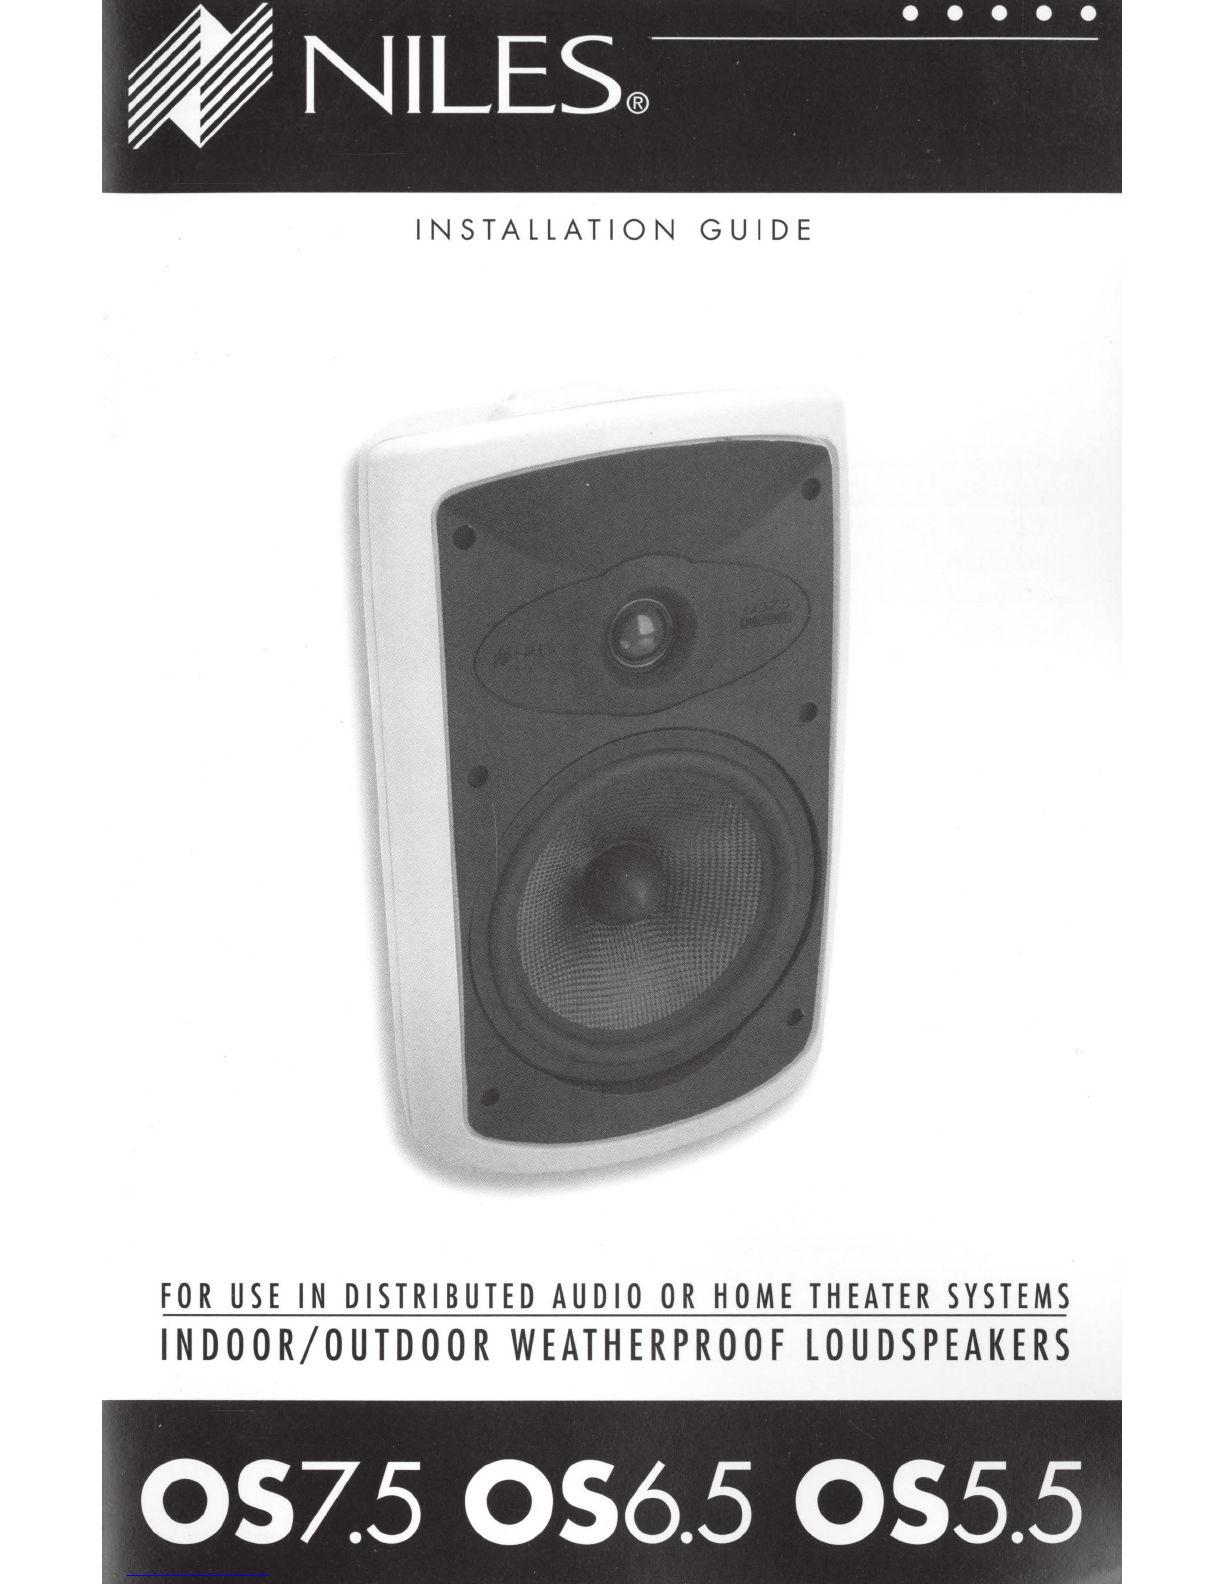
Niles 057.5 User manual
Other Niles Speakers manuals

Niles
Niles PHD30 User manual

Niles
Niles AT8000 User manual

Niles
Niles 77 Installation guide

Niles
Niles HD-CTRBX Original operating instructions

Niles
Niles CM730DSFX User manual

Niles
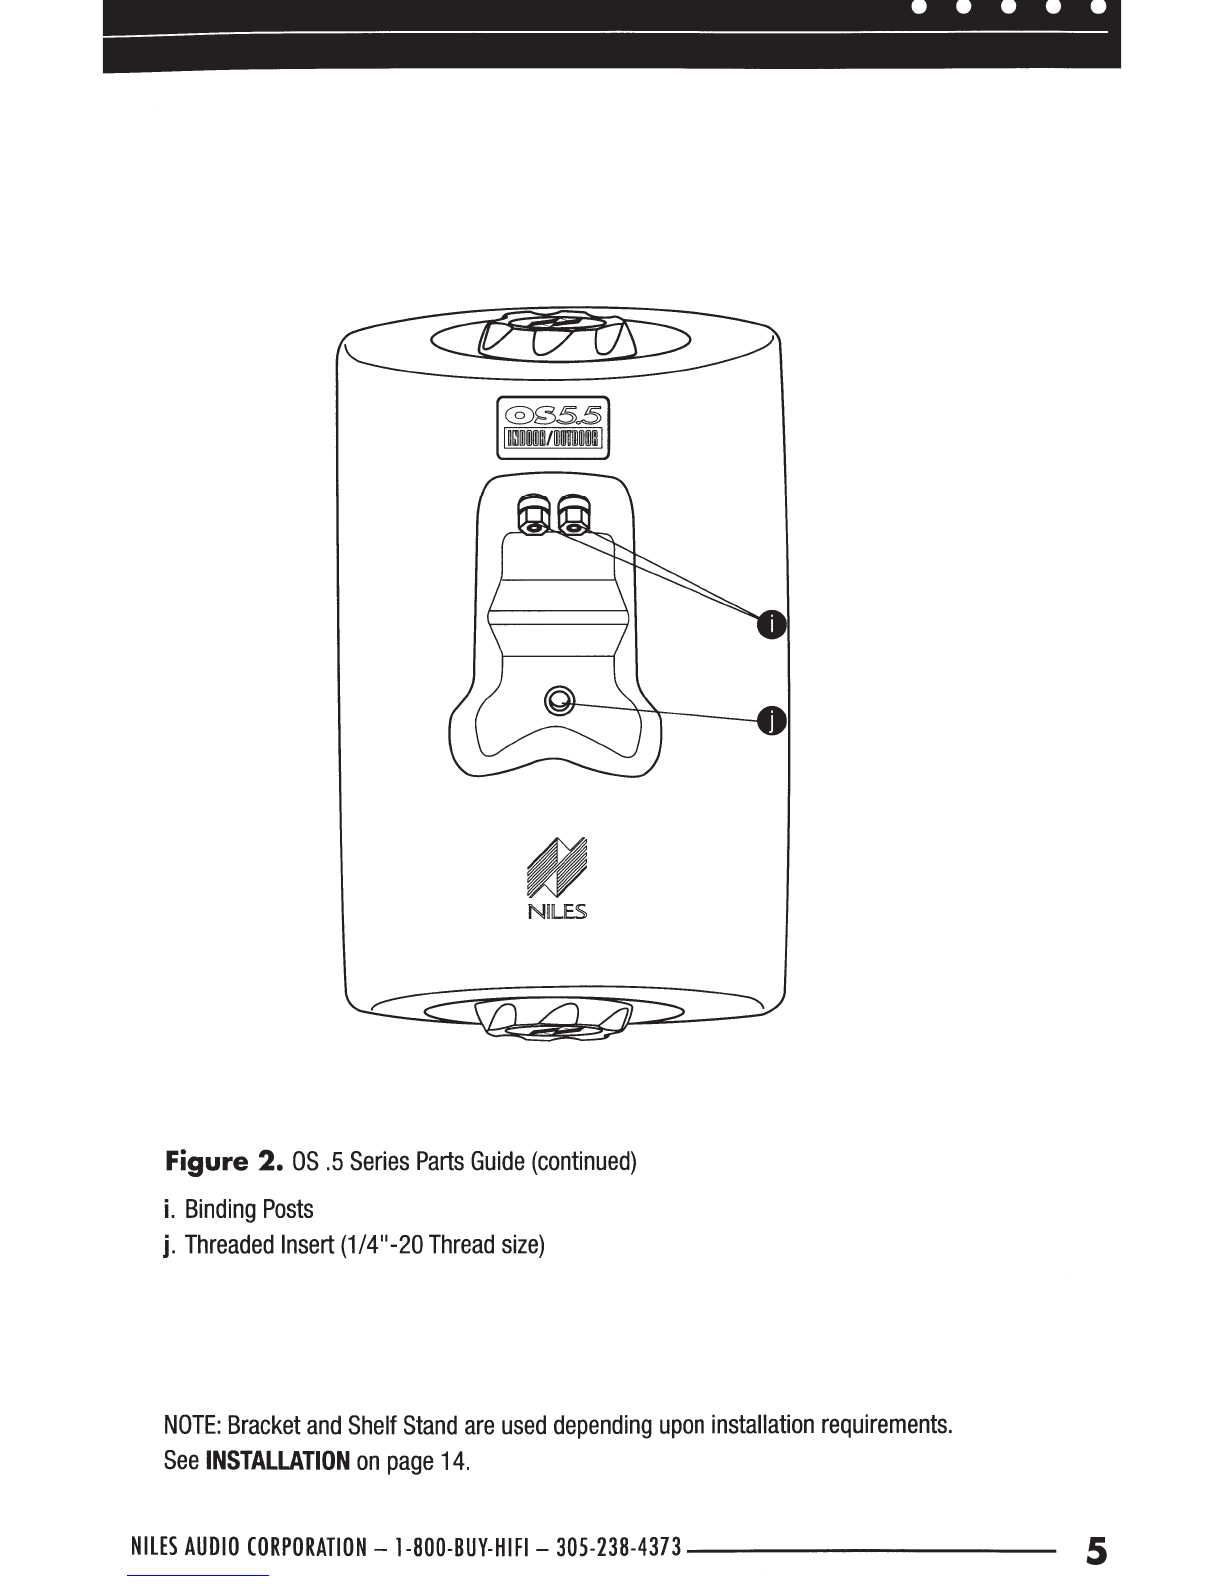
Niles OS5.5 User manual

Niles
Niles HDLCR User manual

Niles
Niles RS5 Coral User manual

Niles
Niles DS6.3 User manual

Niles
Niles Directed Soundfield DS6.5 Original operating instructions

Niles
Niles StageFront Home Theater SolutionsPro770FX User manual

Niles
Niles HDLCR User manual

Niles
Niles RS8Si Speckled Granite User manual

Niles
Niles Directed Soundfield DS7FX User manual

Niles
Niles OS6 Original operating instructions

Niles
Niles CM77 User manual

Niles
Niles RS6 Granite User manual

Niles
Niles Directed Soundfield DS6.5 User manual

Niles
Niles PERFORMANCE PR5 Original operating instructions

Niles
Niles StageFront Home Theater SolutionsPro870FX User manual