-
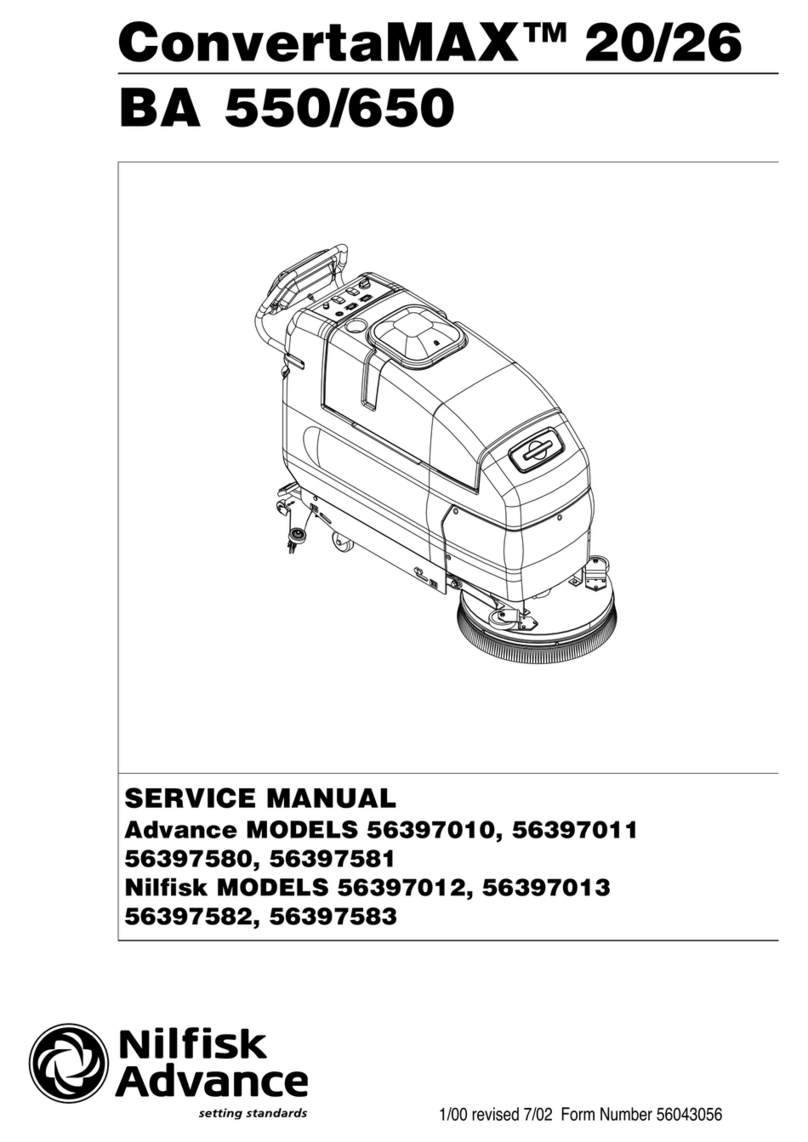
FORM NO. 56043057 / ConvertaMAX
™
-
™
TABLE OF CONTENTS
GENERAL INFORMATION .................................................................................................................................................. 2
SAFETY INSTRUCTIONS....................................................................................................................................................3
SPECIFICATIONS & MAINTENANCE ............................................................................................................................. 4-6
PM CHECKLIST ...................................................................................................................................................................7
KNOW YOUR MACHINE ............................................................................................................................................... 9-13
SOLUTION SYSTEM ................................................................................................................................................... 14-19
FUNCTIONAL OVERVIEW .............................................................................................................................................. 14
TROUBLESHOOTING GUIDE & SYSTEM MAINTENANCE ........................................................................................... 15
SOLUTION SOLENOID VALVE REMOVAL (BEFORE SN BREAK) ...............................................................................15
SOLUTION VALVE DISASSEMBLY AND CLEANING (BEFORE SN BREAK) ...............................................................16
SOLUTION FILTER REMOVAL (BEFORE SN BREAK) ..................................................................................................16
SOLUTION FLOW CONTROL VALVE REMOVAL (BEFORE SN BREAK ......................................................................16
SOLUTION SOLENOID VALVE REMOVAL (AFTER SN BREAK) ..................................................................................18
SOLUTION VALVE DISASSEMBLY AND CLEANING (AFTER SN BREAK) ..................................................................18
SOLUTION FILTER REMOVAL (AFTER SN BREAK) .....................................................................................................18
SOLUTION FLOW CONTROL VALVE REMOVAL (AFTER SN BREAK) ........................................................................19
SCRUB BRUSH SYSTEM............................................................................................................................................ 20-24
GENERAL BRUSH SYSTEM FUNCTIONAL OVERVIEW ...............................................................................................20
SCRUB BRUSH SYSTEM TROUBLESHOOTING .......................................................................................................... 22
28/34 BRUSH DECK REMOVAL .....................................................................................................................................23
SCRUB BRUSH LIFT ACTUATOR REMOVAL................................................................................................................ 23
SCRUB BRUSH MOTOR/GEARBOX REMOVAL ............................................................................................................ 23
RECOVERY SYSTEM.................................................................................................................................................. 25-27
FUNCTIONAL OVERVIEW .............................................................................................................................................. 25
VACUUM/RECOVERY SYSTEM MAINTENANCE CHECKLIST .....................................................................................26
TROUBLESHOOTING GUIDE ......................................................................................................................................... 26
MAINTENANCE OF FLOAT CAGE AND FLOAT DUCT ................................................................................................. 26
VACUUM MOTOR REMOVAL .........................................................................................................................................26
RECOVERY TANK REMOVAL ........................................................................................................................................ 26
SQUEEGEE SYSTEM.................................................................................................................................................. 28-31
SQUEEGEE SYSTEM LIFT MOTOR OVERVIEW ..........................................................................................................28
OPERATIONAL OVERVIEW OF THE SQUEEGEE LIFT MOTOR REVERSE FUNCTION ............................................28
REVERSE SWITCH INSTALLATION AND ADJUSTMENT .............................................................................................29
SQUEEGEE LIFT ACTUATOR MOTOR REMOVAL .......................................................................................................30
SQUEEGEE TOOL BLADE(S) REPLACEMENT .............................................................................................................30
SQUEEGEE ADJUSTMENT ............................................................................................................................................ 30
WHEEL DRIVE SYSTEM ............................................................................................................................................. 32-43
GENERAL FUNCTIONAL OVERVIEW ...................................................................................................................... 32-33
TROUBLESHOOTING GUIDE ................................................................................................................................... 34-36
PARKING BRAKE OPERATION ......................................................................................................................................37
BRAKE ASSEMBLY REMOVAL ......................................................................................................................................37
BRAKE CALIPER ADJUSTMENT ....................................................................................................................................37
DRIVE MOTOR REMOVAL.............................................................................................................................................. 37
DRIVE WHEEL REMOVAL .............................................................................................................................................. 38
CHAIN REMOVAL AND ADJUSTMENT .................................................................................................................... 38-39
POTENTIOMETER (5K) TESTING AND REMOVAL (FOR MACHINES BUILT BEFORE DEC. 1 2000) ....................... 40
POTENTIOMETER INSTALLATION AND ADJUSTMENT (MACHINES BEFORE DEC. 1, 2000) ................................. 41
POTENTIOMETER (5K) TESTING AND REMOVAL (FOR MACHINES BUILT AFTER DEC. 1, 2000) ......................... 42
POTENTIOMETER INSTALLATION AND ADJUSTMENT (MACHINES AFTER DEC. 1, 2000) .............................. 42-43
POTENTIOMETER (100K) WHEEL DRIVE SPEED LIMIT TESTING (ALL MODELS) ...................................................43
revised 12/02
