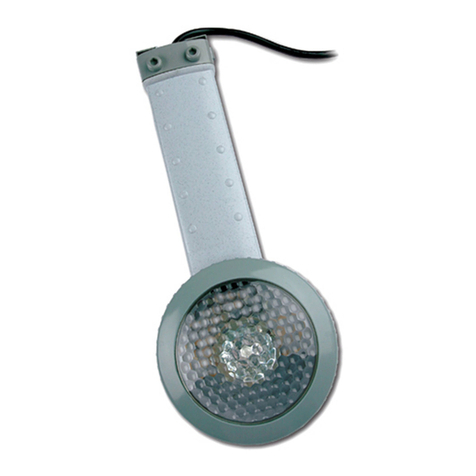
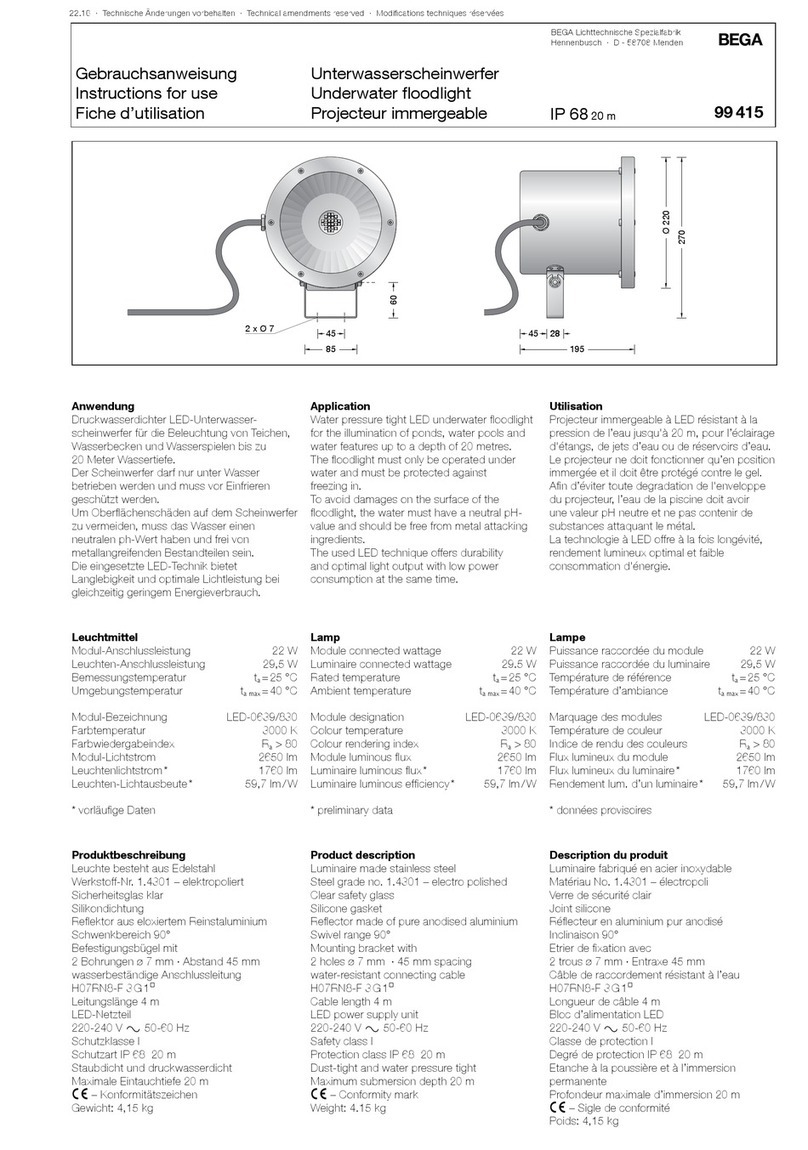
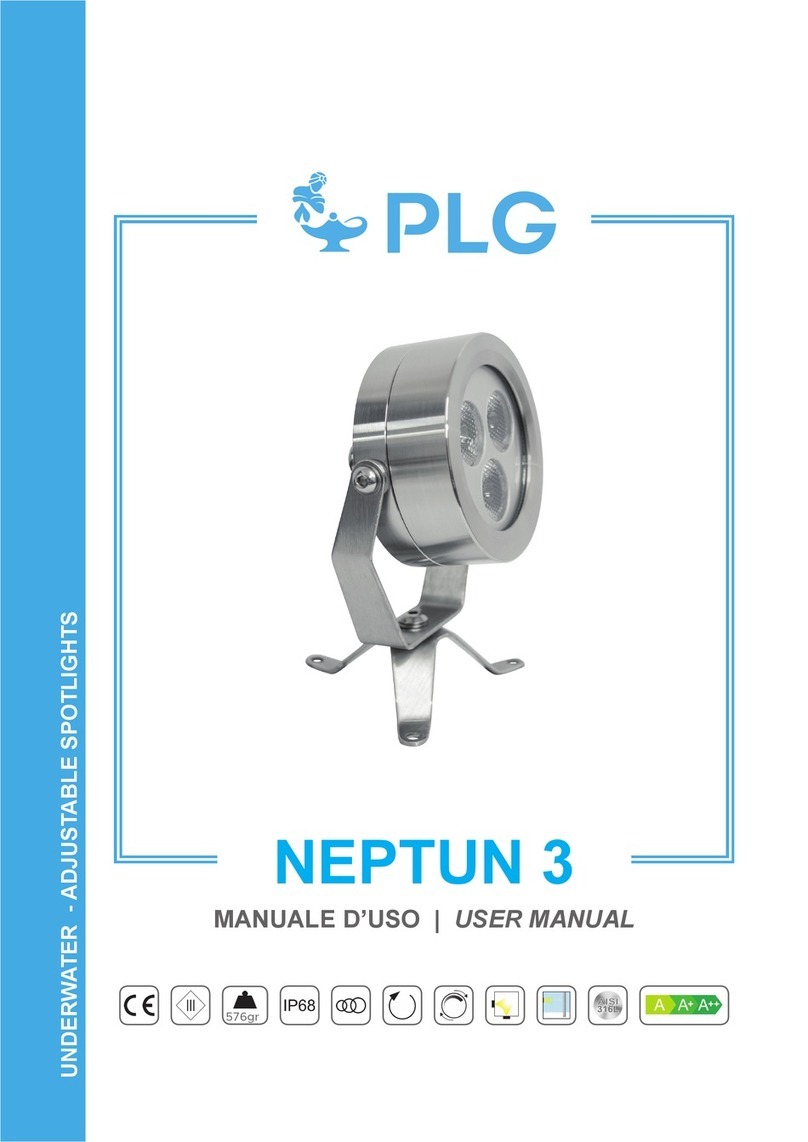
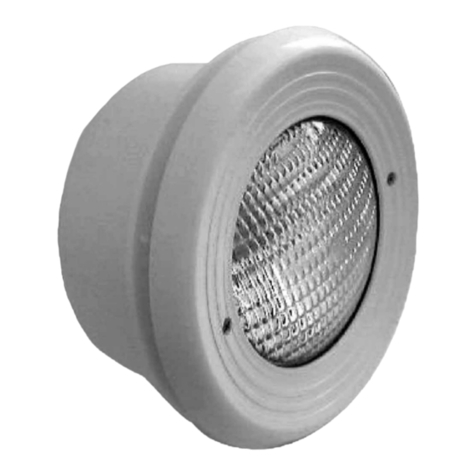
Nitelighter NL50 User manual

NL50_NL100 Man.Ver 1.0_2_2018
WARNING: To reduce risk of injury, do not permit children to install or operate this product.
WARNING: DO NOT use an extension cord with this product - shock risk.
WARNING: DO NOT operate the product from inside the pool or while hands are wet.
WARNING: Power supply must be plu into a 110/120 VAC FCI protected outlet.
WARNING: DO NOT use this product if it is dama ed in anyway.
WARNING: Ensure the power supply is off the round and is not restin in standin water.
WARNING: DO NOT modify this product in any way - shock risk and will void warranty.
WARNING: Ensure all plu s are secure prior to operatin the product.
CAUTION: If ambient air temperature exceeds 115°F, protect the power supply from direct
sunli ht with a ventilated cover.
CAUTION: Never carry the power supply by the cord or pull the plu out of the outlet by the cord.
IMPORTANT: The li ht must be submer ed at or below the minimum level requirement noted
in the manual to extend the life of the li ht and to preserve the warranty.
IMPORTANT: This li ht is not compatible with all pools includin soft sided pools.
UNDERWATER LIGHT INSTALLATION/OPERATION MANUAL
®
TABLE OF CONTENTS
Important Safety Instructions . . . . . . . . . . . . . . . . . . . . . . . . . . . . . . . . . . . . . . . .1
List of Contents . . . . . . . . . . . . . . . . . . . . . . . . . . . . . . . . . . . . . . . . . . . . . . . . . .2
Testing Light Function . . . . . . . . . . . . . . . . . . . . . . . . . . . . . . . . . . . . . . . . . . . . .2
Installing the Light . . . . . . . . . . . . . . . . . . . . . . . . . . . . . . . . . . . . . . . . . . . . . . . .3
Operating the Light . . . . . . . . . . . . . . . . . . . . . . . . . . . . . . . . . . . . . . . . . . . . . . .3
Winteri ation . . . . . . . . . . . . . . . . . . . . . . . . . . . . . . . . . . . . . . . . . . . . . . . . . . . .3
Troubleshooting . . . . . . . . . . . . . . . . . . . . . . . . . . . . . . . . . . . . . . . . . . . . . . . . . .4
Warranty . . . . . . . . . . . . . . . . . . . . . . . . . . . . . . . . . . . . . . . . . . . . . . . . . . . . . . . .4
Models: NL50 and NL100
IMPORTANT: Keep this manual for future reference.
IMPORTANT SAFETY INSTRUCTIONS
READ AND FOLLOW ALL INSTRUCTIONS

2
NL50_NL100 Man.Ver 1.0_2_2018
LIST OF CONTENTS
ITEM DESCRIPTION
A Power Supply
B Mountin Screw
C Thumb Wheel
D Li ht
TESTING LIGHT FUNCTION
IMPORTANT: This is a quick ON and OFF test to ensure the li ht is operational prior to installin the
li ht. The li ht should not be operated out of water for any extended period of time.
1. Connect the power supply to the li ht by ali nin the end of the cord with the socket on the power supply and
securin the threaded collar until it is hand ti ht (Fi . 1 and 2).
2. Plu the li ht into a GFCI protected outlet.
3. Press and release the button on the power supply (Fi 3). The li ht should illuminate.
4. Once the li ht has turned on, press and release the button on the power supply to turn the li ht off.
5. Unplu the cord from the GFCI outlet.
NOTE: If the li ht does not turn ON, proceed to the TROUBLESHOOTING section of this manual.
FIGURE 1 FIGURE 2 FIGURE 3

3NL50_NL100 Man.Ver 1.0_2_2018
FIGURE 5
FIGURE 4
Wire Channel
Thumb Wheel
FIGURE 6
INSTALLING THE LIGHT
1. Ensure the wire from the li ht is connected to the power supply as in the TEST LIGHT FUNCTION section
(Fi 1 and 2).
2. Walk the li ht to the location where it will be installed and ensure there is enou h wire to reach that location
and the outlet without puttin stress on the cable, li ht or power supply.
3. Remove the top cap of the pool’s vertical post nearest to the point of installation.
4. Lift one side of the pool’s top led e - screws may have to be removed (Fi 4).
5. Slide the li ht onto the pool wall so that the li ht is centered in the middle of the top led e.
6. Hold the li ht so the mountin bracket is flush with the top of the pool wall and turn the Thumb Wheel in a
clockwise direction to secure the li ht to the wall (Fi 5).
7. Be sure the wire runs throu h the Wire Channel of the Mountin Bracket.
8. Reinstall the top led e and cap.
9. Ensure the water level is above the minimum water line on the li ht which is indicated by the first row of dots
above the li ht housin - add water if needed (Fi 6).
10. Mount the transformer to a vertical surface that is at least 18 inches from the round usin the provided screw.
OPERATING THE LIGHT
1. Ensure the connection between the li ht cord and power supply is secure.
2. Ensure the water level is above the minimum water line on the li ht which is indicated by the first row of dots
above the li ht housin - add water if needed (Fi 6).
3. Plu the 3 pron ed cord into a GFCI outlet.
4. Press and release the button on the power supply (Fi 3) - the li ht will illuminate.
5. The li ht will turn off automatically in 2 hours or the button on the power supply can be pressed to turn the
li ht off manually.
WINTERI ATION
IMPORTANT: Failure to winterize the li ht and power supply properly may dama e the product and will void the
product warranty.
1. Unplu the power supply from the outlet.
2. Disconnect the cable from the li ht to the power supply.
3. Remove the li ht from the pool by followin steps 3-8 in the installation with the exception of removin the
li ht instead of installin the li ht.
4. Store the li ht and power supply in an area that will remain above 50°F.

4
NL50_NL100 Man.Ver 1.0_2_2018
TROUBLESHOOTING
If the li ht is not operatin correctly, please follow the steps below to help identify the cause.
1. Ensure the GFCI is workin properly and reset the outlet if necessary.
2. DO NOT use an extension cord. If one is bein used, remove it from the product and plu the power supply
directly into a GFCI protected outlet.
3. Ensure the wire from the li ht to the power supply is connected properly.
If you are still experiencin an issue with your li ht, please contact Technical Support at 732-730-9880, M-F,
9:00am - 5:00pm EST.
SIX MONTH LIMITED WARRANTY
Six month limited warranty from date of ori inal purchase for manufacturin defects under normal and reasonable use,
and subject to the maintenance requirements and installation uidelines set forth in the product instruction manual.
THIS WARRANTY IS SUBJECT TO THE TERMS, LIMITATIONS AND EXCLUSIONS DESCRIBED BELOW, AND
THERE ARE NO OTHER WARRANTIES OR REPRESENTATIONS, EITHER EXPRESS OR IMPLIED, WHETHER
OF MERCHANTABILITY, FITNESS FOR A PARTICULAR PURPOSE, OR OTHER, MADE BY THE MANUFAC-
TURER, OTHER THAN THOSE SPECIFICALLY SET FORTH IN THIS WRITTEN WARRANTY
What is Covered: SmartPool LLC warrant it electronic product to be free from defect in material and workman hip
when leaving the factory.
What is not Covered: Any type of damage to the product due to improper in tallation, maintenance, or failure to pro-
vide nece ary and rea onable maintenance; any damage or injury cau ed by mi u e and/or unrea onable u e of the
product; batterie (if applicable); damage due to or related to improper draining, winterizing, torage or Act of God;
SmartPool LLC will not honor any claim for damage to any product in tran it unle damage to the hipping container
i noted at the time of delivery on the tran fer company’ delivery bill.
THE WARRANTY OBLIGATIONS OF SMARTPOOL LLC ARE LIMITED TO REPAIR OR REPLACEMENT OF THE PRODUCT OR
OF ANY DEFECTIVE COMPONENT, AT THE OPTION OF SMARTPOOL. UNDER NO CIRCUMSTANCES WILL SMARTPOOL LLC
BE LIABLE OR RESPONSIBLE FOR ANY CONSEQUENTIAL OR INCIDENTAL DAMAGES, AND/OR CHARGES FOR LABOR.
SMARTPOOL SHALL NOT BE LIABLE OR RESPONSIBLE UNDER ANY CIRCUMSTANCES OR ANY AMOUNT FOR ANY CON-
SEQUENTIAL OR INCIDENTAL DAMAGES, OR FOR ANY INJURIES OR DAMAGES TO PERSON OR PROPERTY USING OR
USED IN CONNECTION WITH THE PRODUCT, OR FOR ANY OTHER LOSS OF PROFITS OR OTHER COSTS OR EXPENSES OF
ANY KIND OR CHARACTER. IF SMARTPOOL LLC DETERMINES THAT EITHER REPAIR OR REPLACEMENT OF THE PRODUCT
IS NECESSARY, SMARTPOOL MAY EITHER REPAIR THE PRODUCT AT A NOMINAL CHARGE TO THE OWNER OR REPLACE
THE PRODUCT. THE OWNER BEARS THE SOLE RESPONSIBILITY FOR PRE-PAID RETURN OF THE PRODUCT TO SMART-
POOL, AND ALL REPAIRED OR REPLACED PRODUCTS WILL BE RETURNED AT THE OWNER’S EXPENSE.
NO PERSON, FIRM, OR CORPORATION IS AUTHORI ED TO MAKE REPRESENTATIONS OR INCUR ANY OBLIGATIONS IN
THE NAME OF OR ON BEHALF OF SMARTPOOL LLC, EXCEPT AS STATED HEREIN. THE REMEDIES SET FORTH IN THIS
WARRANTY ARE EXPRESSLY UNDERSTOOD TO BE THE EXCLUSIVE REMEDIES AVAILABLE TO THE OWNER, AND THIS
WARRANTY CONTAINS THE FULL AND COMPLETE AGREEMENT BETWEEN SMARTPOOL LLC AND THE OWNER. THIS
WARRANTY SETS FORTH THE ONLY OBLIGATIONS OF SMARTPOOL LLC, WITH REGARD TO THIS PRODUCT, AND THERE
ARE NO WARRANTIES WHICH EXTEND BEYOND THE DESCRIPTION ON THE FACE HEREOF.
The representations set forth herein are the only representations made y SmartPool LLC, with respect to the
product, and this warranty does not constitute either a performance or satisfaction guarantee. It is the respon-
si ility of the product owner to regularly test and check the product for proper function and safety.
This warranty gives the original owner specific legal rights. You may have other rights depending on where
you live.
What you must do to file a claim: Call 1-732-730-9880 to initiate a claim.
This manual suits for next models
1
Table of contents
Other Nitelighter Underwater Lighting manuals
