NiteRider Pro 4200 MX User manual
PROTECTING YOUR INVESTMENT
Properly charge your battery to maximize its lifespan (see the
“Battery Charging and Care” section for detailed information).
The Pro 4200 MX will perform in wet weather conditions, but
submerging it in water will damage the system.
SUPPORT
If you experience diculties during product installation
or operation, NiteRider®provides free telephone support on
weekdays from 8:00 am to 4:30 pm (Pacic Time)
at 800.466.8366, Ext 4.
You may also e-mail us at support@niterider.com.
WARRANTY
NiteRider®stands behind its products with the following warranties:
•Lifetime warranty: Covers any defects in mechanical components
(housings, covers, mounts and fasteners) and LEDs
•2-year warranty: Printed circuit boards, switches,
and AC adapters
•1-year Warranty: Rechargeable battery cells
To obtain warranty service have your original sales receipt.
Contact the NiteRider®Customer Service
Department at 800.466.8366, Ext. 4 to obtain a Return
Merchandise Authorization (RMA) number. The RMA number
must be prominently displayed on the outside of your package.
The product must be properly packaged to prevent damage
in transit.
For complete warranty information, please visit our website
at www.NiteRider.com
RIDING AT NIGHT
While a Pro 4200 MX lighting system will improve your view,
control and enjoyment of night riding, please remember that
operating a motor vehicle at night is an inherently dangerous
activity. In addition to using your lighting system properly
and riding with extreme caution, NiteRider®urges you to:
•Never ride alone
•Always let someone know where you are going
• Wear a helmet and reective clothing
•Carry an auxiliary light and emergency supplies
•Make sure the headlamp, mounting bracket
and battery are securely fastened
•Always disconnect the battery from the headlamp
when transporting the light system
NiteRider®Technical Lighting Systems, Inc.
8295 Aero Place, Suite 200
San Diego, CA 92123
www.NiteRider.com
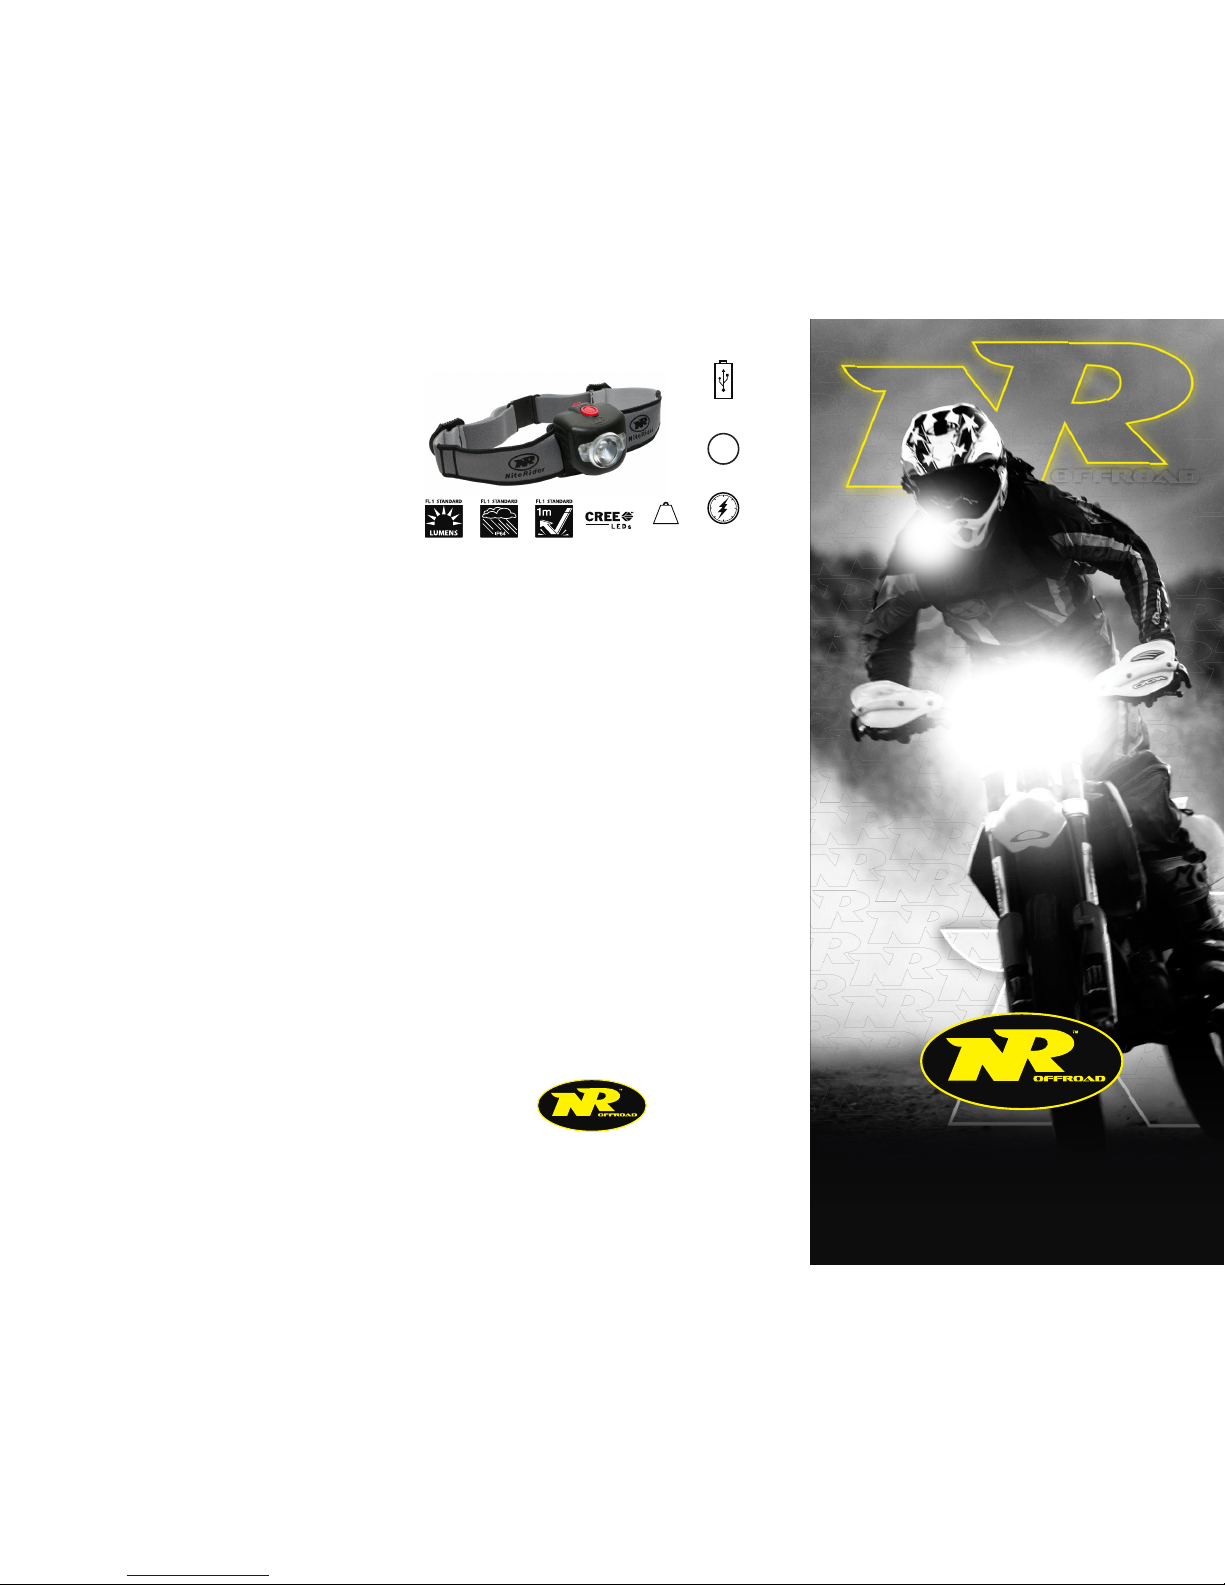
CHECK OUT SOME OF OUR OTHER LIGHTING SYSTEMS!
87g
g
The perfect all purpose light, ideal for getting light to all those
hard to see places on your bike!
FEATURES
• Ultra bright, all purpose USB rechargeable headlamp
• Tail Light clip ts most NiteRider Tail Lights (Tail Light sold separately)
• Super lightweight
• Exceptional run time
• Red Night Vision Mode (Does not disturb night time vision)
• Emergency red safety ash
• Comfortable, fully adjustable (ComfortFit™) Headband
• Lithium Polymer Battery
• Low Battery Indicator
9
MODES
2:30h
USB
RECHARGEABLE
ADVENTURE 320 – #8703
320
PRO 4200 MX LI-ION | HARDWIRE
USER GUIDE
INSTALLING THE SYSTEM continued
Hardwire Kit
1. Access the battery compartment.
2. Connect the hardwire adapter to the battery by securing the
black wire to the negative terminal and the red wire
to the positive terminal.
3. Connect the hardwire cable to the hardwire adapter and run the
cable to the preferred location.
4. Use the 36” extension cable if the hardwire cable is not long
enough to reach the headlamp on the helmet.
Battery Placement
1. After attaching the headlamp to the mount, run the headlamp
and extension cable toward the back of the helmet.
2. Place the supplied cable clips in the desired location to secure
the cable to the helmet.
3. After connecting the battery to the headlamp place the battery
in a pocket or pack, or use the supplied Velcro straps to
attached the battery in the desired location.
OPERATION
Headlamp Control
1. With the headlamp connected to the battery or hardwire kit,
press and release the power button to turn the light on.
2. Cycle through the four brightness levels by pressing and
releasing the power button.
3. To access the ash modes, press and hold the power button
until the headlamp starts to ash.
4. Cycle through the three ash modes by pressing and releasing
the power button.
5. To turn the headlamp o, press and hold the power button for
approximately 2 seconds.
6. Always disconnect the battery from the headlamp when
transporting the light system to prevent accidentally turning
on the headlamp which may cause overheating and potential
damage from high heat or even a risk of re.
DISCOVER THE NIGHT
Thank you for choosing the Pro 4200 MX from NiteRider®,
the innovator in technical lighting systems. The Pro 4200 MX
combines a high-powered headlamp with CREE®LEDs
and a Li-ion battery.
To get the most from your NiteRider®light, we urge you to
familiarize yourself with the following operating and safety
instructions.
PARTS LIST AND IDENTIFICATION
Please verify the contents of your lighting system:
Pro 4200 MX Helmet Light Li-Ion
•Pro 4200 MX Headlamp
•8-cell Li-Ion Battery
•Jawbone MX Helmet Mount
•Hardwire Harness Kit (cable and adapter)
•36” Extension Cable
•48” Extension Cable
•AC Adapter
Pro 4200 MX Hardwire
•Pro 4200 MX Headlamp
•Jawbone MX Helmet Mount
•Hardwire Harness Kit (cable and adapter)
•36” Extension Cable
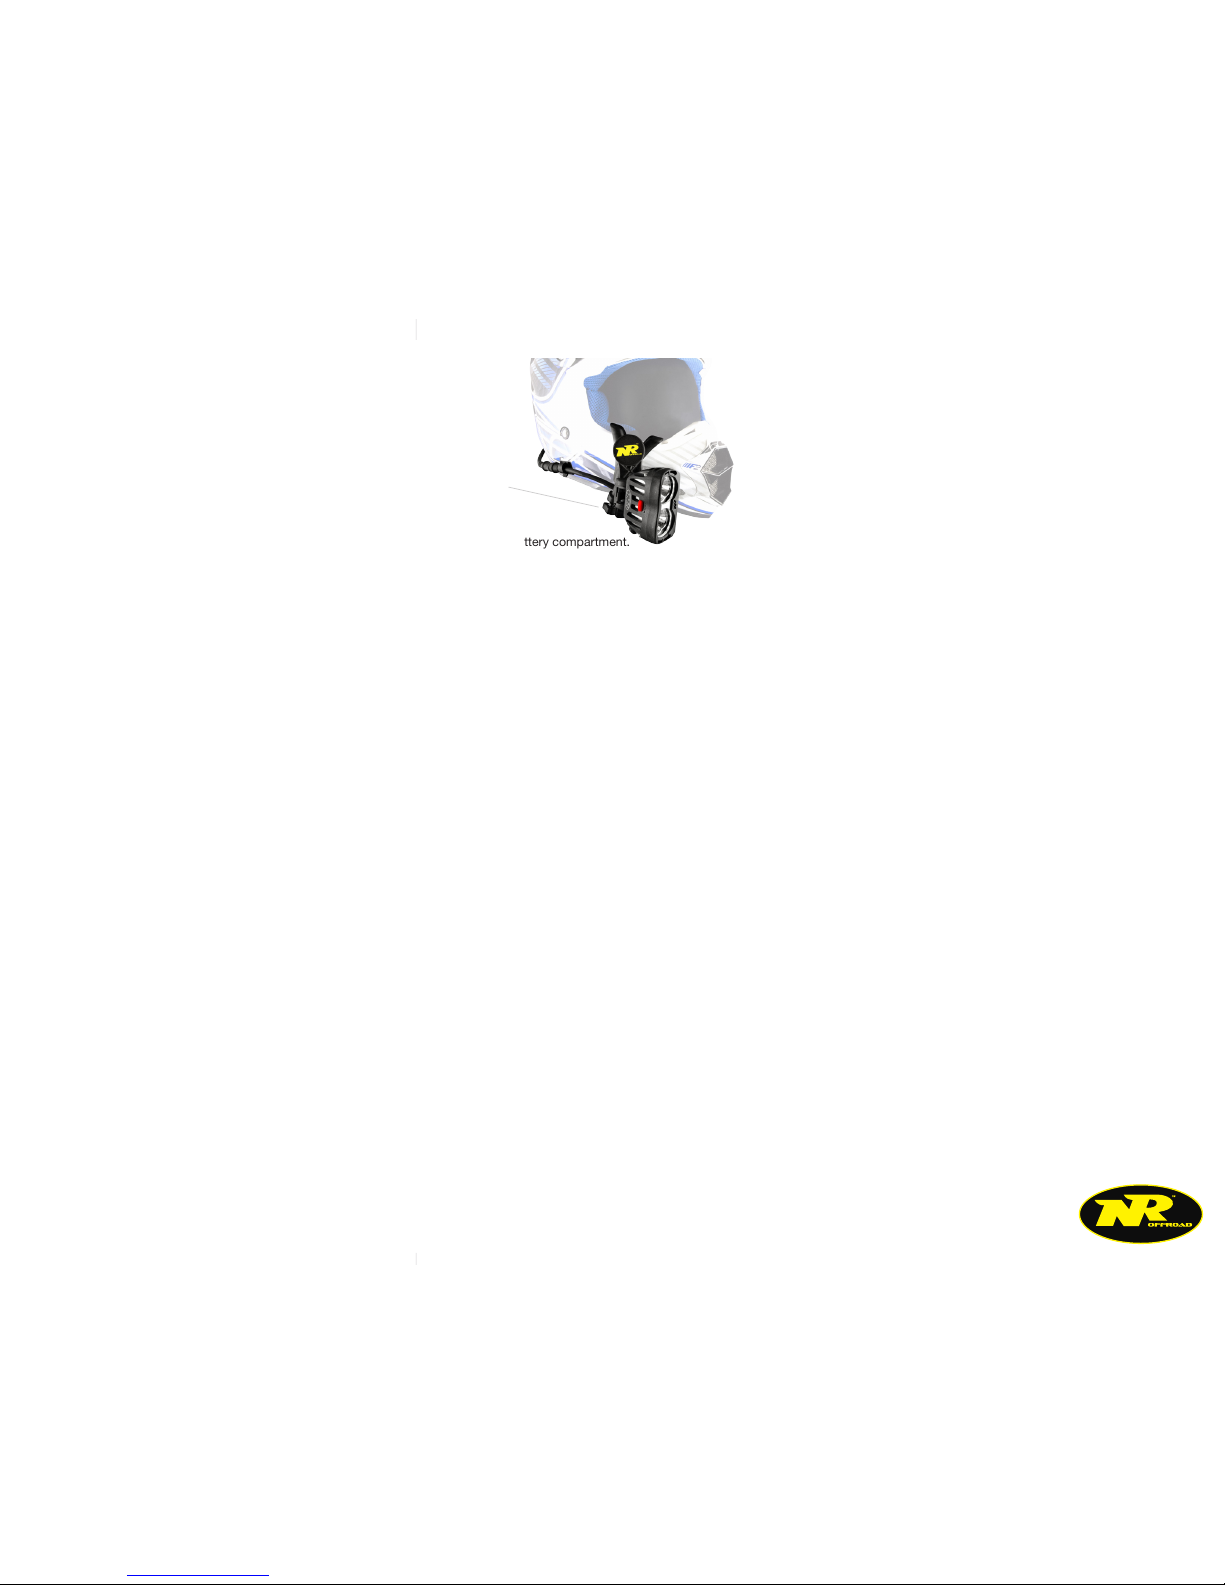
INSTALLING THE SYSTEM
Jawbone MX Mount
1. Loosen the thumbscrew enough to allow the mount to t over
the face guard.
2. Attach the mount to the preferred side of the face guard,
with the thumbscrew facing down.
3. Tighten the thumbscrew so that the mount is secure
and does not move excessively.
4. Insert the headlamp into the mount bracket from the rear
forward, making sure the release lever locks into place.
Then place the cable into the clip on the side
of the mount bracket.
5. To remove the headlamp, push the release lever
and slide the lamp backward out of the bracket.
Note: After mounting the headlamp, adjust it so the beam
illuminates the trail properly without distracting oncoming riders.
OPERATION continued
Fuel Gauge
The 8-step, LED Fuel Gauge is located on top of the headlamp
in front of the power button. When all four LEDs are lit solid green,
the battery is fully charged. As the battery discharges
⅛ increments of capacity, the LEDs from right to left,
successively go from solid green to blinking green, to out.
With only the nal ⅛ capacity remaining one LED blinks red.
At this time, the headlamp should be turned o and the
battery recharged.
BATTERY CHARGING
BATTERY CHARGING AND CARE
1. Plug the AC Adapter into an electric outlet, then plug the cable
from the AC Adapter into the battery.
2. The LED indicator on the battery will turn red while the battery
is charging. When the battery is fully charged, the LED will
turn blue.
3. Unplug the AC Adapter from the battery by grasping the
connectors rather than the cable.
4. Always store your battery away with a FULL charge.
For extended periods, charge the battery every three months
to maximize its lifespan.
RUN TIMES
Low 6:00h 1000 Lumens
Med 3:30h 2000 Lumens
High 1:30h 4200 Lumens
Flash 16:30h 1400 Lumens
Beacon 16:30h 1400 Lumens
S.O.S. 16:30h 1400 Lumens
Race 16:30h 600 Lumens
*Run times are approximations and will vary.
**Race mode is intended for endurance races.
Thumbscrew
Other NiteRider Headlamp manuals


