manuals.online logo
Brands
  1. Home
  2. •
  3. Brands
  4. •
  5. Nodal Ninja
  6. •
  7. Camera Accessories
  8. •
  9. Nodal Ninja GTPR10 User manual

Nodal Ninja GTPR10 User manual

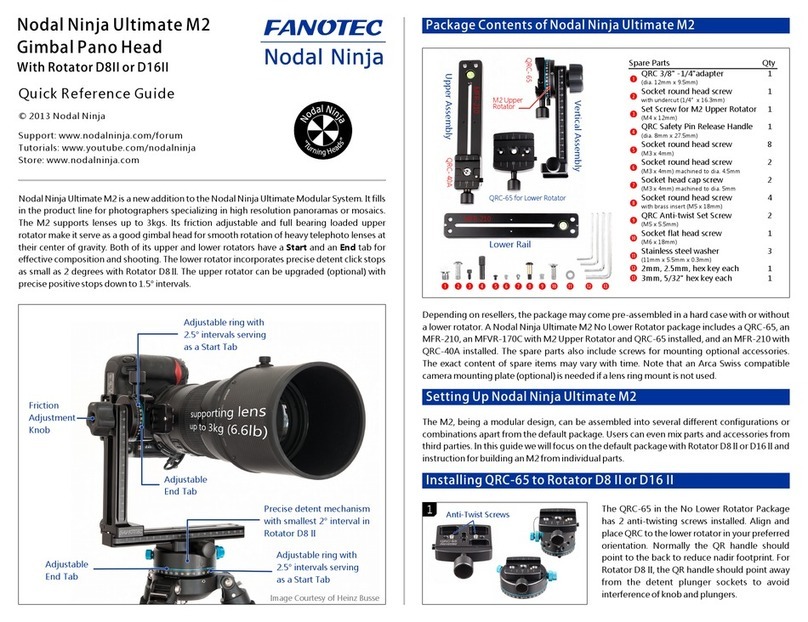
Nodal Ninja Ultimate R10 7.5° Tilt with lens ring for Sigma 8mm fisheye is a very portable and
easy to use package for Google Trusted Photographers.
© 2012 Nodal Ninja
Quick Reference Guide
GTPR10Packagefor
Sigma8mmf/3.5
forCanon
PackageContentsofR10GTPPackage
Support: www.nodalninja.com/forum
Tutorials: www.youtube.com/nodalninja
Store: store.nodalninja.com
MountingLensRingClampontheTiltHead
First of all, make sure the R10 head has an
upward tilt. If not, reinstall it.
Install the lens ring on the lens according to
its installation guide at the back. Mount the
lens on the camera. Mount lens ring on QR
clamp of R10. Tighten the clamp slightly.
1
InstallingR10TiltHeadandBubbleLevelonRotatorMini
Place the level on RM with bubble facing up. Place R10 tilt head on the level as shown. Align for
the mounting sockets. Install 2 M5 flat head screws to fix R10 head to RM.
Depending on resellers, the package may come pre-assembled or individually with R10 tilt
head, lens ring, Rotator Mini (RM) and compass bubble level.
Spare Parts Qty
1/4"-3/8" adapter 1
2mm hex key 1
2.5mm hex key 1
3mm hex key 1
M4 x 5 set screw 2
Slide the lens ring plate (LRP) to the NPP
setting. There are 3 lines marked on the QR
clamp. Use the center line for distance
reading. Other lines are 1.5mm apart from the
center line. Use them to assist reading to an
accuracy of 0.5 mm. Use the side opposite to
the QR handle for best accuracy.
NPP setting for 4 shots around 0.85. Check
that the LRP has “LRP40” labeled at the base.
2
Read 0.85
InstallingthePresetIntegratedStopPlateonLensRing
A preset integrated stop plate sets the
lens at the NPP quickly and precisely.
Verify the stop plate is marked ”102“. It is for
Sigma 8mm f/3.5 for Canon on R10 7.5° up tilt
and 4 shots around specifically.
Align the stop plate with the base of LRP.
Push to snap it in place.
Lined Up
Install the stop screw (came with the stop
plate) at the middle socket on the QR clamp.
Remove any other safety screw installed.
Mount the lens ring on the clamp. Slide until it
falls into the stop. Confirm the NNP reading is
0.85 (or 0.825 more precisely).
Install Stop
Screw Here
1
2
To orient the panorama in the map, move the
tripod so that the red pointer aligns with the
white mark on the compass. Now the camera
is pointing to the North. Look at the compass
from the front for best reading accuracy.
Level the R10 head by adjusting tripod legs or
a level adjustment device.
3
LensRingforSigma8mm
FisheyeCanonMount
© 2012 Nodal Ninja
Quick Reference Guide
Support: www.nodalninja.com/forum
Tutorials: www.youtube.com/nodalninja
Store: store.nodalninja.com
Manual focus is preferred for making
stitched panos. Turn the AF/MF switch to
MF. The focus distance scale will be hidden
by the lens ring. Users are recommended to
use tape to fix the focus ring at around
0.5-1m on the scale and use an aperture of
f/8. For best sharpness, do tests to find the
optimal focus distance and aperture
settings for different situations. If not taped,
the focus ring is still movable with the lens
ring installed. Users can use live view to set a
focus distance where the distant and near
objects are both in focus.
Alternatively, the distance scale can be
reproduced on visible area of the lens barrel
with labels. Turn the focus ring to the
desired distance. Place labels at the
positions indicated. Put Mark 1 on the label
on the focus ring. This is the new reference
mark. Then put Mark 2 on the label above.
To mark more distances, turn the focus ring
to other distances of interest and add the
marks. Mark 3 and Mark 4 are at focus
distances of 1m and 0.5m respectively.
A reference mark for roll angle can also be
added for accurate alignment.
Tape the Focus Ring
Mark 2
Mark 1
PreparingtheLensforRingMounting
1.5
Mark 3 1
1.5
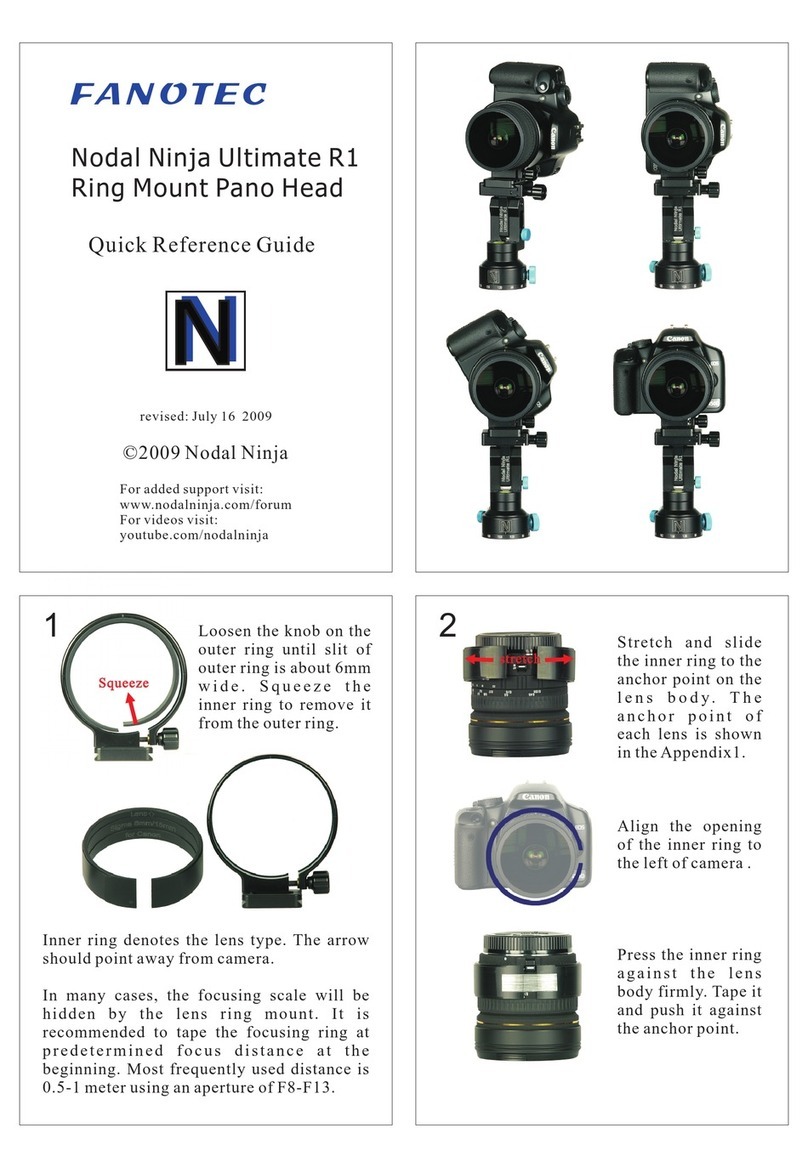
The lens ring consists of a metal outer ring and a plastic inner ring that fits the lens snugly. The
plastic ring allows reproducible mounting of lens and protects the lens from stress by
providing maximum area of contact to the lens.
InstallingtheLensRingtotheLens
Loosen the knob on the outer ring until its
slit is about 6mm (1/4”) wide. Squeeze to
take out the inner ring. Check the label on
the inner ring to confirm with the lens in use
and the direction of mounting. The arrow
should point to the front of lens.
Squeeze
Align the slit on the inner ring to AF/MF
switch on lens. Insert the lens. Stretch the
ring when necessary. Move it to a position
where it fits snugly. Keep even spacing
between the slit and AF/MF switch. Push it
against the anchor point to ensure
reproducible mounting and consistent NPP
settings.
Align the outer ring to the slit of inner ring.
Insert the outer ring (loosen its knob further
if needed) from the back of the lens. Tighten
its knob slightly. Rotate the outer ring so
that it snaps to the inner ring and rotates
smoothly. Align the notch below the lens
ring plate to the AF/MF switch. Tighten the
knob fully.
Fix the inner ring with a piece of tape about
40mm (1.5”) long. Stretch the tape so that
the ring will grasp the lens firmly. This
prevents movement of inner ring when
outer ring is rotated, thus protecting the
paint of lens barrel. Cut any tape that goes
beyond the trimmed area of the inner ring.
Mount the lens to the camera and it is now
ready for use on any Arca Swiss compatible
gear. The camera will be in portrait mode
with handgrip pointing up. Loosen the knob
on the ring to rotate to other angle. Use the
notches (at 30° interval) at the back of ring
to have accurate roll angle alignment. Use
the center of AF/MF switch as the reference.
Mark 4
Align to
AF/MF
switch
ReproducingFocusDistanceScale
Push
Anchor
Point
Add Reference Mark
for Camera Roll Angle
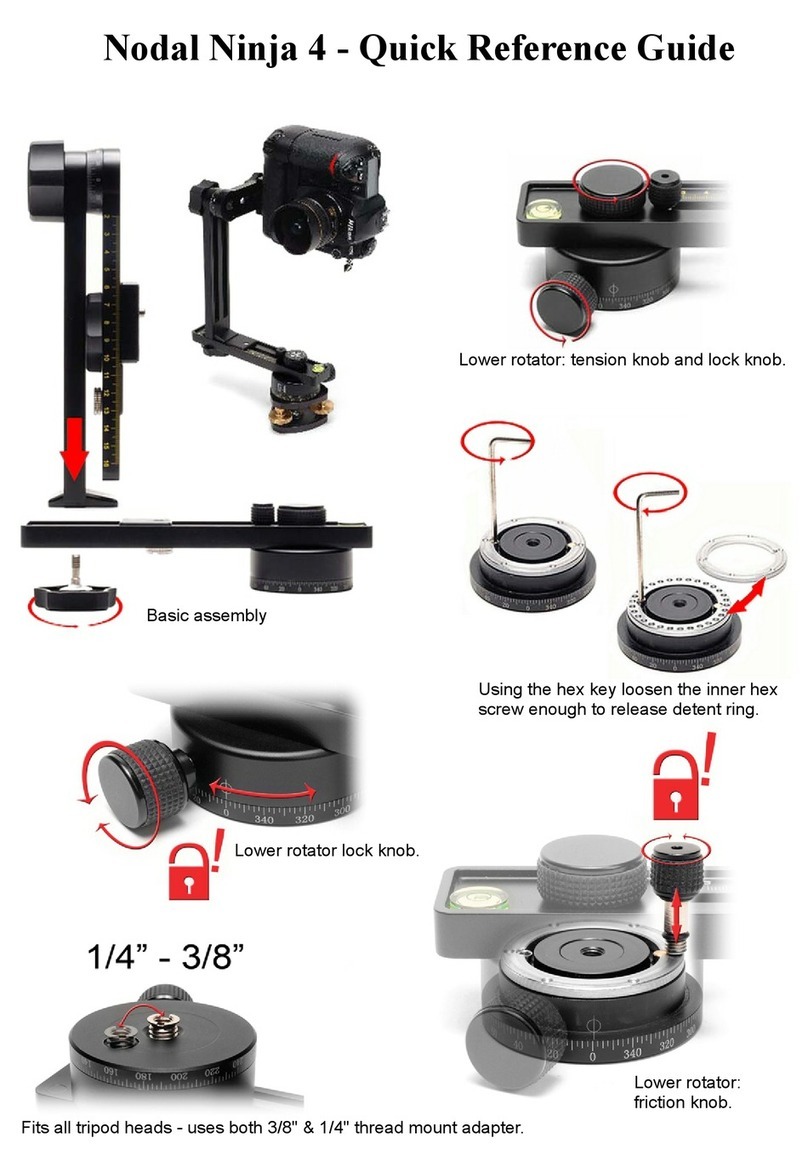
RemovingLensCoverFromSigma8mmFisheye
TipsandTricks
This is a potential pitfall for new users of this lens. The lens cover consists of a cap
and a short hood. The cap and hood need to be removed in order to get enough
angle of view for taking panos with 4 shots around.

Other Nodal Ninja Camera Accessories manuals

Nodal Ninja NN4 User manual

Nodal Ninja

Nodal Ninja NN4 User manual

Nodal Ninja 3 MKII User manual

Nodal Ninja

Nodal Ninja 3 MKII User manual

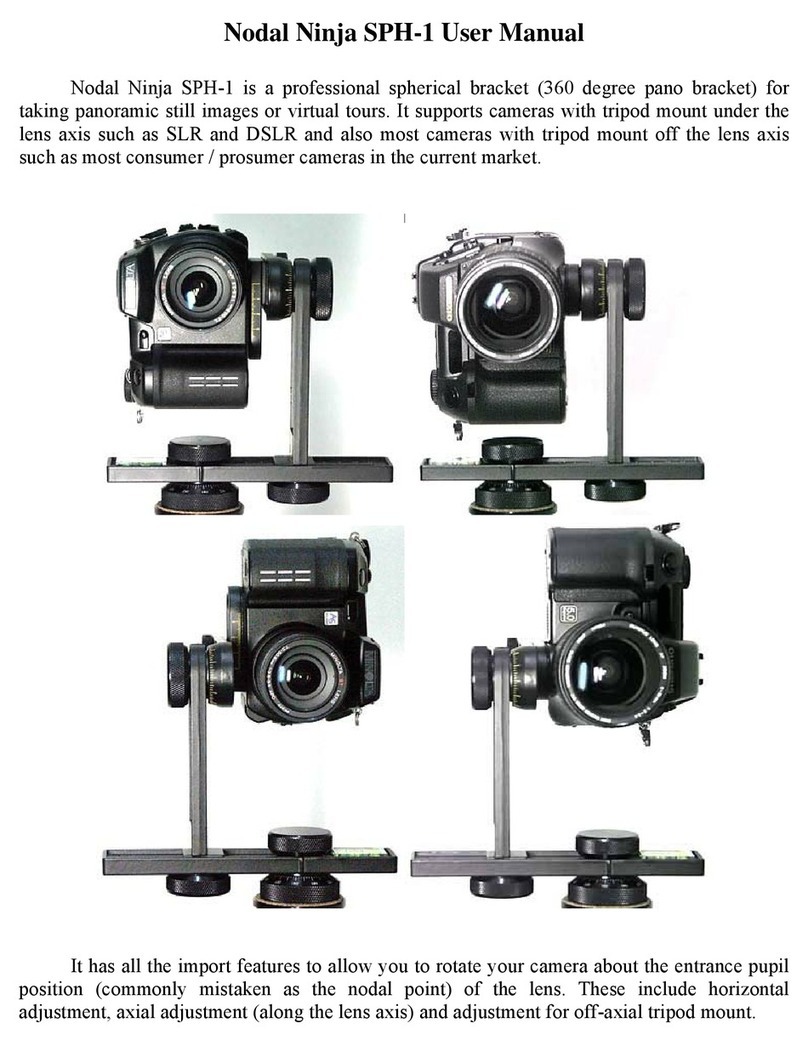
Nodal Ninja SPH-1 User manual

Nodal Ninja

Nodal Ninja SPH-1 User manual

Nodal Ninja Fanotec GTP R10 User manual

Nodal Ninja

Nodal Ninja Fanotec GTP R10 User manual

Nodal Ninja Ultimate M2 User manual

Nodal Ninja

Nodal Ninja Ultimate M2 User manual

Nodal Ninja Ultimate R1 User manual

Nodal Ninja

Nodal Ninja Ultimate R1 User manual

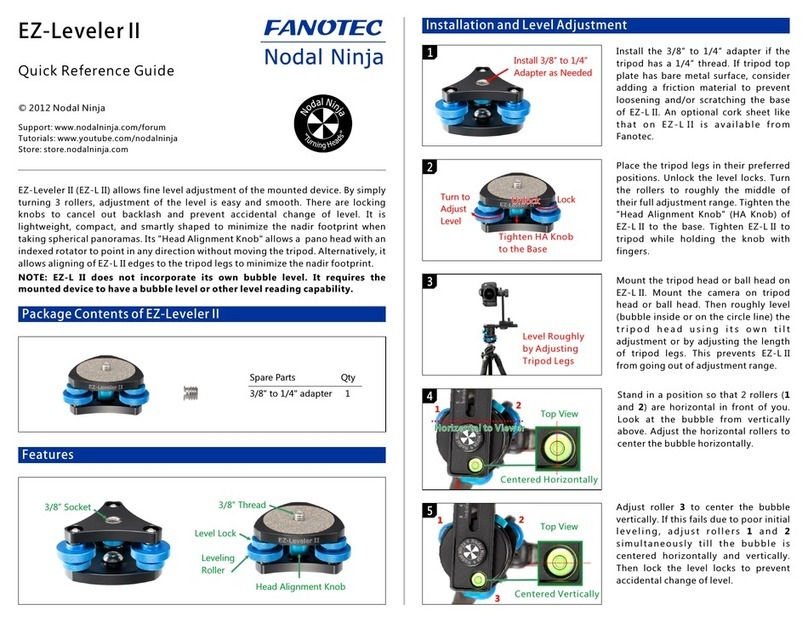
Nodal Ninja EZ-Leveler II Fanotec User manual

Nodal Ninja

Nodal Ninja EZ-Leveler II Fanotec User manual

Nodal Ninja 5 User manual

Nodal Ninja

Nodal Ninja 5 User manual

Popular Camera Accessories manuals by other brands

Manfrotto MVG220 instructions

Manfrotto

Manfrotto MVG220 instructions

Rollei Pocket Bi-Color manual

Rollei

Rollei Pocket Bi-Color manual

Baader Planetarium SolarSpectrum RG18 manual

Baader Planetarium

Baader Planetarium SolarSpectrum RG18 manual

Cambo CSMFC-3 instruction manual

Cambo

Cambo CSMFC-3 instruction manual

Neumann.Berlin LH 28 Mounting manual

Neumann.Berlin

Neumann.Berlin LH 28 Mounting manual

Sanyo N-1250SCRL Cadnica Specifications

Sanyo

Sanyo N-1250SCRL Cadnica Specifications

CentoLight PORTRAIT Q-Air Set user manual

CentoLight

CentoLight PORTRAIT Q-Air Set user manual

PROAIM CINEMA Series Assembly manual

PROAIM

PROAIM CINEMA Series Assembly manual

Philips DLP11003 Specifications

Philips

Philips DLP11003 Specifications

Philips SJB4142/37 datasheet

Philips

Philips SJB4142/37 datasheet

Sony HDVF-L750 Service manual

Sony

Sony HDVF-L750 Service manual

Bauer 19503E-B Owner's manual & safety instructions

Bauer

Bauer 19503E-B Owner's manual & safety instructions

Sanyo Cadnica KR-CH(3.0) Specifications

Sanyo

Sanyo Cadnica KR-CH(3.0) Specifications

Marshall Amplification CV6XX-HFH user manual

Marshall Amplification

Marshall Amplification CV6XX-HFH user manual

Delta Membranes PowerMaxx2 Installation & operating manual

Delta Membranes

Delta Membranes PowerMaxx2 Installation & operating manual

Skil PWRCORE 12 BY500101 owner's manual

Skil

Skil PWRCORE 12 BY500101 owner's manual

Saft 4579 COMPONENT MAINTENANCE MANUAL WITH ILLUSTRATED PARTS LIST

Saft

Saft 4579 COMPONENT MAINTENANCE MANUAL WITH ILLUSTRATED PARTS LIST

Sanyo Twicell HR-5/4AAAU Specifications

Sanyo

Sanyo Twicell HR-5/4AAAU Specifications

manuals.online logo
manuals.online logoBrands
  • About & Mission
  • Contact us
  • Privacy Policy
  • Terms and Conditions

Copyright 2025 Manuals.Online. All Rights Reserved.