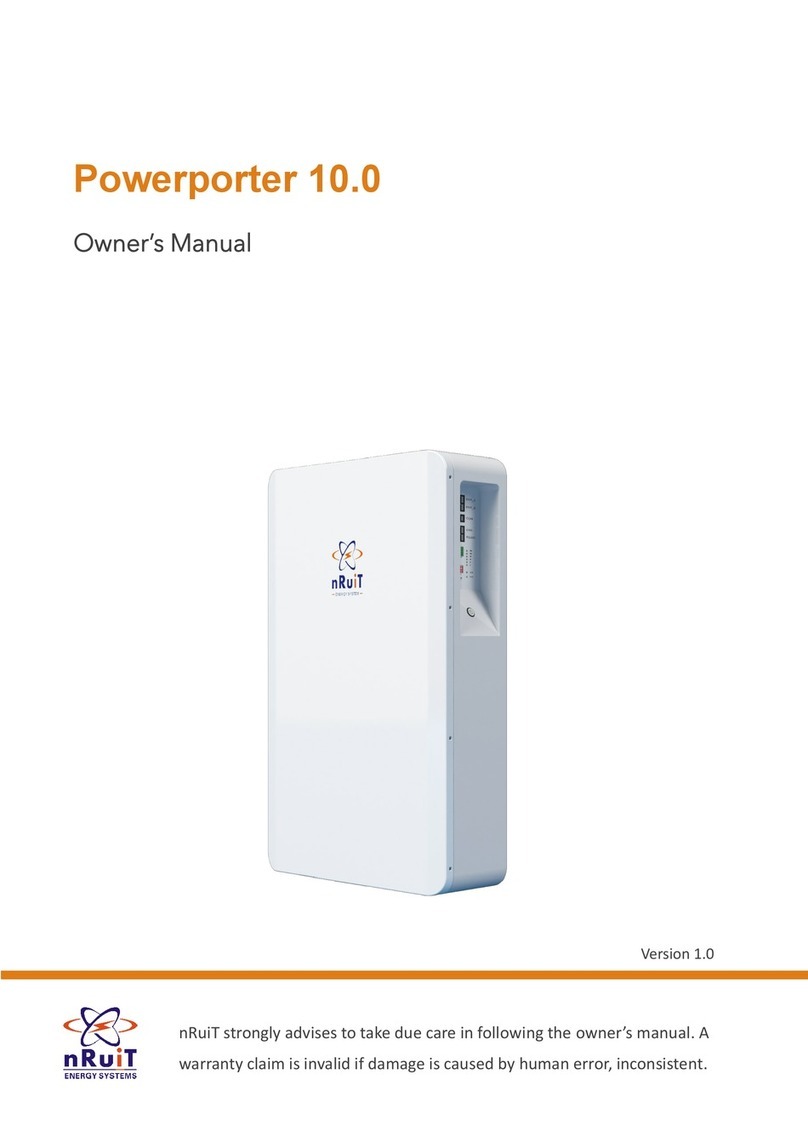
Nodal Ninja Fanotec GTP R10 User manual

Nodal Ninja Ultimate R10 7.5° Tilt with lens ring for Sigma 8mm fisheye is a very portable and
easy to use package for Google Trusted Photographers.
© 2012 Nodal Ninja
Quick Reference Guide
GTPwithR10
PackageContentsofR10GTPPackage
Support: www.nodalninja.com/forum
Tutorials: www.youtube.com/nodalninja
Store: store.nodalninja.com
MountingLensRingClampontheTiltHeadattheNPP
First of all, make sure the R10 head has an
upward tilt. If not, reinstall it.
Install the lens ring on the lens according to
its installation guide at the back. Mount the
lens on the camera. Mount lens ring on QR
clamp of R10. Tighten the clamp slightly.
1
InstallingR10TiltHeadandBubbleLevelonRotatorMini
Place the level on RM with bubble facing up. Place R10 tilt head on the level. Align for the
mounting sockets. Install 2 M5 flat head screws to fix R10 head to RM. While the level is still
movable, turn it to the rear right of R10 for best clearance of view and least footprint. Keep it at
2-3mm (1/8”) clearance from R10 to prevent damage of bubble by accidental bumping of
bubble into R10.
Depending on resellers, the package may come pre-assembled or individually with R10 tilt
head, lens ring, Rotator Mini (RM) and bubble level.
Spare Parts Qty
1/4"-3/8" adapter 1
2mm hex key 1
2.5mm hex key 1
3mm hex key 1
Slide the lens ring plate (LRP) to the NPP
setting. There are 3 lines marked on the QR
clamp. Use the center line for distance
reading. Other lines are 1.5mm apart from
the center line. Use them to assist reading to
an accuracy of 0.5 mm. Use the side
opposite to the QR handle for best accuracy.
NPP setting of Sigma 8mm F3.5 for Canon is
0.85. Check that the LRP has “LRP40”
labeled at the base.
NPP setting of Sigma 8mm F3.5 for Nikon is
1.4. Check that the LRP has “LRP45X”
labeled at the base.
2
Read 0.85
A preset integrated stop plate snaps to the LRP to form an internal part of it. It has
predetermined NPP setting(s) specific for the lens, tilt head model and image shooting
pattern. It makes the whole setup foolproof. Just mount the lens ring, slide until it falls into the
stop. COMING SOON FREE OF CHARGE FOR GTP!
InstallingthePresetIntegratedStopPlateonLensRing
Verify the model number of the stop plate.
”101“ for Sigma 8mm F3.5 for Nikon. ”102“
for Sigma 8mm F3.5 for Canon.
Align the stop plate with the base of LRP.
Push to snap it in place.
Lined Up
Install the stop screw (came with the stop
plate) at the middle socket on the QR clamp.
Remove any other safety screw installed.
Mount the lens ring on the clamp. Slide until
it falls into the stop. Confirm the reading
with the published NPP settings.
Install Stop
Screw Here
1
2

LensRingforSigma8mm
FisheyeCanonMount
© 2012 Nodal Ninja
Quick Reference Guide
Support: www.nodalninja.com/forum
Tutorials: www.youtube.com/nodalninja
Store: store.nodalninja.com
Manual focus is preferred for making
stitched panos. Turn the AF/MF switch to
MF. The focus distance scale will be hidden
by the lens ring. Users are recommended to
use tape to fix the focus ring at around
0.5-1m on the scale and use an aperture of
f/8. For best sharpness, do tests to find the
optimal focus distance and aperture
settings for different situations. If not taped,
the focus ring is still movable with the lens
ring installed. Users can use live view to set a
focus distance where the distant and near
objects are both in focus.
Alternatively, the distance scale can be
reproduced on visible area of the lens barrel
with labels. Turn the focus ring to the
desired distance. Place labels at the
positions indicated. Put Mark 1 on the label
on the focus ring. This is the new reference
mark. Then put Mark 2 on the label above.
To mark more distances, turn the focus ring
to other distances of interest and add the
marks. Mark 3 and Mark 4 are at focus
distances of 1m and 0.5m respectively.
A reference mark for roll angle can also be
added for accurate alignment.
Tape the Focus Ring
Mark 2
Mark 1
PreparingtheLensforRingMounting
1.5
Mark 3 1
1.5
The lens ring consists of a metal outer ring and a plastic inner ring that fits the lens snugly. The
plastic ring allows reproducible mounting of lens and protects the lens from stress by
providing maximum area of contact to the lens.
InstallingtheLensRingtotheLens
Loosen the knob on the outer ring until its
slit is about 6mm (1/4”) wide. Squeeze to
take out the inner ring. Check the label on
the inner ring to confirm with the lens in use
and the direction of mounting. The arrow
should point to the front of lens.
Squeeze
Align the slit on the inner ring to AF/MF
switch on lens. Insert the lens. Stretch the
ring when necessary. Move it to a position
where it fits snugly. Keep even spacing
between the slit and AF/MF switch. Push it
against the anchor point to ensure
reproducible mounting and consistent NPP
settings.
Align the outer ring to the slit of inner ring.
Insert the outer ring (loosen its knob further
if needed) from the back of the lens. Tighten
its knob slightly. Rotate the outer ring so
that it snaps to the inner ring and rotates
smoothly. Align the notch below the lens
ring plate to the AF/MF switch. Tighten the
knob fully.
Fix the inner ring with a piece of tape about
40mm (1.5”) long. Stretch the tape so that
the ring will grasp the lens firmly. This
prevents movement of inner ring when
outer ring is rotated, thus protecting the
paint of lens barrel. Cut any tape that goes
beyond the trimmed area of the inner ring.
Mount the lens to the camera and it is now
ready for use on any Arca Swiss compatible
gear. The camera will be in portrait mode
with handgrip pointing up. Loosen the knob
on the ring to rotate to other angle. Use the
notches (at 30° interval) at the back of ring
to have accurate roll angle alignment. Use
the center of AF/MF switch as the reference.
Mark 4
Align to
AF/MF
switch
ReproducingFocusDistanceScale
Push
Anchor
Point
Add Reference Mark
for Camera Roll Angle

LensRingforSigma8mm
FisheyeNikonMount
© 2012 Nodal Ninja
Quick Reference Guide
Support: www.nodalninja.com/forum
Tutorials: www.youtube.com/nodalninja
Store: store.nodalninja.com
Manual focus is preferred for making
stitched panos. The focus distance scale will
be hidden by the lens ring. Users are
recommended to use tape to fix the focus
ring at around 0.5-1m on the scale and use
an aperture of f/8. For best sharpness, do
tests to find the optimal focus distance and
aperture settings for different situations. If
not taped, the focus ring is still movable
with the lens ring installed. Users can use
live view to set a focus distance where the
distant and near objects are both in focus.
Alternatively, the distance scale can be
reproduced on visible area of the lens barrel
with labels. Turn the focus ring to the
desired distance. Place labels at the
positions indicated. Put Mark 1 on the label
on the focus ring. This is the new reference
mark. Then put Mark 2 on the label above.
To mark more distances, turn the focus ring
to other distances of interest and add the
marks. Mark 3 and Mark 4 are at focus
distances at 1m and 0.5m respectively.
A reference mark for roll angle can also be
added for accurate alignment.
Tape the Focus Ring
Mark 2
Mark 1
PreparingtheLensforRingMounting
ReproducingFocusDistanceScale
1.5
Mark 3 1
1.5
The lens ring consists of a metal outer ring and a plastic inner ring that fits the lens snugly. The
plastic ring allows reproducible mounting of lens and protects the lens from stress by
providing maximum area of contact to the lens.
InstallingtheLensRingtotheLens
Loosen the knob on the outer ring until its
slit is about 6mm (1/4”) wide. Squeeze to
take out the inner ring. Check the label on
the inner ring to confirm with the lens in use
and the direction of mounting. The arrow
should point to the front of lens.
Squeeze
Align the slit on the inner ring to the left of
the focus scale. Insert the lens. Stretch the
ring when necessary. Move it to a position
where it fits snugly. Push it against the
anchor point to ensure reproducible
mounting and consistent NPP settings.
Align the outer ring to the slit of inner ring.
Insert the outer ring (loosen its knob further
if needed) from the back of the lens. Tighten
its knob slightly. Rotate the outer ring so
that it snaps to the inner ring and rotates
smoothly. Optionally align the notch
indicated to the user added reference mark.
Tighten the knob fully.
Fix the inner ring with a piece of tape about
40mm (1.5”) long. Stretch the tape so that
the ring will grasp the lens firmly. This
prevents movement of inner ring when
outer ring is rotated, thus protecting the
paint of lens barrel. Cut any tape that goes
beyond the trimmed area of the inner ring.
Mount the lens to the camera. Loosen the
knob on the ring to align the LRP to the lens
release button on the camera. The camera
will be in portrait mode with handgrip
pointing up. Loosen the knob on the ring to
rotate to other angles. Use the notches (at
30° interval) at the back of ring and the
added reference mark for accurate roll
angle alignment.
Mark 4
Add Reference Mark
for Camera Roll Angle
Push
Anchor
Point
User Added
Reference Mark

RemovingLensCoverFromSigma8mmFisheye
LensRingBlockingRemotePortforSomeNikonDSLRs
It is reported that lens ring for Sigma 8mm for Nikon blocks the remote port for
Nikon D200/300/700 etc.
There are 3 ways to overcome this issue.
1. Attach the remote cord to camera before mounting the lens. There is just enough
clearance for the remote at the NPP setting of 1.4.
2. Rotate the lens ring plate away from the remote port if lens is already attached to
camera. Install the remote. Rotate the lens ring plate back.
3. Rotate the lens ring plate to handgrip side of camera. Now the handgrip will
point down when mounted on R10.
This is a potential pitfall for new users of this lens. The lens cover consists of a cap
and a short hood. The cap and hood need to be removed in order to get enough
angle of view for taking panos with 4 shots around.
TipsandTricks
Other Nodal Ninja Camera Accessories manuals

Nodal Ninja
Nodal Ninja 5 User manual
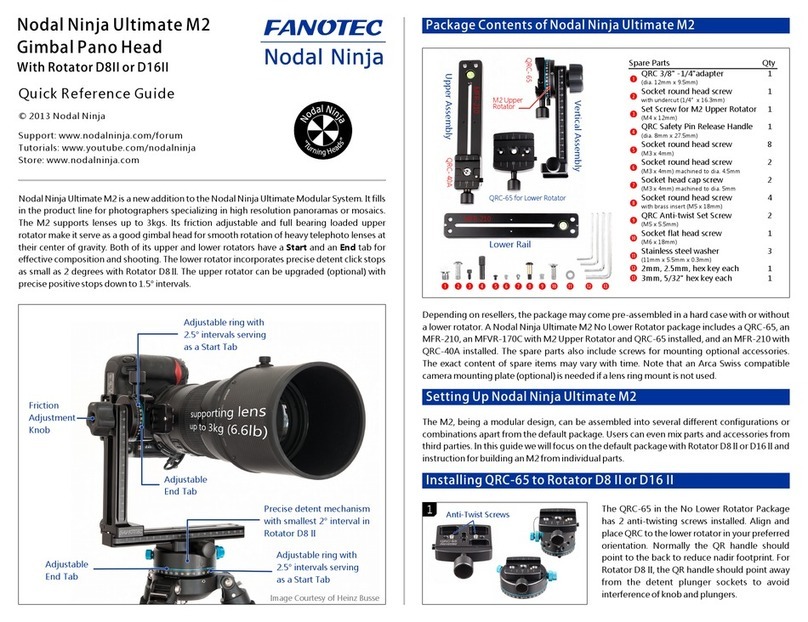
Nodal Ninja
Nodal Ninja Ultimate M2 User manual
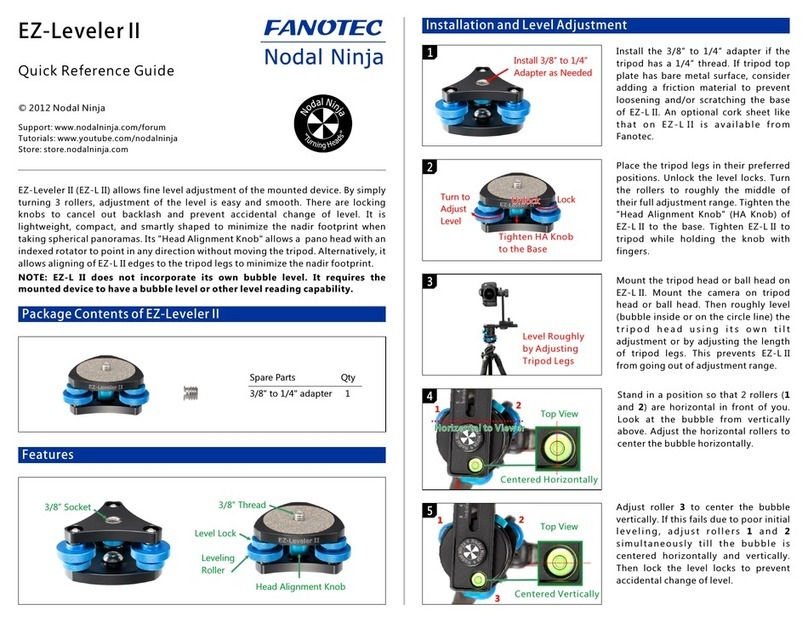
Nodal Ninja
Nodal Ninja EZ-Leveler II Fanotec User manual
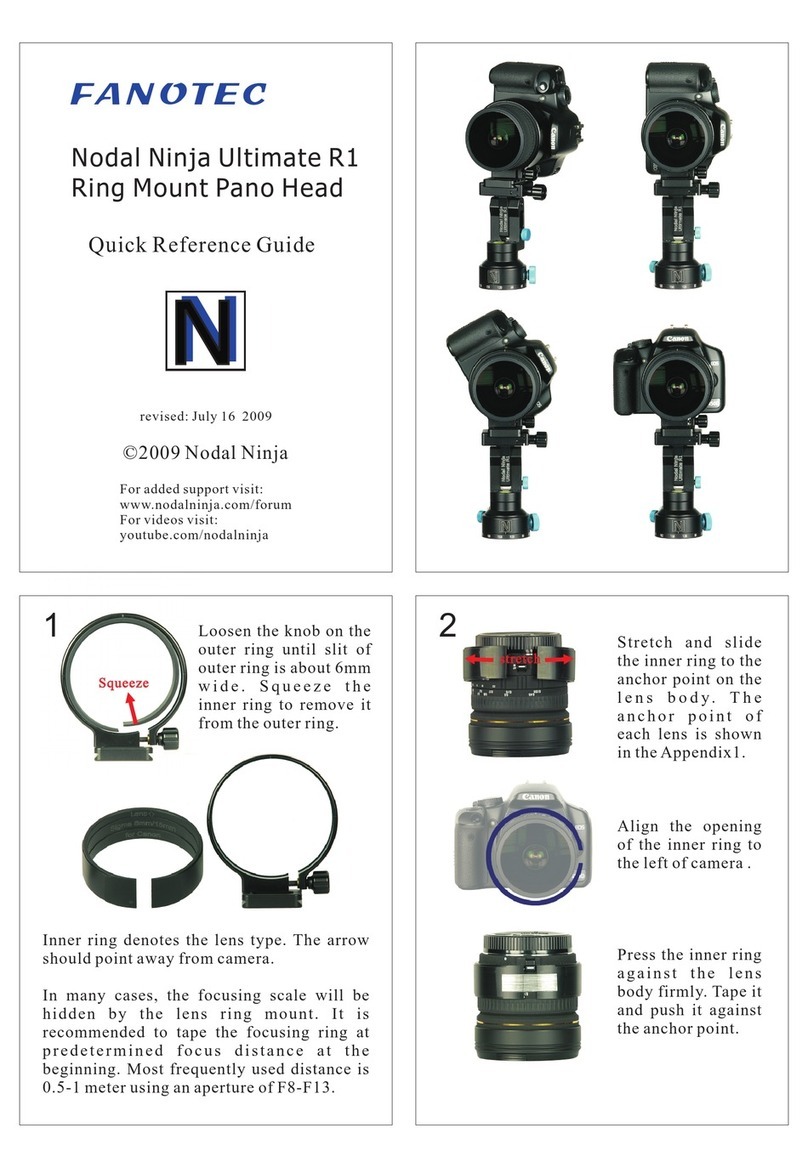
Nodal Ninja
Nodal Ninja Ultimate R1 User manual
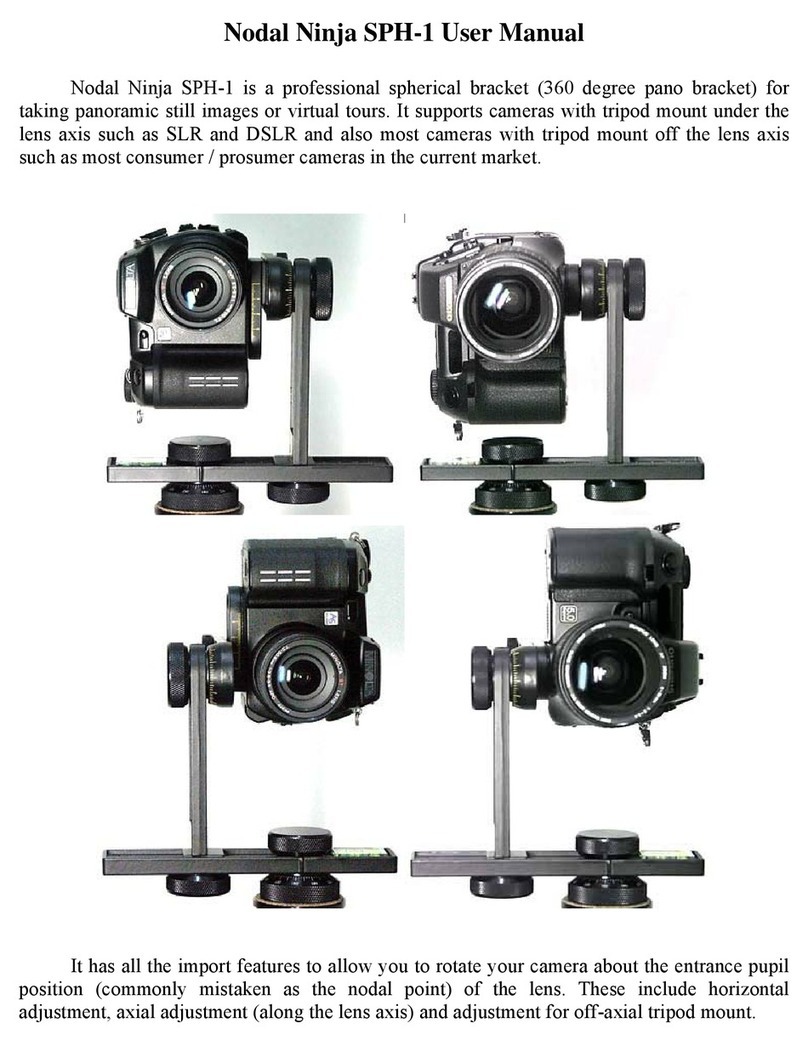
Nodal Ninja
Nodal Ninja SPH-1 User manual

Nodal Ninja
Nodal Ninja 3 MKII User manual
Nodal Ninja
Nodal Ninja NN4 User manual
Nodal Ninja
Nodal Ninja GTPR10 User manual
