RPC-600/610 Industrial chassis
1
Chapter 1 Product Introduction
1.1 Overview
RPC-600/610 is an improved 4U 19’ rackmount chassis, It is fully compatible
with P3/P4 commercial mainboard; embedded industrial backplane; the Drive Disk
Enclosure contains 1x3.5’ drive bays and 3x5.25’ driver bay. Front panel with
dual-USB port. Built-in high-speed air-intake fan supports abundant cooling and
streamline ventilation. It is easy to clean. The bracket bay features anti-vibration
capability. Can be widely applied to many fields, such as industrial control, CTI, DVR
etc.
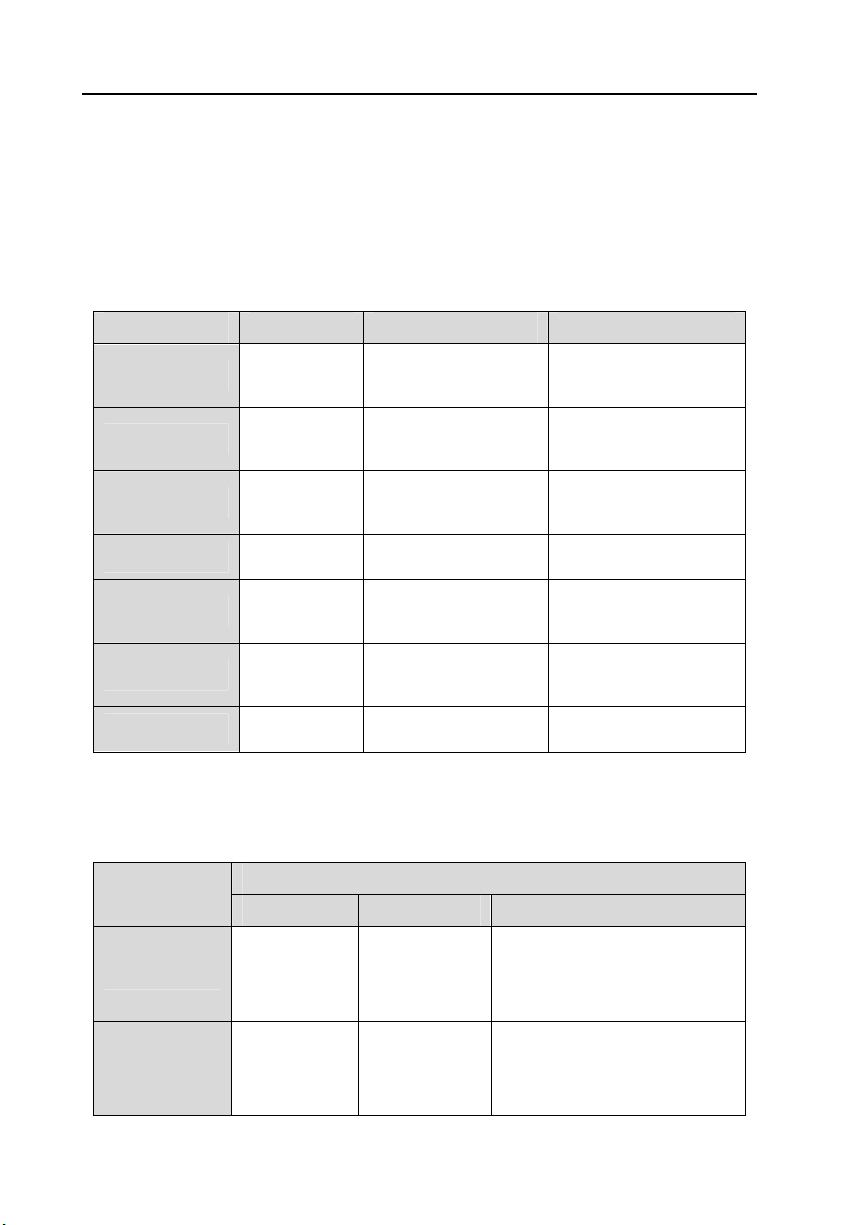
1.2 Specification
Physics
Construction: high strength 1.2mm carbon structural steel, meet FCC and CE Class
B spec
Technics: surface machining of spray-paint, high temperature firing
Color: White/Black (Optional)
Dimension: 488mm×471mm×177mm (W×D×H)
Chassis
Configuration:4U,RackMount,meet the EIARS-310C standards
Drive bay: 1x3.5’ drive bays, 3x5.25’ driver bay
Cooling FAN: 1x8025 fan with air filter on front panel
Control: Front reset button, power switch and keyboard-lock
Port: 2xUSB port
Backplane support: Industrial Backplane or ATX PC board
Indicators: LEDs for power On/Off and HDD
Power: AT/ATX (Optional)
Vibration: 1 Grms (5 ~ 500 Hz)
Shock: 10G (with 11 ms duration, half sine wave)
Applications: industrial control, CTI, DVR etc.