Now Technologies GyroSet Toolbox User manual

GyroSet™ Toolbox
HELP DOCUMENT
v1.0 June 04, 2021

GyroSet™ Toolbox
First time use 5
Customer Support 5
Navigation 5
Help 5
Guidance 6
Notifications 6
Pop-up windows 6
Instructions panels 7
Info boxes 8
Bluetooth 9
Devices 9
Restarting your devices manually 10
Pairing instructions 10
Networks 11
Welcome screen 12
Help 12
Instructions panel 12
List of active devices 12
Device check screen (first time) 14
A full network 15
‘Mouse only’ network 16
‘Drive only’ network 17
Missing device 18
Set up network screen - Name your network 19
Change Password screen 20
Info box 20
Password input fields 20
Home screen 21
Network menu 21
Firmware Update menu 21
App Settings menu 21
Networks menu 22
Edit and remove 22
Edit mode 22
Remove mode 22
Instructions panel 22
List of your Networks 23
2

GyroSet™ Toolbox
Available network: 23
Unavailable network: 23
Show Network menu 24
Edit Network name 24
Info box 24
Devices in the Network 24
Repair Network menu 26
Edit Network name 26
Info box 26
Devices in your Network 26
List of Available new devices 26
Add Network menu 27
Instructions panel 27
List of active devices 27
Device check screen (in case of more than 1 network) 29
Customize 29
Set up network screen - Name your network 29
Change Password screen 29
Manage Network menu 30
Edit Network name 30
Info box 30
Devices in the Network 31
Change password menu 32
Change Device Order menu 32
Modify Network menu 32
Change Password menu 33
Edit Network name 33
Info box 33
Password input fields 33
Change Device Order menu 34
Modify Network menu 35
Edit Network name 35
Info box 35
Devices in the Network 36
Removing devices 38
Add device menu 39
Edit Network name 39
3

GyroSet™ Toolbox
Info box 39
Devices in your Network 39
List of Available new devices 40
Firmware Update menu 41
List of your Networks 41
Available network: 41
Unavailable network: 42
Update instructions screen 43
Instructions panel 43
Devices in the Network 43
Firmware update process 45
Successful firmware update screen 47
Settings menu 48
Analytics & Statistics 48
Firmware update settings 48
Developer settings 48
4

GyroSet™ Toolbox
First time use
Welcome to GyroSet™ Toolbox!
This mobile application is here to help you manage your Head Drive & Mouse Networks, to add
and/or remove new GyroSet™ devices, and to keep your devices up to date with the latest
firmware.
The use of this application is not essential for your GyroSet™ systems to work properly.
Customer Support
If you can’t find the answer to your question neither in this document nor in the Manual (of
which the digital version is available from our website:
https://nowtech.hu/downloads/vigo/latest/) or you’re experiencing any trouble with our products
the product stickers) and a short description of the issue.
Navigation
You can always go back one screen at a time by pressing the back button in the top left corner
of the screen. The name of the screen to which the back button leads is always written on the
button.
Help
The Help documentation can be accessed on every screen by clicking the Help icon in the top
right corner:
You can always access any part of the document by scrolling or using the Table of contents on
top of the document. If you’re accessing this document via the application it will automatically
jump to the part of the document that is relevant to the screen on which you pressed the Help
button, it is context sensitive.
5

GyroSet™ Toolbox
Guidance
We provide guidance and explanation of what is happening every step of the way throughout
the entire application. This can come in different forms:
Notifications
These are pop-up boxes informing you whether an action or process has been successful or
not. They always appear on the left side of the screen stacking from the top in case of multiple
notifications.
There are 4 types of notifications:
● Info (marked by blue) - containing useful information about an action.
● Success (marked by green) - confirming the success of an action.
● Warning (marked by yellow) - information to be aware of regarding an action.
● Error (marked by red) - explanation of why an action was not successful.
If there is only one notification on the screen, you’ll see it in an expanded view (not just its title/
collapsed form) and it automatically disappears after a few seconds. The Error
messages/notifications are exceptions, they stay on screen until you tap on them.
In case of multiple notifications only the last one/bottom one will be expanded, all the rest stays
in a collapsed (i.e. title only) form until you tap on them. When you tap on them they disappear.
Pop-up windows
All pop-up windows will contain some information about the action you’re about to take. They
usually appear in the middle of the screen.
6
GyroSet™ Toolbox
Instructions panels
These are collapsible boxes containing a set of steps you need to perform to successfully finish
a process (i.e. setting up or updating a network).
There are 2 types of Instruction panels:
● Step-by-step instructions - each step marked by numbers.
● Bullet point instructions - a list of actions you can take on a given screen.
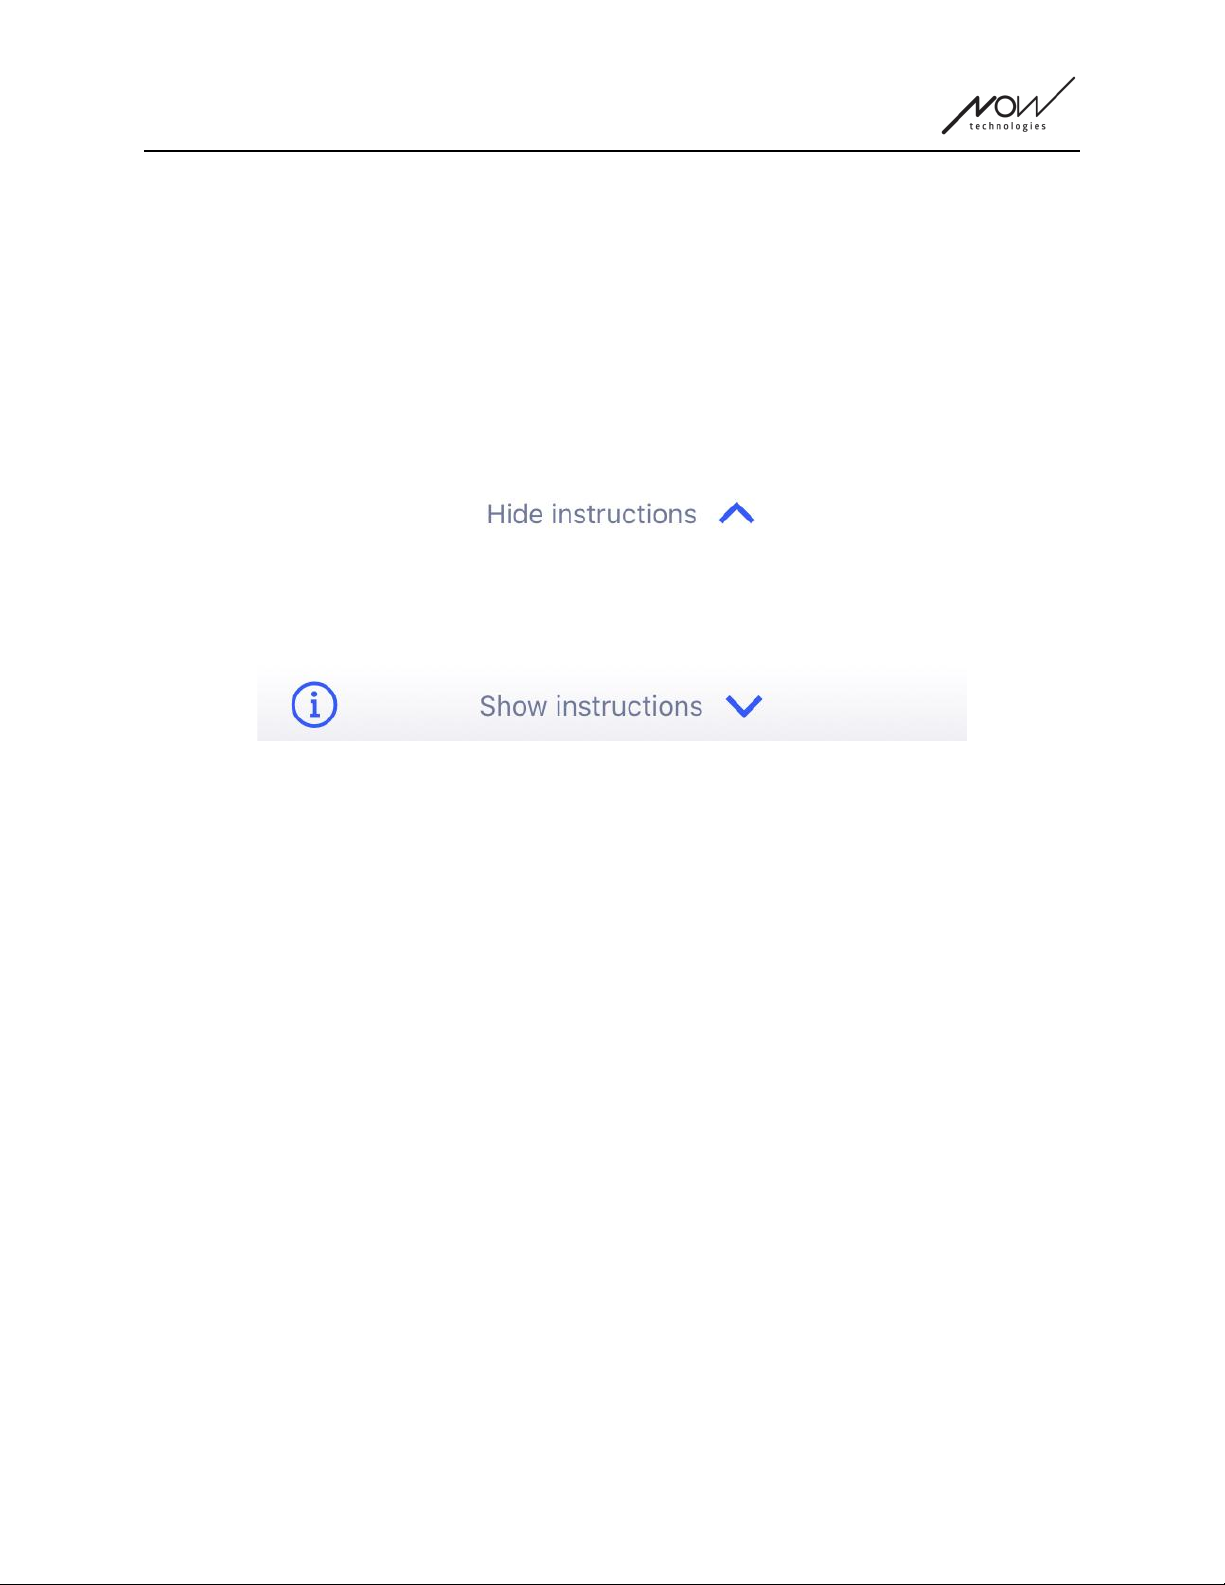
You can always hide the Instructions throughout the entire app by pressing ‘Hide instructions’:
The instructions can be made visible again by pressing ‘Show instructions’:
The app will store this setting, so you don’t have to hide or unhide them every time you enter a
screen with instructions.
This panel becomes scrollable if it contains too much information, which is marked by an
animated hand icon when you first see such a panel.
7

GyroSet™ Toolbox
Info boxes
Similarly to the Instruction panels these boxes contain extra information related to the current
screen or menu item.
You can always hide the Info box throughout the entire app by pressing the ‘X’ button in the top
right corner of the box:
The Info box can be made visible again by pressing the Info icon under the Help button in the
top right corner:
The app will store this setting, so you don’t have to hide or unhide them every time you enter a
screen with instructions.
8
GyroSet™ Toolbox
Bluetooth
Several elements of your GyroSet™ system use Bluetooth signals as a way of communicating
and so does your phone. Please, make sure that the Bluetooth connection of your phone is ON.
For Android users: Please make sure Location Data is enabled on your phone! The
application will warn you in the form of a pop-up message if it is not.
Devices
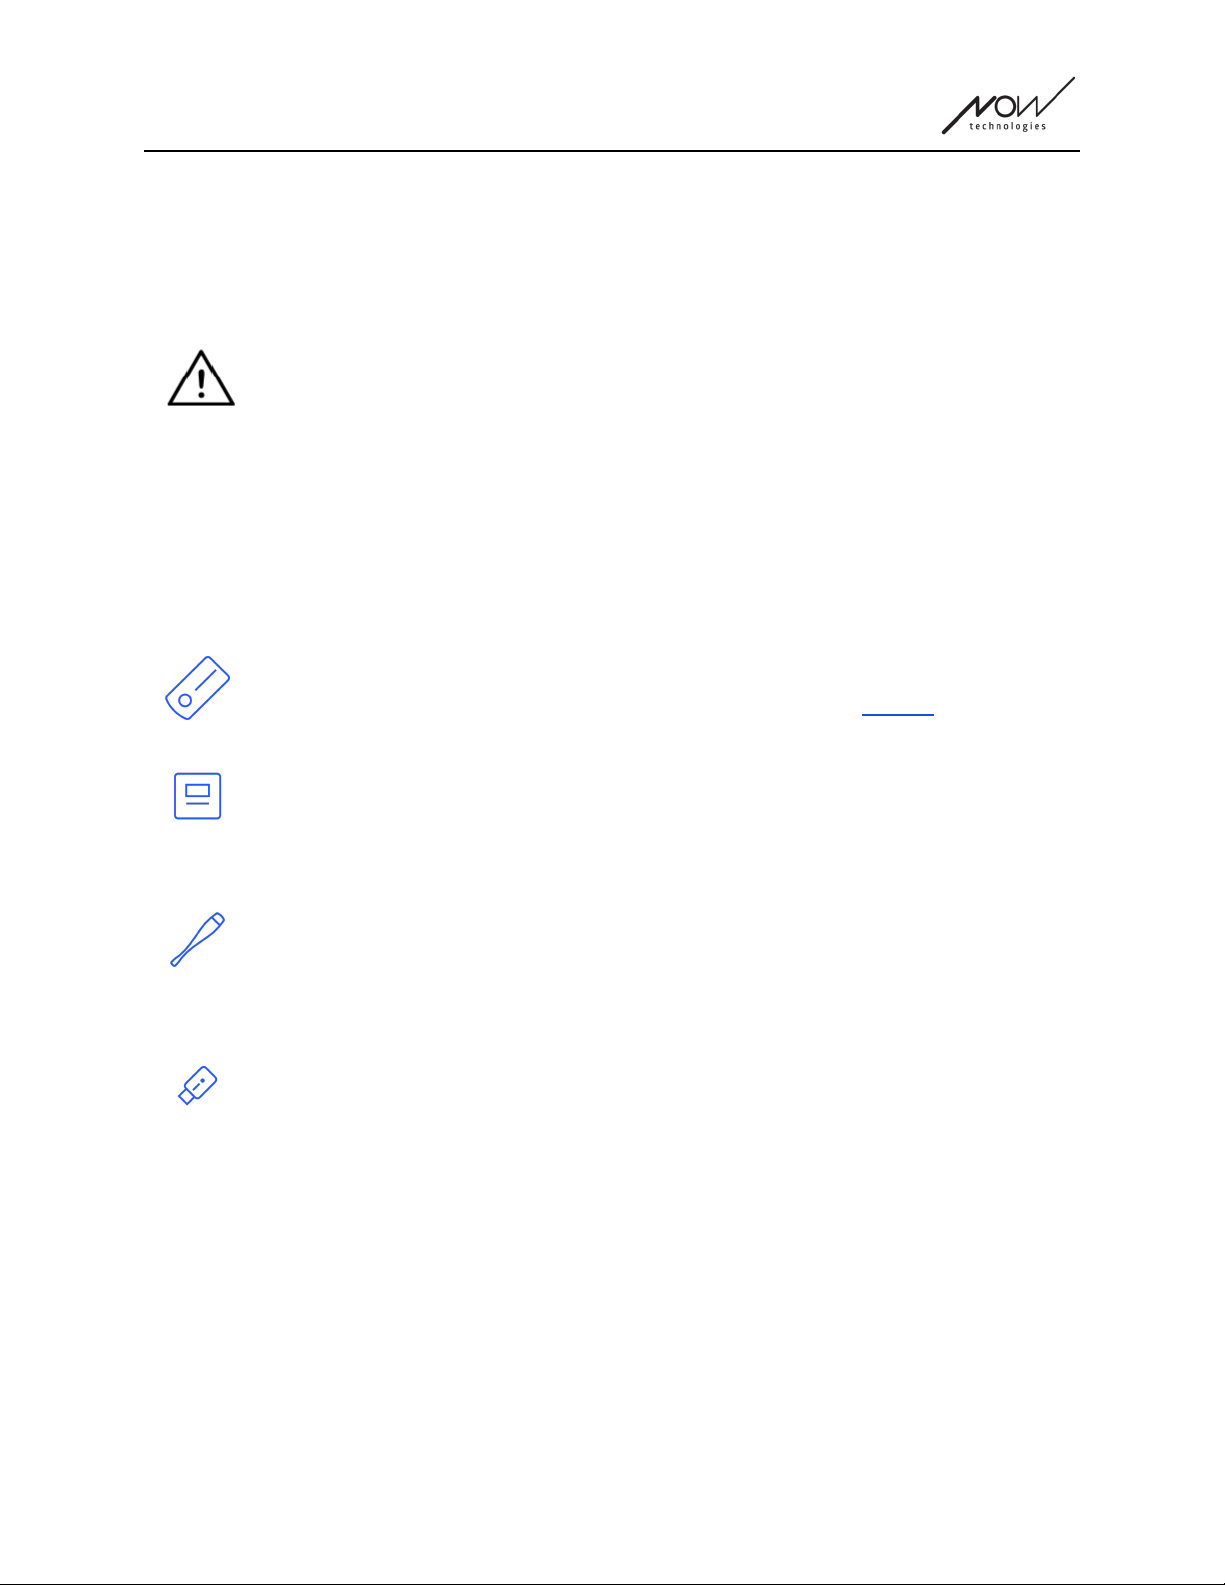
If this is your first time using the application please make sure your GyroSet™ devices are all
plugged in, connected and in range:
GyroSet™ Link is connected to a PGDT Omni or IOM equipped wheelchair as a
specialty input device (SID). You can read more about it in the Manual.
GyroSet™ Cubo is powered by and connected to GyroSet™ Link via cable.
GyroSet™ Vigo is ON and connected to GyroSet™ Cubo via bluetooth
communication.
When that happens the LED in the “head” of the device is blinking in a turquoise
color and you see a highlighted Bluetooth symbol and a checkmark on the Cubo
display, above a piece of text saying ‘LINK Drive’ .
GyroSet™ Dongle is plugged into your computer and connected to GyroSet™
Cubo. The LED emits a solid blue light once the communication has automatically
been set up between Dongle and Cubo.
You can check whether everything is connected by trying out your system, initiating a driving
and a mousing session.
9

GyroSet™ Toolbox
Restarting your devices manually
The application will automatically restart your devices if it is needed for certain processes (e.g.
Firmware update).
However, in some cases (e.g. failed firmware update process) you may be required to restart
your devices manually. This means you have to power them down and power them back up
again. You can do this several ways:
● by unplugging and replugging the device in question (e.g. in the case of Dongle)
● by unplugging and replugging the MicroUSB cable connecting the GyroSet™ Link and
Cubo
● by powering down the main control module (or the entire chair) the GyroSet™ Link is
connected to and powering it back up again
Pairing instructions
In order to communicate securely, Bluetooth devices need to be paired.
This process might be familiar from using other Bluetooth devices.
Scenarios where pairing might be needed:
● Phone - GyroSet™ Dongle: Make sure the GyroSet™ Mouse application is running on
your computer. When the phone offers the pairing code, type it in the pairing window that
appeared on the screen of your computer.
● Phone - GyroSet™ Cubo: A 6 digit passkey will appear on the screen of GyroSet™
Cubo, enter into the input field that has just appeared on your phone.
● GyroSet™ Cubo - GyroSet™ Dongle: Make sure the GyroSet™ Mouse application is
running on your computer. A 6 digit passkey will appear on the screen of GyroSet™
Cubo, enter the code in the input field that has just appeared on the screen of your
computer.
Important:
● Pairing GyroSet™ Dongle with your phone or GyroSet™ Cubo will require GyroSet™
Mouse (or GyroSet™ Drive) to run on the computer the Dongle is plugged into. This is
to provide the Dongle with a platform through which it can communicate with your
phone or the Cubo.
● If GyroSet™ Mouse (or GyroSet™ Drive) is not running on your computer, no Pairing
pop-up window will appear in which you can input the pairing code provided by your
phone or the Cubo and the Network cannot be set up. Moreover, Cubo may get stuck
in this state of offering to pair with the Dongle and no other device can connect to it,
until this is resolved.
● If you’re adding a second GyroSet™ Dongle to your network, it will need to be paired
with your Cubo as well, through the same process described above.
10

GyroSet™ Toolbox
● When changing network password, please make sure to remove Cubo from the list of
connected/paired bluetooth devices in your phone's Bluetooth menu!
A pop-up notification will direct you to the right settings.
● If connection issues persist or you repeatedly encounter an error with the code E166,
removing the device mentioned in the notification (either GyroSet™ Dongle or Cubo)
from the list of paired devices of your phone’s Bluetooth menu might solve the
problem!
Networks
A network is a connected set of compatible, paired GyroSet™ devices.
Now you can check the boxes next to the devices you wish to remove from the network.
Important:
● A network has to have at least one Dongle or Cubo to be viable.
● The following are the only supported device constellations which result in viable
networks:
○ GyroSet™ Vigo+Dongle+Cubo+Link - Full network
○ GyroSet™ Vigo+Dongle - Mouse only network
○ GyroSet™ Vigo+Cubo+Link - Drive only network
○ GyroSet™ Vigo+2xDongle+Cubo+Link - Full network with an extra Mouse
11

GyroSet™ Toolbox
Welcome screen
Help
The Help documentation can be accessed on every screen by clicking the Help icon in the top
right corner:
You can always access any part of the document by scrolling or using the Table of contents on
top of the document. If you’re accessing this document via the application it will automatically
jump to the part of the document that is relevant to the screen on which you pressed the Help
button, it is context sensitive.
Instructions panel
We provide guidance on every screen. Here you’ll find all the necessary steps needed for you to
successfully set up your first network. These steps have been detailed above, under the
Devices section.
To see more details about the behaviour of this element, please refer to the following section:
Instructions panels
List of active devices
Scanning for available devices may take some time.
If all your devices are ON, connected and in range you’ll find your network’s active device
marked by a light green background. The first time you see this, there should only be one
device in the list and that device should be a Dongle. If there is a Dongle in the network that will
always be your active devices as far as the application is concerned.
If you see a Cubo in the list it means there is no Dongle connected to it, or the Dongle is not
plugged in. If that happens you can either plug in your Dongle or you can create a ‘Drive only‘
network by choosing the Cubo from the list and going through with the network creation
process. This way you’ll only be able to use your network for driving your chair, until you add a
Dongle to the Network.
The active device is the one through which the application is communicating with your entire
network. It will be marked by a light green background in any device list you meet throughout
the application.
12

GyroSet™ Toolbox
The icon is the first indicator of the type of the device, it can be a GyroSet™ Dongle, Cubo, Vigo
or a Link.
This fact will also be reflected in the device’s name and serial number, found in the first line in
green.
The second, dimmer line is marking the device’s unique MAC address, which is necessary for
Bluetooth communication.
The dBM value tells you how far the device is. Each device has a different range within which it
can still communicate with other devices.
We recommend keeping these devices within a 2m range of each other when in use.
To carry on, choose your active device from the list!
13

GyroSet™ Toolbox
Device check screen (first time)
The application is double- checking whether all devices are On and connected.
Here, a device can have 3 states:
● If a device is present, you’ll see a green tick mark next to its icon:
● If a device is not present but you have the option to add it:
● If a device is not present, you’ll see a red X next to its icon:
There are several different outcomes you may see on this screen (see below).
14
GyroSet™ Toolbox
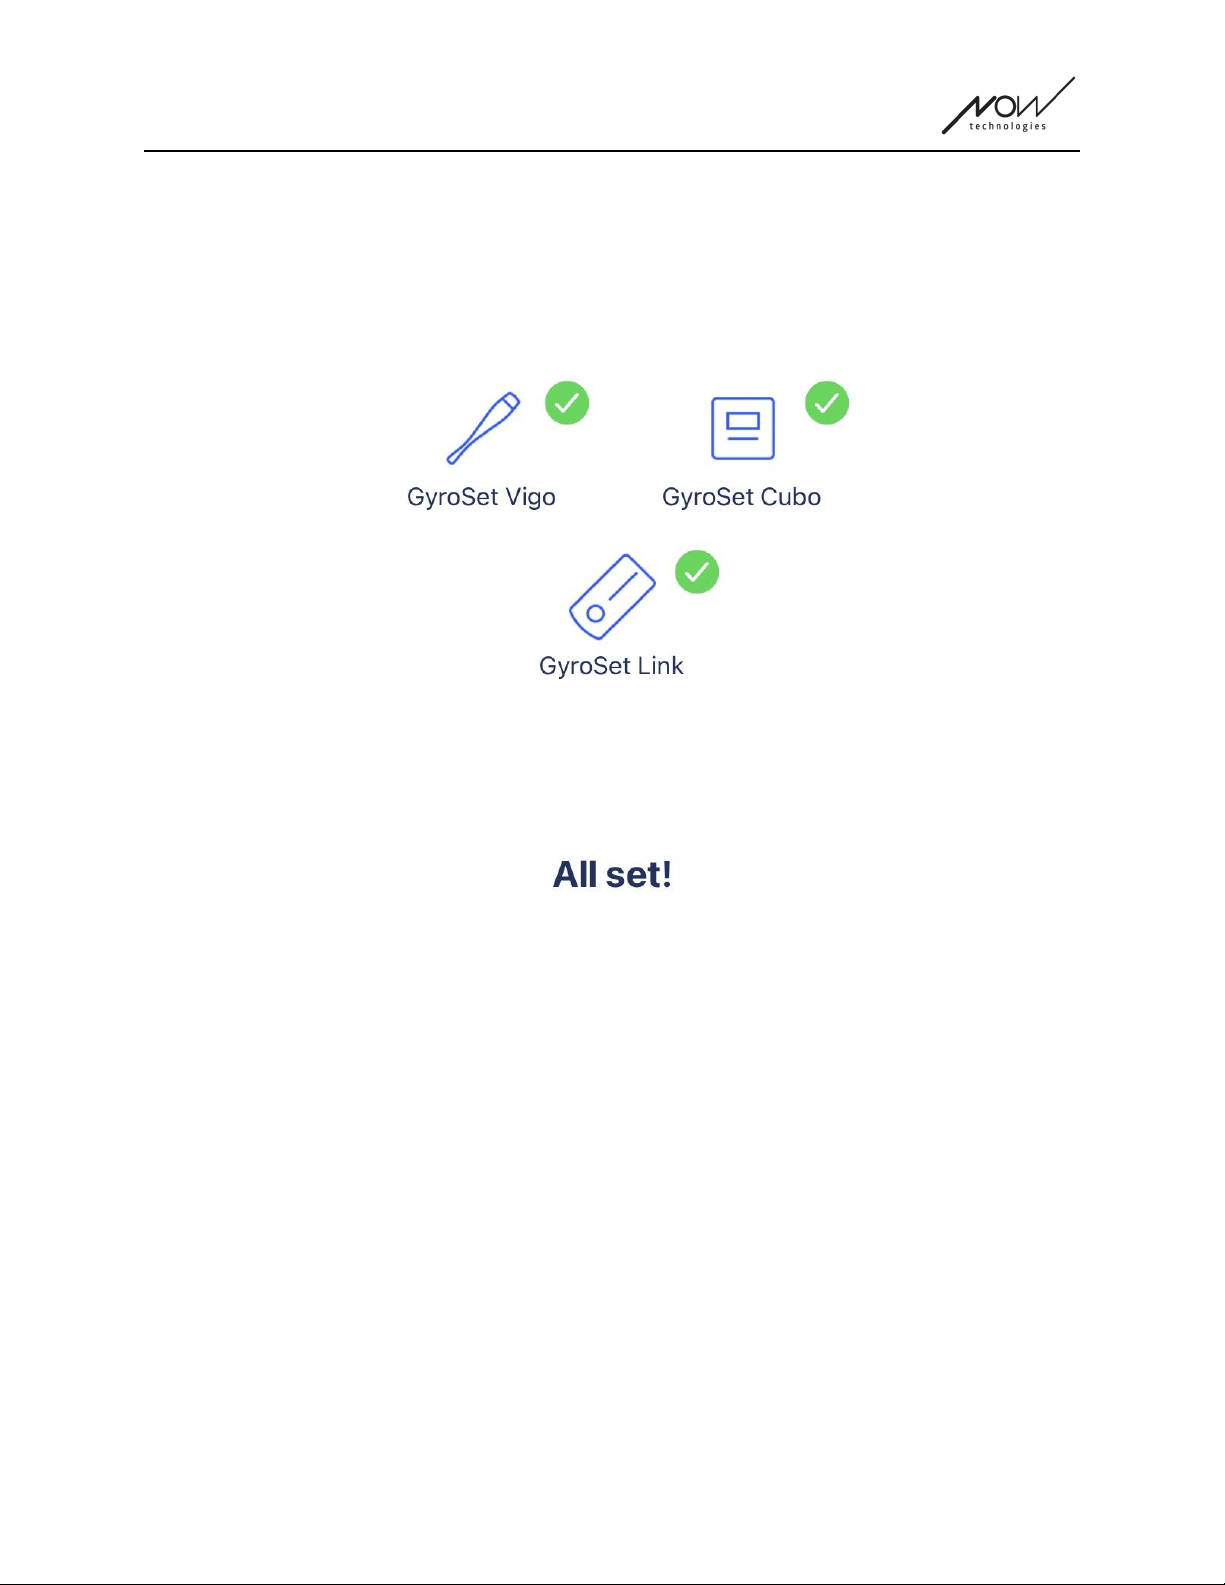
A full network
(1 Dongle , 1 Cubo, 1 Vigo and 1 Link)
The Dongle being the active device, through which all other devices communicate with the
application. Hence the Dongle icon is not displayed in this list.
To carry on, press Continue!
15
GyroSet™ Toolbox
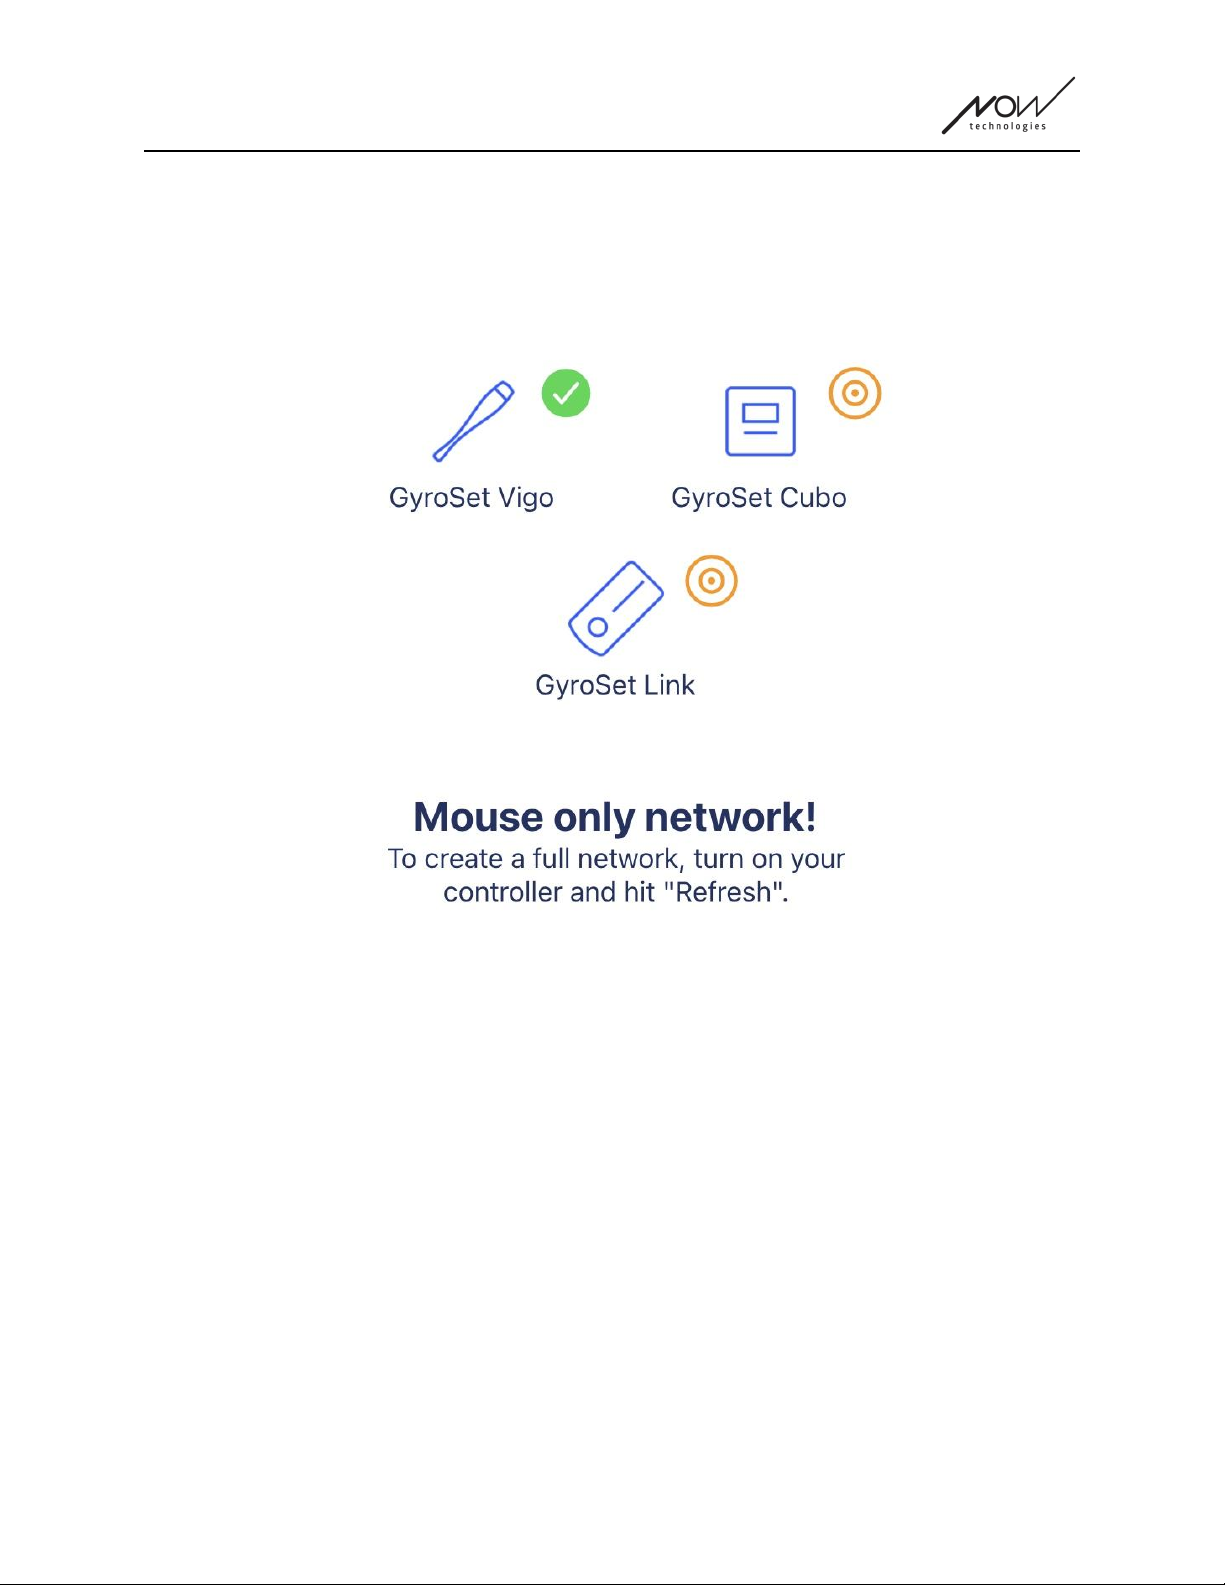
‘Mouse only’ network
(1 Dongle , 1 Vigo)
The Dongle being the active device, through which the Vigo communicates with the application.
Hence the Dongle icon is not displayed in this list.
To carry on with this setting, press Continue!
If you decide you’d like to create a Full network after all, power on your
chair, your Link and your Cubo and press Refresh.
16

GyroSet™ Toolbox
‘Drive only’ network
(1 Cubo, 1 Vigo and 1 Link)
In this case the Cubo being the active device, through which all other devices communicate with
the application. Hence the Cubo icon is not displayed in this list.
To carry on with this setting, press Continue!
17

GyroSet™ Toolbox
Missing device
Where one or more devices (apart from the Dongle) in your network are off or out of range.
The Dongle as the active device was the one through which the entire process was initiated,
hence the Dongle icon is not displayed in this list.
To solve the problem, turn on all your devices or bring them in range and
press Refresh!
18

GyroSet™ Toolbox
Set up network screen - Name your network
Here you can name your network for easier identification in case you’ll be using more networks.
Type in your preferred name. It may contain alphanumeric characters and special characters
and symbols. The length of the name has to be between 3 and 32 characters.
To carry on, press Set name!
19

GyroSet™ Toolbox
Change Password screen
You can set a password for your network here. This option is only available for networks with a
Cubo in them, as Cubo is the hub of more complicated networks (e.g. a full network). It is
responsible for storing and displaying the password when needed.
Having a password for a network of many elements is necessary for security reasons and is a
technical requirement for Bluetooth communication based networks, such as the GyroSet™
Head Drive and Mouse.
In smaller networks, like a ‘Mouse only network’, no password is required, as the security the
GyroSet™ Dongle provides for those networks is sufficient.
Info box
To see more details about the behaviour of this element, please refer to the following section:
Info boxes
Password input fields
Please enter a 6 digit passkey then confirm it in the 2nd field. It doesn’t have to be a memorable
number, as you’ll always be able to read it off of Cubo’s display whenever it is needed.
You can make the passkey visible (or invisible) by pressing the eye icon:
On Off
To carry on, press Set new password!
20
Table of contents
Other Now Technologies Wheelchair manuals


Popular Wheelchair manuals by other brands

Liberator
Liberator SM8500 L owner's manual

Vela
Vela Blues 100 Mounting instructions

Invacare
Invacare Tracer SX5 Recliner Owner's operator and maintenance manual

Pride Mobility
Pride Mobility JAZZY 1103 owner's manual

Decon wheel
Decon wheel Mobilex Dolphin Assembly instructions

Handicare
Handicare Emineo user manual


