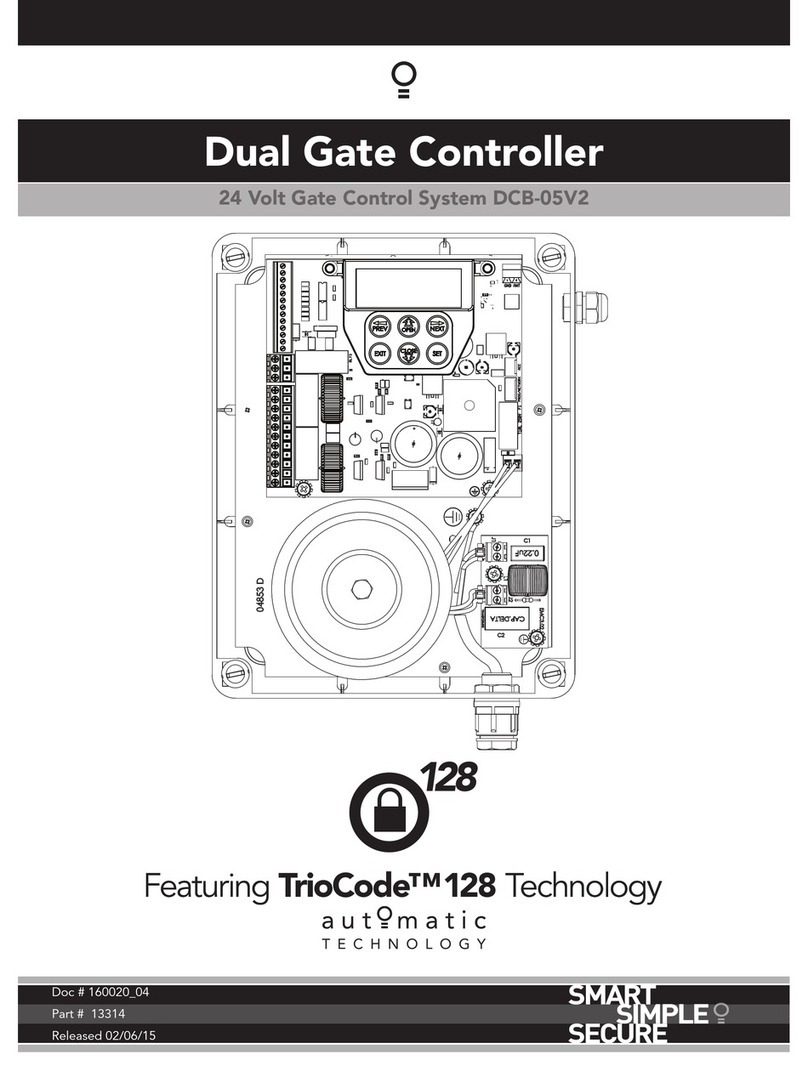
Replacement Procedure –the replacement controller is factory set with an Appliance Type setting of zero (0);
upon replacement of the control the display will prompt you to set the appliance type, i.e. “tYPE 0” will
automatically be displayed on the screen (see Notice below). Adjust to the applicable Appliance Type
setting (see table above) using the UP & DOWN buttons; press the OK button to enter the value. After the
appliance type is set, and the controller enters the “dAir” sequence, turn the power off for a minimum of 5
seconds, then back on. Check the appliance setting via Installer Menu setting 2-11; make sure it matches
the value for your boiler model (see table above). Set the remainder of the control settings as desired.
Verify proper boiler operation for DHW and Central Heat demands.
If “tYPE 0” does not automatically display upon replacing the controller, the Appliance Type
setting must be adjusted using the “Appliance Selection Method” detailed below.
Alternate Appliance Type Selection Method
If the above method of setting the appliance type does not work, or if you incorrectly set it, us the following
alternate method to set the appliance type:
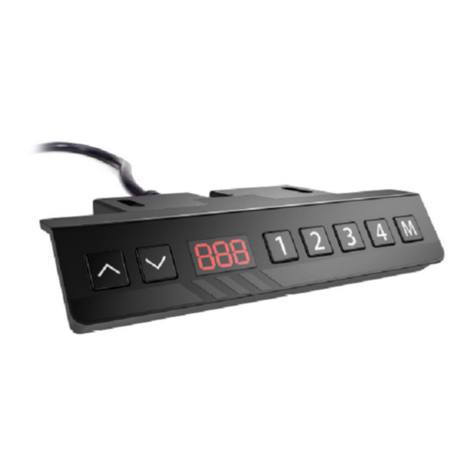
1. Turn the power off; while holding the UP and DOWN buttons, turn the power on using power switch on
the display console; see Figure 2. Continue holding the UP and DOWN buttons until “tYPE 0” is
displayed on the screen, then release the UP and DOWN buttons.
2. Increase the setting by pressing the UP button; when the correct setting is displayed (see table above),
press the OK button to enter the value.
3. Wait for the controller to enter then “dAir” sequence, then cycle the power off for 5 seconds, and then
back on.
4. Check the appliance setting via Installer Menu setting 2-11; make sure it matches the correct boiler
model as per table above.
5. Set the remainder of the control settings as desired. Verify proper boiler operation on Domestic Hot
Water and Central Heat demands.
