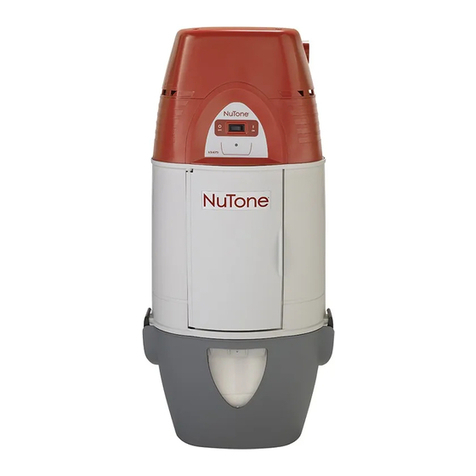
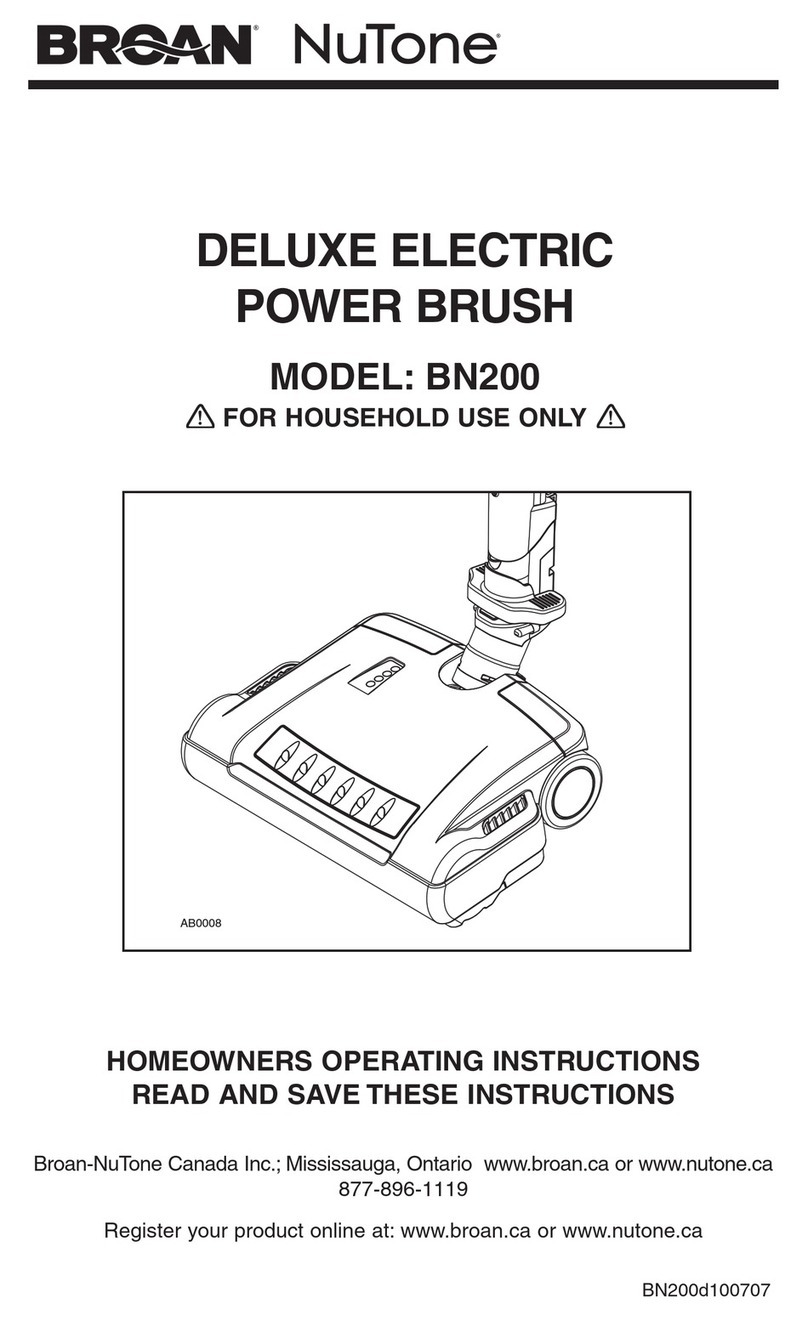
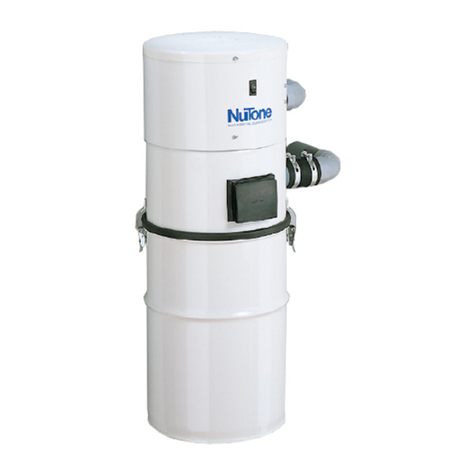
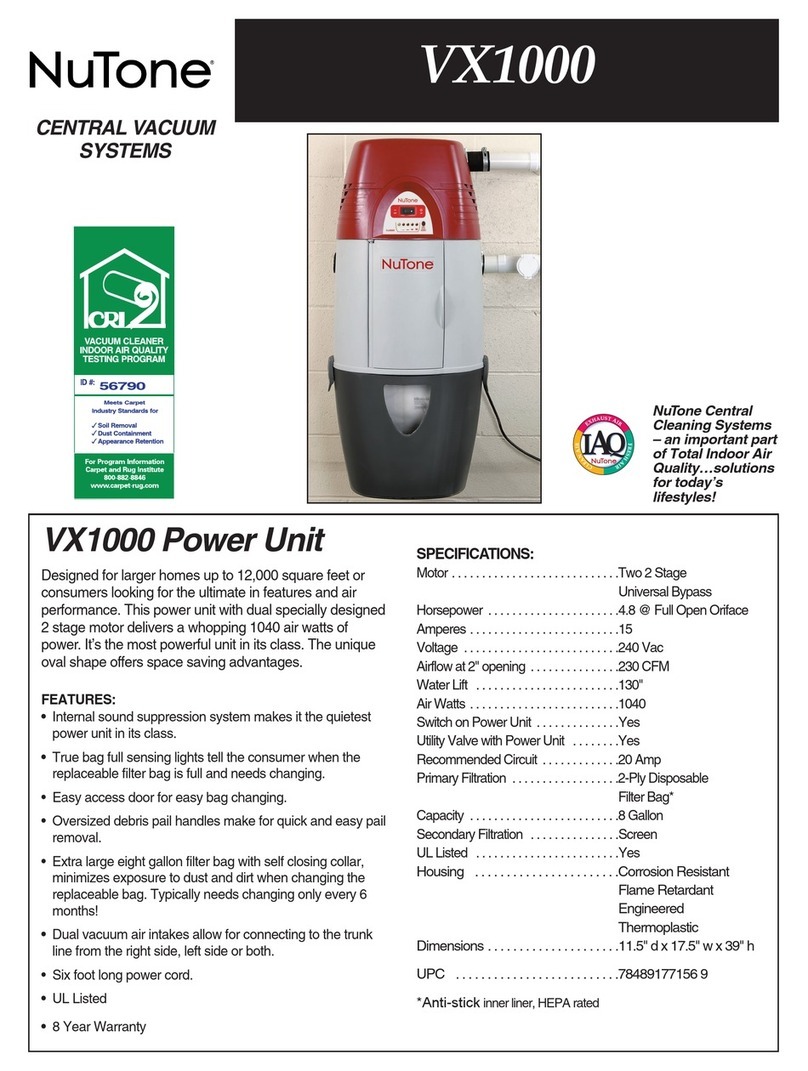
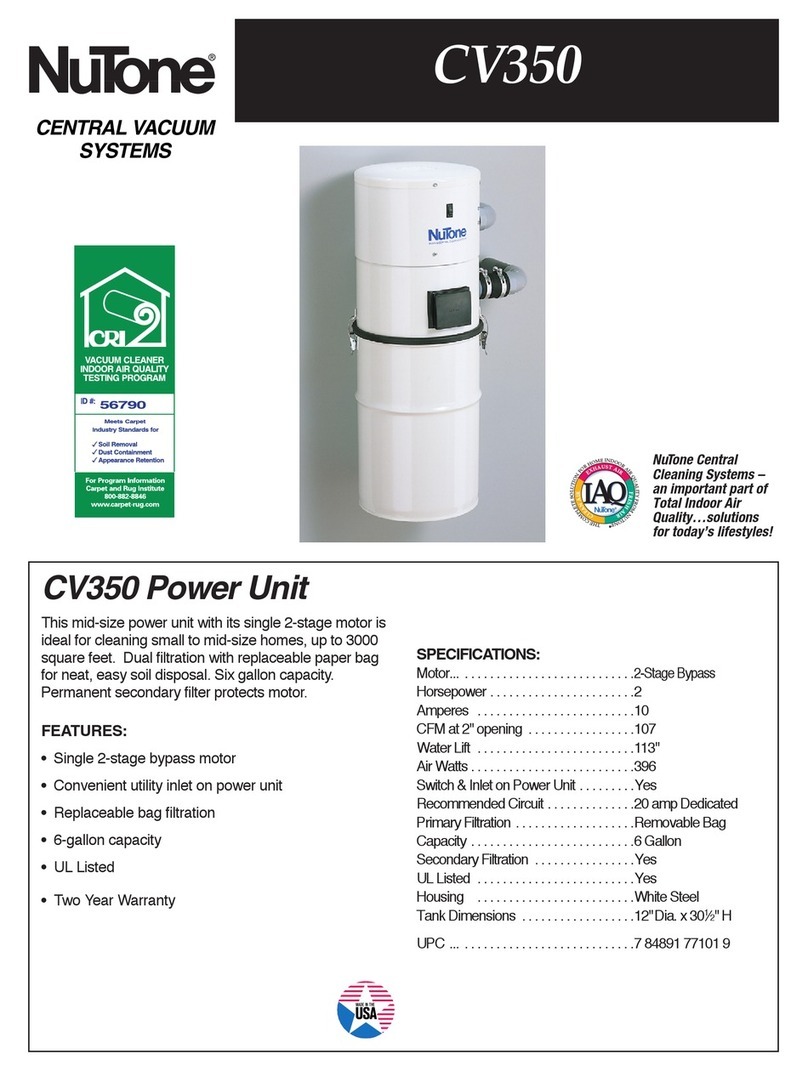
NuTone VX1000C User manual

B U I LT-IN
CENTRAL CLEANING SYSTEM
I N S TA L L ATION INSTRUCTIONS
For Power Unit Models
VX475, VX550, VX1000
VX475C, VX550C, VX1000C

TABLE OF CONTENTS
SYSTEM PLANNING AND LAYOUT . . . . . . . . . . . . . . . . . . . . . . . . . . . . . . . . . . . . . . . . . . . . . . . . . . . . . . . . . . . . . . . .3-4
Examples . . . . . . . . . . . . . . . . . . . . . . . . . . . . . . . . . . . . . . . . . . . . . . . . . . . . . . . . . . . . . . . . . . . . . . . . . . . . . . . . . .3
Locating the Power Unit . . . . . . . . . . . . . . . . . . . . . . . . . . . . . . . . . . . . . . . . . . . . . . . . . . . . . . . . . . . . . . . . . . . . . .4
Tubing and Wall Inlet Locations . . . . . . . . . . . . . . . . . . . . . . . . . . . . . . . . . . . . . . . . . . . . . . . . . . . . . . . . . . . . . . . .4
GENERAL INSTALLATION GUIDE . . . . . . . . . . . . . . . . . . . . . . . . . . . . . . . . . . . . . . . . . . . . . . . . . . . . . . . . . . . . . . . . .5-6
Tool Listing . . . . . . . . . . . . . . . . . . . . . . . . . . . . . . . . . . . . . . . . . . . . . . . . . . . . . . . . . . . . . . . . . . . . . . . . . . . . . . . . .5
Working with Plastic Tubing . . . . . . . . . . . . . . . . . . . . . . . . . . . . . . . . . . . . . . . . . . . . . . . . . . . . . . . . . . . . . . . . .5-6
INSTALLATION IN NEW CONSTRUCTION . . . . . . . . . . . . . . . . . . . . . . . . . . . . . . . . . . . . . . . . . . . . . . . . . . . . . . . . . .7-11
Wall Inlet Rough-In . . . . . . . . . . . . . . . . . . . . . . . . . . . . . . . . . . . . . . . . . . . . . . . . . . . . . . . . . . . . . . . . . . . . . . . . . .7
Installing the Tubing . . . . . . . . . . . . . . . . . . . . . . . . . . . . . . . . . . . . . . . . . . . . . . . . . . . . . . . . . . . . . . . . . . . . . . . . .8
Wall Inlet Installation . . . . . . . . . . . . . . . . . . . . . . . . . . . . . . . . . . . . . . . . . . . . . . . . . . . . . . . . . . . . . . . . . . . . . . . . .9
Models CI370 & 360 Wall Inlets . . . . . . . . . . . . . . . . . . . . . . . . . . . . . . . . . . . . . . . . . . . . . . . . . . . . . . . .9
Model 330 Wall Inlet . . . . . . . . . . . . . . . . . . . . . . . . . . . . . . . . . . . . . . . . . . . . . . . . . . . . . . . . . . . . . . . . . .9
Model CI395RK Electrified Wall Inlet . . . . . . . . . . . . . . . . . . . . . . . . . . . . . . . . . . . . . . . . . . . . . . . . . . .10
Model CI358 Electrified Wall Inlet & Rough-In . . . . . . . . . . . . . . . . . . . . . . . . . . . . . . . . . . . . . . . . . . . .11
C1358 SUPERVALVE™ Wall Inlet & Rough-In Kit . . . . . . . . . . . . . . . . . . . . . . . . . . . . . . . . . . . . . . . . . . . . . . . .11
INSTALLATION IN EXISTING CONSTRUCTION . . . . . . . . . . . . . . . . . . . . . . . . . . . . . . . . . . . . . . . . . . . . . . . . . . . .12-19
Locating Access Keys in Existing Construction . . . . . . . . . . . . . . . . . . . . . . . . . . . . . . . . . . . . . . . . . . . . . . . . . .12
Avoiding In-Wall Obstacles . . . . . . . . . . . . . . . . . . . . . . . . . . . . . . . . . . . . . . . . . . . . . . . . . . . . . . . . . . . . . . . . . . .12
Installing Inlet Tubing . . . . . . . . . . . . . . . . . . . . . . . . . . . . . . . . . . . . . . . . . . . . . . . . . . . . . . . . . . . . . . . . . . . . .13-15
Wall Inlet Installation . . . . . . . . . . . . . . . . . . . . . . . . . . . . . . . . . . . . . . . . . . . . . . . . . . . . . . . . . . . . . . . . . . . . .15-18
Models CI370 & 360 Wall Inlets . . . . . . . . . . . . . . . . . . . . . . . . . . . . . . . . . . . . . . . . . . . . . . . . . . . . .18-19
Model 330 & CI335 Wall Inlet . . . . . . . . . . . . . . . . . . . . . . . . . . . . . . . . . . . . . . . . . . . . . . . . . . . . . . . . .19
Floor Inlet Installation . . . . . . . . . . . . . . . . . . . . . . . . . . . . . . . . . . . . . . . . . . . . . . . . . . . . . . . . . . . . . . . . . . . . . . .20
Vac Pan & Vac Sweep Installation . . . . . . . . . . . . . . . . . . . . . . . . . . . . . . . . . . . . . . . . . . . . . . . . . . . . . . .21-25
ASSEMBLING THE TUBING SYSTEM . . . . . . . . . . . . . . . . . . . . . . . . . . . . . . . . . . . . . . . . . . . . . . . . . . . . . . . . . . . . .26-30
POWER UNIT INSTALLATION . . . . . . . . . . . . . . . . . . . . . . . . . . . . . . . . . . . . . . . . . . . . . . . . . . . . . . . . . . . . . . . . . . .31-33
Mounting . . . . . . . . . . . . . . . . . . . . . . . . . . . . . . . . . . . . . . . . . . . . . . . . . . . . . . . . . . . . . . . . . . . . . . . . . . . . .31
Tubing Connections at Power Unit . . . . . . . . . . . . . . . . . . . . . . . . . . . . . . . . . . . . . . . . . . . . . . . . . . . . . . . . .32
Dimensional Chart . . . . . . . . . . . . . . . . . . . . . . . . . . . . . . . . . . . . . . . . . . . . . . . . . . . . . . . . . . . . . . . . . . . . . .32
Wiring . . . . . . . . . . . . . . . . . . . . . . . . . . . . . . . . . . . . . . . . . . . . . . . . . . . . . . . . . . . . . . . . . . . . . . . . . . . . . .33
FINAL SYSTEM CHECK . . . . . . . . . . . . . . . . . . . . . . . . . . . . . . . . . . . . . . . . . . . . . . . . . . . . . . . . . . . . . . . . . . . . . . . . . . .34
TROUBLESHOOTING GUIDE . . . . . . . . . . . . . . . . . . . . . . . . . . . . . . . . . . . . . . . . . . . . . . . . . . . . . . . . . . . . . . . . . . . .36-37
2

THE RANCH STYLE HOUSE
Here the power unit is mounted in the
garage. The intake and exhaust tub-
ing, the only exposed tubing in the
installation, runs up the garage wall
and into the attic. The trunk line runs
horizontally through the attic from the
power unit to the farthest inlet loca-
tion. Branch lines spread throughout
the attic, connecting the trunk line to
the inlet tubing. Each inlet tube is
threaded vertically through an inside
wall. Located in hallways, and in large
rooms, the inlets are placed to provide
maximum access to all cleaning
areas. See Figure 1.
THE TWO-STORY HOUSE
A double-trunk line system is commonly used in two-
story houses. In the installation shown at left, the power
unit is mounted in the basement. The intake tubing runs
up the basement wall and connects to the main trunk
line, which runs along the unfinished basement ceiling.
Two first-floor inlets are connected to the basement
trunk line by vertical inlet lines run through interior walls.
In the center of the house, a vertical branch line runs
from the basement trunk line, through stacked closets,
up into the attic. A second trunk line runs across the attic
and two branch lines connect to inlet lines which are
dropped down through upstairs interior walls. See
Figure 2.
3
SYSTEM PLANNING
AND LAY O U T
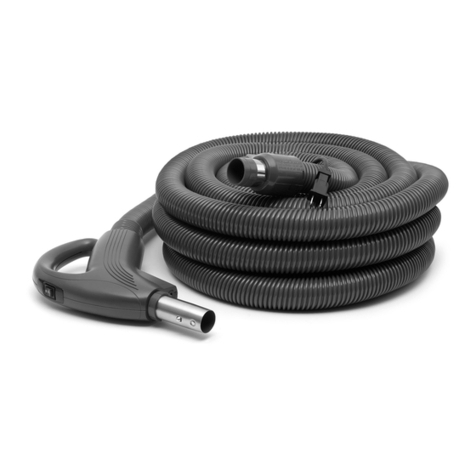
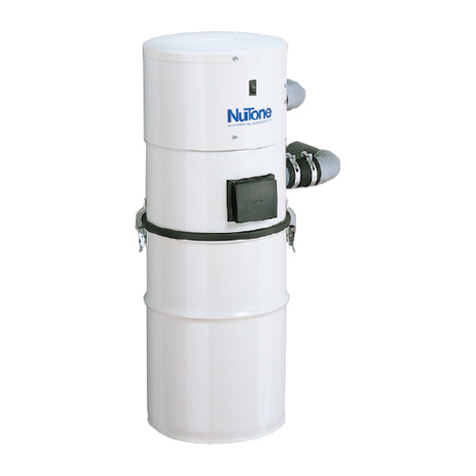
The NuTone Central Cleaning System consists of a Power Unit, PVC Tubing and Fittings, Wall Inlets, a flexible Hose and
various cleaning Attachments.
The Power Unit is designed to be wall-mounted away from the living area of the home and connected to the living area
by means of permanently installed in-wall tubing, fittings and inlets.
Generally, an installation will require 3 to 4 inlets and 16 to 20 feet of tubing per inlet. It is suggested that a floor plan be
used to more accurately determine the quantity of materials needed.
Use the following examples as an aid in planning the installation in either new or existing construction. You should be
able to adapt the examples shown to your specific home layout.
FIGURE 1
FIGURE 2

THE SPLIT-LEVEL HOUSE
Like the two-story house, the split
level installation commonly calls
for a two-level trunk line. Here, the
power unit is located in the
garage. The intake tubing runs
exposed up the garage wall and
into the ground level section's
attic. Two branch lines connect
this part of the trunk line to inlet
lines which are dropped inside
interior walls. Avertical branch
line runs to the upstairs attic,
where the trunk line branches into
a T-shape. This trunk line con-
nects to two upstairs inlet lines
and to one inlet line which drops
through an upstairs wall and down
into the third-level utility room to
service this entire level. See Figure 3.
4
LOCATING THE POWER UNIT
•Locate the power unit at the lowest possible position
away from the general living area in an accessible
location for changing the filter bag or debris bucket.
•When planning, remember the power unit is
equipped with an inlet to service a garage,
basement, utility room, etc., wherever it is located.
• Locate the power unit within six feet of a grounded
electrical outlet. The VX475 and VX550 power units
require a 120v 20 amp AC power source. The
VX1000 power units require a 240vAC, 15 amp cir-
cuit with a NEMA 6-15R receptacle.
•Do not locate the power unit close to a source of
extreme heat (i.e., water heater) or in an area with a
high ambient temperature (i.e., attic, furnace room).
•If the power unit is located in a closet or a small
utility room, make sure the area is well-ventilated
(i.e., with door louvers).
•Exhausting the power unit to the outside is
recommended for optimal performance. The exhaust
should not be vented into a wall, a
ceiling or a concealed space in the house. The
exhaust line should be vented outside the home
using a Model 393 or CI330 wall caps.
TUBING AND WALL
INLET LOCATIONS
1. Locate inlets on interior walls, choosing central
locations which allow several rooms to be cleaned
from a single inlet using a 30 foot long hose.
2. The tubing installation should consist of a main trunk
line running from the farthest wall inlet to the power unit
location, with branch lines running to each
additional inlet. Keep all tubing lines as straight
as possible and use as few fittings as possible.
3. Beginning at the area farthest from the power unit,
choose a tentative inlet location. Measure 30 feet
from the proposed inlet location to the farthest
corner of the rooms to be cleaned by that inlet to
determine if inlet location is proper. If working from
blueprints (or building plans drawn at 1⁄4" = 1 ft.
scale), use a 7 1⁄2" chain as your guide to
determine inlet locations.
4. Locate inlets within six feet of an electrical receptacle
to allow use of optional current-carrying hose.
5. Be sure inlets will not be blocked by doors
or furniture
6. Be sure inlets will not interfere with electrical, plumb-
ing or other mechanical installations.
7. Move tentative inlet location if necessary. Use the
same procedure to determine each additional inlet
location, always working toward the power unit.
FIGURE 3

5
WORKING WITH
PLASTIC TUBING
Cutting the Tubing
Before you cut a length of tube, accurately measure the
length you need. Allow 5/8” of tubing for inserting into fit-
tings and 1 1/2” for placing into flexible tubing. Cut the
plastic tubing with a hacksaw, making sure that the cut is
exactly square. (You can use a tube cutter if one is avail-
able.) Use wire cutters or tin snips to cut flexible tubing.
The 8” lengths of flexible tubing supplied with each inlet
should not be cut. See Figure 4.
Use a small knife to remove any burrs from the inside of
the tube. You can also use steel wool to remove burrs.
The burrs must be removed or they may impede air flow
of form clogs by snagging hair and carpet thread. See
Figure 5.
Next, use a file to slightly bevel the outside of the tube so
that it will easily slide into the fitting. Use steel wool or a
light grained sandpaper to buff the surface of the tube
which will be glued. This will clean the tube and assure
a good seal. See Figure 6.
• Wire strippers •1/4" Drill
•Utility Knife •Putty Knife
• Knife • Hammer
•2 1/2"Hole Saw •Keyhole Saw
•1/2" Drill •Cold Chisel
• Level • Flashlight
•Drill Bit •Electrical Tape
• Screwdriver • Safety Glasses
• Wrench • Hacksaw
• Tape Measurer
GENERAL INSTA L L ATION GUIDE
TOOL LISTING
Depending on your installation, you may require the use of these tools. The power tools are recommended
to make your installation proceed quickly.
FIGURE 4
FIGURE 5
FIGURE 6
Other manuals for VX1000C
1
This manual suits for next models
5
Table of contents
Other NuTone Vacuum Cleaner manuals

NuTone
NuTone VX475CC User manual

NuTone
NuTone CH515 User manual

NuTone
NuTone VX475 User manual

NuTone
NuTone CT140G User manual

NuTone
NuTone CV400 User manual

NuTone
NuTone VX475CC Assembly instructions

NuTone
NuTone CV350 User manual

NuTone
NuTone CV350 User manual

NuTone
NuTone SFDB-DD User manual

NuTone
NuTone VX1000C User manual