manuals.online logo
Brands
  1. Home
  2. •
  3. Brands
  4. •
  5. NuTone
  6. •
  7. Ventilation Hood
  8. •
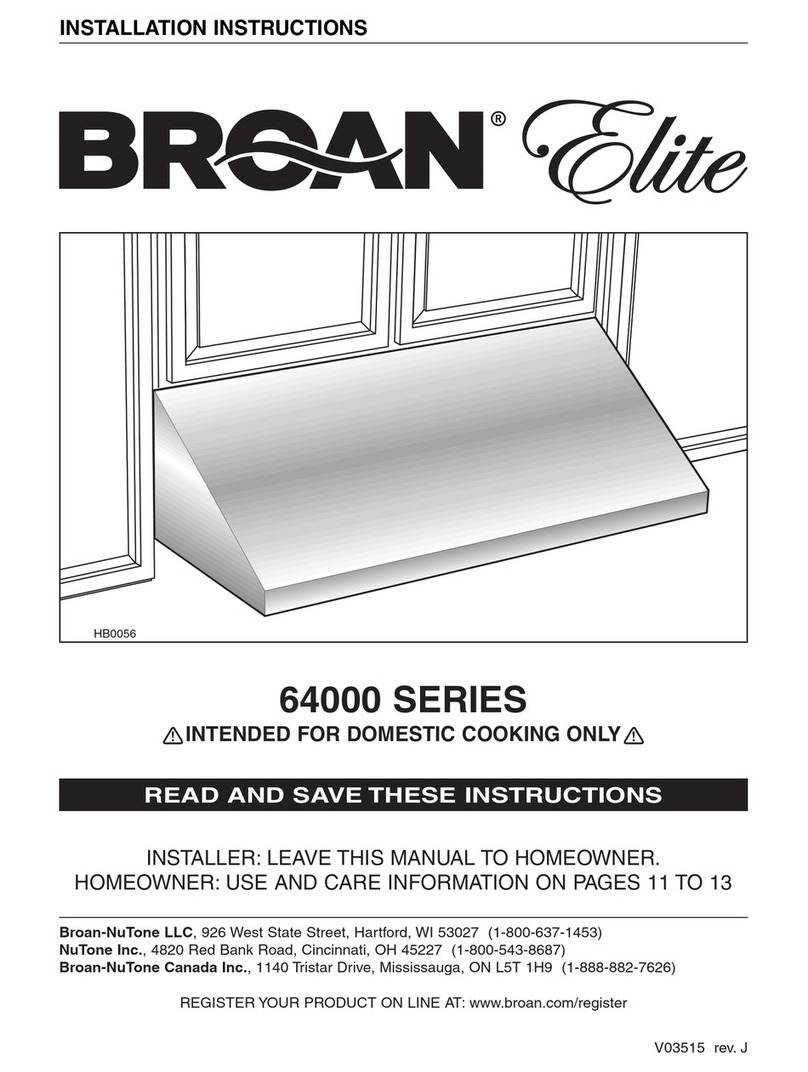
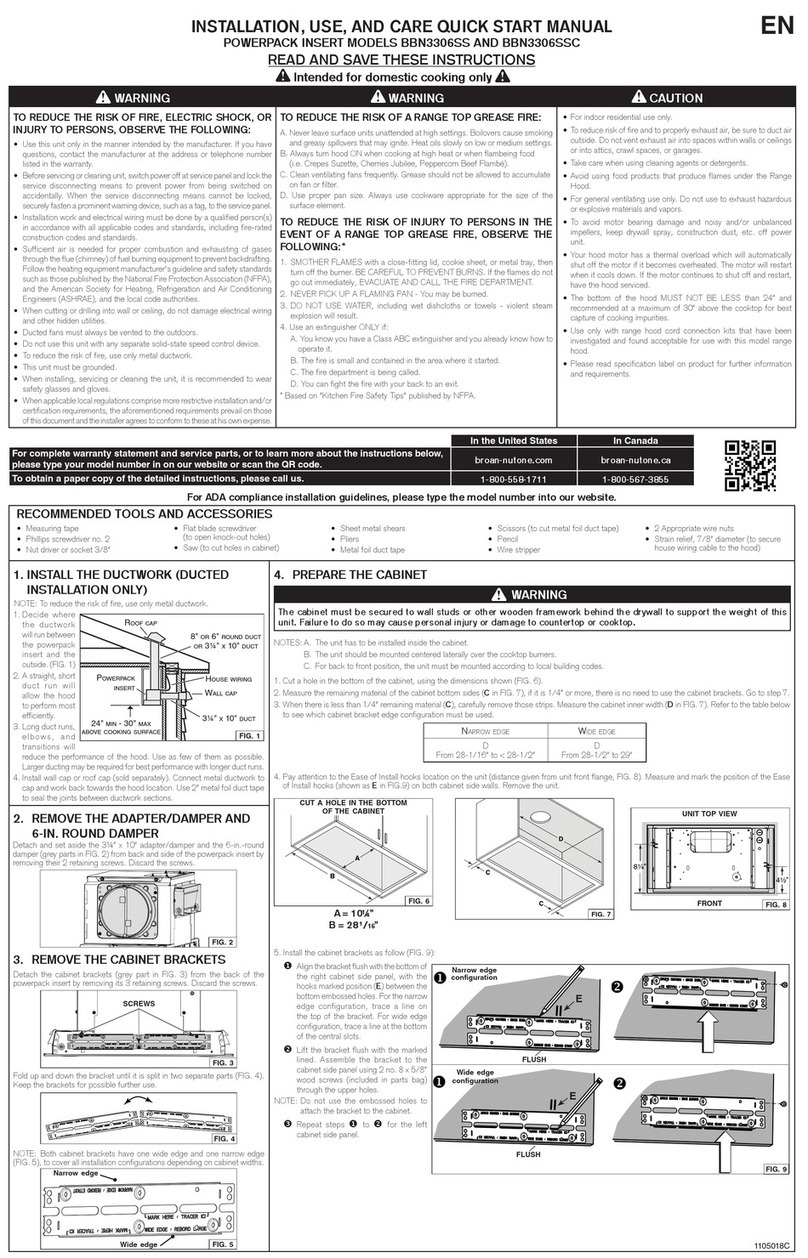
  9. NuTone BKDB1 Series Installation manual

NuTone BKDB1 Series Installation manual

Other manuals for BKDB1 Series

1

This manual suits for next models

49

Other NuTone Ventilation Hood manuals

NuTone AP130 User manual

NuTone

NuTone AP130 User manual

NuTone Premier POWER MODULE NSPM390 Series User manual

NuTone

NuTone Premier POWER MODULE NSPM390 Series User manual

NuTone E662E User manual

NuTone

NuTone E662E User manual

NuTone WhispAire WA6500 Series User manual

NuTone

NuTone WhispAire WA6500 Series User manual

NuTone ALLURE WS2 SERIES User manual

NuTone

NuTone ALLURE WS2 SERIES User manual

NuTone AR1 Series User manual

NuTone

NuTone AR1 Series User manual

NuTone 8663RP User manual

NuTone

NuTone 8663RP User manual

NuTone 153001 User manual

NuTone

NuTone 153001 User manual

NuTone BKDB1 Series Instruction and safety manual

NuTone

NuTone BKDB1 Series Instruction and safety manual

NuTone NS58000 Series User manual

NuTone

NuTone NS58000 Series User manual

NuTone NS54000 Series User manual

NuTone

NuTone NS54000 Series User manual

NuTone ALLURE WS2 SERIES User manual

NuTone

NuTone ALLURE WS2 SERIES User manual

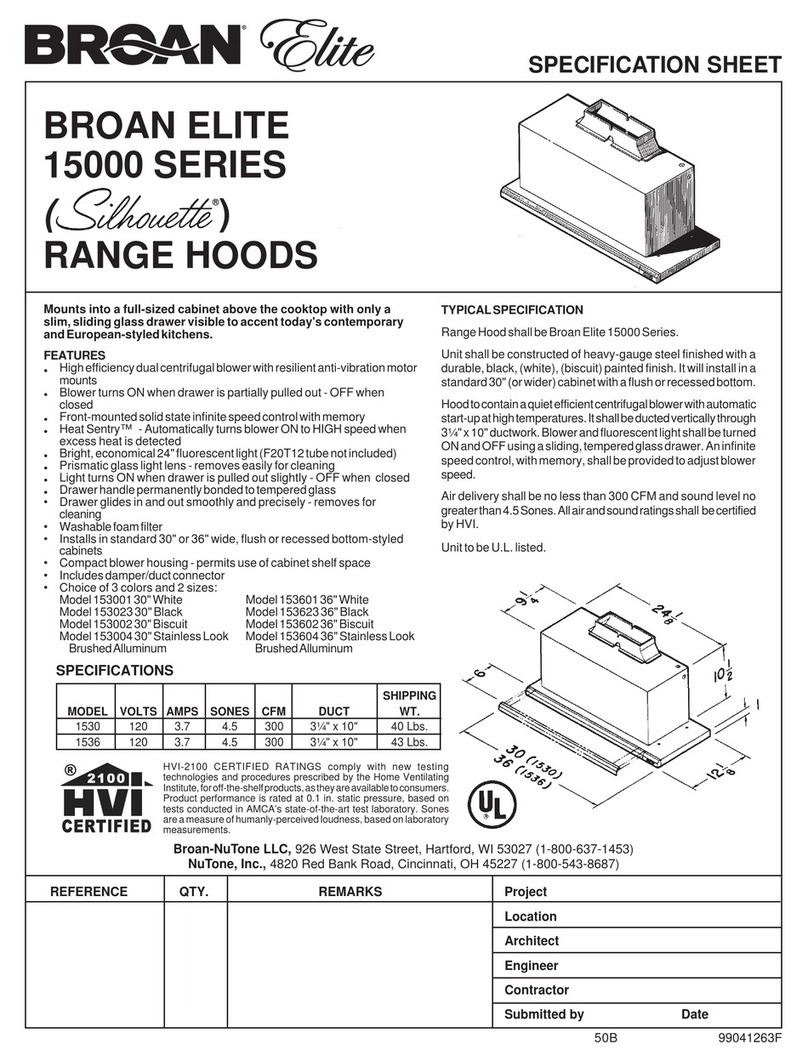
NuTone SILHOUETTE 1530 User manual

NuTone

NuTone SILHOUETTE 1530 User manual

NuTone ACS30 User manual

NuTone

NuTone ACS30 User manual

NuTone RL6200 Series User manual

NuTone

NuTone RL6200 Series User manual

NuTone RL3600 Series User manual

NuTone

NuTone RL3600 Series User manual

NuTone NQSEN1 Series Instruction and safety manual

NuTone

NuTone NQSEN1 Series Instruction and safety manual

NuTone RL6100F Series User manual

NuTone

NuTone RL6100F Series User manual

NuTone Premier NP61000 Series User manual

NuTone

NuTone Premier NP61000 Series User manual

NuTone PIK33 User manual

NuTone

NuTone PIK33 User manual

NuTone EC50 User manual

NuTone

NuTone EC50 User manual

NuTone PM400SSV Quick reference guide

NuTone

NuTone PM400SSV Quick reference guide

NuTone F402401 User manual

NuTone

NuTone F402401 User manual

NuTone AR1 Series User manual

NuTone

NuTone AR1 Series User manual

Popular Ventilation Hood manuals by other brands

Gorenje S3 IHGC963S4X manual

Gorenje

Gorenje S3 IHGC963S4X manual

KOBE ISX2136SQB-1 Installation instructions and operation manual

KOBE

KOBE ISX2136SQB-1 Installation instructions and operation manual

U.S. Products ADVANTAGE-100H Information & operating instructions

U.S. Products

U.S. Products ADVANTAGE-100H Information & operating instructions

Kuppersberg DUDL 4 LX Technical Passport

Kuppersberg

Kuppersberg DUDL 4 LX Technical Passport

Framtid HW280 manual

Framtid

Framtid HW280 manual

Thermador HGEW 36 FS installation manual

Thermador

Thermador HGEW 36 FS installation manual

Electrolux LFT769X user manual

Electrolux

Electrolux LFT769X user manual

AEG X69453MVO UK user manual

AEG

AEG X69453MVO UK user manual

Broan B5836SS manual

Broan

Broan B5836SS manual

Heinner HDCH-6060RGBK quick start guide

Heinner

Heinner HDCH-6060RGBK quick start guide

Baumatic AS35SS instruction manual

Baumatic

Baumatic AS35SS instruction manual

Franke FTF 604 XS V2 Instructions for use and installation

Franke

Franke FTF 604 XS V2 Instructions for use and installation

Best UCB3I30SBW installation instructions

Best

Best UCB3I30SBW installation instructions

Gram EFU 503-90 X instruction manual

Gram

Gram EFU 503-90 X instruction manual

CIARRA CBCS6803 Installation and user manual

CIARRA

CIARRA CBCS6803 Installation and user manual

sauter SHG501 Instructions for installation and use

sauter

sauter SHG501 Instructions for installation and use

Franke 392-17 User instructions

Franke

Franke 392-17 User instructions

FALMEC Polar Black 35 Instruction booklet

FALMEC

FALMEC Polar Black 35 Instruction booklet

manuals.online logo
manuals.online logoBrands
  • About & Mission
  • Contact us
  • Privacy Policy
  • Terms and Conditions

Copyright 2025 Manuals.Online. All Rights Reserved.

99045883DCVR08‐18‐2020
AdditionalInformationfor
RangeHoodsmeetingADACompliance
Broan,NuToneandVenmarbrandedresidentialrangehoodscanbeinstalledtocomplywithSections308and
309ofADAGuidelines,whenusedwithappropriatelymountedcontrolsinstalledat15”to48”abovethefloor
andcontrolaccessshouldnotrequirereachingoveracookingappliance.
ThefollowingrangehoodscanworkinanADACompliantsituationwhentherangehoodiswiredtooperate
fromadedicated,standardelectricalwallswitch.Tofacilitatethisapplication,sharetheinformationonthe
followingpageswithyourelectricianwhenpreparingfortheinstallation.
THISPROCEDUREAPPLIESTOTHERANGEHOODSERIES
LISTEDATTHEBOTTOMOFTHISPAGE
Broan:BCDF1,BKDB1,BCDA1,BKDD1,BKDEG1,BKDF1,CLDA1,CRDEG1,BNDD1,BNDF1,BQDD1,BCDH1,
BCDJ1,BCLB1,BKDJ1,BKDN1,BQLA1,CLDH1,CLLB1,CRDN1.
BroanElite:ALT2,ALT3,ALT4,EPLEC1,EQLD1,ERLE1,TEN2,SPE1.
EuroDesign:EDJDD1,EDJDN1,EDJLD1.
NuTone:AHDA1,AVDF1,AVDN1,NCDJ1,NCLB1,NKDF1,NKDN1,NPLEC1,NQDD1,NQLA1,NCDA1,NRLE1.
VenmarBistro:VBLDF1,VBLDN1,VBNDH1,VBNLB1.
VenmarChef:VCNDD1,VCQDD1,VCQLA1.
1
ADA LOW VOLTAGE WIRING INSTRUCTIONS FOR SINGLE BLOWER RANGE HOODS (PAGE 1 AND 2)
AND DOUBLE BLOWER RANGE HOODS (PAGE 3 TO 5)
WARNING
!
For residential (domestic) installation only. Before proceeding, switch power off at service panel and lock service disconnecting
means to prevent power from being switched on accidentally. Installation work and electrical wiring must be done by qualified
person(s) in accordance with all applicable codes and standards, including fire-rated construction codes and standards. Also,
it is recommended to wear safety glasses and gloves.
BRemove filters from the hood and set them aside.
CRemove the wiring cover (shaded part in illustration below) retaining
screw. Slide the wiring cover out of the hood and set it aside with its
screw.
DUnplug the blower connector from the main harness.
NOTE:The illustrations in this procedure are generic; some hood details may slightly differ from the hood you have on hand but the procedure itself applies
to all single blower range hoods listed in this document (see page 2).
Wiring cover
screw
EUsing a 11/32'' socket, remove the 6 nuts retaining the blower
chamber to the hood assembly (2 nuts on inner back and 2 other nuts
per sides), then use a Phillips no. 2 screwdriver to remove both front
corner screws. See picture below for nuts and screws locations. Pull
the blower chamber out of the hood assembly and set it aside with its
retaining screws and nuts.
HE0253
HD0672
Nuts
Nuts
Screw
FRemove and set aside the 4 front screws retaining the control access
panel to the hood.
HD0673
Screw locations
GFold back the control access panel to access the control panel connections.
HD0674
99045883D
HMeasure 4 feet from the connector end of the provided ADA cable
and cut the cable. Set aside the remaining 15-ft. cable section without
connector; it will be used later (refer to step N). Run the connector of the
ADA cable section through the wiring cable hole on the bent plate.
HE0274
IConnect the ADA cable connector to the 6-pin connector on control
board (circled on picture below).
HE0288
CAUTION
Use exclusively the cable included in this kit.
JSecure the ADA cable section to the main harness using a tie-wrap.
HD0952
Tie-wrap
2
THIS PROCEDURE APPLIES TO THE FOLLOWING
RANGE HOOD SERIES
KClose the control access panel and reinstall the blower by reversing
steps G to D on first page. Run the ADA cable section through the
provided ferrite, making 2 loops.The ferrite must be as close as possible
to the access panel.
HD0953
LOpen the provided connection box. Using long nose pliers, break away
2 cable entry notches on the lid (one per side).
HR0156
MPeel off the paper backing on back of connection box base and install
the base at the location shown. Make sure that the surface is clean. This
will place the connection box within the Wire Cover area near the blower
connector. IMPORTANT NOTE: The base must be positioned flush to the
notches (see circled area below).
HD0954
HE0278
OUsing small UL approved wire nuts (suitable for 22 AWG wires), connect
wires as follow: WHITE wire with WHITE wire, BLACK wire with BLACK
wire and RED wire with RED wire.
HD0955
PPut the wire nuts inside the connection box base, then snap the
connection box lid on its base, ensuring the ADA cable runs through
the open notches.
RInstall a momentary contact switch at a convenient place for the user.
Connect the end without connector of the provided ADA cable to this
switch as shown below:
HE0277
NUse the remaining cable length of 15 ft. (from step H) to connect to the
remote ADA switch outside the hood (step R). IMPORTANT: Leave a
cable length of at least 12” that protrudes from the wall (at the same
location of the 120 V house wiring). Run one end of the remaining
section of the ADA cable though the range hood wire clamp, along with
the power cable, giving enough length to make the connections inside
the box. Tighten the wire clamp, then strip the end of the 3 wires from
both ADA cable ends.
NOTE: The wire clamp must be suitable for 2 cables.
QReinstall the hood wiring cover and attach it to the hood using its
retaining screw.
SCREW
TABS ON INNER
TOP OF HOOD
ENGAGED IN
WIRING COVER
SLOTS.
CAUTION
Ensure both tabs on inner top of hood are engaged in their
corresponding slots in wiring cover. Also, take care not to
pinch wires while reinstalling wiring cover.
COMMON
MOMENTARY
NORMALLY OPEN
CONTACT SWITCH
(back view)
WHITE
ADA CABLE
TO HOOD
RED
(motor)
BLACK
(lights)
Motor
control
Light
control
CAUTION
Use one SPDT normally open, momentary contact switch
(shown in above diagram) or two SPST normally open,
momentary contact switch.
SPut back in place the hood filters and restore power to the range hood.
NOTE:Use the control on the range hood to reset the filter maintenance indicator.
Motor control
Press to turn ON the blower on LOW speed.
NOTE: When LOW speed is activated from OFF, the blower starts on MEDIUM
speed for a very short lapse of time, and then resumes to LOW speed.
To change the blower speed, press on this button again until the desired
speed is reached (from LOW to MEDIUM to HIGH speed to OFF).
Light control
When lights are OFF, press once on this control to turn ON the lights
on LOW intensity. Press another time to set the lights on HIGH intensity.
Pressing another time after the HIGH setting will turn OFF the lights.
RANGE HOOD OPERATION
Broan Series: BCDA1, BCDF1, BKDB1, BKDD1, BKDEG1, BKDF1,
BNDD1, BNDF1, BQDD1 CLDA1 and CRDEG1.
NuTone Series: AHDA1, AVDF1, NCDA1, NKDF1 and NQDD1.
Venmar Bistro Series: VBLDF1.
Venmar Chef Series: VCNDD1 and VCQDD1.
Broan Elite Series: ALT2 and TEN2.
EuroDesign Series: EDJDD1.
3
ADA LOW VOLTAGE WIRING INSTRUCTIONS FOR DOUBLE BLOWER RANGE HOODS
WARNING
!
For residential (domestic) installation only. Before proceeding, switch power off at service panel and lock service disconnecting
means to prevent power from being switched on accidentally. Installation work and electrical wiring must be done by qualified
person(s) in accordance with all applicable codes and standards, including fire-rated construction codes and standards. Also,
it is recommended to wear safety glasses and gloves.
ACCESS TO RANGE HOOD MAIN HARNESS
Due to their particular design, some range hood series have a different way to access to their main harness. These range hoods series are: EPLEC1,
NPLEC1 and SPE1 series and ALT4, EDJLD1 and EQLD1 series. For all other range hood series, go to page 4.
EPLEC1, NPLEC1 AND SPE1 SERIES
Remove both filters from the hood and set them aside.
Remove both side fillers by removing the 3 screws holding each one of them. Slide each one towards the center of the hood and tilt it up to remove it
completely. Set the fillers and screws aside.
c
d
12
3
4
5
6
7
BACK OF HOOD
LOCK NUT
Using a 11/32” nutdriver or socket, remove the lock nut retaining the flange of the right blower cover
plate (shaded part on illustration at right) to the inner back of hood (see inset). Remove all cover
plate retaining screws (7 screws), then set the blower cover along with its screws and nut aside.
NOTE: For 30 in.-wide hoods, slightly lift up the cover plate before sliding it towards the left to remove it.
ALT4, EDJLD1 AND EQLD1 SERIES
Grabthefrontedgeofthepanel
and lift it to detach the panel
from the front magnets (A).
Remove the panel from the
hood by tilting it slightly to
disengage it from 3 hooks (B),
then set aside the panel.
AB
MAGNETS
Using a 11/32” nutdriver or socket, remove both lock nuts retaining the flange of the cover plate to
the inner back of hood (see insets). Remove the cover plate retaining screws (9 screws), then set
the blowers cover along with its screws and nuts aside.
BACK OF HOOD
12
36
7
LOCK NUTS
8
9
81
NOTE:The following procedure applies to the double blower range hood series listed on page 5.
4
ALL OTHER RANGE HOOD SERIES
ACCESS TO RANGE HOOD MAIN HARNESS (CONT’D)
Remove filters from the hood and set them aside.
Using a 11/32” nutdriver or socket, remove the lock nut retaining the flange of the right cover plate
(shaded part on illustration at right) to the inner back of hood (see inset). Remove the right cover
plate retaining screws (7 screws), then set the blower cover along with its screws and nut aside.
NOTE: According to range hood models, screw 1location may vary; it can be on right side of the
+lock nut or on left side (see inset). 12
3
45
6
7
BACK OF HOOD
LOCK NUT
OR
11
ADA CABLE CONNECTIONS
BRun the ADA cable (GREY cable coming out from the control access
panel) through the provided ferrite, making 2 loops.
HD0956
COpen the provided connection box. Using long nose pliers, break away
2 cable entry notches on the lid (one per side).
HR0156
DPeel off the paper backing on back of connection box base and install
this base on the inner back of the hood, near the power cable knock out,
as shown below. Make sure that the surface is clean before installing the
box.
HD0957
HE0280
FRun one end of the ADA cable through the range hood wire clamp, along
with the power cable, giving enough lenght to make the connection
inside the box. Tighten the wire clamp, then strip the end of the 3 wires
from provided ADA cable.
NOTE: The wire clamp must be suitable for 2 cables.
HE0281
GStrip the end of the 3 wires from GREY cable (the one with ferrite), then
using small UL approved wire nuts (suitable for 22 AWG wires), connect
these wires with ADA cable wires. Connect as follow: WHITE wire with
WHITE wire, BLACK wire with BLACK wire and RED wire with RED wire.
CAUTION
Use exclusively the cable included in this kit.
ECut off and discard the connector at the end of the provided ADA cable.
Use this cable to connect to the remote ADA switch outside the hood
(step I).
IMPORTANT: leave a cable length of at least 12’’ that protrudes from the
wall (at the same location of the 120 V house wiring.
HD0958
HPut the wire nuts inside the connection box base, then snap the
connection box lid on its base, ensuring the ADA cable runs through the
open notches.
JReinstall the blower cover and filters, by reversing appropriate steps
according to the range hood series (see page 3 or 4).
KRestore power to the range hood.
NOTES: 1. The Delay OFF and the Master ON/OFF functions are not available when using the momentary contact switch.
2. Use the control on the range hood to reset the filter maintenance indicator.
RANGE HOOD OPERATION
RANGE HOODS WITH CAPTOUCH CONTROL
NOTE: Use the control on the range hood to reset the filter maintenance indicator.
RANGE HOODS WITH LCD CONTROL
RANGE HOODS WITH INFRARED CONTROL
MOTOR CONTROL
Press to turn ON the blower on LOW speed.
NOTE: When LOW speed is activated from OFF, the blower starts on MEDIUM speed for a very short lapse of time, and then resumes to LOW speed.
To change the blower speed, press on this button again until the desired speed is reached (from LOW to MEDIUM to HIGH speed to OFF).
LIGHT CONTROL
When lights are OFF, press once on this control to turn ON the lights on LOW intensity.
To change the light intensity, press on this button again until the desired intensity is reached (from LOW to MEDIUM to HIGH to OFF).
NOTES: 1. The Delay OFF and the Master ON/OFF functions are not available when using the momentary contact switch.
2. Use the control on the range hood to reset the filter maintenance indicator.
MOTOR CONTROL
Press to turn ON the blower on LOW speed.
NOTE: When LOW speed is activated from OFF, the blower starts on MEDIUM speed for a very short lapse of time, and then resumes to LOW speed.
To change the blower speed, press on this button again until the desired speed is reached (from LOW to MEDIUM to HIGH speed to OFF).
LIGHT CONTROL
When lights are OFF, press once on this control to turn ON the lights on LOW intensity. Press another time to set the lights on MEDIUM intensity.
Press another time to set the lights on HIGH intensity. Pressing another time after the HIGH setting will turn OFF the lights.
MOTOR CONTROL
Press to turn ON the blower on LOW speed.
NOTE: When LOW speed is activated from OFF, the blower starts on MEDIUM speed for a very short lapse of time, and then resumes to LOW speed.
To change the blower speed, press on this button again until the desired speed is reached (from LOW to MEDIUM to HIGH speed to OFF).
LIGHT CONTROL
When lights are OFF, press once on this control to turn ON the lights on LOW intensity. Press another time to set the lights on HIGH intensity. Pressing
another time after the HIGH setting will turn OFF the lights.
IInstall a momentary contact switch at a convenient place for the user.
Connect the end of the provided ADA cable to this switch as shown
below:
COMMON
MOMENTARY
NORMALLY OPEN
CONTACT SWITCH
(back view)
WHITE
ADA CABLE
TO HOOD
RED
(motor)
BLACK
(lights)
Motor
control
Light
control
CAUTION
Use one SPDT normally open, momentary contact switch
(shown in above diagram) or two SPST, normally open
momentary contact switch.
Broan Series: BCDH1, BCDJ1, BCLB1, BKDJ1, BKDN1, BQLA1, CLDH1,
CLLB1 and CRDN1.
NuTone Series: AVDN1, NCDJ1, NCLB1, NKDN1, NPLEC1, NQLA1 and
NRLE1.
Venmar Bistro Series: VBLDN1, VBNDH1 and VBNLB1.
Venmar Chef Series: VCQLA1.
EuroDesign Series: EDJDN1 and EDJLD1.
Broan Elite Series: ALT3, ALT4, EPLEC1, EQLD1, ERLE1 and SPE1.
THIS PROCEDURE APPLIES TO THE FOLLOWING RANGE HOOD SERIES
Check out the collection of home appliances we offer.