manuals.online logo
Brands
  1. Home
  2. •
  3. Brands
  4. •
  5. Obihai
  6. •
  7. Adapter
  8. •
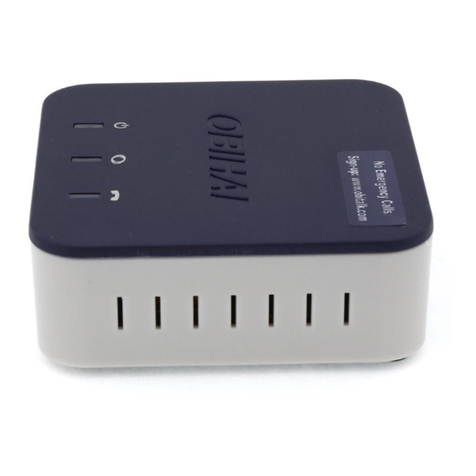
  9. Obihai OBi300 User manual

Obihai OBi300 User manual

STEP 1 – CONNECT THE OBi300 ATA TO THE INTERNET
Connect your OBi300 ATA to the internet through a wired or wireless connection.
CONNECT VIA WIRED CONNECTION
1. Remove the OBi300 ATA from the box and plug in the power cable.
2. Use the included network cable to connect to an available port on your internet
router—OR—to connect wirelessly, please follow the instructions on page 3,
Connect Via Wireless Connection.
Note: You will need the ObiWiFi USB dongle to connect wirelessly (sold separately).
3. Plug your existing telephone into the phone port on the OBi300 ATA.
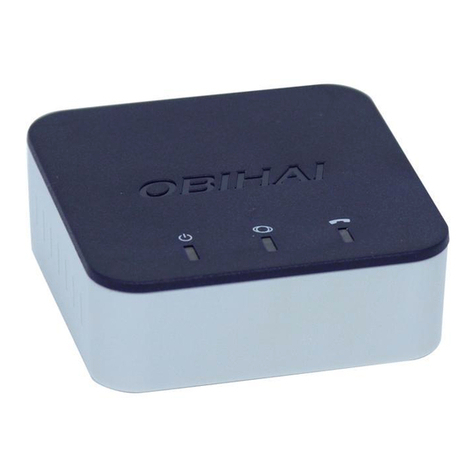
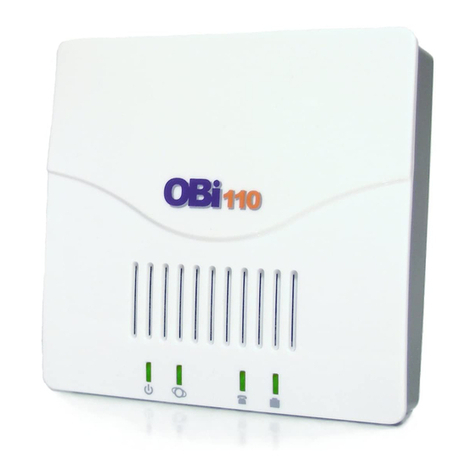
4. When registered, your OBi300 ATA will display three green lights (could take up
to 5 minutes).
SETUP OVERVIEW
Follow these 4 steps:
Step 1. Connect the OBi300 ATA to the internet through a wired or wireless connection
Step 2. Set up your ONEplace password and voicemail PIN
Step 3. Set your emergency response e911 location
Step 4. Test your line for dial tone. Alaska Communications will email you with a
scheduled date to move your service and complete activation
OBi300 Adapter Setup Guide
Page 1 - Version 1.0
Updated 09/06/18
Step 1
Connect the OBi300
ATA to the Internet
Step 2
Setup Your ONEplace
Voicemail Password
and PIN
Step 3
Set Your Emergency
Response e911
Location
Step 4
Test Your Line
CONNECT VIA WIRELESS CONNECTION
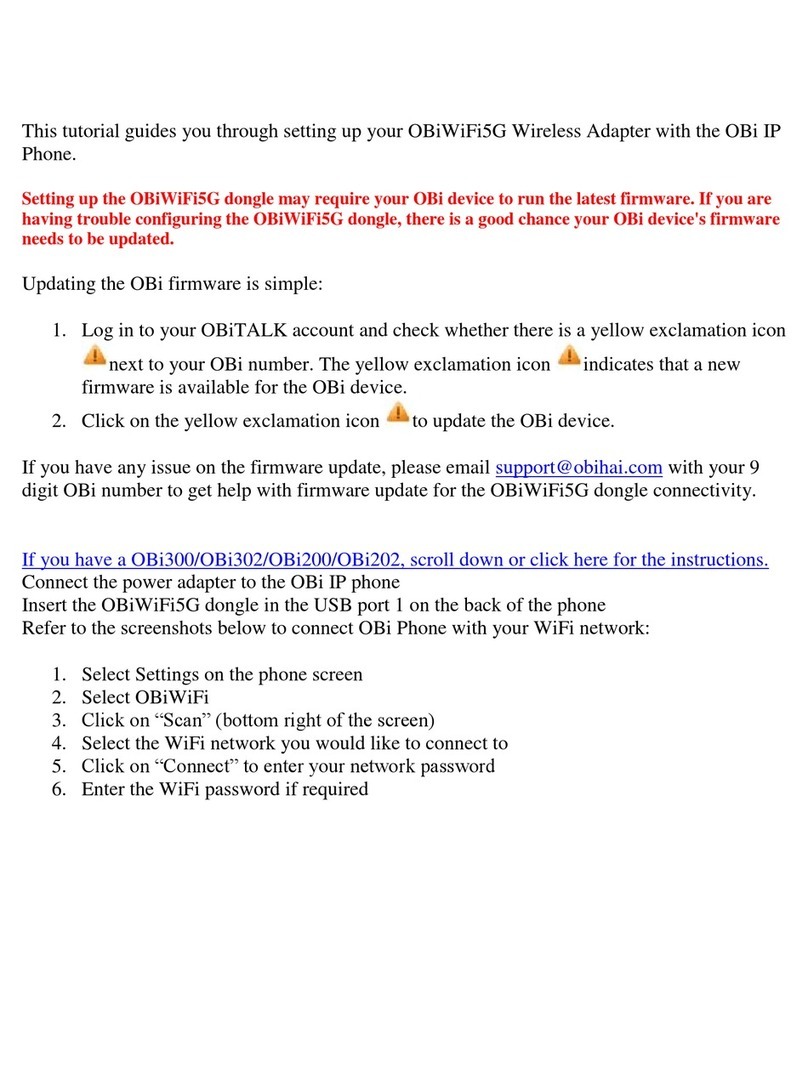
1. Plug the OBiWiFi USB dongle to the OBi300 ATA USB port.
2. Check if the OBiWiFi USB dongle has a blinking BLUE light. The OBiWiFi USB dongle
MUST show a blinking blue light to proceed with the setup. If you do not see a blinking
blue light, please do the following:
i. Unplug and reinsert the OBiWiFi USB dongle.
ii. Restart the OBi300 ATA.
If you still do not see a blinking blue light on the OBiWiFi USB dongle, please open a support
ticket through your AccountView portal.
3. From a WiFi enabled device (e.g., laptop, tablet, or smart phone), open network settings
and connect to the WiFi network called OBiWiFi_Setup.
Note: If you do not see the network, dial *27 on a phone connected to the OBi300 ATA.
4. Wait 30 seconds. Open a browser window and visit http://192.168.10.1/wifi or try http://
obiconnect.com/wifi.
5. When prompted, enter the default username and password.
The default username is: admin
The default password is: admin1
6. Select your WiFi network name (SSID) from the dropdown list and enter your WiFi
network password. Leave the security mode as Auto; the OBi300 ATA will automatically
detect this setting.
7. Click Connect to complete the setup. If the SSID is not on the dropdown list, choose Other
Network, and enter the SSID of your wireless router.
8. Allow 30 seconds for the OBiWiFi USB adapter to connect to your wireless network. When
successful, the OBi300 ATA’s power LED should turn from blinking green to solid green.
Note: You can also verify if the OBiWiFi USB dongle is working properly by checking if the
OBi300 ATA has acquired a valid IP address (dial ***1 to listen to the IP address).
OBi300 Adapter Setup Guide
Page 2 - Version 1.0
Updated 09/06/18
Step 2
Setup Your ONEplace
Voicemail Password
and PIN
Step 3
Set Your Emergency
Response e911
Location
Step 4
Test Your Line
Step 1
Connect the OBi300
ATA to the Internet
STEP 2  SETUP YOUR ONEPLACE VOICEMAIL PASSWORD AND PIN
1
2
3
4
5
1. Go to alaskacommunications.com, click Support, click
ONEplace Login, then select ONEplace Users. Or visit:
https://oneplace.alaskacommunications.com
2. Log in with your 10-digit telephone number and
temporary password provided in your welcome email.
3. The Setup Wizard will prompt you to change your
temporary password.
8-character minimum and must include one letter,
number, and special character
4. Set a voicemail PIN code.
4-digit minimum
5. Record your name and greeting.
(optional)
6. Press the Finish button. You will be taken to the
ONEplace user home page.
7. Set e911 location - refer to step 3.3 for instructions.
OBi300 Adapter Setup Guide
Page 3 - Version 1.0
Updated 09/06/18
Step 2
Setup Your ONEplace
Voicemail Password
and PIN
Step 3
Set Your Emergency
Response e911
Location
Step 4
Test Your Line
Step 1
Connect the OBi300
ATA to the Internet
STEP 3  SET YOUR EMERGENCY RESPONSE e911 LOCATION
Your telephone line will remain disabled until e911 response location is set.
Note: If you are porting an existing telephone number(s), you must complete this step after
the port is complete.
1. Open a web browser and go to https://oneplace.alaskacommunications.com
2. Log in with your 10-digit telephone number and password.
3. From the ONEplace home screen, select the Set Emergency Location link in the lower
left corner of the screen.
a. Set your e911 location
b. Confirm your e911 address or follow the on-screen instructions to update
Click here for a Show Me How video.
OBi300 Adapter Setup Guide
Page 4 - Version 1.0
Updated 09/06/18
Step 2
Setup Your ONEplace
Voicemail Password
and PIN
Step 3
Set Your Emergency
Response e911
Location
Step 4
Test Your Line
Step 1
Connect the OBi300
ATA to the Internet
STEP 4  TEST YOUR LINE
1. Using the telephone connected to the OBi300 ATA, dial **9 222 222 222 to perform an
echo test.
2. Speak a test phrase into the phone to verify the quality of your internet connection.
Note: you should hear each word immediately echoed back to you. If you do not hear the word or
it sounds garbled, this indicates a network issue.
3. Setup is now complete!
If you are using NEW number(s), your phone is now activated and ready to use. If you are
PORTING your number(s), you must wait until porting is complete to begin using your phone.
Reference your welcome email for porting information.
If you still need assistance with your OBi300 ATA, please open a support ticket through your
AccountView portal.
OBi300 Adapter Setup Guide
Page 5 - Version 1.0
Updated 09/06/18
Step 2
Setup Your ONEplace
Voicemail Password
and PIN
Step 3
Set Your Emergency
Response e911
Location
Step 4
Test Your Line
Step 1
Connect the OBi300
ATA to the Internet

Other manuals for OBi300

1

Other Obihai Adapter manuals

Obihai OBi100 User manual

Obihai

Obihai OBi100 User manual

Obihai OBi200 User manual

Obihai

Obihai OBi200 User manual

Obihai OBi300 User manual

Obihai

Obihai OBi300 User manual

Obihai OBi202 User manual

Obihai

Obihai OBi202 User manual

Obihai OBi110 Instruction Manual

Obihai

Obihai OBi110 Instruction Manual

Obihai OBi100 Instruction Manual

Obihai

Obihai OBi100 Instruction Manual

Obihai OBi Series Operation instructions

Obihai

Obihai OBi Series Operation instructions

Obihai OBi110 User manual

Obihai

Obihai OBi110 User manual

Obihai OBi302 User manual

Obihai

Obihai OBi302 User manual

Obihai OBi200 User manual

Obihai

Obihai OBi200 User manual

Popular Adapter manuals by other brands

LevelOne Bluetooth USB Adapter user manual

LevelOne

LevelOne Bluetooth USB Adapter user manual

Viega ManaBloc PureFlow Product instructions

Viega

Viega ManaBloc PureFlow Product instructions

multicomp pro MP008240 user manual

multicomp pro

multicomp pro MP008240 user manual

SanDisk Connect Getting started

SanDisk

SanDisk Connect Getting started

Siemens 3VM9181-0SH10 operating instructions

Siemens

Siemens 3VM9181-0SH10 operating instructions

Wöhner EQUES 60 Classic 32660 quick start guide

Wöhner

Wöhner EQUES 60 Classic 32660 quick start guide

Audison Prima APBMW A4E owner's manual

Audison

Audison Prima APBMW A4E owner's manual

Perel EBP04L user manual

Perel

Perel EBP04L user manual

KSIX BLUEAR quick start guide

KSIX

KSIX BLUEAR quick start guide

Connect Tech Xtreme 104 Opto user manual

Connect Tech

Connect Tech Xtreme 104 Opto user manual

D-Link DWA-652 user manual

D-Link

D-Link DWA-652 user manual

Dynex DX-TCADPT Guía de configuración Rápida

Dynex

Dynex DX-TCADPT Guía de configuración Rápida

ZyXEL Communications G-220F quick start guide

ZyXEL Communications

ZyXEL Communications G-220F quick start guide

Asus USB-C2500 quick start guide

Asus

Asus USB-C2500 quick start guide

Sharp AN-NV6T instruction manual

Sharp

Sharp AN-NV6T instruction manual

Asus USB-AC55 B1 quick start guide

Asus

Asus USB-AC55 B1 quick start guide

gofanco USBCMST2HDMI user guide

gofanco

gofanco USBCMST2HDMI user guide

Zenisu Keisoku ZS-6822A Series instruction manual

Zenisu Keisoku

Zenisu Keisoku ZS-6822A Series instruction manual

manuals.online logo
manuals.online logoBrands
  • About & Mission
  • Contact us
  • Privacy Policy
  • Terms and Conditions

Copyright 2025 Manuals.Online. All Rights Reserved.