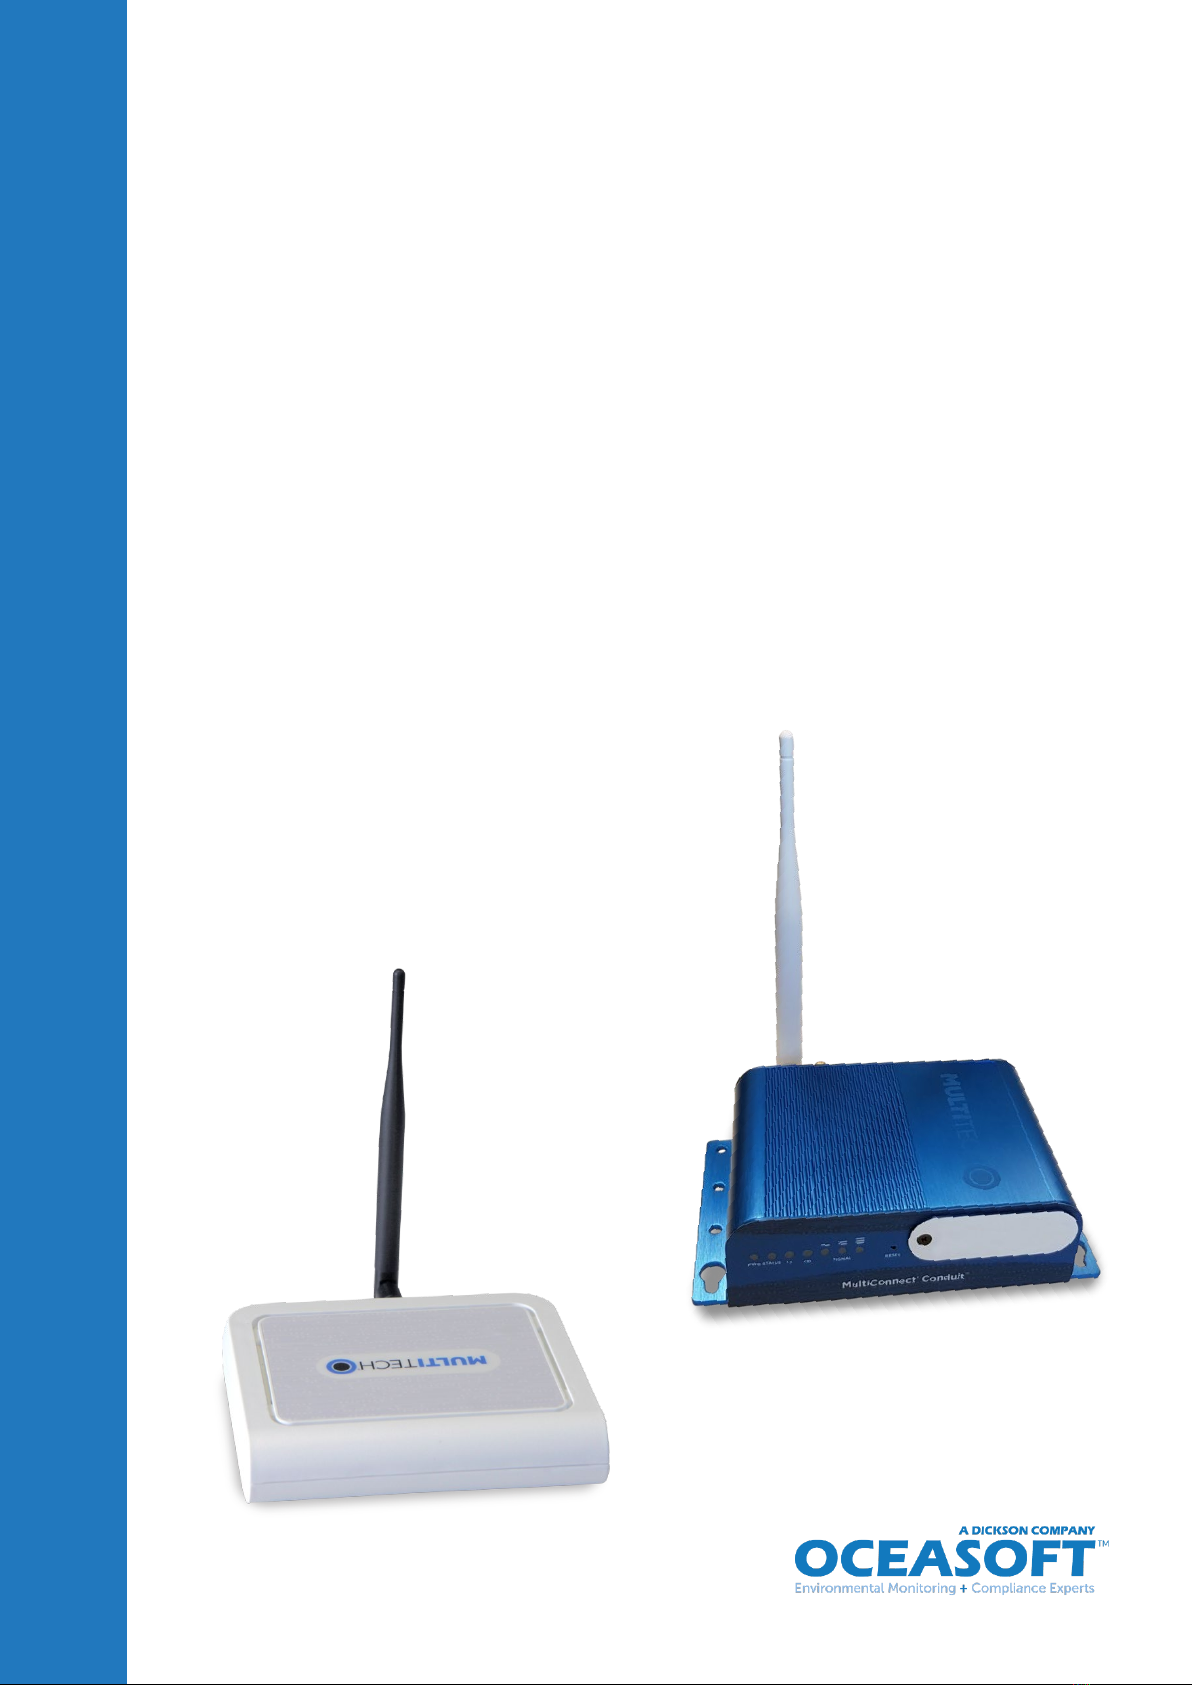
Ocea Soft LoRaWAN User manual

OCEASOFT
LoRaWAN™
enabled
receivers
Firmware version 5.3.x
(starting June 2021)
USER GUIDE

Introduction
OCEASOFT LoRaWAN Receiver User Guide Page 2
Notices and safety
Disclaimer
and
limitation
of liability
OCEASOFT assumes no liability for any loss or claims by
third parties which may arise through the use of this product.
Users must not use the product in any manner not
specifically indicated by OCEASOFT.
OCEASOFT shall not be held liable for improper use of this
product.
This document is non-contractual and subject to change
without notice.
Safety
instructions
The latest safety instructions document is available for
download from the OCEASOFT website. Flash this QR code
to access the document:
https://www.oceasoft.com/files/library/oceaview/OCEASOFT_Safety.pdf

Introduction
OCEASOFT LoRaWAN Receiver User Guide Page 3
Certifications and compliance
Caution: Any changes or modifications made to this product not expressly
approved in writing by OCEASOFT could void the user's authority to operate the
equipment.
FCC statement
This device complies with part 15 of the FCC rules.
Operation is subject to the following two conditions:
(1)
This device may not cause harmful
interference.
(2)
This device must accept any interference
received, including interference that may
cause undesired operation: FCC Part 15 §107 -
§109 - §207 - §247 (Ed 2008).
FCC RF Radiation Exposure
Statement
This equipment complies with FCC radiation exposure
limits set forth for an uncontrolled environment. End
users must follow the specific operating instructions for
satisfying RF exposure compliance. This transmitter must
not be co-located or operating in conjunction with any
other antenna or transmitter.
IC statement
This device complies with Industry Canada license-
exempt RSS standard(s). Operation is sub
ject to the
following two conditions: (1) this device may not cause
interference, and (2) this device must accept any
interference, including interference that may cause
undesired operation of the device. Under Industry Canada
regulations, this radio transmitter may only operate using
an antenna of a type and maximum (or lesser) gain
approved for the transmitter by Industry Canada. To
reduce potential radio interference to other users, the
antenna type and its gain should be so chosen that the
equivalent is
otropically radiated power (e.i.r.p.) is not
more than that necessary for successful communication.

Introduction
OCEASOFT LoRaWAN Receiver User Guide Page 4
CE - Conformity with European regulations
This device is compliant with the essential requirements
and other relevant requirements of the following
directives.
•2014/53/EU Radio Equipment Directive (RED)
•2014/30/EU EMC Directive
•2014/35/EU Low Voltage Directive
•2011/65/EU Restriction of Hazardous Substances
Directive
WEEE compliance
This device complies with the essential requirements and
other relevant provisions of the Waste Electrical and
Electronic Equipment Directive 2002/96/EC (WEEE
Directive).
Environmental protection
Please respect local regulations concerning disposal of
packaging, unused wireless devices, and their accessories,
and promote their recycling.
RoHS compliance
This device is compliant with the restriction of the use of
certain hazardous substances in electrical and electronic
equipment Directive 2002/95/EC (RoHS Directive). Do
not dispose of this product with household trash.
OCEASOFT recycles this product under certain
conditions. Please contact us for more information.

Introduction
OCEASOFT LoRaWAN Receiver User Guide Page 5
Europe
North America
OCEASOFT SA
720 rue Louis Lépine
34000 Montpellier
France
Tel: +33 499 13 67 30
Fax: +33 467 42 84 13
Dickson, Inc.
930 S Westwood Ave
Addison, IL 60101
USA
Tel: 1 (630) 543-3747
© 2021 OCEASOFT. All rights reserved. OCEASOFT, the OCEASOFT logo, Cobalt, and
Cobalt X, Cobalt X1, Cobalt X2, Cobalt L3, and Cobalt ML3 are the exclusive property of
OCEASOFT. All other brands mentioned are the property of their respective owners. This is
a non-contractual document. Features and specifications mentioned here are subject to
change. Document updated for firmware v5.3.3
September 2021 Ref: ING-INS-142-EN Rev. 11

Introduction
OCEASOFT LoRaWAN Receiver User Guide Page 6
Table of Contents
1Introduction................................................................................................. 7
1.1 Overview..........................................................................................................7
1.2 Detailed description.......................................................................................8
Key features .........................................................................................................8
Data management..............................................................................................8
Connectivity ........................................................................................................8
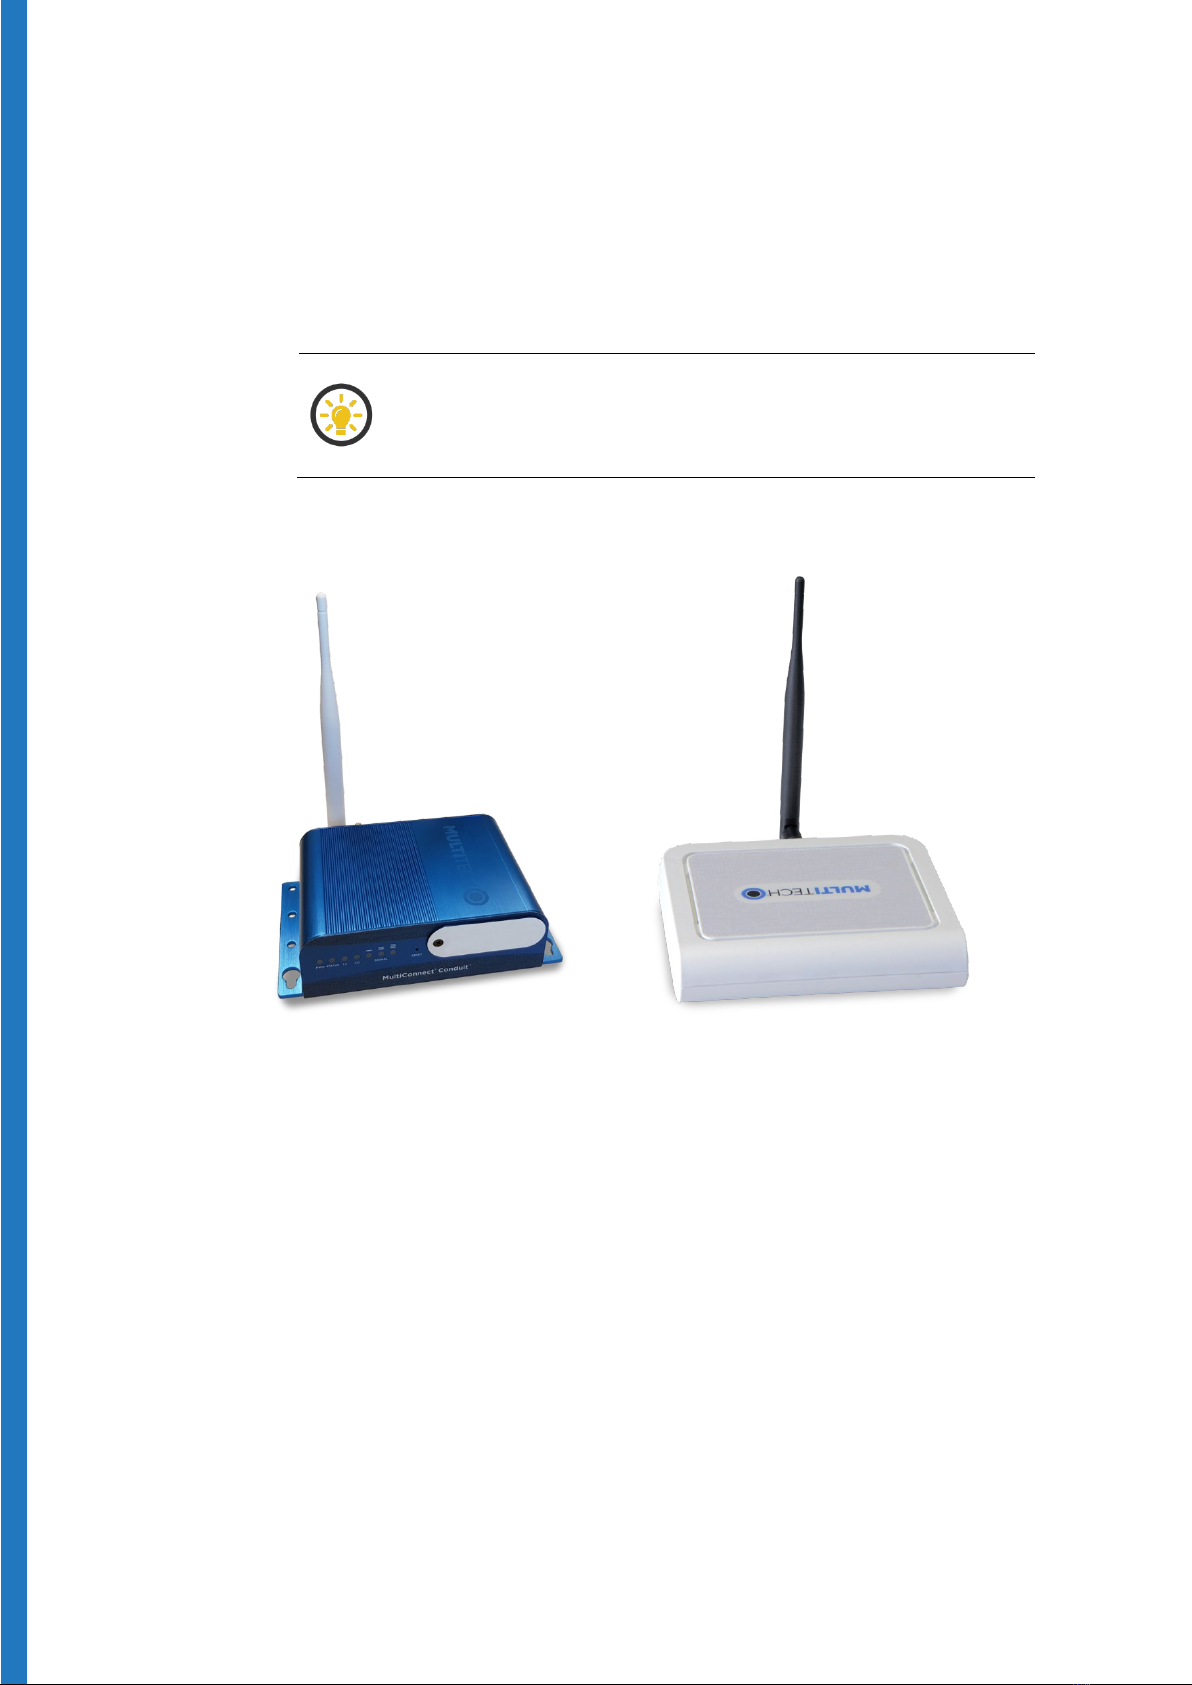
Hardware details (both models).......................................................................8
Hardware details - Advanced model (blue) ...................................................8
Hardware details - Pro model (gray)...............................................................9
Technical highlights ...........................................................................................9
Package contents ...............................................................................................9
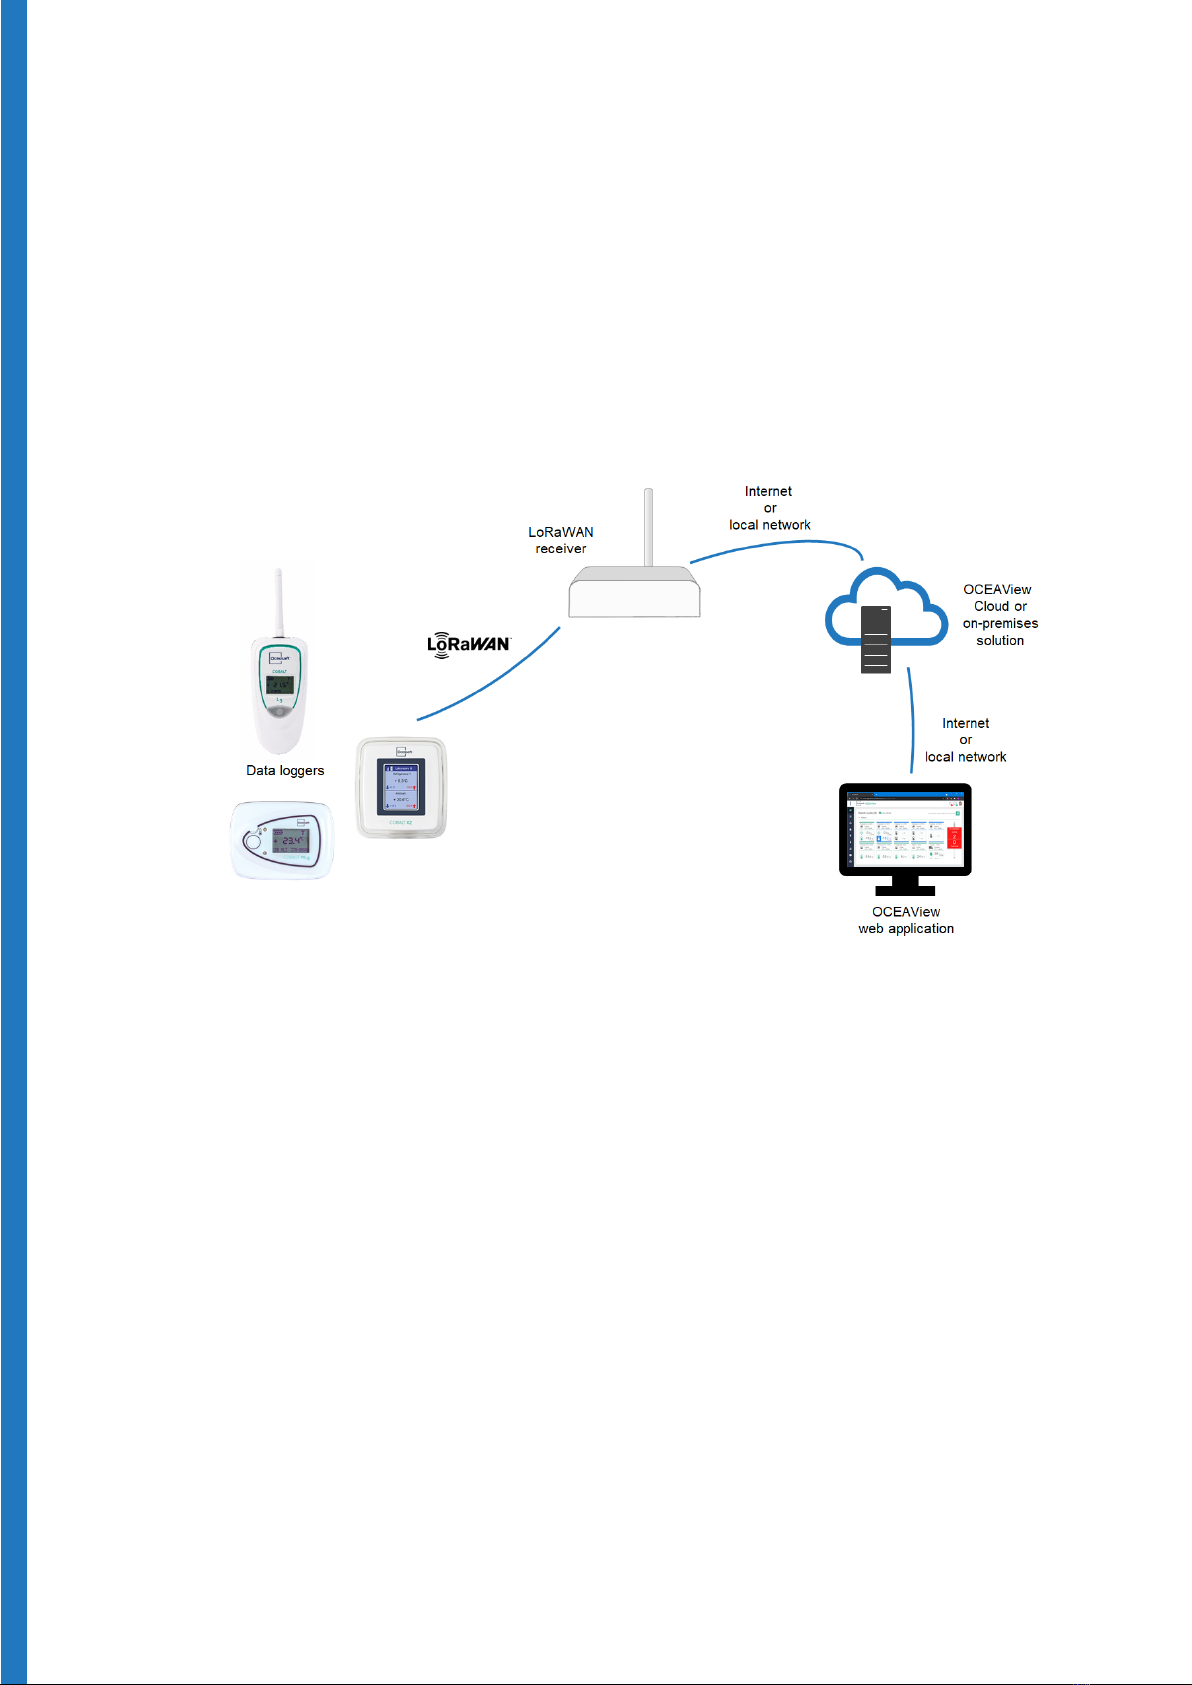
1.3 Architecture and technologies ...................................................................10
2Setting up your receiver .......................................................................... 11
2.1 Getting started.............................................................................................. 11
Plug in the LoRaWAN antenna....................................................................... 11
Plug in the power cable .................................................................................. 13
Connect your computer to the configuration interface........................... 15
2.2 Configure the regional frequency ..............................................................18
2.3 Ethernet connection to your network ...................................................... 20
2.4 Wi-Fi connection to your network (Advanced model only)....................22
Workaround for Wi-Fi connection with static IP address........................ 24
Using a pre-shared WPA/WPA2 key..............................................................25
2.5 Cellular data connection (optional) ...........................................................27
Inserting SIM card in Advanced model.........................................................27
Inserting SIM card in Pro model ................................................................... 28
Software set up .................................................................................................29
2.6 Configuring “failover” order for network access ...................................... 31
2.7 LoRaWAN settings ........................................................................................32
3Troubleshooting .......................................................................................34
4Firmware upgrade from version 1.4.17 to 5.x.x ....................................36

Introduction
OCEASOFT LoRaWAN Receiver User Guide Page 7
1Introduction
Congratulations and thank you for choosing the OCEASOFT LoRaWAN™ wireless
monitoring solution. This document describes how to set up and use the
OCEASOFT LoRaWAN-enabled receivers, a key component for collecting data in
your monitoring solution.
The functionality of the Advanced and Pro models (shown
below) is strictly identical. The two models only vary
somewhat in terms of hardware aspects.
Figure 1 –
OCEASOFT Advanced
LoRaWAN enabled receiver
Figure 2 –
OCEASOFT Pro
LoRaWAN enabled receiver
1.1 Overview
Designed for use with OCEASOFT wireless modules featuring LoRaWAN™
connectivity, the OCEASOFT LoRaWAN™ receiver is a wireless receiver that
leverages new-generation LoRaWAN™ Internet of Things technology to offer
exceptionally long-range wireless communication.
This receiver can be connected to your local network via either a wired Ethernet
or a Wi-Fi connection, or to a cellular data network with the optional cellular data
option.

Introduction
OCEASOFT LoRaWAN Receiver User Guide Page 8
1.2 Detailed description
Key features
•Compatible with OCEASOFT LoRaWAN data loggers
•Low energy technology preserves data logger battery
•LED status indicators
•Software updates via integrated web interface
Data management
•Collects and forwards data from data loggers to Cloud or on-premises
server
Connectivity
•LoRaWAN long-range wireless technology
•Range up to about 15 km/10 miles
•Automatic data logger detection
•LoRaWAN™ channel plans in ISM spectrum:
•EU868, US915, AS923-1, AU915, IN865, KR920
Hardware details (both models)
•Antenna (+3dBi default; +5dBi or +8dBi optional)
•External power supply (110-240V AC adapter)
•ARM9 400MHz; 16 MB DDR RAM; 256 MB Flash
•Storage conditions: -40 °C to +85 °C (-40 °F to +185 °F); 20 to 90% RH
(non-condensing)
•Wall-mount, screw attachment
•LoRaWAN / Wi-Fi / Cellular data: FCC, CE, IC
•ROHS 3, REACH, PROP-65
Hardware details - Advanced model (blue)
•Connectivity options: Ethernet; Wi-Fi (2.4 GHz / 100mW: IEEE 802.11
b/g/n); and/or 4G-LTE cellular
•Operating conditions: -30 °C to +70 °C (-22 °F to +158 °F); 20 to 90% RH
(non-condensing)
•Anodized aluminum, IP30 rating
•Dimensions: 161.3 x 107.4 x 42.8 mm (6.4 x 4.2 x 1.7 in.); weight: 450 g (16
oz.)

Introduction
OCEASOFT LoRaWAN Receiver User Guide Page 9
Hardware details - Pro model (gray)
•Connectivity options : Ethernet or Ethernet/4G-LTE cellular
•Operating conditions: 0 °C to +70 °C (32 °F to +158 °F); 20 to 90% RH (non-
condensing)
•PC-ABS (polycarbonate-ABS), IP30 rating
•Dimensions: 165 x 135 x 36 mm (6.5 x 5.3 x 1.4 in.)
•Weight: 284 g (10 oz.)
Technical highlights
•Wireless range up to about 10 miles (16 km) line-of-sight
•2-way wireless communications
•Available LoRaWAN protocol frequencies: 915 MHz, 868 MHz, 434 MHz
•Wired Ethernet or Wi-Fi network connection
•Optional cellular data module
Package contents
•OCEASOFT LoRaWAN™ enabled receiver
•AC adapter (110-240 v)
•LoRaWAN antenna
•Ethernet cable
Optional and to be ordered separately
•Wi-Fi wireless module
•Cellular data module, antenna, and SIM card

Introduction
OCEASOFT LoRaWAN Receiver User Guide Page 10
1.3 Architecture and technologies
Installed locally at your site, the OCEASOFT LoRaWAN™ enabled receiver collects
data from compatible OCEASOFT modules within wireless range.
The receiver is connected permanently via the Internet to the OCEASOFT Cloud
service, where module data is pushed by the Receiver, and accessed using the
OCEAView™ or legacy CobaltView™ or web application. The diagram below
shows the overall solution organization, with the receiver collecting data from
modules and forwarding it to the OCEACloud platform.
Figure 3 – Receiver connecting OCEASOFT LoRaWAN data loggers to the
Cloud

Setting up your receiver
OCEASOFT LoRaWAN Receiver User Guide Page 11
2Setting up your receiver
The OCEASOFT LoRaWAN enabled receiver is configured using an integrated web
interface. You must use that interface to determine how your receiver connects to
the Internet, that is, via an Ethernet or Wi-Fi , or cellular data connection,
depending on your model. This chapter describes how to connect to your receiver
and enter the appropriate settings for your solution.
2.1 Getting started
Plug in the LoRaWAN antenna
Advanced model
1. Plug the provided LoRaWAN radio antenna on the “RF” connector (the
location may vary according to your unit’s options).
2. Hand-tighten the antenna by rotating the ring clockwise.
Figure 4 – Attach LoRaWAN antenna to connector labeled “RF”

Setting up your receiver
OCEASOFT LoRaWAN Receiver User Guide Page 12
Pro model
1. Plug the provided LoRaWAN radio antenna on the connector on the back
of the device
2. Hand-tighten the antenna by rotating the ring clockwise.
Figure 5 – Attach LoRaWAN antenna to the connector

Setting up your receiver
OCEASOFT LoRaWAN Receiver User Guide Page 13
Plug in the power cable
Advanced model
1. Plug the power cable on the stainless-steel connector on the back of the
receiver. The cable only fits correctly onto one of the connectors.
2. Hand-tighten the cable by rotating the steel ring clockwise to attach it
firmly to the unit.
Figure 6 – Plug in the power cable to the stainless-steel connector
3. Plug the AC adapter into a power socket to boot the receiver. The startup
process may take up to 5 minutes to complete. When the unit is ready for
use, the left-hand LED remains lit as shown here (the Status LED may
continue to blink):
Figure 7 – Power indicator remains on when receiver is ready to use

Setting up your receiver
OCEASOFT LoRaWAN Receiver User Guide Page 14
Pro model
1. Plug the power cable firmly into the power plug on the back of the device.
Figure 8 – Plug in the power cable into the power plug
2. Plug the AC adapter into a power socket to boot the receiver. The startup
process may take up to 5 minutes to complete. When the unit is ready for
use, the status LED turns green. LED activity will vary depending on the
connection type.

Setting up your receiver
OCEASOFT LoRaWAN Receiver User Guide Page 15
Connect your computer to the configuration interface
1. Plug the Ethernet network cable into the Ethernet port on the back of the
receiver.
Figure 9 – Advanced model with Ethernet cable
Figure 10 – Pro model with Ethernet cable
2. Plug the other end of the cable into one of the following:
a. Local Area Network
If your Local Area Network uses the following IP addresses:
192.168.2.x, you may skip to step 3. Otherwise, or if you are unsure,
see step 2.b (below).
b. Computer
The receiver does not have a DHCP client or server, which means
you must manually set an IP address on your computer in order to
communicate with the receiver. In your computer’s network
settings, assign the following IP information temporarily (make sure
you change it back when done configuring your receiver):
IP: 192.168.2.199
Mask: 255.255.255.0
Do not change the Default Gateway or DNS

Setting up your receiver
OCEASOFT LoRaWAN Receiver User Guide Page 16
3. Use your web browser to connect to the receiver’s default IP address:
http://192.168.2.1
We recommend that you use the Google
Chrome web
browser. Internet Explorer is not supported.
Upon first boot, the gateway is in “Commissioning mode” () and you
will be prompted to create a new username and password. There is no
default username or password.
4. Enter the default Username and press OK.
Figure 11 – Assign Username in Commissioning Mode
5. Enter a Password for that user and press OK:
Figure 12 – Assign a password for the Username
6. You may then login using the information you just entered.
1
1

Setting up your receiver
OCEASOFT LoRaWAN Receiver User Guide Page 17
Figure 13 – Login with the new Username and Password
When you connect to the receiver for the first time, a First-
Time Setup Wizard runs automatically.
We recommend that you close the Wizard and proceed
with receiver set-up manually as described here.

Setting up your receiver
OCEASOFT LoRaWAN Receiver User Guide Page 18
2.2 Configure the regional frequency
Start by selecting your geographical region, which automatically assigns the
correct wireless frequency for communications:
1. Login to the gateway as described in the previous section.
2. Select LoRaWAN®Network settings
3. Click on the Channel Plan drop down menu ( ) and select the
appropriate region.
Figure 14 – Choose the Channel Plan option that matches the Frequency
Band value for your region
1
1

Setting up your receiver
OCEASOFT LoRaWAN Receiver User Guide Page 19
On this screen you only need to ensure that the Channel Plan value
corresponds to your gateway hardware and geographical region. You may
leave all other fields with their default values.
Here is an example for a 915 MHz LoRaWAN radio:
Figure 15 – Example of a Channel Plan using 915 MHz
Note:
oFPGA version 31 or higher: Europe/Africa, India, America
oFPGA Version 35 or higher: Asia, Brazil/Australia, Korea
If you want to use your receiver in one of these regions, and the
FGPA version is not 35 or higher, click on and then follow
the instructions.
4. Click on when done.
1

Setting up your receiver
OCEASOFT LoRaWAN Receiver User Guide Page 20
2.3 Ethernet connection to your network
The next step in the setup process is to configure the network connection.
This section describes how to configure your receiver with an Ethernet wired
connection. The receiver does not need to be placed in its final location for this
operation, but it does need to be accessible over your network.
1. Click on Setup Network Interfaces Options (Edit) for “eth0” ():
Figure 16 – Adapt Ethernet settings for your network
2. Adjust the various settings in the Network Interface Configuration window
to match your network:
Option
Setting
Direction
WAN
Mode
Static
(in which case you must set the IP
Address in the field below), or
DHCP Client
(the receiver gets its IP address from your
network’s DHCP server).
IP Address, Mask,
Gateway, Primary DNS
Server, Secondary DNS
Server
Enter the IP addresses according to your
network configuration.
1
1
Table of contents