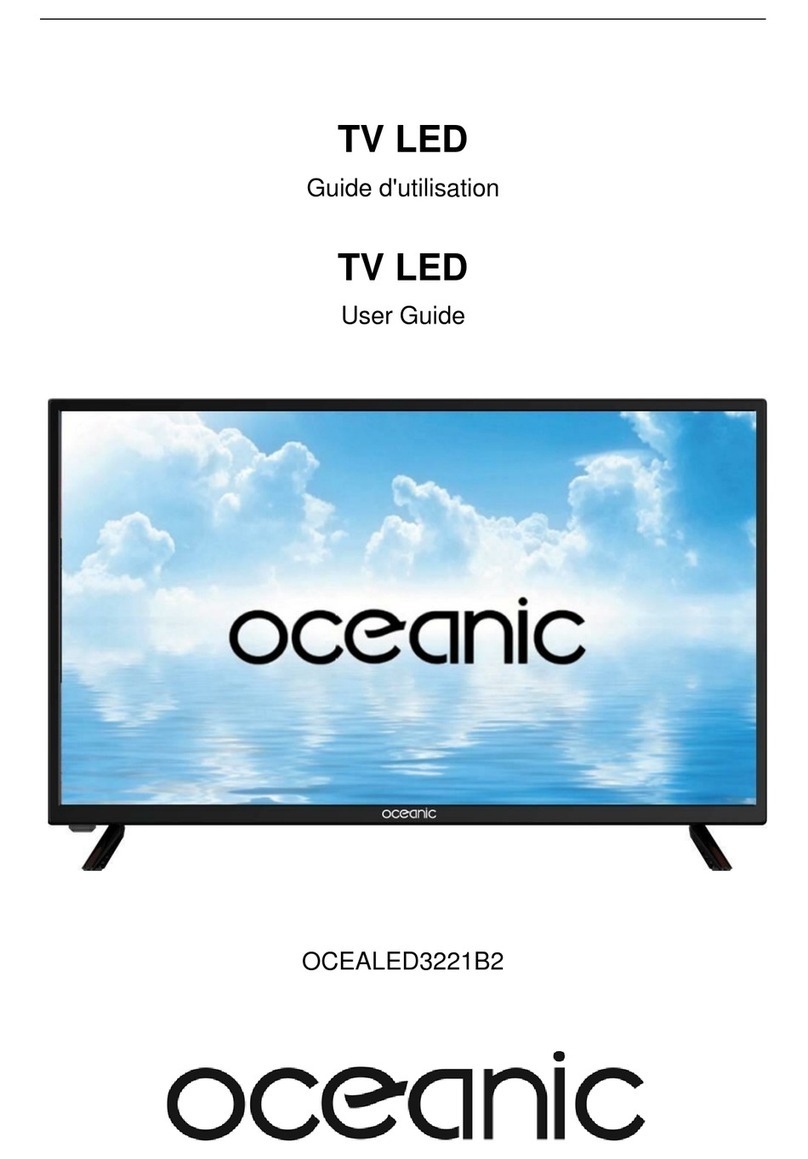
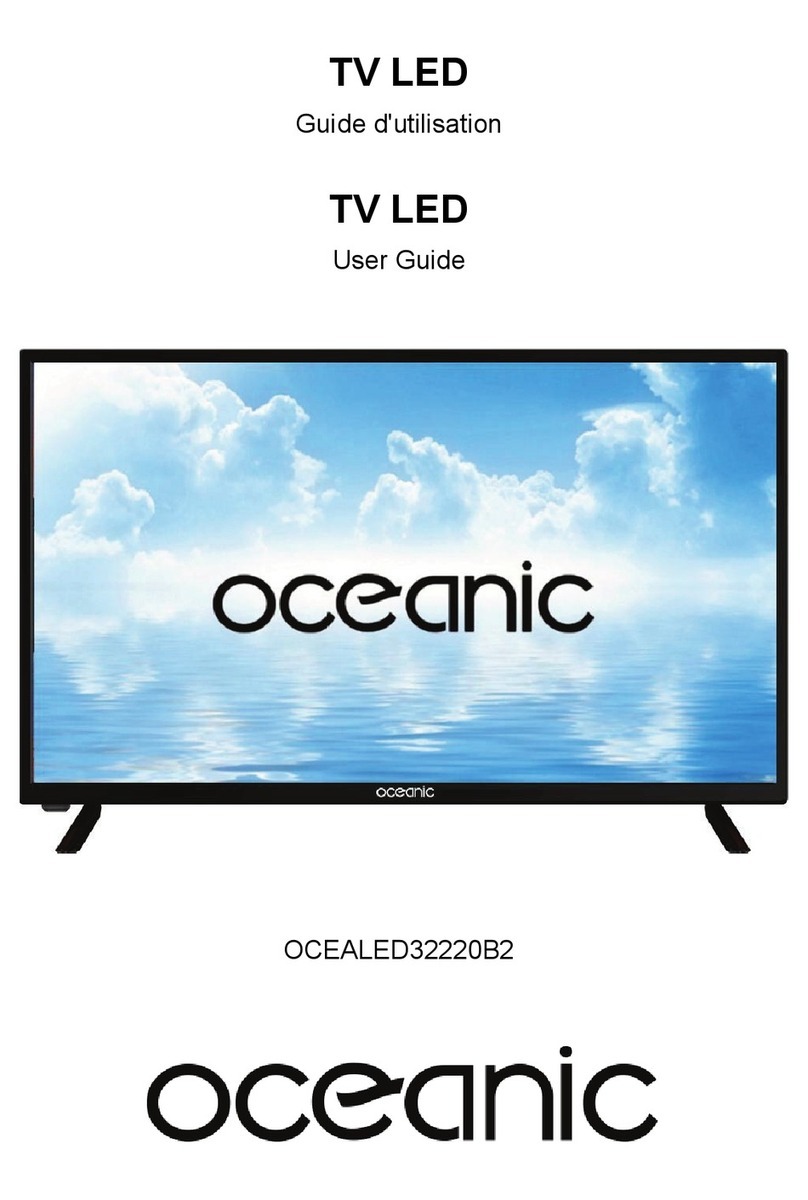
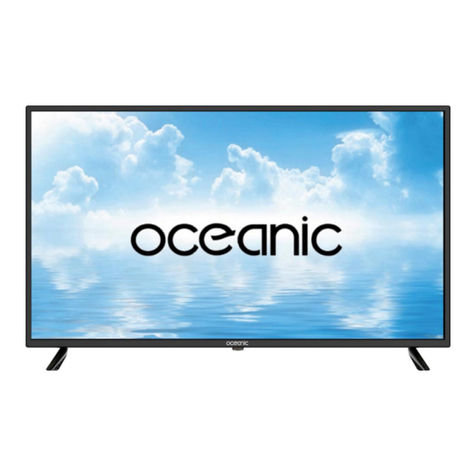
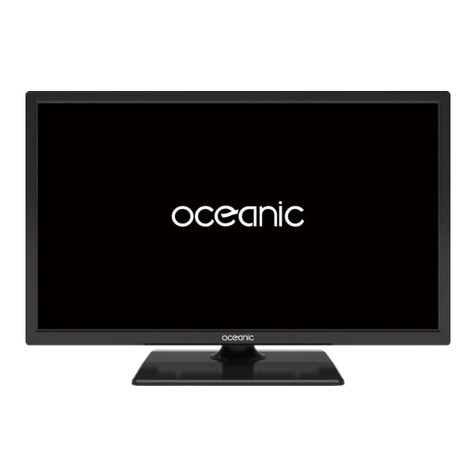
Oceanic OCEALED3219B2 User manual

32’’ HD LED TV
User manual
OCEALED3219B2

English
1
To reduce the risk of re or electric shock, do not expose this product
to water, rain or moisture. To prevent the risk of electric shock, do not
remove the cover or back of this product. In case of product failure,
only qualied personnel can repair. There are no user-serviceable
parts inside.
Important safety instructions and warnings
Please read this user guide carefully and thoroughly before installing and
using your device.
It is important that this user guide is kept with the device for further consultation.
If this device isto be transferred to another person, make sure that the user guide
is also given with the device sothat the new user can be informed how to operate
the device.
CAUTION !
Dangerous tension inside the product ! Do not open. Risk of electric shock !
No parts can be repaired by the end-user. Only qualied personnel can repair
and maintain this product.
If the electric cord is damaged, it must be replaced by the manufacturer or qualied
after-sales personnel in order to avoid any danger.
The product must be installed in accordance with local laws.
Damaged batteries must be properly disposed. In order to protect the environment,
please dispose the batteries properly, in accordance with local laws (information is
available at your reseller).Remote control batteries (not included) shall not be
exposed to excessive heat (e.g. from sun or re).
Where to install the product
- Place the product on a straight, rigid and stable place. Do not place the product
on a carpet.
- Do not place the product on top of another that may cause overheating (for
example, a receiver or amplier).
- Do not place anything underneath the product (for example, CDs or magazines).
Proper ventilation
- Place the product in a suf cientlyaerated place to avoid overheating. Allow at
least 10cm spacing at the back and top of the product, and 5cm spacing on both
sides to prevent overheating.
- Do not place items such as newspapers, tablecloth, curtains, in front of the
ventilating openings.

2
WARNING
Never place a television set in an unstable location. A television set may fall, causing
serious personal injury or death. Many injuries, particularly to children, can be
avoided by taking simple precautions such as:
- Using cabinets or stands recommended by the manufacturer of the television set.
- Only using furniture that can safely support the television set.
- Ensuring the television set is not overhanging the edge of the supporting furniture.
- Not placing the television set on tall furniture (for example, cupboards or bookcases)
without anchoring both the furniture and the television set to a suitable support.
- Not placing the television set on cloth or other materials that may be located
between the television set and supporting furniture.
- Educating children about the dangers of climbing on furniture to reach the
television set or its controls.
- In case this television set is to be relocated to a different location, please keep
in mind and apply the above safety instructions.
Do not expose the product to high temperatures, moisture, water and dust.
- The apparatus shall not be exposed to dripping or splashing. No object lled with
liquids, such asvases, shall be placed on the apparatus.
- Do not place other items close to this product that may damage it (for example,
objects containing water or lightened candles).
- No naked ame sources, such as lighted candles, should be placed on the
apparatus.
Electric supply
- Please unplug the product in case of prolonged non-use.
- This appliance is to be used on temperate climate. Don't use the apparatus in
tropical climates
- If the supply cable is damaged, it must be replaced by the manufacturer or
qualied after-sales personnel to avoid any danger.
- This product must be connected to an electrical supply 230V ~ 50Hz.
- The mains plug is used as the disconnect device, so the disconnect device shall
remain readily operable.
- Only use this product with the AC adaptor provided.

Information about the meaning of the conformity marking
The CE marking indicates that the product meets the main requirements of the
European Directives 2014/35/EU (Low Voltage), 2014/30/EU (Electromagnetic
Compatibility), 2011/65/EU (Restriction of the use of certain hazardous substances
in electronic equipment), 2014/53/EU (Radio equipment).
Technical Speci cation:
Name: Television
Product Net Weight : 3.90Kg
Operation Temperature: 0℃~40℃
TV Reception System:DVB-T
Auto Standby
In order to save energy, the electricity consumption of this product has been
reduced in both operation mode and standby mode. Furthermore, if no operation
is carried out for four consecutive hours, the unit will automatically enter standby
mode. Simply press the Standby button on the remote control to switch the unit
back to operation mode.
- This logo set on the product means that the recycling of this
apparatus comes within the framework of the directive
2012/19/EU of July 4 2012, concerning the waste on electrical
and electronic equipment (WEEE).
- The presence of dangerous substances in the electrical and
electronic equipments can have potential consequences on the
environment and human health in the cycle of reprocessing
this product.
- Therefore, at the end of its lifetime, this product shall not be
disposed with other non-recycled waste.
- As the end user, your role is of prime importance in the cycles
of re-using, recycling, and other forms of valorization of this
electrical and electronic equipment. Local authorities and
resellers have set special procedures for the purpose of
collecting and recycling this product.
- You have the obligation to use the selective waste collection
systems put in place by your local authorities.
3

4
TV
Safety

5

6
Congratulations! Your have chosen the latest generation high denition television.
Endowed with high display quality and light weight, it is power-saving and radiationless
with high sensitivity television reception. The new generation television will bring you
safe & comfortable brand new visual experience.
Thank you for purchasing and using our products!
Important safety instructions and warnings Page 1
I - Control Panel Page 7
II - Base Installation Guide Page 8
III - Wall Mounting instructions Page 9
IV - Connecting Cables Page 10
V- Remote Control Page 11
VI - Antenna Connections Page 13
VII - Watching Television Programs Page 14
VIII - First Time Installation Page 16
A - Picture Page 17
B - Sound Page 18
C - Channel Page 19
D - Feature Page 22
E - Setup Page 24
F - DVB-T Page 25
G - PC Page 33
H - Media Player Page 34
IX - Important Notice Page 38
X - Troubleshooting Page 40
XI - Warranty Page 41
This user guide is available in the following languages:
FR (version originale)
EN (translated from the original)
Any other translation would be a translation of the original version.
This user guide, its possible modi cations or any new version,
is available on our website.
Table Of Contents

7
Turn the TV on or enter into standby mode.
Signal source selection button.
Volume decreasing short cut key; enter into the next menu and adjust OSD
options (decreasing).
Volume increasing short cut key; enter into the next menu and adjust OSD
options (increasing).
The command buttons are at the back of the TV.
Introduction for Each Key
Enter/exit the main menu.
Channel downwards short cut key; skip to previous channel no. and select
the previous option in the menu.
Channel upwards short cut key; skip to next channel no. and select the next
option in the menu
I - Control Panel
3
45

8
The Way Of Installing Base:
II - Base Installation Guide
1.L oose the screws between the machine and stand (Figure 1).
2.R emove the 2 stands from the machine (Figure 2).
1.P lace the machine at on a desktop (Caution: put a foam cushion under the
machine to avoid it from scratching.)
2.A lign the screw holes on stand and TV bottom (Figure 2)
3.F ix the stand and the screen with 4 screws (Figure 3)
4.T he rendering after installed. (Figure 4)
Disassembly of the stand
Mounting of the stand

9
III - Wall Mounting instructions
● Use standard M6*10mm screws (4 pieces, not included) to mount this TV.
Using different screws as specied will damage the wall mounting support
and will be outside the scope of product guarantee.
● Contact a professional technician for assistance when wall mounting your TV.
● Do not wall mount the TV while TV is turned on.
● Refer to the instruction of your wall mounting bracket.
Vesa size:200*100mm

10
IV - Connecting Cables
Headphones
1. AC IN
2. EARPHONE OUTPUT
3.SCART INPUT
4.PC AUDIO IN : PC audio input.
5.VGA IN : connect with the D-sub 15 pin signal cable to your computer.
6.RF IN:Connect to external aerial.
7.COAXIAL : Digital TV sound output.
8.HDMI IN : High-denition multimedia interface (Note: compatible video
signal 480P/576P/720P/1080i/1080P)
9.YPbPr IN : Component input terminal.
10.AV IN : Connect to the left/right RCA video out connection of any vide
resource.
11.CI SLOT : Insert a CI (common interface) card.
12.USB : Access multi-media les stored in the USB device.
(Note: compatible format includes: *.dat, *.vob, *.ts, *.mpg , *.avi , *.mkv,
and *.mp4 for video, *.jpg and *.bmp for photo, *.mp3 for music. )
HDMI I N
VGA IN COAXIAL
DVD
RF IN
EARP HONE
OUT
10
USB
YPbP r IN
CI SLO T
AV IN
12
TV
HDMI I N HDMI I N
Computer
1
100-240V~
50/60Hz

11
V - Remote Control
STA NDB Y Switches the set between ON and STANDBY.
MUT E Switches the sound on or off.
0-9 Figures 0-9 are used to directly input channel number.
REC A LL Returns to the channel selected last time.
CH. L IST Press to show the channel list programme.
VOL+ /V O L- Increase / decrease the sound level.
PIC . MOD E Selects the different picture mode directly.
S.M O DE Selects the different sound mode directly.
SOU R CE Displays the source list of input signal.
CH+ / CH- Selects a program.
Decrease/increase the option value.
Selects the previous/next function option.
OK Conrms your selection or displays the current mode.
EXI T Returns to TV viewing from any menu.
MEN U Selects a menu.
REC
TIM ESH IFT
TIM ER
REC .LIS T
RED
GRE EN
YEL LOW
CYAN
ASP ECT
TV/ RAD IO
SLE EP
SUB TIT LE Recalls you preferred subtitile in digital mode.
IND EX Ask for the list of main Tv letter broadcast page number,
Sleep time setting.
Select the aspect format.
Display the characters hidden.
REV EAL
AU D IO
DIS PLAY Display the system state information set by active user.
TEX T
S IZ E Change the size of current page.
SUB PAG E Display the current sub-page.
HOL D Hold the current page and prevent again.
Display the teletext on screen.
Available in the following modes:
teletext, DVB-T and TV.
{
Switch between DVB-T and RADIO. (Digital radio is not
available in countries such as France)
Play .
Pause .
Stop .
Skip to previous track or chapter .
Skip to next track or chapter .
Fast reverse .
Fast forward.
Starts recording of the current DVB-T channel.
Press AUDIO to change audio mode.
Press the TIMESHIFT button when you want to pause;
press the button again to resume playback of the TV program.
Enter the setup menu of time recorder.
Displays the list of recorded programs.
STANDBY
Notes: The remote control shall be applied in
effective reception scope of the television.
Make the remote control point towards the
infrared receiver of the television and ensure
that there are no obstacles.Its normal operation
distance will be shortened in direct sunlight or lamplight.
Be careful to use the remote control.avoid falling
off or being trampled or splashed with liquids.

12
Open the battery cover
on the remote control.
Insert two AAA size
batteries making sure
to match the positive
and negative icons of
the battery with the
battery compartment.
Then close the
battery cover.
*Please take out the batteries and place
in a shady, cool and dry place if you will
not use the remote control for long
time.
*Please treat damaged or leaking batteries
with care. Please wash your hands with
soap after contact with battery chemicals.
*Do not randomly dispose of used batteries.
Please refer to local authorities for recycling
or waste treatment systems.
Note: The batteries are not provided.
Battery Replacement

13
1.In video or PC state, the television will enter into lower power sleep state (standby state)
to conduct power saving and protection after several minutes with no signal inputs.
Power -saving & protection mode
antenna
antenna
VI - Antenna Connections

14
3.If you want to select program number
from 100-100+: Input the channel number
you desired, e.g. select channel 100.
1 2
12
1 0
100
0
2.If you want to select program number
from 10-10+: Input the channel number
you desired, e.g. select channel 12.
Channel select
1. Use the buttons on the television panel to conduct channel selection.
First press "CH+/-" buttons on the front panel to enter into channel
selection mode state, then press "CH+/-" buttons on front panel to
select channel.
2. "CH+/-" buttons of the remote control may also be applied to conduct
channel selection.
CH
SOURCE
STANDBY
Input
DTV
ATV
AV
SCART
YPBPR
HDMI 1
HDMI 2
HDMI 3
PC
Media
VII - Watching Television Programs

15
INFO
INFO

16
Colour Mode:
Auto Installation
Next Pa ge
Home mode
Dynamic
Mild
- Setup 1 -
Move En ter
OK Exit
Exit
Country:
Auto Installa tion
Previ ous P age
UK
France
Italy
Poland
Spain
- Setup 2 -
Move En ter
OK Exit
Exit
Next Pa ge
Language:
Auto Installa tion
Previ ous P age
- Setup 3 -
Move En ter
OK Exit
Exit
Next Pa ge
Your TV has been set to
power off after 4 hours of
continuous viewing. If you
want to change this setting,
please choose Off. This
setting can also be changed
in the MENU.
Auto Installation
Previ ous Page
- Setup 4 -
Move En ter
OK Exit
Exit
Next Pa ge
Auto Power Off:
Home Mode:
Auto Installation
Next Pa ge
Home
Dynamic
Standard
Mild
- Setup 1 -
Move En ter
OK Exit
Exit
Message
Are you sure?
OK Cancel
The rst time you switch on the TV, you will be prompted to search channels.
OK
First, you will be prompted to choose the type of screen brightness. You may choose the "Home Mode"
option for default setting. You may change the brightness value later on inside the settings menu.
p/q
OK
return to setup 1 menu.
p/q
OK
3
4
language.
return to setup 2 menu.
p/q
OK
4
5
auto power off.
return to setup 3 menu.
English
Français
Italiano
Español
Nederlands
1 Hour
2 Hours
4 Hours
Auto Installa tion
Previ ous P age
- Setup 5 -
Move En ter
OK Exit
Exit
Auto Search
Auto Installa tion
5
6
0
Exit
Exit
ATV channels found:
DTV channels found:
Radio channel s found:
Skip
Menu
DVB_T CH:46 690000KHz
28%
Process:
All
ATV
DTV
VIII - First Time Installation

17
Picture Mode
Brightness
Contrast
Sharpness
Colour
Tint
Colour Temperature
Aspect Ratio
Picture
Standard
50
50
5
50
50
Standard
16:9
Picture
Sound
Channel
Feature
Setup
Picture Mode
Available options: User, Mild, Standard, Dynamic.
Brightness
The brightness value of picture can be adjusted from 0-100.
Contrast
The contrast value of picture can be adjusted from 0-100.
Sharpness
The sharpness value of picture can be adjusted from 0-10.
NOTE: The value of Brightness, Contrast, Color, and Sharpness is adjustable only in User
picture mode.
Colour
The colour saturation value of picture can be adjusted from 0-100.
Tint
This item is used to adjust the tone of color in NTSC system from 0-100.
Colour Temperature
This item is used to adjust the optimum colour temperature for suitable viewing.
Available options: Standard, Cold, Warm
Aspect Ratio
This option allows to select the display mode among Panorama, 16:9, 4:3, Just Scan, Zoom1
and Zoom2.
Noise Reduction
This item is used to eliminate the image noise to gain better image effect.
Available options: Off, Low, Middle, High.
Move Enter
OK Return
Menu
Exit
Exit
Noise Reduction
Picture
Middle
Picture
Sound
Channel
Feature
Setup
Move Enter
OK Return
Menu
Exit
Exit
A - Picture

18
Sound Mode
Bass
Treble
Balance
Surround
AVL
SPDIF
Sound
Picture
Sound
Channel
Feature
Setup
Sound Mode
Available options: Standard, Movie, Music, Speech, User.
Bass
This item is used to adjust the level of lower-pitched sounds from 0-100.
Treble
This item is used to adjust the level of higher-pitched sounds from 0-100.
NOTE: The value of Bass and Treble is adjustable only in User sound mode.
Balance
This item is used to adjust the audio output between left and right speaker from -50 to 50.
Surround
Press the "p/q"button to select the "Surround" item, and then use "►" button to turn
the surround sound function on/off.
AVL
An automatic volume control (AVL) automatically adjusts the volume or loudness, set it
“ON” for an ambient volume to make the audio signal better heard.
SPDIF
SPDIF mode allows you to adjust the coaxial audio outputs.
Standard
50
50
0
Off
Off
PCM
Move Enter
OK Return
Menu
Exit
Exit
B - Sound

19
OK
Channel Management
Press "p/q" button to select Channel Management, then press OK button or "►" button to enter.
"Channel" menu.
"Channel" menu setting, use " " to move the menu
Message
Do you want to delete the
selected items?
OK Cancel
Move Exit
Exit
Channel / Channel Manager
No Channel Name X
0001
0002
0003
0004
0005
0006
0007
0008
0009
C02
C04
S05
S06
C09
C11
C12
S13
S30
Del Skip Swap
MENU Return
CH+- Page+-
OKOK
C - Channel
Picture
Sound
Channel
Feature
Setup
Channel
Move Enter
OK Return
Menu
Exit
Exit
Channel Management
Country
TV Connection
Auto Search
DTV Manual Search
ATV Manual Search
Enter
France
Air
Enter
Enter
Enter
Table of contents
Other Oceanic LED TV manuals

Oceanic
Oceanic OCEALED32220B2 User manual

Oceanic
Oceanic OCEALED32319B2 User manual

Oceanic
Oceanic OCEALED40120B2 User manual

Oceanic
Oceanic CELED321018B2 User manual

Oceanic
Oceanic OCEALED40120B2V2 User manual

Oceanic
Oceanic OCEALED39SHD21B3 User manual

Oceanic
Oceanic OCEALEDCC195W2 User manual

Oceanic
Oceanic OCEALED1919B2 User manual

Oceanic
Oceanic OCEALED32H20B7 User manual

Oceanic
Oceanic OCEALED3221B2 User manual