OceanPlay BUG Quick start guide


2
RIGGING MANUAL
Safety Afloat
This instruction manual is not a guide to sailing your craft and it
should not be considered suitable for the task of learning to sail a
boat. Please read the manual before rigging and sailing your Bug.
Before you go sailing:
oCheck you are wearing suitable clothing and safety
equipment for the conditions and time of year.
oAlways wear a buoyancy aid or life jacket
oMake sure a third party knows where you are sailing and
how many there are of you.
oCheck the weather forecast
oCheck the time of high and low tides if applicable.
oSeek advice of local conditions if sailing in a new area.
oAlways check the condition of your craft before setting off.
oA sailor’s safety knife should be carried on board.
oCheck for overhead cables when rigging, launching
and recovering.
On the water:
oConform to the sailing rules of the road.
oLook out for changing weather conditions.
oNever sail beyond your ability.
oEnsure that you can cope with any changes in the wind
conditions
oUnderstand and be competent in the sailing skills and righting
techniques.

3
Important information
There are two hatches and one transom drain bung on the
Bug, these must all be checked to ensure tightness and
correct fitment prior to every time you sail:
1. Under the centre toe strap on the
aft face of the centreboard case
console.
2. On the centreline of the
aft deck.
Example of INCORRECT hatch fitment:
3. Check the transom drain bung is
located securely by turning it in a
clockwise direction until hand tight.

4
Bug Rigging Instructions
The Bug rigging instructions are a guide to rigging your boat.
Contents
1. Glossary
2. Useful Boat Terminology
3. Parts of the Bug/Specification
4. Maintenance and Service
5. Sail Numbers
6. Rigging and Raising the Mast
7. Rigging and Fitting the Boom
8. Vang/Kicker
9. Mainsheet
10. Cunningham
11. Rudder
12. Mainsail Reefing
13. Launching and Basic Safety
on The Water
1. Glossary
Bow: Front of the boat
Stern: Back of the boat
Transom: Back of the boat
Fore: Forward
Aft: Rearward
Clew: Back lower corner of a sail
Tack: Forward lower corner of sail
Head: Top corner of sail
Luff: Forward edge of the sail
Foot: Bottom edge of the sail
Leech: Rear edge of the sail
Burgee: Wind direction indicator (usually a small flag)
Batten: A thin stiffening strip in the sail to support the leech
Mast: Main vertical spar supporting the rig/sails
Boom: Spar at the Bottom of the mainsail
Sheet: Rope for controlling the inward/outward position of the sail
Gennaker: Isometric sail hoisted when sailing downwind
Gunwale: The outermost edge of the boat
Gudgeon: Fitting on the transom and rudder used to hang rudder
Cunningham: Purchase system for tightening the forward edge/luff of the sail
Vang/Kicker: Purchase system for tightening the rear edge/leach of the sail
Outhaul: Purchase system for tightening the bottom edge/foot of the sail
Mast Heel: Bottom edge/foot of the mast
Mast step: Integral tube where the mast heel/foot of the mast is located
Rudder: Blade and attachments used for steering the boat

5
Painter: Rope exiting through the bow/front of the boat used for leading/towing
or tying the boat to a jetty or buoy.
2. Useful Boat Terminology
Head of sail
Battens
Leech of sail
Clew of sail
Mast
Bow
Stern/Transom
Boom
Rudder

6
3. Parts of the Bug/Specification
Tack of sail
Foot of sail
Centreboard

7
4. Maintenance and Service
•Keep the equipment clean by frequently flushing with fresh water. In
corrosive atmospheres stainless parts may show discoloration/brown
staining around screw holes and rivets, this is not serious and can be
removed with a fine abrasive.
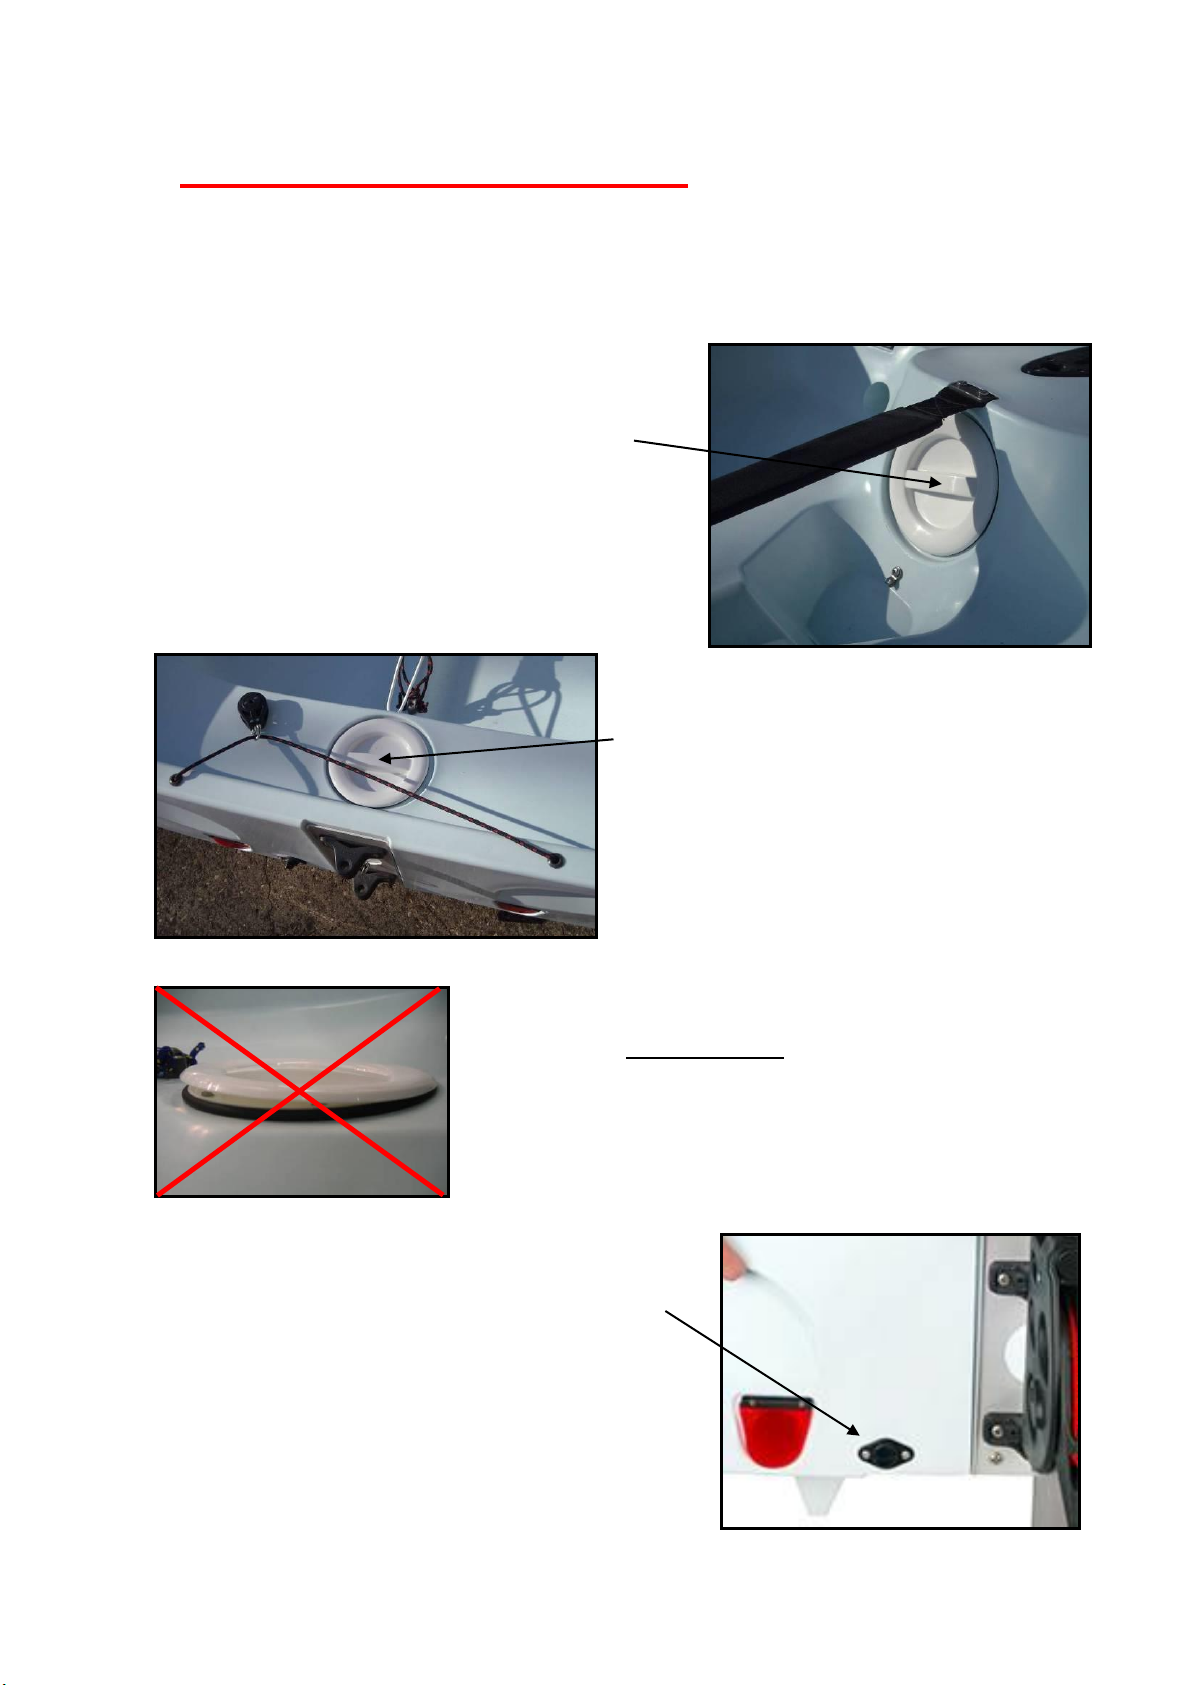
•Excess water should be removed from the hull.
•Ropes, rigging and fittings should be checked at regular intervals for wear
and tear.
•All moving parts should be lightly lubricated to avoid jamming, i.e.,
McLube, Dry Teflon or a dry silicone-based spray. Do not use Oil.
•Inspect all shackles to ensure they are tight. (Pliers should be used for this
operation.
•Damaged or worn parts should be replaced.
•Sails should be thoroughly washed down with fresh water, dried and
stored in a dry place.
•Trailers should be rinsed with fresh water and checked at regular intervals.
It is recommended that trailers be serviced annually.
•Repairs to the polyethylene hull should be undertaken only by persons
with the relevant equipment and skills.
•UV light will cause fading to some components and fittings, a cover is
recommended to reduce UV degradation.
•Do not leave the rig under tension when not sailing or during
storage.
•Your Bug should only be used in conjunction with the Bug specific
launching trolley. The use of any other launching trolley may
damage the hull and invalidate your warranty.
•The hull should NOT be left on a pebble beach, as the polyethylene
could dent.
•Care must be taken to support the hull adequately if storing on
racking or similar. Any sustained point loading could permanently
dent or distort the hull.

8
5. Sail Numbers
1. Identify the sail number of your Bug by referring to the builder’s serial
number plate positioned on the starboard (right hand) side of the rear sub
deck inner tank side.
2. Cut the required sail numbers from the generic digital 8’s supplied using
the following guidance:
Sail Number
001234

9

10

11
3. Apply the sail numbers in a dry, clean and wind free environment using
the following guidance:
Standard/Training Sail
1. Lay the sail on a flat surface starboard/right hand side up.
2. The numbers on the starboard/right hand side of a sail are always higher
than that of the port/left hand side.
3. Mark a line 90 degrees to the leach at 50% of the total leach length. (Use
tape)
4. Measure 100mm in from the leech on this line.
5. The left-hand side of the first number should be positioned 100mm in from
the leech with the top of the number against the aforementioned tape line.
6. The numbers should be positioned 60mm apart.
7. Turn over the sail and position the port/left numbers 60mm below the
lower edge and parallel to the starboard/right hand side numbers.

12
Race/Performance Sail
1. Lay the sail on a flat surface starboard/right hand side up.
2. The numbers on the starboard/right hand side of a sail are always higher
than that of the port/left hand side.
3. Measure 200mm down, from the second batten pocket of the sail.
4. Mark a line parallel to the batten pocket. (Use tape)
5. Measure 100mm in from the leech on this line.
6. The left-hand side of the first number should be positioned 100mm in from
the leech with the top of the number against the aforementioned tape line.
7. The numbers should be positioned 60mm apart.
8. Turn over the sail and position the port/left numbers 60mm below the
lower edge and parallel to the starboard/right hand side numbers.

13
6. Rigging and Raising the Mast
1. Unwrap the spars and
locate the lower end of the
upper mast into the upper
end of the lower mast.
2. Take care to ensure the reactor
finger (comprising part of the
upper mast collar) locates
securely into the recipient slot
in the upper edge of the lower
mast.
3. Lay the sail on the ground and slide
the mast into the sail luff tube from
the foot of the sail working gently
upwards.
4. Take care to ensure the upper edge
of the topmast goes right to the
head/top of the sail until it bears up
against the webbing strap at the
very top of the luff tube aperture.
5. Ensure the sail battens
(Race/Performance sail only) are
located securely in their batten
pockets.

14
6. Place the bow of the boat facing
directly into the wind.
7. Push the mast retainer swing arm
in to its “open” position in
readiness for mast insertion.
8. Place the lower end of the complete
mast assembly into the mast step
tube before pushing the mast
retainer swing arm back to its
“closed” position.
Note: The mast retainer swing arm
prevents rig loss upon capsize!

15
7. Rigging and Fitting the Boom
1. Take the outhaul control
line and tie a double half
hitch stopper knot in one
end.
2. Pass the untied end
through:
a. The starboard/right
aft/rear boom end.
b. The outhaul clew
strap eye.
c. The port/left aft rear
boom end.
This creates a 2:1 purchase
cascade system as shown.
14. Pass the remaining loose end
of the outhaul control
forward and through the
outhaul cleat on the top
surface of the boom.
15. Continue forward this time passing the loose end through the plastic
fairlead at the forward most top surface of the boom before passing it
aft/backward again.

16
16. Tie the loose end of the outhaul
control line directly to one end of
the outhaul elastic as shown.
17. Tie the remaining end
of the outhaul elastic
directly back on to the
outhaul clew strap eye
as shown.
Note: This slightly elaborate
outhaul arrangement creates a
tidy and convenient endless
system that can remain rigged
on the boom once initially
setup for your first sail.
Standard/Trainer Bug Rig
18. When using the standard Bug sail the
inboard boom end yoke arm should be
fitted to the gooseneck mast collar as
shown.
Note: This ensures the mast is able to “free
rotate”thus enabling the reefing option
supported by the standard rig to function.
(It also raises the boom height to a less
intrusive level for the non race/performance
sailor!)

17
Race/Performance Bug Rig
19. When using the Race/Performance
Bug sail the inboard boom end yoke
arm should be fitted to the gooseneck
mast collar as shown.
Care should be taken to ensure the
mast collar spigot pin locates
successfully into the recipient slot in the
“mate” surface of the inboard boom end
yoke arm.
Note: This ensures the mast is NOT able
to “free rotate”thus keeping the bent
topmast in parallel with the boom to
maintain the best sail flying shape
possible.
20. Hook the mainsail clew on to
the clew outhaul hook.
A
.
B
.

18
8. Vang/Kicker
Note:
•Standard/Trainer Bugs are supplied with a 3:1 vang/kicker
purchase cascade. (2 block system)
•Race/Performance Bugs are supplied with a 6:1 vang/kicker
purchase cascade. (3 block system)
1. Attach the lower block to the eye bracket on the aft face of the mast
immediately above deck level.
2. Attach the uppermost block to the webbing strap on the lower face of
the boom.
3. Rope up the Vang/Kicker purchase system as shown:
Standard/Trainer Bug Rig
(3:1)
Race/Performance Bug Rig
(6:1)
Note: The additional mid cascade
block required is supplied only the
with power curve topmast.

19
9. Mainsheet
1. Take the mainsheet and
tie a bow line loop on to
the centre of the
mainsheet block located
on the lower aft/rear
surface of the boom.
2. Pass the remaining loose
end downward and
through the auto ratchet
traveller block.
3. There are arrows on the
auto ratchet traveller
block to depict the correct
direction the rope should
pass. This will ensure that
when under load the auto
ratchet block engages
correctly.
4. Pass the remaining loose
end upward and through
the mainsheet block on
the lower aft/rear surface
of the boom travelling in
a clockwise direction
before leading it forward
along the boom.
Knot

20
5. Pass the loose end
through the webbing
sling immediately above
the helms cockpit area.
Note: This prevents the rope from
sagging and getting tangled up
around the helmsman during tacks
and gybes!
6. Pass the loose end in a
clockwise direction
through the remaining
mainsheet block
positioned on the lower
mid section of the boom.
7. Finally pass the loose
end through the hole
in the front end of the
dagger board top cap
before tying a half
hitch stopper knot.
Note: This knot in the mainsheet
prevents centreboard loss upon
capsize!
Knot
Table of contents