3
Important information on the safe installation and operation of this
product. Read this information before operating the product. For your
personal safety, read these instructions. Do not operate the product
if you do not understand how to use it safely. Save these instructions
for future reference.
Warning Symbols Used in These Instructions
Safety cautions are included in these instructions. These safety
avoid possible damage to the product
Health and Safety
!
WARNING!
warning triangle symbol.
Where there is a risk of damage to the product,
associated equipment, process or surroundings,
comments appear supported by the word ‘CAUTION’.
!
WARNING! Risk of personal injury or injury to
others. All personnel must be fully trained and
adhere to correct manual handling techniques and
Health & Safety regulations. It is the responsibility
of the local organisation to enforce safe working
practices at all times.
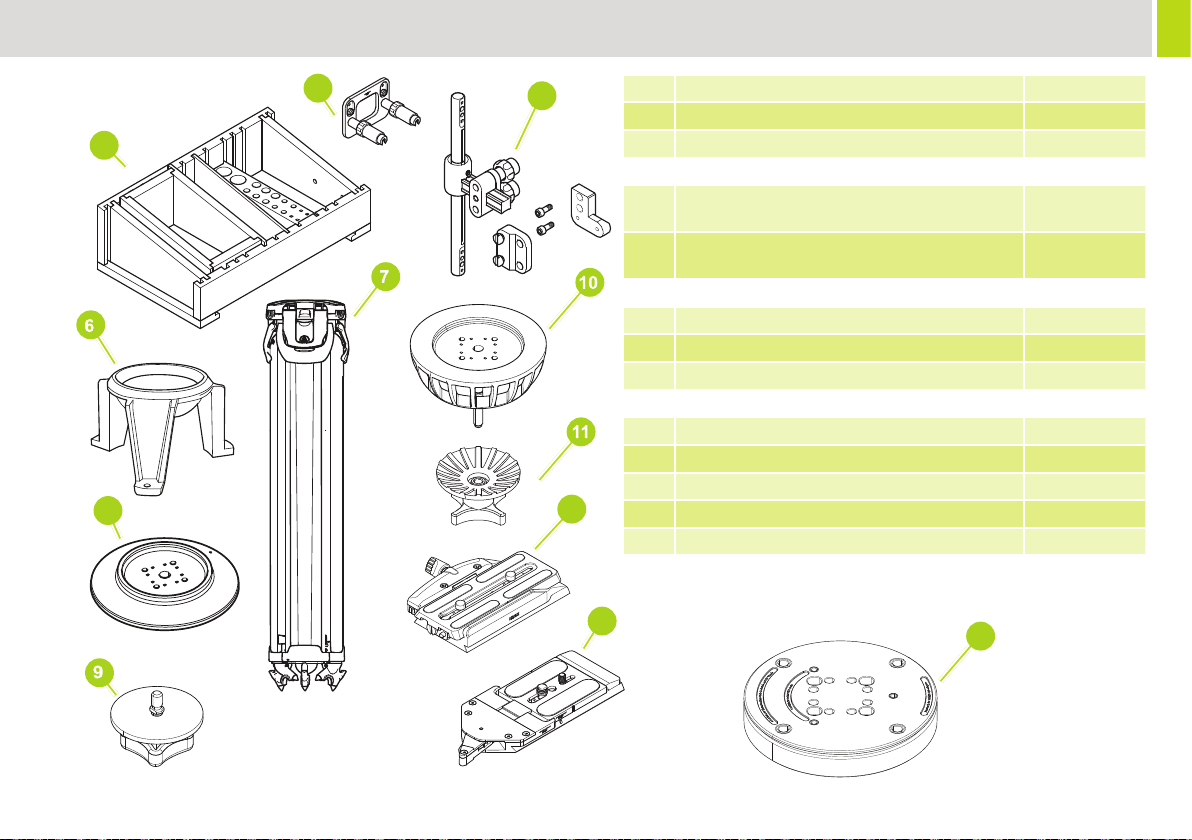
Mounting and Installation
WARNING!
WARNING!
extending tripod legs.
WARNING! Risk of nger entrapment.
head to a tripod that cannot support the combined mass of
the head and its full payload.
WARNING! Toppling hazard. Do not leave unattended.
Keep out of reach of children.
WARNING! The product must always be secured.
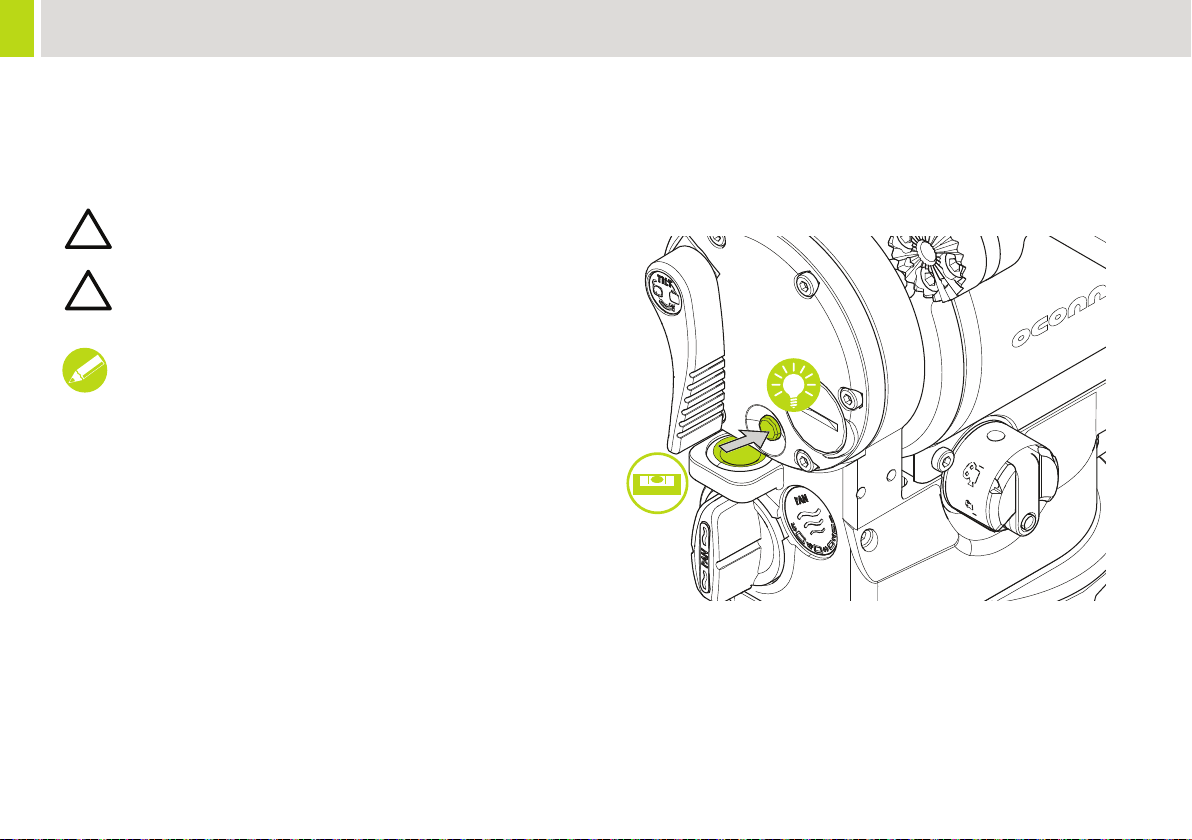
CAUTION! Always lock the vertical and horizontal brakes
when the camera is mounted but not in use or when
CAUTION! Hold the camera securely when mounting
CAUTION! Always hold the pan bar when making
head.
CAUTION! Only attach camera accessories to the pan
bar. Do not attach heavy items to the pan bar.
CAUTION! Always remove the camera before
transporting.
WARNING!
payload the tilt lock must be engaged.
Maintenance
WARNING!
accessories, the carrying out of non-approved alterations
of the product. It may also invalidate the terms and
conditions of the product warranty.
Caution! When replacing the battery, use only the same
or an equivalent type of battery recommended for use with
the product.
Safety / About This Guide