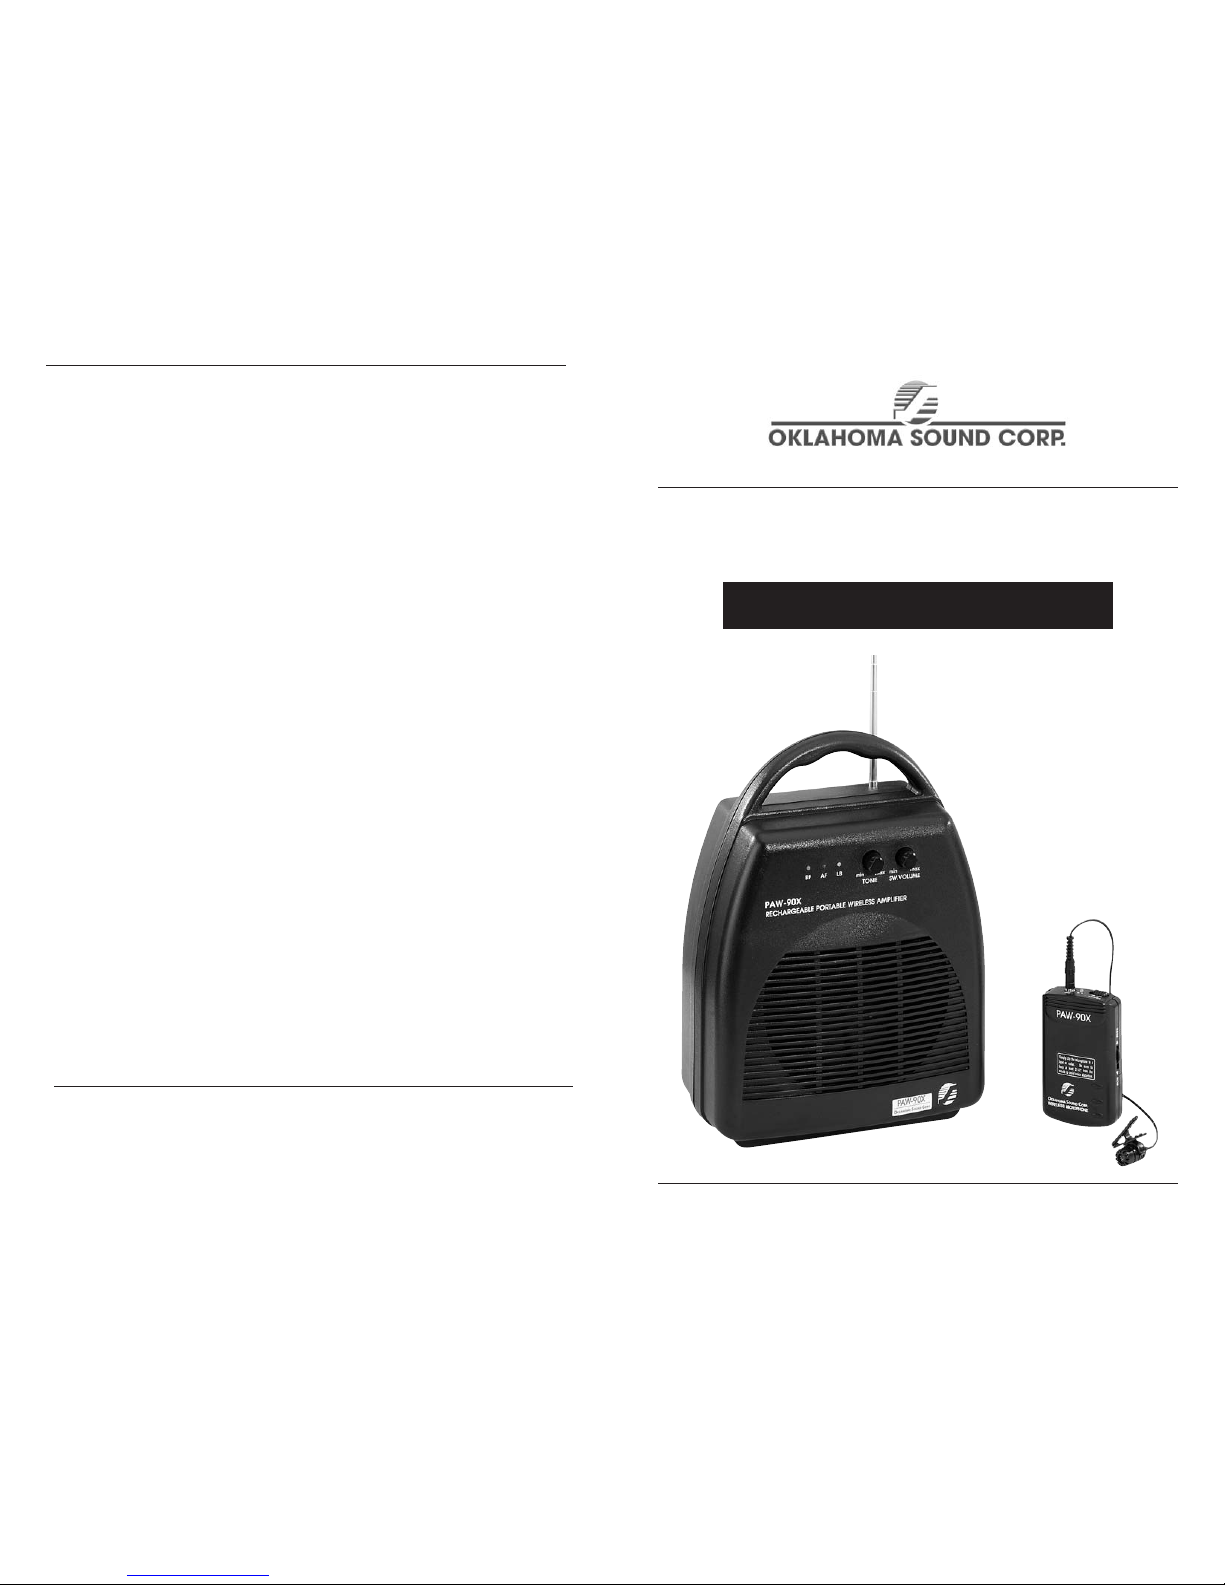
OKLAHOMA SOUND CORPORATION PERSONAL PA: Model PAW-90x
4 5
Receiver
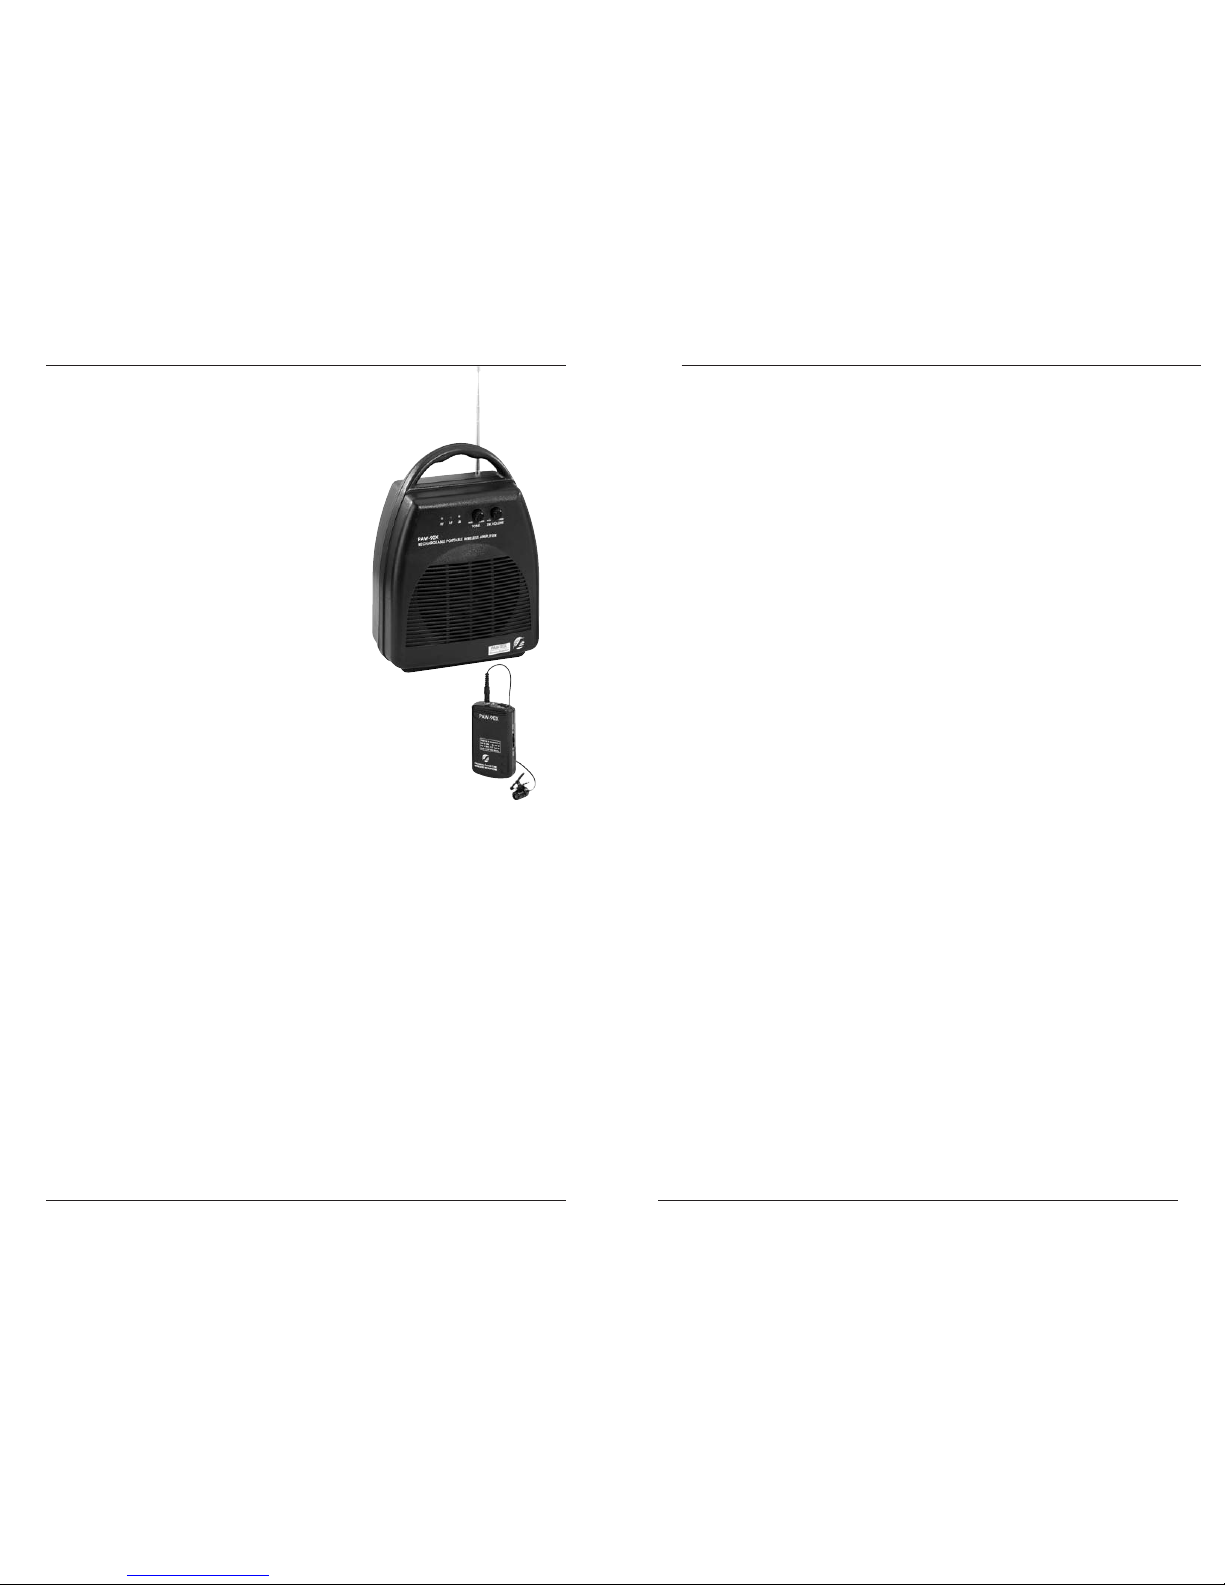
1) To achieve maximum reception fully extend antenna.
2) Place the receiver in the desired place (not closer than 5 ft. from
where mic will be used)
3) Adjust the volume switch to desired volume, the LB light will turn
green which indicates full battery; when LB light turns red indi-
cates low battery.
4) When the receiver is used with the transmitter the RF light will
turn on and the AF light will flash while speaking which indicates
that the unit is working as it should.
5) If you want to record: connect the recorder to the input REC
behind receiver.
6) For a larger power output connect the high power amplifier (not
included) to the REC.
7) To add an extension speaker (not included) hook up ONLY to
the EXT input.
Transmitter
1) The transmitter comes neatly packed away in the back of unit
together with the mic and a mic clip.
2) The transmitter uses 2 standard AA batteries (not included),
which are installed in the back of the transmitter.
3) Connect the mic to the transmitter and switch on, the red light
will flash on once. If red light remains lit it indicates that the bat-
tery is low, and for maximum performance change battery. If a
battery is unavailable at the moment, the mic can be directly
connected to the receiver by plugging it into MIC input at the
back of receiver.
4) Attach mic to clip and affix to tie, lapel etc. — the closer the
mic is located to the mouth the louder the sound.
5) If the transmitter will not be used for an extended period of time
remove the battery to avoid any damaged that may be
caused because of leakage.
OPERATING INSTRUCTIONS
PLEASE READ CAREFULLY BEFORE USE!
Getting Acquainted
A) RECEIVER: This the main unit which
includes the speaker, volume, tone
and echo controls (karaoke).
B) TRANSMITTER: Is the small unit which
the Tie-Clip Mic attaches to it
weighs less than a pound and fits in
apocket or clips neatly on belt.
C) TIE-CLIP MIC: Small mic comes with
atie-clip for hands-free and more
maneuvering options.
Operation
1) Before first time usage the battery must be charged for at
least 10-12 hrs.(battery Is permanently installed inside
receiver).
2) For faster battery charging time switch receiver power off
while recharging. In case battery runs out keep the power
on in order to be able to use while recharging, it may take a
little longer in order to fully recharge.
3) Check the power source before plugging in and make sure
it matches the voltage indicated on the unit.
4) To charge battery: insert power cord (included) to charger
input which is located under the cover behind receiver in
bottom right hand corner.
DO NOT INSERT CABLE INTO ANY OTHER INPUT!
A.
B. C.