OPERATION
---4---
1. Turn on the power
A. For AC power
Connect the power socket of the unit and AC power socket with the supplied
cable.
Turn on the DVD/CD & the amplifier, both the red lights will indicate that
the system is operating.
B. For built-in rechargeable battery
It is not necessary to connect the AC power, the rechargeable battery will
supply power to the unit.
Turn on the power switch. For DVD/CD use, press the CD on button. Both
red lights will indicate that the system is operating.
If the low voltage indicator on the back of the unit is red, it indicates insuf-
ficient voltage and unit needs to be charged.
C. To Charge the built in rechargeable battery.
Connect the power socket of the unit and AC power socket with the suppl-
ied cable.
The charge indicator will turn from red to green meaning it has the suffici-
ent voltage.
The charge time should be 8-10 hours.
2. For DVD/CD PLAYER
Turn on the amplifier and the red indicator will be lit.
Turn on DVD/CD PLAYER and the red indicator comes on.
Open the compartment of DVD/MP3/VCD/CD-G/CD by pressing OPEN/
CLOSE button and insert the disc.
Connect the VIDEO output jack on either side of the unit and TV, the picture
will be transferred from DVD/CD PLAYER to TV screen.
Adjust main volume controls of the amplifier and CD/TAPE to the desired
level.
41
42
43
44
45
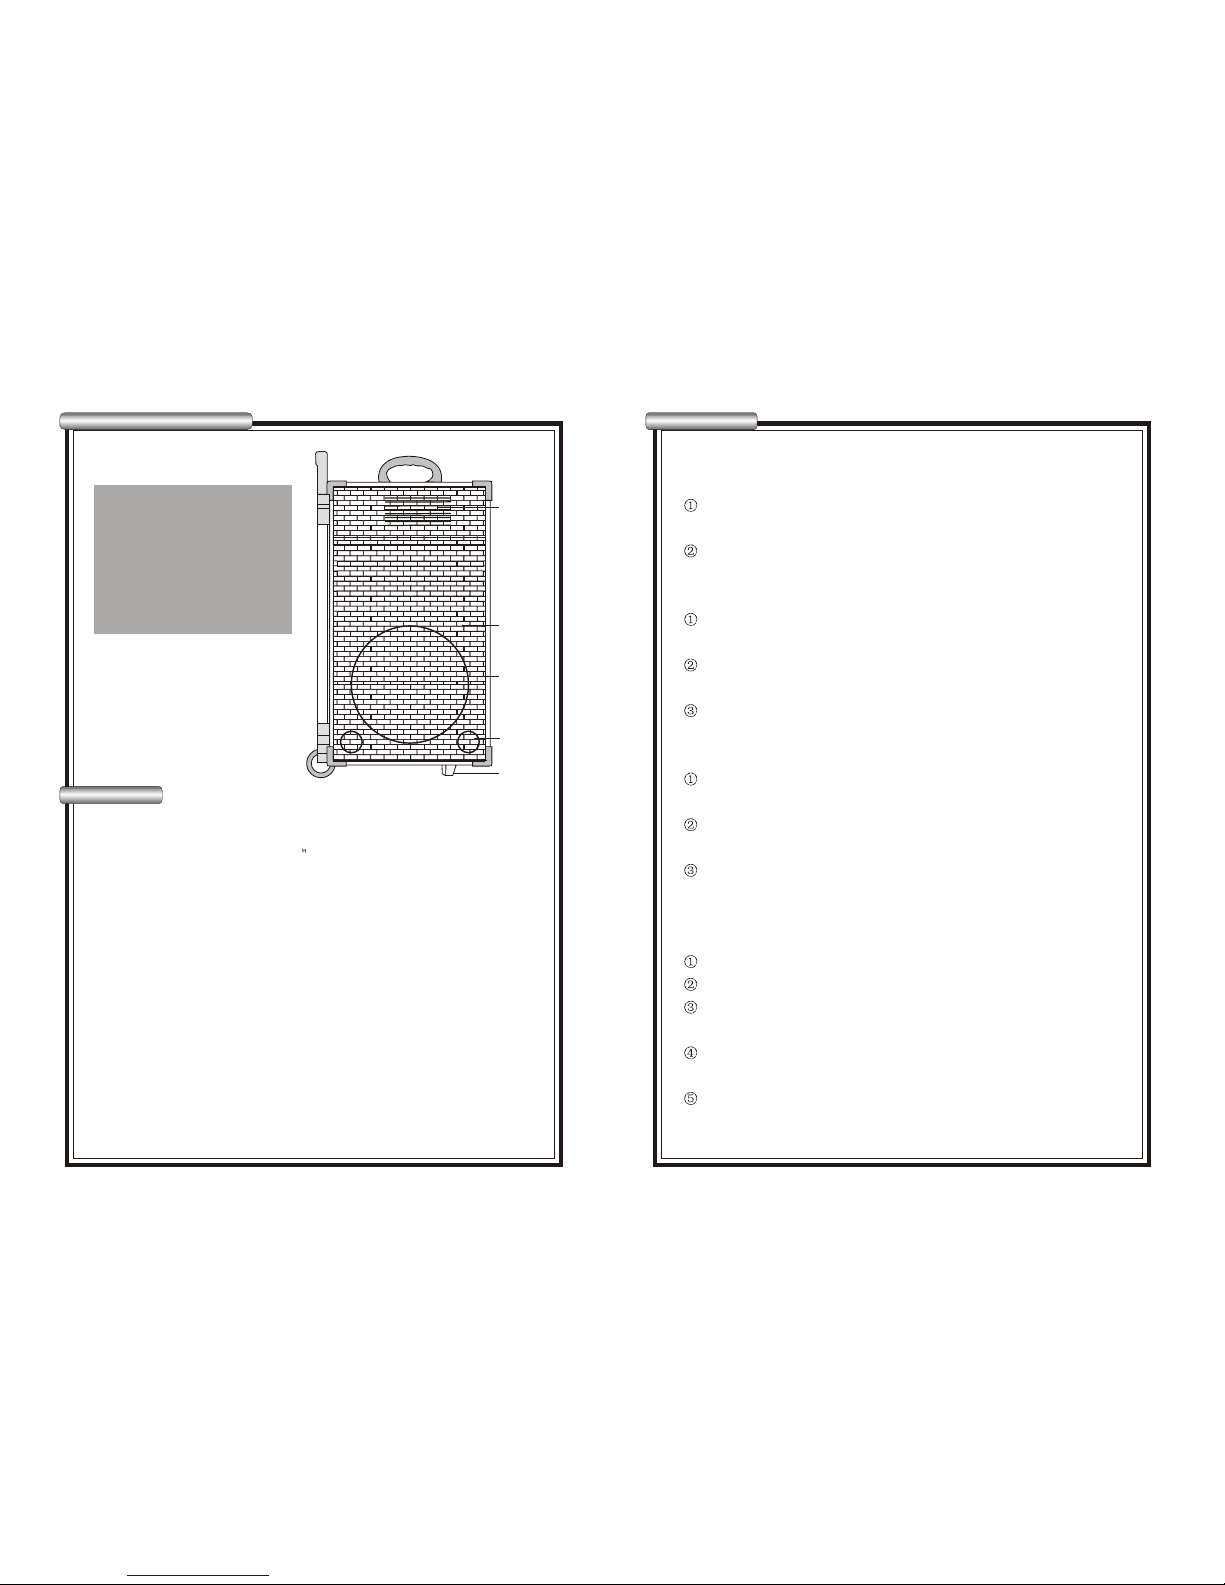
Figure B
PARTS DESCRIPTION
---3---
41. Hole for emanating the heat
42. Iron shield for sound box
43. Full range speaker
44. Vent pipe
45. Stand for sound box
1. Multi-functional portable wired amplifier system, which enjoys genuine &
great sound and quality, with simple and convenient operation.
2. Unit is equipped with a built-in 8 full range speaker of peak 200W
and DVD/MP3/VCD/CD-G/CD PLAYER, TAPE & TAPE RECORDER.
3. The system is perfect for Karaoke, conference, training, auditorium, hotel,
church, & teaching etc and can be used both indoors and outdoors.
4. Unit is equipped with a built-in rechargeable battery and will allow two
hours of continuous use.
5. This unit is equipped with jacks for two wired microphones that can be used
at the same time. The volume of each microphone can be adjusted individually.
6. Line in/line out is supplied so that the user can play music from another sys-
tem or to record what is being amplified on this system. The volume for these
can be adjusted with the main volume control.
7. For achieving best sound effect this unit is equipped with treble, bass and
echo control.
8. To adjust the volume on the CD/TAPE a separate volume control is supplied.
9. Two-way Audio/video jack is supplied on front of unit.
10. Unit is supplied with recorder to record voice and music from the amplifier.
11. Retractable carry handle and wheels allows for easy transport
FEATURES