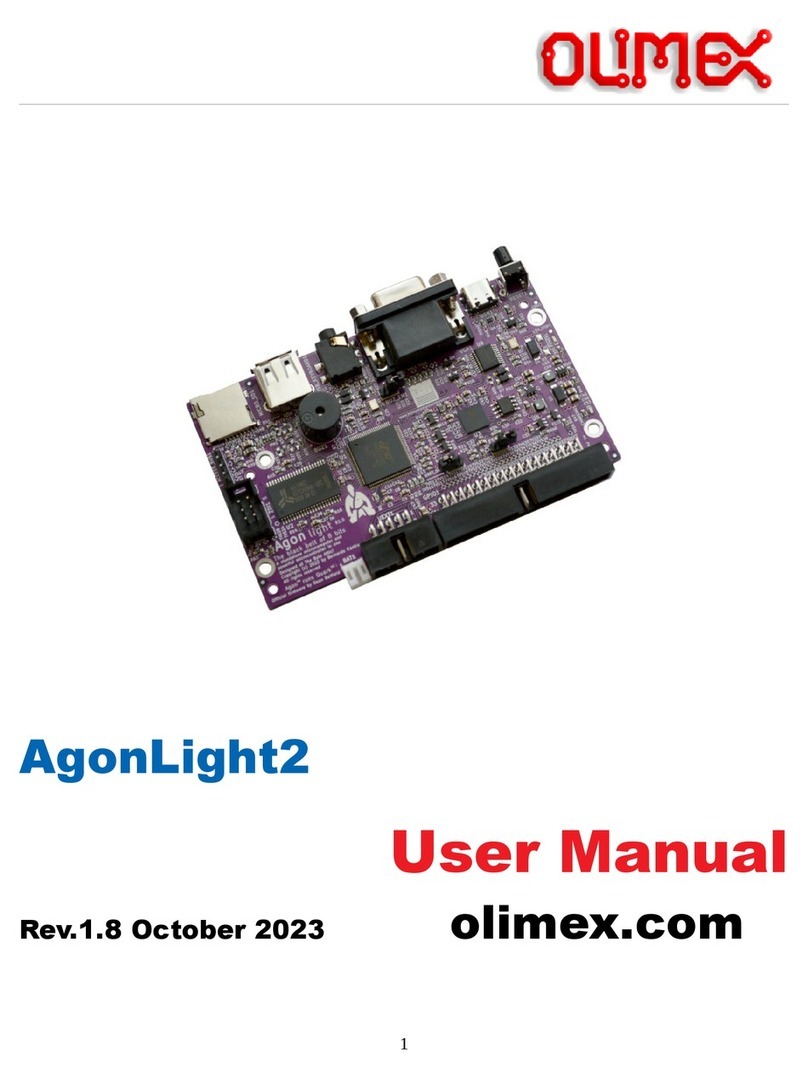
OLIMEX AgonLight2 User manual

AgonLight2
User Manual
Document revision 1.2., June 2023
www.olimex.com
1

Table of Contents
Introduction................................................................................................................................................3
What is AgonLight2?.............................................................................................................................4
Order codes for AgonLight2 and accessories:.......................................................................................5
The differences between AgonLight and AgonLight2:.........................................................................
First time start up or how to prepare the SD card and boot...................................................................7
AgonLight references documents:.........................................................................................................8
HARDWARE.............................................................................................................................................9
AgonLight2 layout:.............................................................................................................................10
AgonLight2 schematic:.......................................................................................................................11
AgonLight2 power supply and consumption:.....................................................................................1
GPIO connector:..................................................................................................................................17
UEXT connector:.................................................................................................................................18
Access bus connector:.........................................................................................................................19
eZ80 programming connector:............................................................................................................20
Jumpers:...............................................................................................................................................21
SOFTWARE:...........................................................................................................................................22
General AgonLight2 Firmware...........................................................................................................23
Olimex tested firmware and examples................................................................................................23
MOS commands:.................................................................................................................................24
BBC Basic commands reference:........................................................................................................25
Software access to GPIOs:..................................................................................................................2
Software access to I2C:.......................................................................................................................27
Software access to SPI:.......................................................................................................................28
Software access to VPU:.....................................................................................................................29
Revision History......................................................................................................................................30
2
Introduction
3

What is AgonLight2?
AgonLight2 is a re-design of the original AgonLight eZ80F92 retro computer, designed as a hobby
project by Bernardo Kastrup;
AgonLight2 is a complete Single Board Computer (SBC) with VGA display output, PS2 keyboard, and
SD card (acting as an external disk). This means that to write and run programs you do not need an
external computer like Arduino boards do;
AgonLigh t2 has a GPIO connector with GPIO ports, I2C, SPI, and more signals which are accessible
and can be used to interact with other hardware (sensors, expansions, etc;)
AgonLight and AgonLight2 are Open Source Hardware and officially OSHWA certified;
All CAD source files are available at AgonLight and AgonLight2 GitHub repositories. They are
released under CERN Open Hardware License Version 2 – Strongly Reciprocal and allow users to
learn, study, edit, modify, produce, and sell same or derivative products based on these designs. The
only requirements is to open source their work under the same licensee.
The firmware of AgonLight is written by Dean Belfield and reproduces BBC Basic for Z80. The
firmware is also Open Source Software and available on GitHub. The same firmware works on
AgonLight2 without any modifications.
AgonLight2 is RoHS, REACH, CE and UKCA compliant.
4

Order codes for AgonLight2 and accessories:
AgonLight2 Single board BBC Basic Z80 Retro style
Computer
MICRO-SD-CLASS You need a microSD card to store Basic and
software (demos, examples)
AgonLight2-Proto DIY expansion kit with big proto area; compatible
with AgonLight2
BOX-AGONLIGHT2-BLACK Metal box for AgonLight2
CABLE-USB-A-C-1M USB-C data and power cable
BATTERY-LIPO1400mAh
Li-po battery 3.7V 1400mAh – note that these
batteries can be shipped only by ground so we can
deliver only to EU destinations
USB-KEYBOARD-PS2 USB keyboard which supports PS2 and can be
used for AgonLight2
B READBOARD-1 Breadboard for experimenting with AgonLight2
JW-200x10-FM 10 pieces female-male jumper wires for
breadboarding
JW-200x10 10 pieces male-male jumper wires for
breadboarding
JW-200x10-FF 10 pieces female-female jumper wires for
breadboarding
UEXT modules
Different sensors, relays, LCDs, RTC, GSM, GPS
etc accessories which can be connected to
AgonLight2 UEXT connector
MOD-Wii-UEXT-NUNCHUCK 3 axis joystick, two buttons game controller with
UEXT connector
5

The differences between AgonLight and AgonLight2:
AgonLight2 has these differences from the original design:
•KiCad is used for the CAD, instead of EasyEDA. KiCad is open source software – free to
download and use, it is a more fitting CAD tool for an Open Source Hardware project;
•USB-C connector for power supply;
•DCDC power converter with up to 2A output instead of linear power converter;
•Li-Po battery backup power supply, the battery acts like a UPS and will power the computer
even if the USB-C gets disconnected. The battery is charged automatically when USB or
external power supply is present;
•USB connector for keyboard (but the keyboard must be PS2 compatible!!!);
•SRAM routed with 40 ohm impedance as per part datasheet;
•Fixed some wrong signal naming on ESP32-PICO-D4 GPU co-processor;
•Fixed GPIO and programming connector pin ordering;
•Replaced the naked header 32-pin connector with a plastic boxed 34-pin connector following
the same layout and adding two additional signals Vbat and Vin which allow AgonLight2 to be
powered by this connector too;
•Added a UEXT connector (https://www.olimex.com/Products/Modules/) which allows
AgonLight2 to be connected to: temperature sensors, environmental air quality sensors,
pressure, humidity, gyroscope, light, RS485, LCDs, LED matrix, relays, Bluetooth, Zigbee,
Lora, GSM, RFID reader, GPS, Pulse, EKG, RTC etc;
•Added 4 grounded mount holes with 3mm diameter, but also kept the original 2.5 mm mount
holes.

First time start up or how to prepare the D card and boot
Important! Notice that AgonLight2 comes completely assembled, tested, and programmed with
firmware. The only thing you would need to do is prepare a microS card with BBC basic and some
examples, then connect your display and peripherals and apply power supply.
1. Open a web browser and navigate to:
https://github.com/OLIMEX/AgonLight2
2. Click on: Code -> Local tab, Download ZIP;
3. Uncompress the downloaded ZIP file in your PC;
4. Enter the folders “SOFTWARE” and then “FIRMWARE” and then “1-SD-card-contents”, then copy
the contents of the folder;
5. Insert a class-10 microSD card in your Windows PC (pre-formatted as Fat32 and with a partition of
maximum 32GB).
. Paste the contents of the folder “1-SD-card-contents” which you’ve copied in step 4, onto the
microSD card. Files should be placed directly into main folder of the card.
7. Eject the microSD card from your Windows PC.
8. Insert the microSD card into the board.
9. Connect a VGA monitor and a PS/2 keyboard (or a PS/2-compatible USB keyboard,
via a PS/2 adapter) to the AgonLight2 unit.
10. Turn the AgonLight2 board on by connecting it to the USB cable:
7

HARDWARE
9

AgonLight2 layout:
10
Micro SD card USB-PS2 keyboard
Buzzer
LiPo battery UEXT GPIO
ESP32 programming
ESP32 UART disable
Buzzer enable
EZ80 programming
Access bus
Audio Out
VGA USB-C Power Reset

12

13

14

15

AgonLight2 power supply and consumption:
AgonLight2 can be powered by 3 sources:
•USB-C connector;
•Li-Po battery connector;
•GPIO.pin2 (5V_USB) note that this signal is connected to USB 5V signal so when you power
AgonLight2 with this pin you should not connect it to the USB!!!
The power consumption of AgonLight2 is approximately 130mA without a keyboard and around
180mA with connected keyboard.
If a Li-Po battery is connected it will get charged automatically when power supply is attached with up
to 100mA.
When the LiPo battery is attached and external power supply is missing internal DCDC step-up
converter and switching circuit automatically powers AgonLight2 from the battery. 1400mAh battery
will provide about 8 hours of stand-alone operation.
+ The LiPo battery connector is JST 2.0 mm connector and with Olimex’s battery polarity. If you use
batteries from other manufacturers please make PLUS and MINUS are connected properly as you may
damage the board!!!
1

GPIO connector:
Pin.1 is connected to the Li-Po battery PLUS you can connect external battery on this pin or to use
battery voltage to external circuits.
Pin. 2 is 5V power supply connected to USB-C +5V signal, you can power the board from this signal if
the USB-C is not connected. It must be regulated 5V power supply, applying more than 5V will
damage the board.
Pin.3, Pin.5, Pin.33 are GND
17

Pin.34 is +3.3V output capable to source up to 2A note that 200mA are used by AgonLight2
Pin.4 is +5V output capable to source up to 2A (1.8A + AgonLight2 0.2A), it’s backed by LiPo UPS so
even if there is interruption on power supply if LiPo battery is attached there will be 5V on this pin.
All GPIOs are operating on +3.3V. This means you should not connect signals above 3.3V on these
ports as this will damage the board.
UEXT connector:
UEXT connector stands for Universal EXTension connector and contain +3.3V, GND, I2C, SPI, UART
signals:
UEXT is 0.1” 2.54mm step boxed plastic connector. All signals are with 3.3V levels.
Olimex has developed number of MODULES with this connector. There are temperature, humidity,
pressure, magnetic field, light sensors. Modules with LCDs, LED matrix, relays, Bluetooth, Zigbee,
WiFi, GSM, GPS, RFID, RTC, EKG, etc.
18

Access bus connector:
This is I2C and power supply with 3.3V levels.
19

eZ80 programming connector:
This connector is used for initial programming of eZ80 microcontroller. AgonLight2 comes with pre-
programmed firmware so you do not need to use this connector nor programmer for it.
If you want to develop your own firmware Jeroen Venema wrote flash utility which allows you to flash
new firmware without need of external programmer.
20
Other manuals for AgonLight2
2
Table of contents
Other OLIMEX Computer Hardware manuals

OLIMEX
OLIMEX AgonLight2 User manual

OLIMEX
OLIMEX AgonLight2 User manual

OLIMEX
OLIMEX ES32-POE User manual

OLIMEX
OLIMEX TMS320-XDS100-V3 User manual

OLIMEX
OLIMEX IMX233-OLinuXino-MAXI User manual

OLIMEX
OLIMEX ARM-JTAG-EW User manual

OLIMEX
OLIMEX DuinoMite User manual

OLIMEX
OLIMEX SAM3-P256 User manual

OLIMEX
OLIMEX ESP32-C3-DevKit-Lipo User manual

OLIMEX
OLIMEX ESP32-C6-EVB User manual