manuals.online logo
Brands
  1. Home
  2. •
  3. Brands
  4. •
  5. Olympus
  6. •
  7. Digital Camera
  8. •
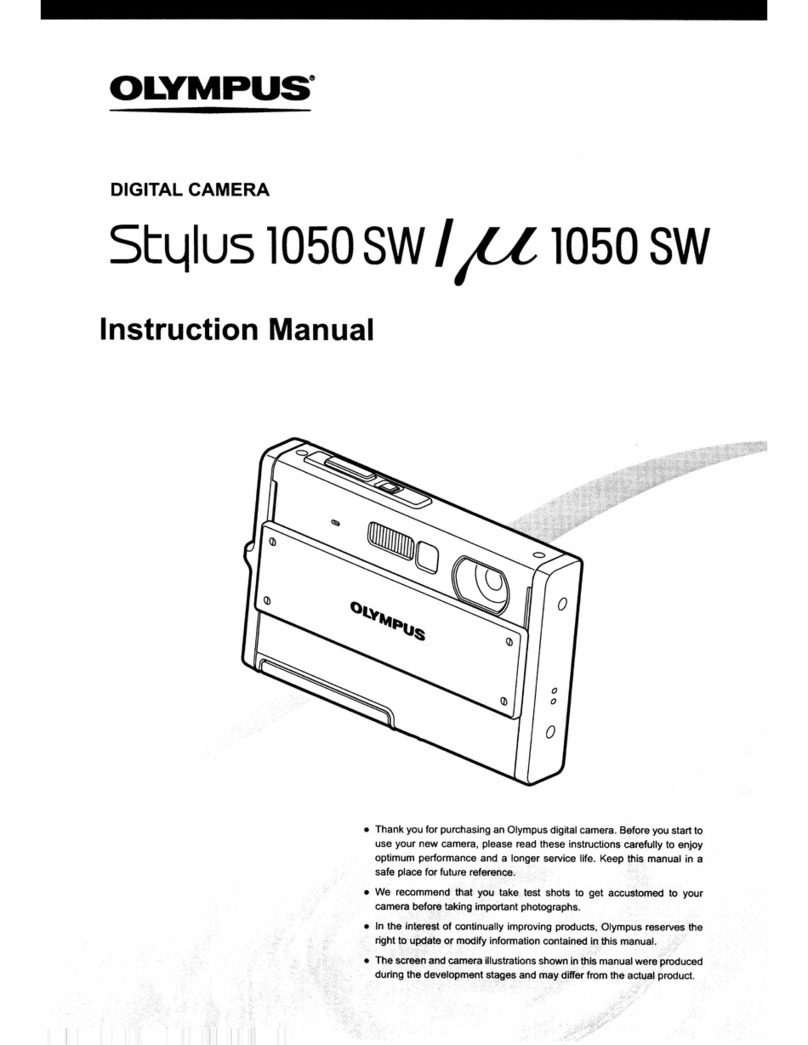
  9. Olympus Stylus 840 User manual

Olympus Stylus 840 User manual

Other manuals for Stylus 840

4

This manual suits for next models

1

Other Olympus Digital Camera manuals

Olympus D595 - 5MP Digital Camera User manual

Olympus

Olympus D595 - 5MP Digital Camera User manual

Olympus SP-610UZ Mounting instructions

Olympus

Olympus SP-610UZ Mounting instructions

Olympus FE 100 - 4MP Digital Camera User manual

Olympus

Olympus FE 100 - 4MP Digital Camera User manual

Olympus 550WP - Stylus Digital Camera User manual

Olympus

Olympus 550WP - Stylus Digital Camera User manual

Olympus E10 - CAMEDIA E 10 Digital Camera SLR User manual

Olympus

Olympus E10 - CAMEDIA E 10 Digital Camera SLR User manual

Olympus SZ-15 User manual

Olympus

Olympus SZ-15 User manual

Olympus 300 Digital - Stylus 300 3.2 MP Digital... Configuration guide

Olympus

Olympus 300 Digital - Stylus 300 3.2 MP Digital... Configuration guide

Olympus XZ-2 User manual

Olympus

Olympus XZ-2 User manual

Olympus CAMEDIA C-8080 Wide Zoom User manual

Olympus

Olympus CAMEDIA C-8080 Wide Zoom User manual

Olympus TG-2 User manual

Olympus

Olympus TG-2 User manual

Olympus SP-590 UZ - Digital Camera - Compact User manual

Olympus

Olympus SP-590 UZ - Digital Camera - Compact User manual

Olympus 225925 - Stylus 780 Digital Camera User manual

Olympus

Olympus 225925 - Stylus 780 Digital Camera User manual

Olympus CAMEDIA C-7070 Wide Zoom Installation guide

Olympus

Olympus CAMEDIA C-7070 Wide Zoom Installation guide

Olympus VG-160 Setup guide

Olympus

Olympus VG-160 Setup guide

Olympus CAMEDIA C-3040 Zoom User manual

Olympus

Olympus CAMEDIA C-3040 Zoom User manual

Olympus Camedia D-450ZOOM User manual

Olympus

Olympus Camedia D-450ZOOM User manual

Olympus E620 - Evolt 12.3MP Live MOS Digital SLR... User manual

Olympus

Olympus E620 - Evolt 12.3MP Live MOS Digital SLR... User manual

Olympus CAMEDIA C-3020 Zoom User manual

Olympus

Olympus CAMEDIA C-3020 Zoom User manual

Olympus SZ-14, SZ-12 User manual

Olympus

Olympus SZ-14, SZ-12 User manual

Olympus FE 170 - Digital Camera - 6.0 Megapixel User manual

Olympus

Olympus FE 170 - Digital Camera - 6.0 Megapixel User manual

Olympus FE-26 - Digital Camera - Compact Instruction Manual

Olympus

Olympus FE-26 - Digital Camera - Compact Instruction Manual

Olympus CAMEDIA C-370 ZOOM Installation guide

Olympus

Olympus CAMEDIA C-370 ZOOM Installation guide

Olympus STYLUS 300 Installation guide

Olympus

Olympus STYLUS 300 Installation guide

Olympus Stylus 1050SW User manual

Olympus

Olympus Stylus 1050SW User manual
Popular Digital Camera manuals by other brands

Canon WP-DC35 user guide

Canon

Canon WP-DC35 user guide

Xiaomi 70mai Dash Cam Lite user manual

Xiaomi

Xiaomi 70mai Dash Cam Lite user manual

Samsung PL70 Quick start manual

Samsung

Samsung PL70 Quick start manual

GE E1680W user manual

GE

GE E1680W user manual

Canon EOS 1200D instruction manual

Canon

Canon EOS 1200D instruction manual

Tevion MD 86497 user guide

Tevion

Tevion MD 86497 user guide

Exakta VX Features

Exakta

Exakta VX Features

Kodak Digital Science DC120 user guide

Kodak

Kodak Digital Science DC120 user guide

Nikon FM3A Specifications

Nikon

Nikon FM3A Specifications

Vectra Fitness H1 Quick reference guide

Vectra Fitness

Vectra Fitness H1 Quick reference guide

Nikon COOLPIX 775 quick start guide

Nikon

Nikon COOLPIX 775 quick start guide

Samsung EC-L100ZBBA brochure

Samsung

Samsung EC-L100ZBBA brochure

FujiFilm FINEPIX BL01124-201 owner's manual

FujiFilm

FujiFilm FINEPIX BL01124-201 owner's manual

Panasonic DMC-L10KPP Service manual

Panasonic

Panasonic DMC-L10KPP Service manual

Hyundai Electric HYU-CC-CHBF12001 Quick installation guide

Hyundai Electric

Hyundai Electric HYU-CC-CHBF12001 Quick installation guide

Sony DSC-WX80 specification

Sony

Sony DSC-WX80 specification

Nikon Nuvis S - Point & Shoot instruction manual

Nikon

Nikon Nuvis S - Point & Shoot instruction manual

Teledyne Piranha4 user manual

Teledyne

Teledyne Piranha4 user manual

manuals.online logo
manuals.online logoBrands
  • About & Mission
  • Contact us
  • Privacy Policy
  • Terms and Conditions

Copyright 2025 Manuals.Online. All Rights Reserved.

DIGITAL CAMERA
OLYMPUS®
5t~lus
840
IP
840
Instruction
Manual Quick Start Guide
Getstarted
using
your
camera
right
away.
Button operations
Menu operations
Printing pictures
Using OLYMPUS Master
Getting to know your
camera better
Appendix
•Thank you forpurchasing an Olympus digital camera. Before you startto use your newcamera, please read
these instructions carefully to enjoy optimum performance and alonger service life. Keep this manual
in
a
safe place for future reference.
•We recommend that you take test shots to get accustomed to your camera before taking important
photographs.
•
In
the interest
of
continually improving products, Olympus reserves the right to update ormodify information
contained
in
this manual.
•The screen and camera illustrations shown in this manual were produced during the development stages
and may differ from the actual product.
Contents
Quick Start Guide P.3
Button operations
Menu operations
Printing pictures
Using OLYMPUS Master
Getting to know your camera
better
Appendix
P.11
P.20
PAO
PA5
P.51
P.62
Test out the functions
of
the camera
buttons by following along with the
illustrations.
Learn about the menus that control
the functions and settings for basic
operation.
Learn how to print
pictures
you have
taken.
Learn how
to
transfer and save
pictures to acomputer.
Find out more about camera
operations and how to take better
pictures.
Read about convenient functions and
safety precautionson
how
to
useyour
camera more effectively.
Digital
Camera
Strap Lithium Ion Battery
(L1-42B)
o
c
(')
7\
en
--
Q)
~
G)
c
a.
CD
OLYMPUS
Master
2
CD-ROM
AV
Cable
USB
cableBattery
Charger
(L1-40C)
Items not shown: Instruction Manual (this manual), warranty card. Contents may vary
depending
on
purchase location.
•Pull the strap tight so that it does not come loose.
a.
Charge the battery
Battery Charger
Power Cable
I
~j
1-
""0
AC Wall Outlet Charging Indicator
Light On (Red): Charging
Light Off: Charging complete
(Charging time: Approx. 5hours)
•Battery comes partially charged.
b.
Insert the battery and
an
xD-Picture Card (optional)
in
the
camera.
Preparing the camera
•Insert the battery by putting
in the
..
marked side first,
with the 0marks toward
the battery lock knob.
If you insert the battery incorrectly,
you will not be able to remove it. Do
not use force. Contact authorized
distributors/service centers. Damage
to the battery exterior (scratches,
etc.) may produce heat
or
an
explosion.
Battery lock knob
To remove the battery, slide the battery
lock knob
in
the direction
of
the arrow.
Index
area
Notch
•Orient the card as shown
in
the
illustration and insert it straight into
the card slot.
Insert the card until it clicks into place.
To
remove the card, push it all the
way
in and
release it slowly. Then grasp the card and
remove.
o
c
C1
A
(f)
.....
Q)
~
G)
c
a.
eD
•You can shoot pictures with this camera even without using an optional xD-
Picture
Card™
(hereinafter referred to as "the card"). If an xD-Picture Card
is
not inserted, your pictures will be saved to the internal memory.
For details on the card, please refer to
'The
card" (P.64).
Turn the camera on
This explains how to turn on the camera
in
shooting mode.
a.
Set
the
mode
dial
to
mgm.
When
shooting still pictures (shooting
mode)
~Q
'-----
0
.•
;.Q\f\'l)J))
\\\
0'
<&
7
When
shooting movies
~~
(shooting mode)
When
viewing pictures
(playback mode)
Still
picture
shooting
modes
SCN
GUIDE
This function allows you to shoot with the camera's automatic settings.
The camera automatically sets the optimum aperture value and shutter speed.
This function allows you to shoot pictures by selecting ascene according to the
shooting condition.
This function allows you to set the target items by following the shooting guide
displayed
on
the screen.
b.
Press
the
POWER
button.
CANCEl.~
e
POWER
button
•When the date and time have
notyet been set, this screen will
appear.
•To turn off the camera, press the
POWER
button once again.
Hint
The
directions
of
the
arrow
pad
(6<i\7<JC»
are
indicated
with
6<i\7<JC>
in this
manual.
<J
C>
o
c
(')
~
(J)
.-+
D>
::4-
G)
c
a.
eD
\7~
button
6
~
button
r---r--,---------
Y-M-D (Year-Month-Day)
Exits asetting,
Hour
.~.~::::..,
'"""'-'-'-=~II!---
Minute
.+---
__
------._~
Date formats (Y/M/D. M/DIY. DIMlY)
a. Press
the61B
button and the
\7~
button to select [yl.
•The first two digits of the year are fixed.
b.
Press the
()~
button.
I>~
button
c.
Press
the61B
button and the
\7~
button to select [M].
Set date and time
d.
Press the
[)~
button.
e.
Press
the61B
button and the
<V~
button to select [D].
2008.08.m
--:--
Y/M/O
f.
Press the
[)~
button.
g. Press
the6
~
button and the
<V~
button to select the hours and
minutes.
•The time is displayed
in
the 24-hour format.
CANCEl·~
2008.08.26
12:m~
Y
/M/O
h.
Press the
[)~
button.
I.
Press
the61B
button and the
<V~
button to select [V/M/D].
CANCEL.~
2008.08.26 12:30 •
CANCEL·~
SET·IOKI
J.
After all items have been set, press the
IOK/FUNCI
button.
•For precise time setting, press the
IOK/FuNcl
button as the time signal strikes 00 seconds.
~
IOK/FuNcl
button
..
The number
of
storable still
pictures is displayed.
Take apicture
a.
Hold the camera
Horizontal
grip
Vertical
grip
b.
Focus o
c
("')
7\
(j)
.....
0)
;:::l.
G)
C
0-
CD
AF
target
mark
Place this mark over your subject.
..
?
(Pressed
Halfway)
.---C~
_~-;;::::;:::~~~~
Shutter
button
•The AF target mark lights in green when the focus and
exposure are locked. The shutter speed and aperture value
are displayed.
•If the AF target mark blinks
in
red, the focus is not adjusted
properly. Try locking the focus again.
c.
Shoot
....---0
_~-;;::::;~~~~~
Shutter
button
(Pressed
Completely)
The
card access lamp blinks.
View pictures
a.
Set the
mode
dial
to
[E).
a.
Press
the
<J~
button
and
the
C>~
button
to
display
the
picture
you
want
to
erase.
b. Press
the
fitl'Gl
button
.
Mode Dial
Next Picture
Erase pictures
Prevo
Picture
.---0
~-:::::::-~~~~3
POWER
button
1.---""-,,;--
C>
Arrow pad
..
c. Press
the61B
button
to
select
[YES],
and
press
the
IOK/FUNel
button
to
erase
the
picture.
61B
button
IOK/FUNel
button