manuals.online logo
Brands
  1. Home
  2. •
  3. Brands
  4. •
  5. on stage
  6. •
  7. Indoor Furnishing
  8. •
  9. on stage WSR7500 Series User manual

on stage WSR7500 Series User manual

STANDS
Congratulations on your purchase of the WSR7500 Rack
Cabinet! Please read the following instructions carefully.
We hope you enjoy your new purchase.
A. Work Surface
WSR7500
Rack Cabinet
Components
B. Left
Vertical Leg
C. Right
Vertical Leg
D. Support Bar
Z. Feet (x4)
*Parts not drawn to scale.
Z. Locking
Nuts (x4)
Z. 40mm
Allen Head
Bolts (x4)
Z. 12mm
Allen Head
Bolts (x4)
Z. 6mm
Phillips Head
Screw (x48)
Also included: Allen Wrench
Tools Required: Level, Hammer, #2 Phillips Head Screw Driver, & ⁄ Wrench
Assembly Instructions Visit On-Stage for the most recently-updated instructions.
Assembly of the Metal Structure:
1. Take the Left Vertical Leg (B) and locate the
two holes on the lower horizontal tubing. Take
the support bar (D) and install one end in the
lower two holes using two 40mm Allen Head
Bolts (Z3) and two Locking Nuts (Z2).
2. Take the Right Vertical Leg (C) and locate
the two holes on the lower horizontal tubing.
Install the other end of the Support Bar (D) in
the lower two holds using two 40mm Allen
Head Bolts (Z3) and two Locking Nuts (Z2).
3. Flip the assembly from Step 2 upside down
and locate the four holes on the bottom of the
legs. Take the four rubber Feet (Z1) and fasten
them into the holes. Flip the assembly right
side up and adjust the rubber feet for height
and leveling.
Attaching the Work Surface:
3. Take the Work Surface (A). Align the metal inserts
on the underside of the Work Surface (A) with the
holes in the metal tabs on the vertical legs.
4. Take the 12mm Allen Head Bolts (Z4) and attach
the Work Surface (A) to the vertical legs.
(Do not over tighten)
Attaching Your Rack Mountable Audio Equipment:
5. Utilize the 6mm Screws (Z5) to mount up to 12 rack
units of gear. Follow the manufacturers recommenda-
tions for proper spacing of rack units.
CAUTION
FAILURE TO OBSERVE PROPER ASSEMBLY INSTRUCTIONS, EXCEEDING THE
WEIGHT CAPACITY OR FAILURE TO OBSERVE THE WARNINGS AS MENTIONED
IN THIS INSERT MAY CAUSE STAND TO COLLAPSE, BODILY INJURY OR
EQUIPMENT DAMAGE AND WILL VOID THE PRODUCT WARRANTY.
IMPORTANT: Before using your stand, be sure that all bolts and nuts are fully tightened.
Note: If desired, the height can be adjusted by spinning the small rubber feet clockwise to lower the
height or counter clockwise to raise the height. Place a level on the main work surface to be sure the
WSR7500 is level before placing any equipment on the workstation.
Lightning Fast Service - Get the fastest turn-around in the unlikely event of a warranty claim.
Product Notications - We can contact your directly with product notications and safety information.
Better Products - Your registration helps us to improve our products and develop new ones.
REGISTER ONLINE. HERE’S WHY:
Optional Workspace Congurations with the WSR7500
The WSR7500 can be used as a stand-alone unit, or it can be combined with the
WSC7500 and WS7500 to create the ideal workstation. Illustrated below are just a
few possible congurations.
STANDS
*The WSR7500 weight capacity is 200lbs.
WS7500
WSC7500
WSC7500
WSR7500
WS7500
WSC7500
WSR7500
WS7500
WSR7500
WS7500
WSC7500
WSR7500
A. B.
C.
D.
Additional Products Sold Separately
WSB7500 - Mounting Brackets are
available to mount the rack cabinet
directly to the WSC7500 or WS7500
Workstation system.
Configuration A Pictured Below

This manual suits for next models

2

Other on stage Indoor Furnishing manuals

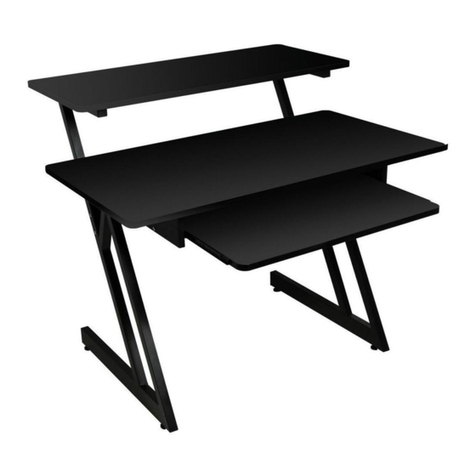
on stage WS7500 User manual

on stage

on stage WS7500 User manual

on stage WS7500 User manual

on stage

on stage WS7500 User manual

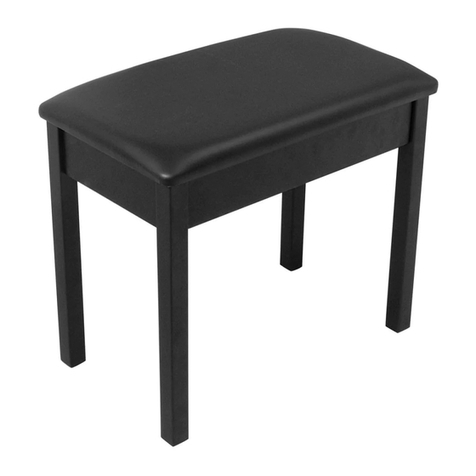
on stage KB8802 User manual

on stage

on stage KB8802 User manual

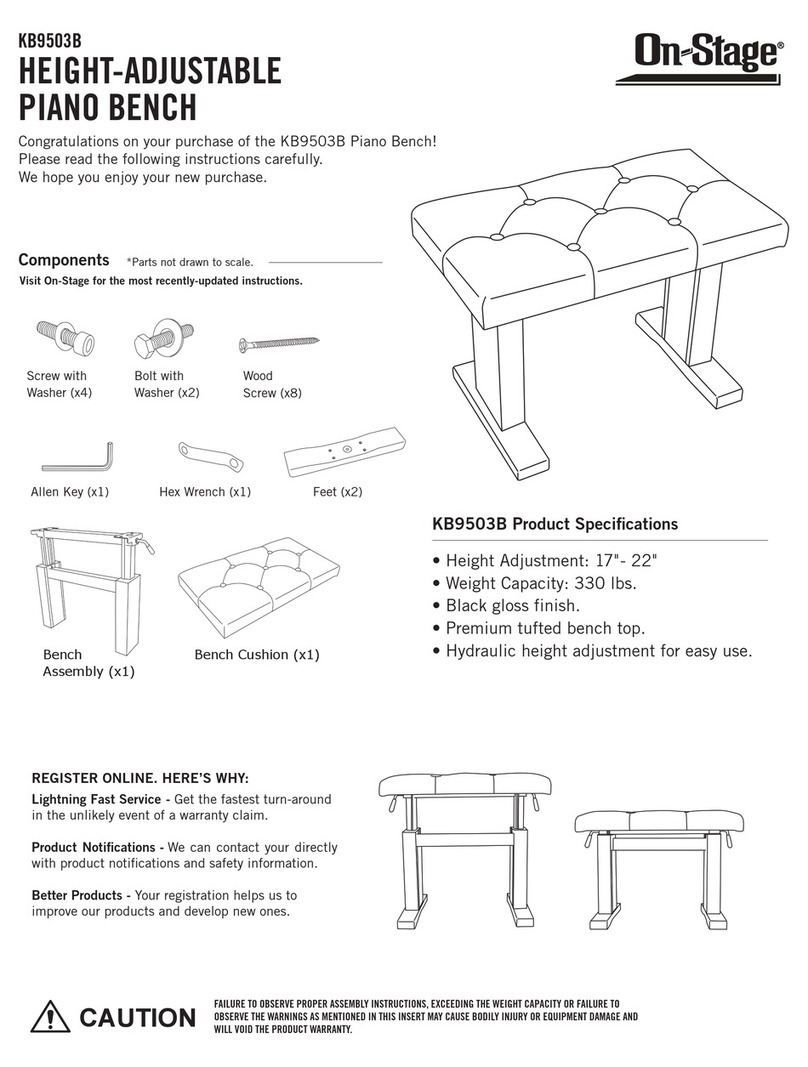
on stage KB9503B User manual

on stage

on stage KB9503B User manual

Popular Indoor Furnishing manuals by other brands

Canvas SEABROOKE 088-0746-8 Assembly instructions

Canvas

Canvas SEABROOKE 088-0746-8 Assembly instructions

BRW NIKA MNKD-60/82 Assembly manual

BRW

BRW NIKA MNKD-60/82 Assembly manual

BENE IDEA Assembly and operating instructions

BENE

BENE IDEA Assembly and operating instructions

siena GARDEN Silva C31058 Assembly instruction

siena GARDEN

siena GARDEN Silva C31058 Assembly instruction

FLY WOODSTOCK 26960 Assembly instructions

FLY

FLY WOODSTOCK 26960 Assembly instructions

Lightolier Lytecaster Recessed Downlighting 1008 Specification sheet

Lightolier

Lightolier Lytecaster Recessed Downlighting 1008 Specification sheet

Cool Air S24 Operation and maintenance instructions

Cool Air

Cool Air S24 Operation and maintenance instructions

OFM ORO200 Assembly instructions

OFM

OFM ORO200 Assembly instructions

Thomasville Summer Silhouette 12255-011 Assembly instructions

Thomasville

Thomasville Summer Silhouette 12255-011 Assembly instructions

RSA Lighting LYNX TZ3001 specification

RSA Lighting

RSA Lighting LYNX TZ3001 specification

jokey 11 19122 quick start guide

jokey

jokey 11 19122 quick start guide

Costway KC54473 user manual

Costway

Costway KC54473 user manual

BCP SKY4821 instruction manual

BCP

BCP SKY4821 instruction manual

HJH office THEO I 729450 Assembly instructions

HJH office

HJH office THEO I 729450 Assembly instructions

INTER LINK SAS WESTERLAND 5.2 20 90 14 62 Assembling Instruction

INTER LINK SAS

INTER LINK SAS WESTERLAND 5.2 20 90 14 62 Assembling Instruction

Cooper Lighting Shaper 494-RP SERIES specification

Cooper Lighting

Cooper Lighting Shaper 494-RP SERIES specification

Polini kids MARVEL 3295 manual

Polini kids

Polini kids MARVEL 3295 manual

Furniture of America CM-AC566 Assembly instructions

Furniture of America

Furniture of America CM-AC566 Assembly instructions

manuals.online logo
manuals.online logoBrands
  • About & Mission
  • Contact us
  • Privacy Policy
  • Terms and Conditions

Copyright 2025 Manuals.Online. All Rights Reserved.