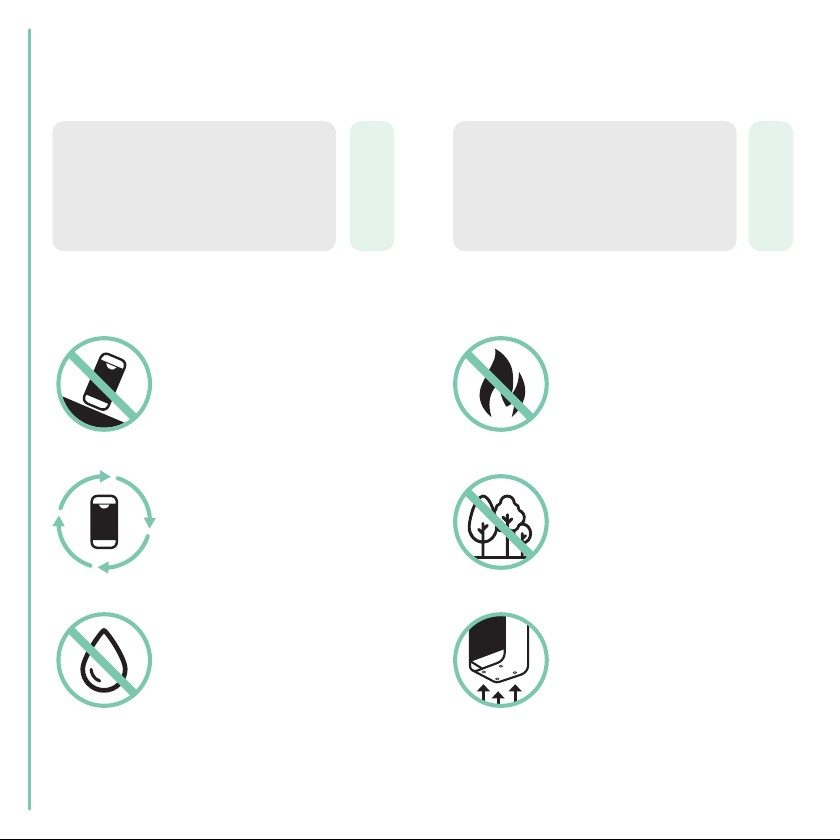
One Life X User manual


2
© 2022 OneLife.eco Inc. / OneLife GmbH
prior approval.
regulatory standards.
Languages
Deutsch

Online User Manual

4
Table of contents
Handling
App Installation
Add-On
Care Instructions
Troubleshooting
Warranty
Compliance
Disposal
5
8
11
14
18
20
25

5
Important! Read carefully before use or maintenance and keep for future reference.
This appliance is not intended for use by persons (including children) with reduced physical,
sensory or mental capabilities, or lack of experience and knowledge, unless they have been
given supervision or instruction concerning use of the appliance by a person responsible for
their safety.
Safety Instructions
Electrical Safety
• Do not use a damaged power plug or loose electrical outlet.
• Do not move the product by pulling the power cord.
• To prevent the power cord from being damaged or deformed, do not forcibly bend it or run it
• Do not plug in and unplug the power plug repeatedly.
• Unplug the appliance before repair, inspection or parts replacement.
• Remove any dust or water from the power plug.
• Unplug the appliance if it is not to be used for a long time.
• If the power cord is damaged, it must be replaced by the manufacturer, its service agent or
•
• This product shall only be used together with the included power supply unit.
• If any part is damaged, the product should not be used.

6
Installation Safety
Operational Safety
• The product is only intended for household use under normal operating conditions.
•
• Do not use the product in wet environments or in environments with high humidity, such as
the bathroom or in a room with great variations in temperature.
• This product is not a substitute for proper ventilation, regular vacuum cleaning or the
functionality of an extractor hood or fan while cooking.
•
•
•
stored.
•
• Install the product so that no obstacles around the product block the circulation of air.
•
• Do not disassemble, repair or modify the product.
• Unplug the product before you clean it.
•
•
•
• Product performance may otherwise deteriorate.
•
product malfunction.

7
Operational Safety
• The device occasionally might produce noises similar to cracking. This happens when large
•
remove the power plug from the electrical outlet and call our Customer support.
•

8
Make sure to place the unit
only on even surfaces and limit
the risk of knocking over by any
person or pet in the household.
Do not place the unit near
excessive heat sources,
or ovens.
Do not place the unit
outdoors.
1
1
1
2
1
1
4
1
Place the unit in a location
where air can circulate freely in
and out the unit with a distance
areas, such as bathrooms or
laundry rooms where it may
come into contact with water.
Place the non-slip dots on
placed on a sensitive surface
or is moved around a lot.
Contents of delivery
Placement
OneLife X
Power Cord
Textile Covers
User Manual

9
Main Body
Top Grid
Display Panel
Textile Cover
Plug-in Connection
1.
2.
3.
4.
5.
6.
7.
8.
9.
10.
21 7
103 5 84 6 9
Overview

10
Remove the Top Grid
by pulling the handle in
the center.
Connect the power
cable to the connector
at the back and plug in
the power supply.
Place the Top Grid back
on and tilt the Main
Body in place.
2
54
Protection in front of
3
6
Tilt the Main Body to
the front.
1
First steps

11
By pushing the
modes in the same order
In Automatic Mode the OneLife X
the current air quality. At night the device
automatically runs at reduced fan speed.
In Boost Mode the OneLife X
runs at full fan speed.
at low fan speed to make sure it is
whisper silent while you are asleep.
Modes
the icons show which
mode is currently active. The
is turned on and indicates the cur-
rent air quality with its color.
LED lights
On Auto Boost
Display Panel

12
good
moderate
critical
bad
Explanation of the LEDs
-
reduced fan speed to make sure the device runs silently while you are asleep.
LED brightness
Explanation of the LED colors
hazardous

13
the device if it was connected before.
“Care” > “Washing the Filter Unit”.
To connect your OneLife X with your OneLife app, you
connection process on the following page. When the
automatically switches back to displaying the current
air quality. The Pairing Mode can not be used when the
Top Grid / Axial Fan
Filter LED
Pairing Mode
inserted / inserted incorrectly or the fan is blocked.
Explanation of the LEDs

14
instructions on the
app to connect your
Activate Bluetooth on
your smartphone to
allow the devices to
connect.
Mode is now active.
31 2
APP
App Connection
your personal health and conditions and check in on your indoor and outdoor air quality. The
instructions on the app will guide you through the setup process of your OneLife X.
of Apple Inc. Google Play and the Google
Play logo are trademarks of Google LLC.
on the following page.

15
Please note the following instructions to ensure a trouble-free connection of your OneLife X
However, for security reasons, it is recommended to set one of the secure standards in the
APP
WLAN requirements

16
Connection to Alexa
Alexa App from the store
and create or log into an
Alexa account.
1
“OneLife” in the Alexa
App and activate it.
to log on to your OneLife
Okta account to link
the OneLife App to the
Alexa App.
2 3
-
.
As soon as you have completed the three steps below, the OneLife X is connected to your

17
Before you can connect your OneLife X with your Google device, please make sure that you
.
As soon as you have completed the three steps below, the OneLife X is connected to your
In the Google Home App,
go to
.
“OneLife” and activate it.
2
to log on to your OneLife
Okta account to link
the OneLife App to the
Google Home App.
3
Download the Google
Home App from the
store and create or log
into a Google account.
1
Connection to Google Assistant
HeyGoogle
works with

18
Placement of the Activated Carbon Filter
unplug it before mainte-
nance.
1
Tilt the Main Body to
the front.
Remove the Top Grid
from the device and
2 3
Top Grid by using the
guidance ribs.
Place the Top Grid back
on top of the Main
Body before switching
on the device.
4 5

19
Gently pull the Textile
This works for the front
and back side.
Grab the upper or lower
corners of the Textile
Cover.
21
gently push the Textile
Cover onto the device
until the hooks snap in.
To assure the Textile
slightly push the sides of
the Textile Cover again.
1 2 3
Use the eight snap hooks
to position the Textile
Cover. This also works for
the front and back side.
Removing and Replacing the Textile Cover

20
Filter Unit
Fan Grid
Ionizer
Take good care of your OneLife X to ensure that it delivers optimal performance.
Before cleaning the unit or removing any parts, always follow the steps
described on the following pages.
every three months, depending on the degree of pollution.
placed on the ground or if you have pets, it might have to be cleaned
more frequently.
carefully every six months to guarantee the highest possible
Care Instructions
Table of contents
Languages: