10
3.3. Connected Operations
Digipass 795 can receive commands when connected to a computer. Digipass Native Bridge software
creates a secure, encrypted communication channel between the authenticator and a remote
authentication service. The remote service can make calls to get information from the authenticator
device or ask user to perform actions, like validate a transaction or authorize a login request.
Follow your service providers instructions for using their service or web portal. When prompted to
use your authenticator device, connect it to the computer and follow onscreen guidance on the
device.
3.4. Unconnected Operations
Digipass 795 can be used to perform one-time password generation, challenge & response, or data
signing operations without connection to a computer if the service operator has configured and
enabled these functions.
Select the operation you want to perform from the main menu and follow the onscreen guidance on
device. Enter the generated response code on your service provider’s service.
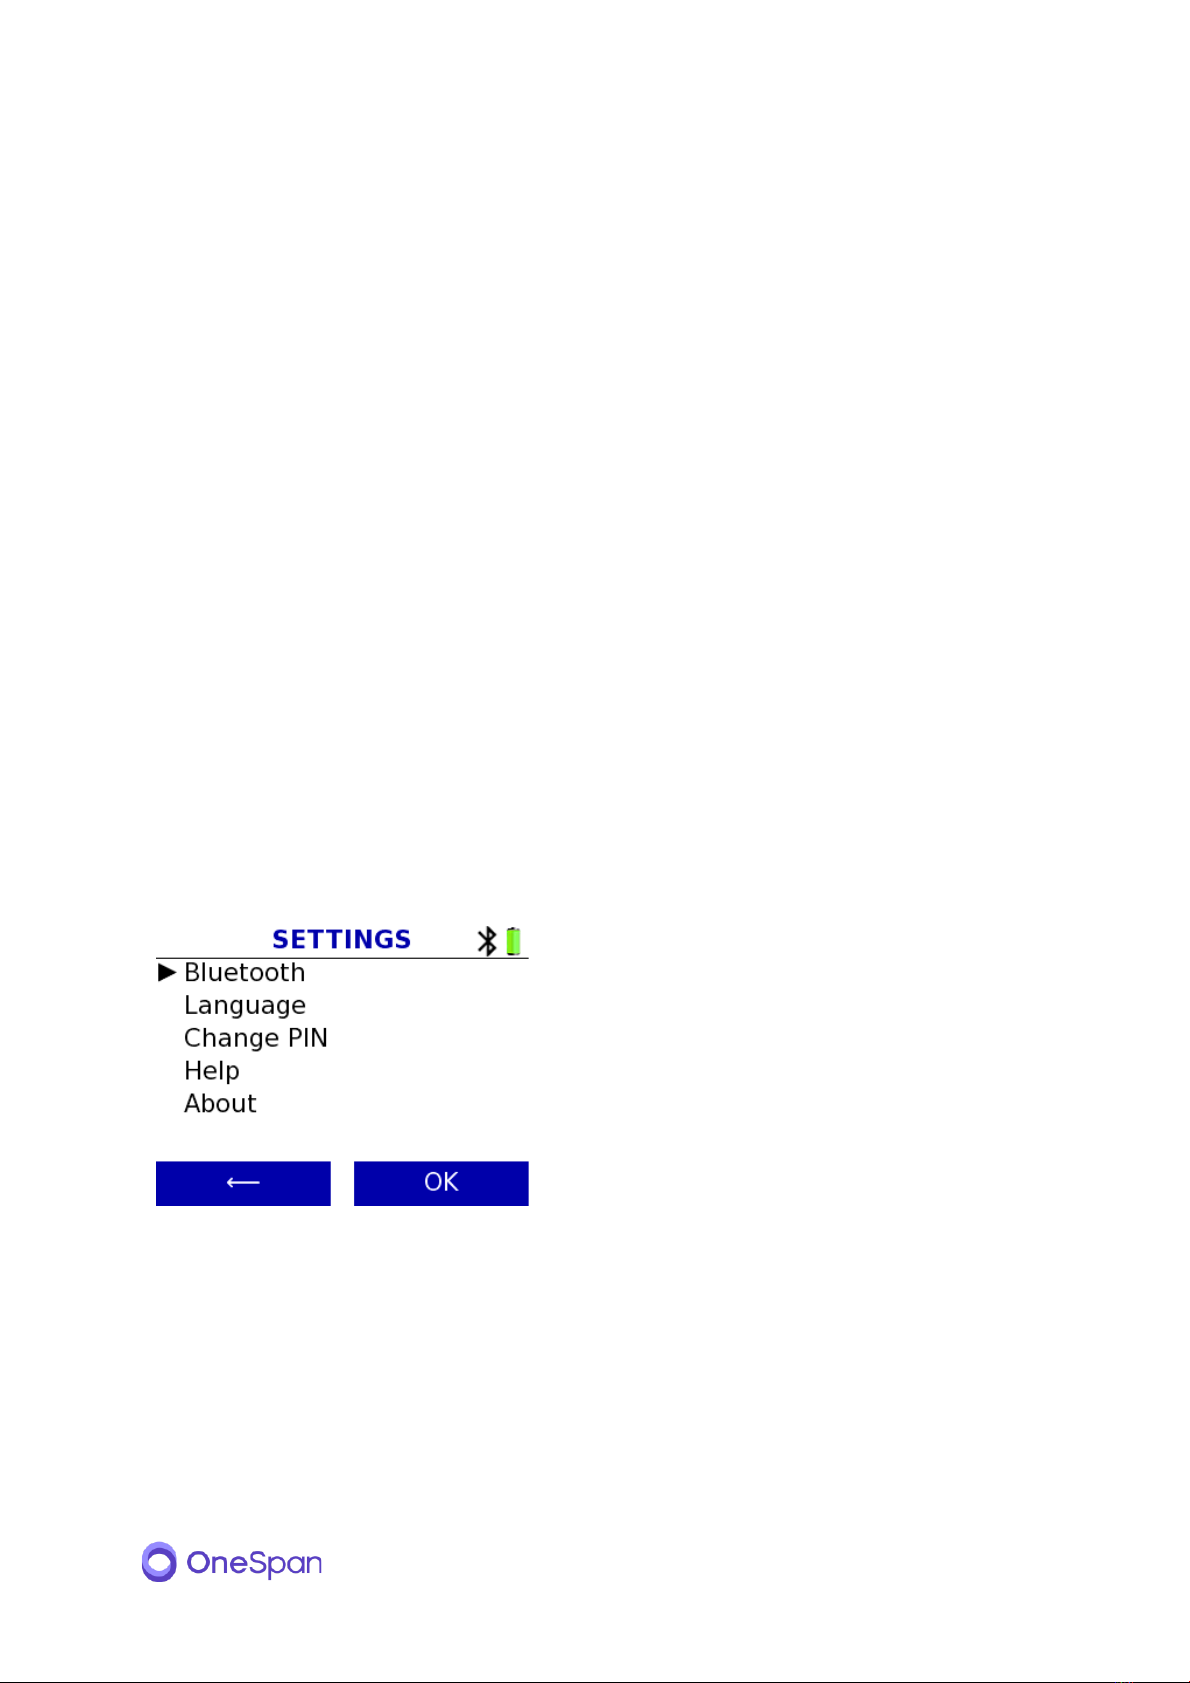
3.5. Changing Settings
Access settings menu from the main screen. Main screen is shown after power on and can be
returned to by pressing the home button.
If the authenticator device has multiple languages
available, use the ‘Language’ menu to select a different
language. The selected language will then be used also
next time the device is powered on.
If setting a PIN code on the authenticator device has
been enabled by the service provider and a PIN code
has been set, then ‘Change PIN’ can be used to set a
new PIN code.
‘Help’ menu entry will show instructions or help information provided by the service operator.
‘About’ shows basic information about the authenticator device and its software version.