Oprema BERG MW 2 User manual

USER MANUAL
Mulled Wine BERG MW 2
EN
Oprema d.d.
Gospodarska 5
42230 Ludbreg
Hrvatska / Croatia
+385 42 819 183
E-mail: info@oprema.com
Web: www.oprema.com
Original instructions v1.1 (03/2019)
Code 699206
Catering equipment

Introduction
EN
SIGNS USED IN MANUAL
Points out, on or around device, direct danger for life or serious injuries for user and
generally persons in the area; great attention and work with caution are needed.
Points out, on or around device, potential risk of serious injury for user and generally
persons in the area, great attention and work with caution are needed.
Points out that device is under voltage. Before any work always unplug the device from
electrical installation to prevent damages and injuries.
Contains information that helps ensure correct performance of device
This manual refers to the standard versions of devices. Nonstandard devices can
have minor differences which are not described in this Manual.
This manual contains instructions for installation, usage and handling with device. It is a
part of the unit, it has to be stored close to device and it helps technical staff during every
movement or installation of device. Before installation and usage of unit, please read
carefully this manual containing all necessary information to ensure correct and safe
installation.
USER INSTRUCTIONS
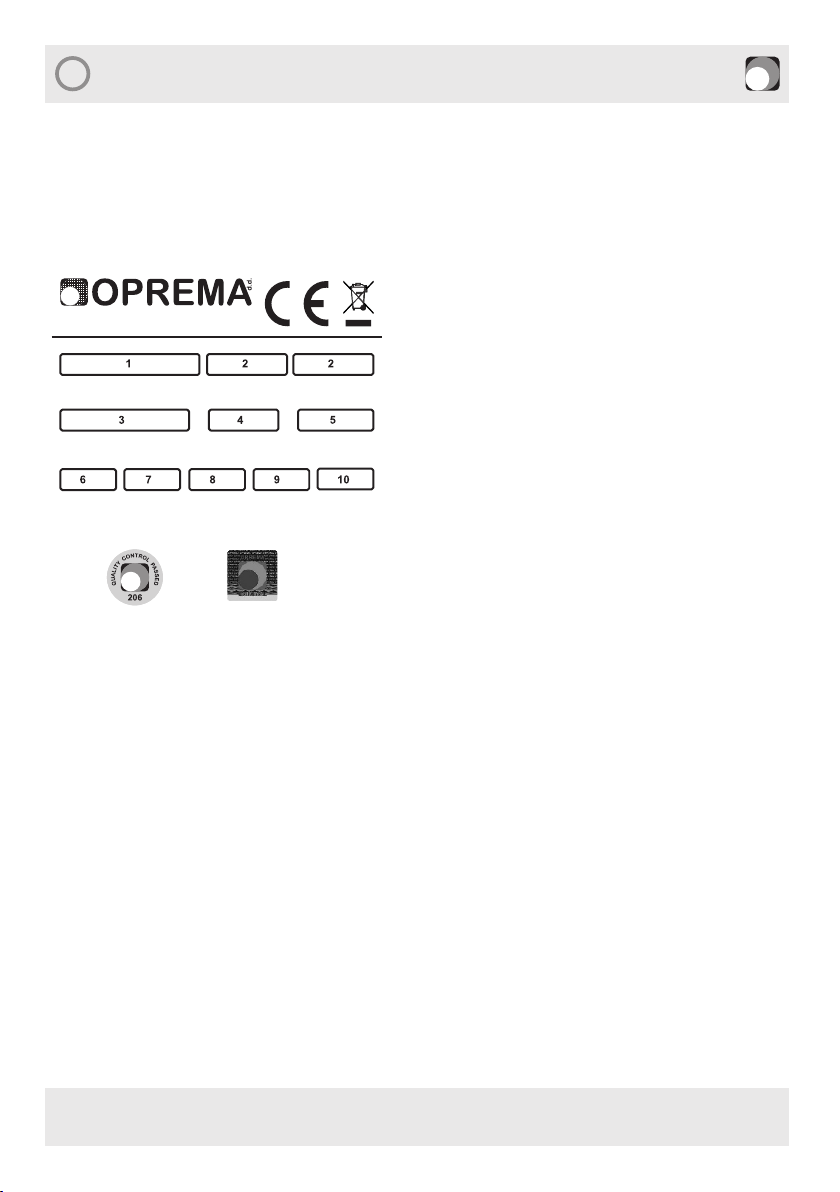
REGULATORY COMPLIANCE
Company Oprema d.d. is manufacturer of professional cooling units for catering, with
special accent on cooling units for cooling and dispensing beer, juices, wine, water and
sparkling water. Quality, environment, health protection, work safety
management policy, product safety and all components that are in
contact with the beverage is the basic of process management in
Oprema d.d.
!
Danger
!
Danger
!
Danger
Danger
!
Warning
!
Warning
!
Warning
!
Warning
Notes
Notes
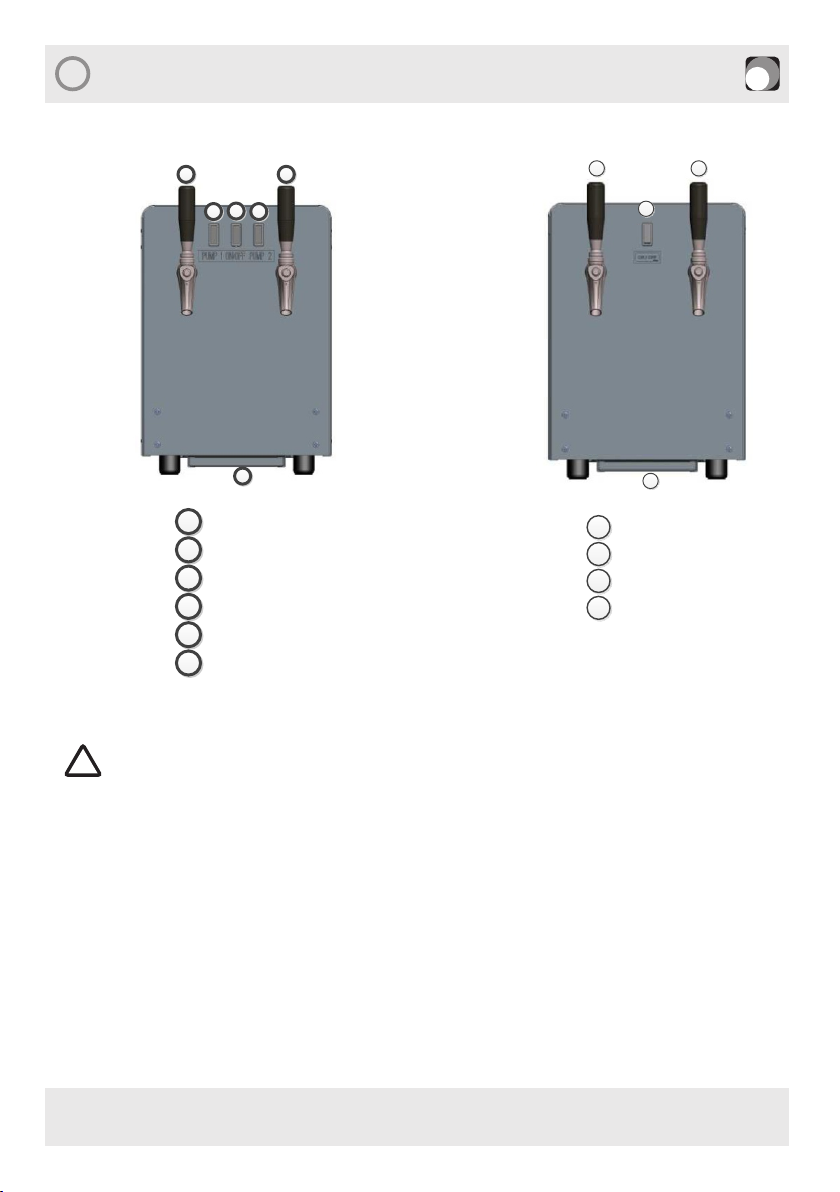
The first installation and commissioning must be carried out exclusively by
specialized and adequately trained staff.
The risk of burns! There is a risk of burns in the area of cooking of cooked
wine!
Dangerous for health! When cleaning equipment is used, observe the
precautionary measures written on the cleaning package.
Build-in safety equipment must never be changed!
Tubes inside the device must not be changed!

<page nr>
General Information
EN
DEVICE MARKS AND CARACTERISTICS
This manual is valid for following :device
BERG MW 2
WARRANTY
Warranty on device is valid for 24month from date of production, except if is not agreed
different by contract. We recommend to save original box, packing material and invoice at
least during the warranty period.
It is important to handle with care during loading and unloading to avoid damage of the
device.
Crane can be used for unit movement only if unit is on pallet.
- DO NOT turn around the unit
- DO NOT shake the unit or complete packing
Unit has to be stored in adjusted and clean space, with temperature between 0-40°C. Do
not store units one on other, and take care to set them in vertical position like marked on
packaging.
TRANSPORT AND STORAGE
TP05-O
Made in Croatia, EU
Oprema d.d. Gospodarska ulica 5
42230 Ludbreg - Croatia
CODE
(V) (Hz) POWER (kW) RUN (A)
CLIMATE CLASS
WEIGHT (kg)
SERIAL N°
TYPE MODEL
1. Type: name of the unit
2. Model: unit model
3. Serial number: serial number of unit
4. Code: unit identification code
5. Climate class: climate class
6. (V): voltage in volts
7. (Hz): frequency in Herz
8. Power: electricity in W during normal work
9. Run: current in Ampers during normal work
10. Weight: weight of unpacked unit in kg
11. Quality control: unit is tested for secure usage
12. Oprema: manufactured in Oprema d.d. (with destroying
and removing this label you lose warranty)
11 12
Every device has its own identification number/code. This number is on the plate / label
“technical data”. Plate/label with technical data is the only way to identify cooling unit;
consists all necessary data about unit which are relevant to the user/service people for
quick and simple identification.

<page nr>
Instalation
EN
Purpose!
The machine is intended for use in catering.
The hot beverage appliance is only approved for the abovementioned range of
applications and is not suitable for heating liquids with high content of alcohol,
chemicals, etc.
PROCEDURE IN CASE OF MALFUNCTION
Warning: - When installing the device, make sure that the power cord is not
wrapped or damaged.
Warning: Do not turn on several portable plugs or power supplies on the back
of the device.
The measured sound level value is below 70dB!
Preventive measures against consequential damage
Each technical device is basically a source of operational risk, especially during
unmonitored operation.
For consequential damages of any kind outside the device, all claims against the
manufacturer and customer service are excluded, unless expressly provided by law
Therefore, we recommend that the owner of the appliance take appropriate measures to
prevent damage, in accordance with the specific local conditions of use and working
conditions.
Most of technical issues can be easily solved by simple procedures. To this purpose we ask
you to read instructions carefully before informing service people or manufacturer. In case
you cannot solve the problem by using instructions from this manual, please contact the
seller from which you bought the unit. Keep units in good condition and do not allow any
modification on it except if they are approved by the producer.
PACKING POSTPONEMENT
When device is unpacked, it is necessary to check if it looks in proper condition
(undamaged visually). In case of any doubt on damage of device within packaging, do not
install and use the device. During packing postponement we ask you to respect local
legislation concerning packing postponement. Do not incinerate packing parts or throw
them to the environment. Packing of this device can be recycled in total. Keep packing
material away from children.
!
Warning
!
Warning

<page nr>
Instalation and Maintenance
EN
1 2
345
6
1
2
3
4
5
6
- dispensing tap 1
- dispensing tap 2
- pump 1 switch
- main switch
- pump 2 switch
- drip tray
1 2
3
4
1
2
3
4
- dispensing tap 1
- dispensing tap 2
- main switch
- drip tray
Mulled wine with pumps. Mulled wine without pump.
In accordance with current regulation, installation and setting has to be done
by authorized and proper technical stuff.
INSTALLATION
!
Warning
1. Connect the device to electrician
2. Turn on the main switch of the device
3. Connect the supply hose to the appliance model (with or without the BIB pump)
4. Switch on pump 1 switch and switch on pump 2- for devices with integrated BIB
pump
5. Open the dispensing tap 1 and dispensing tap 2 - wait for the beverage to start
pouring from the tap
6. Close taps
7. After 5 min, the device is ready for dispense

EN Mount system
Integrated BIB pumps (Bag in Box)

<page nr>
EN Mount system
2 2
Without BIB pumps (Container)

EN Mount system
Integrated BIB pumps (Container)

<page nr>
EN Cleaning and Maintenance
Only qualified stuff can do servicing and maintenance. All electrical and other
parts have to be in accordance with national and local regulations (for
replacement use only original parts). Do not ever use unit which is damaged.
!
Danger
Cleaning
Very important is to keep clean surface around the appliance, taps and drip trays
Daily cleaning
- Wipe down and clean all surfaces with a warm soapy water (no chlorinated
cleaners)
· Exterior surfaces of the system including beneath the unit and the drip tray
- Clean stout faucet nozzles by removing and soaking in sanitizer/cleaner
- Remove and rinse inlet filter
·
Every week
- Clean system following CLEANING PROCEDURE
1. Mix cleaning agent ECOLAB P3-ansep CIP or similar with water (cleaning
agent mixing ratio 2 %).
2. Conncent beverage lines and pump the cleaning solution like normal dispensing.
Open dispensing taps until chemical is visible to go out.
4. Close dispensing taps.
3. Allow chemical to soak for 45 min.
4. Rinse with clear water min. 5 L
5. If possible, check if there is no more cleaning detergent using pH indicator test.
Notes
Notes
Notes
Instructions for the Carel Thermostat are enclosed with this manual.
(Programming page 20.)
The programmed parameters for the Carel Thermostat are enclosed with
this manual.
The Cleaning Sheet and Technical Sheet is provided with this instruction manual.

EN EL. Sheme
PRIKLJUČNI KABEL
TEMPERATURNA
230V, 50Hz
SONDA HT
(PROBE HT)
-U2 CRYDOM
DR22
+3/A1 -4/A2
2/T11/L1 PE
-U3
AC/DC
RHD50W120300
L N
-+
-U4
AC/DC
RHD50W120300
L N
-+
POWER
SUPPLY B1 DI1B2 DI2
GND
AO2 AO4
AO1 AO3
6L54 97N3 11 1221 8 10
13 14 17 18
-U1 CAREL
IR33A7HR20
PE
1
0
1
0
1
0
S1
S2 S3
LN PE
PLA
SME
ŽUT/ZEL
(BN)
(BU)
(GNYE)
-S1
-S2 -S3
PE
WAGO
2-POL
N
WAGO
5-POL
L
WAGO
5-POL
-R1
Grijač
(Heater)
6CRV (RD)7CRV (RD)
2SME (BN)
9PLA (BU)
13 ŽUT/ZEL (GNYE)
-M1
PUMPA
PUMP
M-M2
PUMPA
PUMP
M
10 PLA (BU)
11 PLA (BU)
12 PLA (BU)
4SME (BN)
5SME (BN)
1SME (BN) 3SME (BN)
8PLA (BU)
-S4
Termalna zaštita
(Thermal protection)
CRN(BK)
CRV(RD)

<page nr>
EN EL. Sheme
PRIKLJUČNI KABEL
230V, 50Hz
TEMPERATURNA
(POWER CABLE)
SONDA HT
(PROBE HT)
-U2 CRYDOM
DR22
+3/A1 -4/A2
2/T11/L1 PE
POWER
SUPPLY B1 DI1B2 DI2
GND
AO2 AO4
AO1 AO3
6L54 97N3 11 1221 8 10
13 14 17 18
-U1 CAREL
IR33A7HR20
PE
L N PE
PLA
SME
ŽUT/ZEL
(BN)
(BU)
(GNYE)
-S1
PE
WAGO
2-POL
N
WAGO
3-POL
L
WAGO
3-POL
CRV(RD)
CRN(BK)
-R1
Grijač
(Heater)
4CRV (RD)5CRV (RD)
2SME (BN)
7PLA (BU)
9ŽUT/ZEL (GNYE)
8PLA (BU)
1SME (BN) 3SME (BN)
6PLA (BU)
-S4
Termalna zaštita
(Thermal protection)

Table of contents
Other Oprema Commercial Food Equipment manuals
Popular Commercial Food Equipment manuals by other brands

Electrolux
Electrolux HSG Programming Instruction

Frosty Factory
Frosty Factory 235R Service manual

Antunes
Antunes Egg Station Dual Zone ESDZ-1200 Series owner's manual

Hatco
Hatco SeRv-Rite SRG Series Installation and operating manual

LINKRICH
LINKRICH LR-13A user manual

Henny Penny
Henny Penny LOV 100 Series Guide

Cuppone
Cuppone RND280 quick guide

Groen
Groen NFPC series Operator's manual

INOX-bazis
INOX-bazis POTIS E1 Installation, operating and maintenance instructions

Prince Castle
Prince Castle DHB-BK15 Series Operation manual

Costan
Costan VELVET FROZEN User instructions

Hussmann
Hussmann Q-Series Installation & operation manual