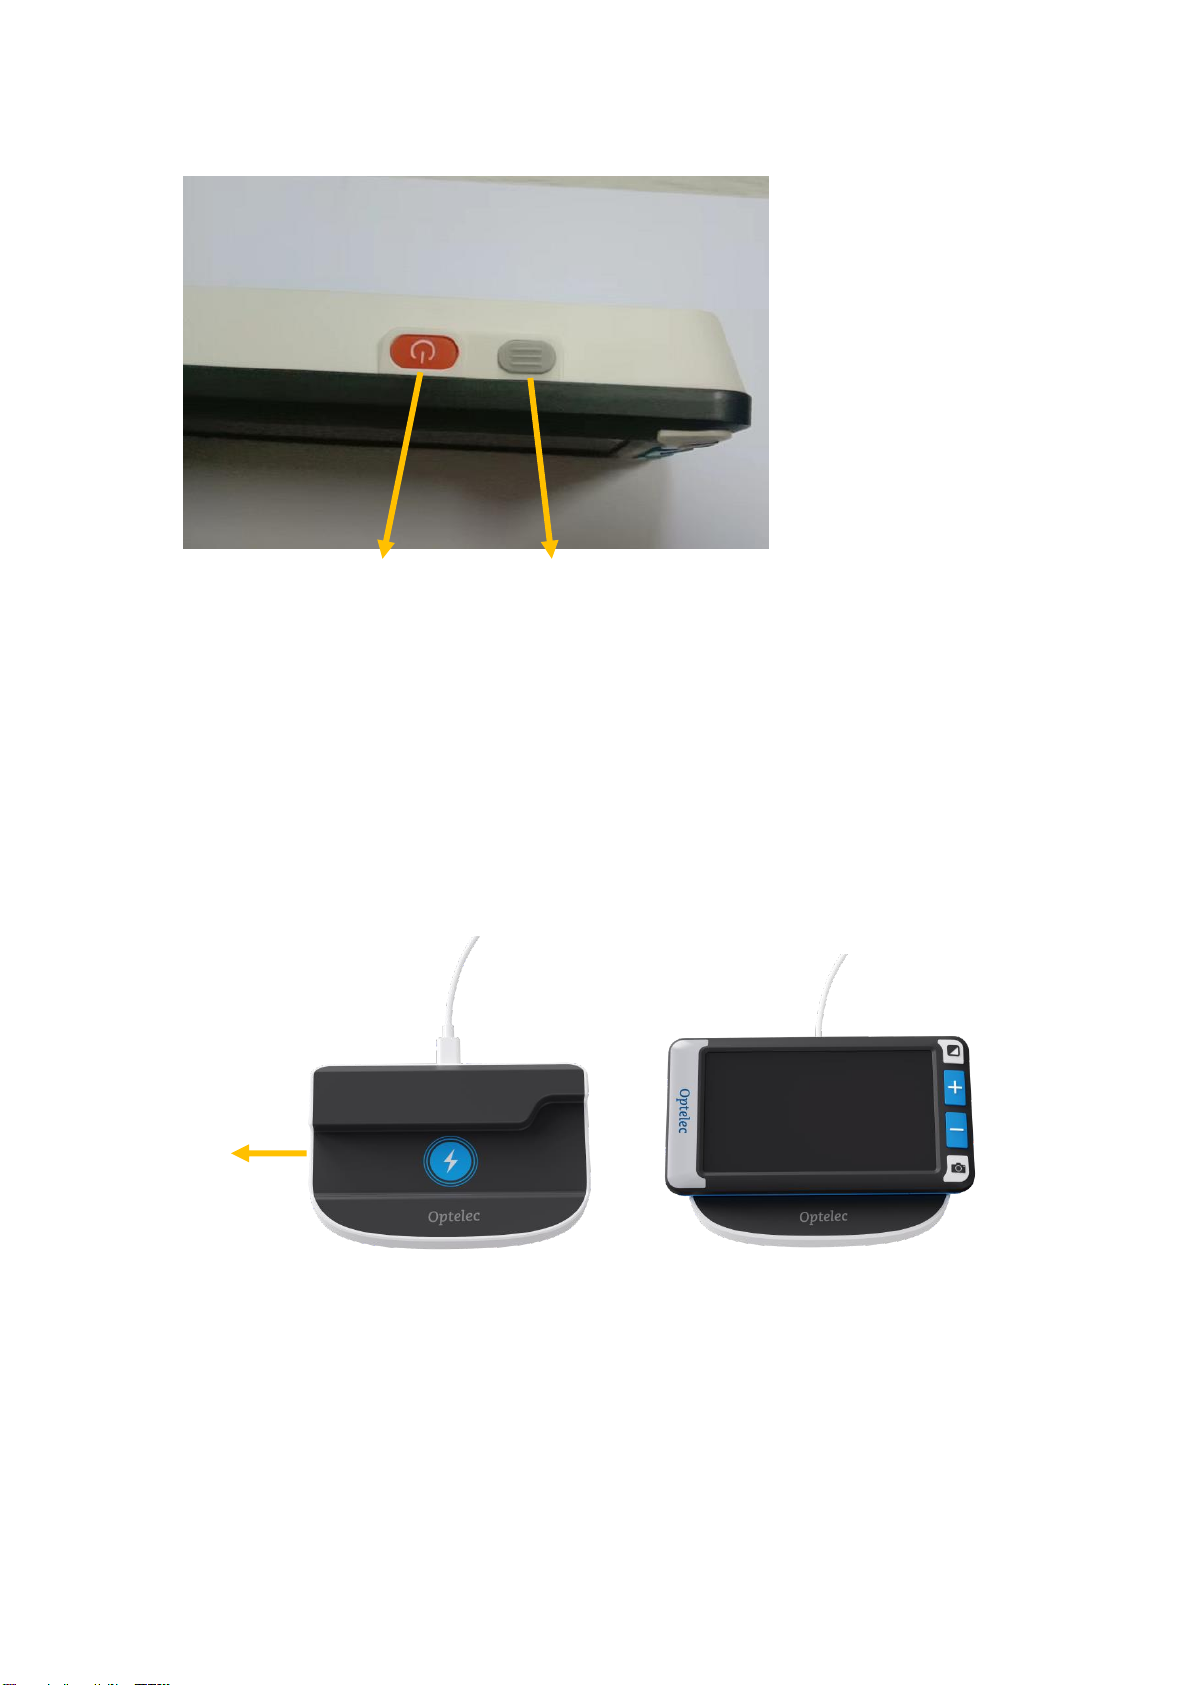
Optelec Compact Go User manual

Page 1/ 9
Use Instruction
FOR
Wireless Charger of Compact Go
IMPORTANT INSTRUCTIONS
When using this product, basic precautions should always be followed,
including the following:
- Read all the instructions before using the product.
- Do not press this product without proper protection, otherwise it may damage
it.
- This product is intended for use in class 2 or LPS circuit in the final products.
- Do not clear this product with wet cloth and the like.
- Do not disassemble or modify this product in any way.
- Do not locate at wet place, always ensure this product is used in a dry
location area.
- For indoor use only.
- To avoid risk of fire, do not expose this product to excessive heat or direct
sunlight.
- Use the product in environments where the temperature is between 10℃
and 35℃.
- To avoid the risk of electrical damage, keep this product away from fluids and
chemicals.
-Always unplug the product before cleaning. Use a cleaning cloth or a soft
damp cloth to clean the exterior. Do not use cleaning agents or abrasive
material, as they will damage this product.
SAVE THESEINSTRUCTIONS
PRODUCT DESCRIPTION
Main Mechine
Proudct name: Wireless Charger of Compact Go
Product model/Type: Wireless Charger of Compact Go
Wireless Output: 5W
Power adapter (Not including with the product)
Input: 100-240V ac. 50/60Hz
Output: DC 5V 3.0A

Page 2/ 9
Max. Operating ambient temperature: 35 °C or higher
Operation altitude: Up to 5000m
LPS output
Approved by IEC 62368-1 & EN 62368-1
GENERAL DESCRIPTION
Mode Button
Zoom In
Zoom Out
Freeze Button
LED Light
LED Light
Camera
HDMI Port
USB-Type C
Charging indicator
Handle

Page 3/ 9
CHARGE THE PRODUCT
The battery MUST be fully charged before FIRST use with the supplied
power adapter. There are two charging methods: wireless charging and
wired charging.
Wireless Charging: Connect the adapter with the wireless charger. Put
Compact go on the wireless charger and make sure the camera is in the
camera slot, and the handle in the handle slot.
Wired Charging: Connect the adapter directly to the Compact go via the
USB-Type C port on the top edge of Compact go.
The power indicator light is flashing green while the device is charging. When
the battery is fully charged, the power indicator light will be constant green.
When the battery is low, the “low battery” icon will be shown on the screen and
Power Button
Home Button
Handle
Slot

Page 4/ 9
then the product will be shut down.
BASIC OPERATION
1. Open the Handle
Swing out the handle clockwise on the back of the Luna 6. Within 0°to 180°,
the handle can stay at any position. Open the handle according to the
illustration in the figure below.
2. Power on/off
Press the Power button for 5 seconds to turn the product on. You can turn
the device off in the same way.
The device will shut down automatically after 3 minutes of inactivity. You
can deactivate this power saving function in System Settings. Please refer to
section “Power Saving” .
3. Zoom Control
Press Zoom in button to increase magnification and press Zoom out button
to decrease magnification.
4. Select Color Mode
The default color mode includes 22 colors: Black yellow, yellow black and
white with black, white/black, black, green, green, black, white, blue, white,
blue, blue, black, blue black, blue and yellow, blue and yellow, red and black,
red and black, black, tan brown black, black, purple, purple, black, red, white,
white with red, black light blue words, Black writing on a light blue background.
You can choose your favorite color mode in the Settings in Main Menu. Please
refer to section “Color Mode”.
5. Freeze
5.1 Freeze an Image

Page 5/ 9
Press the Freeze button to capture an image. Press the Zoom in or Zoom
out buttons to change the magnification level of a frozen image, or Mode
button to change colors.
5.2 Panning
You can use panning function to pan magnified images by moving them
vertically and horizontally across the display area to view specific areas of
the image.
After capturing an image, press the Zoom in button to magnify it. Press and
hold the Home button along with any of the Freeze/Mode/Zoom out/Zoom
in buttons to move the image up/down/left/right respectively. Short press
these buttons to move the image a little bit at a time, or hold the buttons to
pan continuously.
6. Save an Image
Long press the freeze button for 3 seconds to save the frozen image.
If "memory is full" is displayed on the screen, it means the memory is full
and some pictures need to be deleted if you would like to save new ones.
ADVANCED OPERATION
1. Main Menu
In the real-time view, short press Home button to activate the Main Menu.
There are a few options in the Main Menu: Gallery, LED lights, Screen
brightness, Color mode, Reading line and masks, System settings.
To select an option in the menu, move the Zoom in/out button to cycle
through the icons, and press the Mode button to confirm.
Press the Freeze button to go back. Press the Home button to go back to the
real-time view directly.

Page 6/ 9
1.1 LED Lights
Press THE MENU key TO OPEN the main menu, select the light icon, press
the color mode key once to open the light, and press the light again to close it
1.2 Screen Brightness
Choose this option to adjust the screen brightness. In Screen Brightness
setting, press Zoom in/out buttons to change the screen brightness, and
press the Mode button to confirm.
Intensity of Contrast
The crispness of text in high contrast color mode can be affected by the
lighting conditions and the reading material itself. This product enables you to
change the intensity of contrast color to ensure the best reading experience.
In the Intensity of Contrast setting, press Zoom in/out buttons to change the
intensity, and press the Mode button to confirm.
1.3 Reading Line or Masks
In the Reading line or Masks setting, press the Zoom in/out button to cycle
LED Light
Screen Brightness
Intensity of Contrast
Reading Line or Masks
System settings
Intensity of Contrast
Gallery

Page 7/ 9
through five reading lines and masks options. Once it’s done, press the
Freeze button or Home button to exit.
In real-time view, you can also press Zoom in and Zoom out buttons to
activate reading line and masks.
Hold the Home button and press Zoom in/Zoom out button simultaneously
to adjust the line position or the width of reading masks.
1.4 Color Mode
In Color Mode setting, you can hide the high contrast colors you do not use
often.
Press Zoom in/out button to move between the colors. Press the Mode
button to select or deselect a specific color mode. A cross mak on an icon
means the color mode chosen is hidden. Once it’s done, press the Freeze
button or Home button to exit.
1.5 Gallery
In the Gallery , press the Zoom in/out buttons to cycle through the images,
then press the Mode button to confirm and view the image selected.
You can change the color mode by pressing the Mode button, or view details of
the image using panning function.
Press the color mode key to select a picture, and two ICONS will appear on the
screen: Open and delete. Press the + - key to select ICONS, and press the
color mode key to confirm.After deleting the icon, the previous picture will be
hidden and automatically displayed 1 second later.
1.6 System Settings
System Settings is the last option in the Main Menu. It is recommended to
consult your supplier for system settings.
To select an option in the System Settings, move the Zoom in/out button to
cycle through the icons, and press the Mode button to confirm. Press the
Freeze button to go back, or the Home button to exit.

Page 8/ 9
1.6.1 Sound
The sound screen has four options, which are off, low, medium, high, and medium by default.
1.6.2 Firmware Version
This option shows the software version of this product.
1.6.3 Time setting
It can set operation duration through it.
1.6.4 Power Saving
By default, this product will shut down automatically after 3 minutes of
inactivity.
To enable or disable the power saving, use the icon Z under system setings to
choose between 2 options in the Power Saving setting. Once you turn this
function off, this product will keep on until it runs out of battery.
1.6.5 Refresh Rate
To change the refresh rate, choose the 60Hz/50Hz icon (it will display either
60Hz or 50Hz) and press Mode button to enter settings. Press Zoom in/out
button to choose between the 2 options.
Power Saving
Refresh Rate
Restore Factory Settings
Time setting
Firmware Version
Sound

Page 9/ 9
The default refresh rate is 60Hz.
1.6.6 Restore Factory Settings
Use this function to restore the factory settings of this product.
OTHER OPERATION
Connect to TV or Monitor
To view images on a larger screen, use the supplied HDMI cable to connect
this product to an HDMI TV or monitor. For most TVs, it will be necessary
to change the input source to view the image from this proudct. Once
connected, the image from this product will be shown on your TV or monitor.

FCC
statement:
This device complies with Part 15 of the FCC rules. Operation is subject to the
following two conditions: 1) this device may not cause harmful interference, and 2)
this device must accept any interference received, including
interference that may
cause undesired operation.
Note: This equipment has been tested and found to comply with the limits for a Class
B digital device, pursuant to part 15 of the FCC Rules. These limits are designed to
provide reasonable protection against
harmful interference in a residential
installation.
This equipment generates uses and can radiate radio frequency energy and, if not
installed and used in accordance with the instructions, may cause harmful
interference to radio communications. However, there is no guarantee that
interference will not occur in particular installation. If this equipment does cause
harmful interference to radio or television reception, which can be determined by
turning the equipment off and on, the user is encouraged to try
to correct the
interference by one or more of the following measures:
--Reorient or relocate the receiving antenna.
--Increase the separation between the equipment and receiver.
--Connect the equipment into an outlet on a circuit different from that to which the
receiver is connected.
--Consult the dealer or an experienced radio/TV technician for help.
Changes or modifications not expressly approved by the party responsible for
compliance could void the user’s authority to operate the equipment.
Radiation
Exposure Statement
This device complies with FCC RF radiation exposure limits set forth for an
uncontrolled environment. This transmitter must not be co-located or operating in
conjunction with any other antenna or transmitter. During the operation of device a
distance of 15 cm surrounding the device and 20 cm above the top surface of
thedevice
must be respected.

This device contains licence-exempt transmitter(s)/receiver(s) that comply
with Innovation, Science and Economic Development Canada’s licenceexempt RSS(s). Operation is
subject to the following two conditions:
1. This device may not cause interference.
2. This device must accept any interference, including interference that
may cause undesired operation of the device.
Cet appareil contient des émetteurs/récepteurs exempts de licence qui sont conformes aux RSS
sans licence d'Innovation, Sciences et Développement économique Canada.
L'exploitation est soumise aux deux conditions suivantes :
1. Cet appareil ne doit pas provoquer d'interférences.
2. Cet appareil doit accepter toute interférence, y compris les interférences qui
peut entraîner un fonctionnement indésirable de l'appareil.
This equipment complies with Canada radiation exposure limits set forth
for an uncontrolled environment.
During the operation of device a distance of 10 cm surrounding the
device and 10 cm above the top surface of the device must be
respected.
Cet équipement est conforme Canada limites d'exposition aux radiations
dans un environnement non contrôlé.
au cours de l'opération de l'appareil sur une distance de 10 cm autour de
l'appareil et de 10 cm au - dessus de la surface supérieure de l'appareil
doit être respecté.
Table of contents