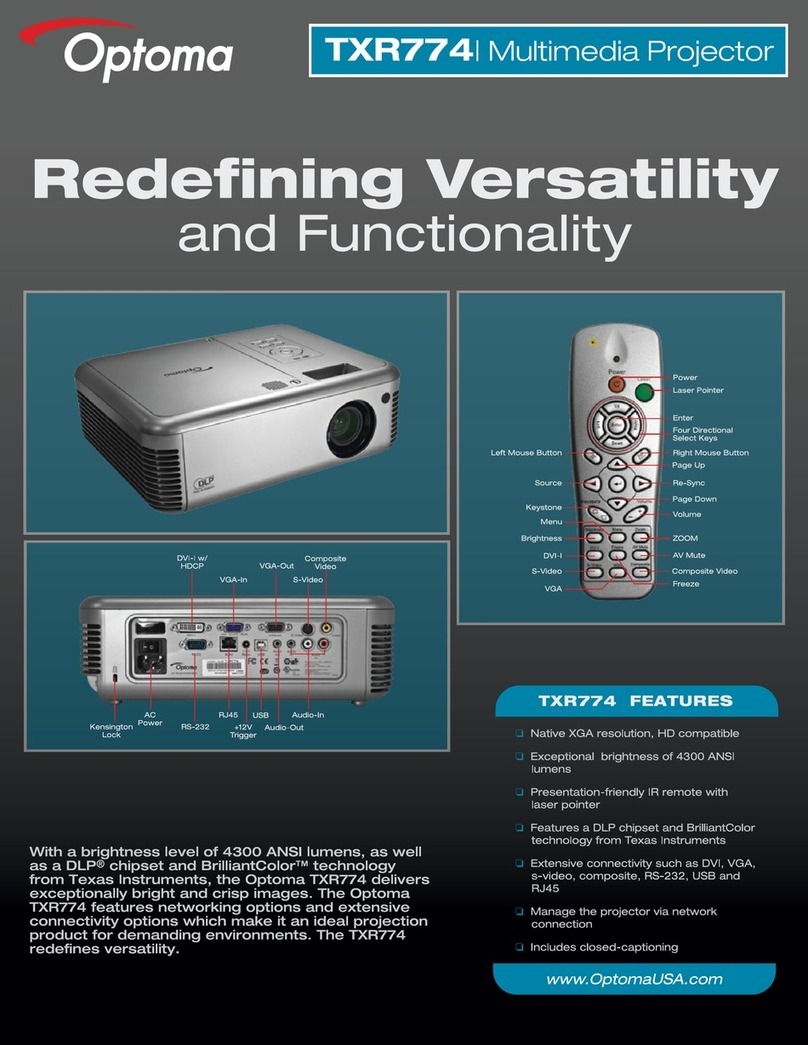
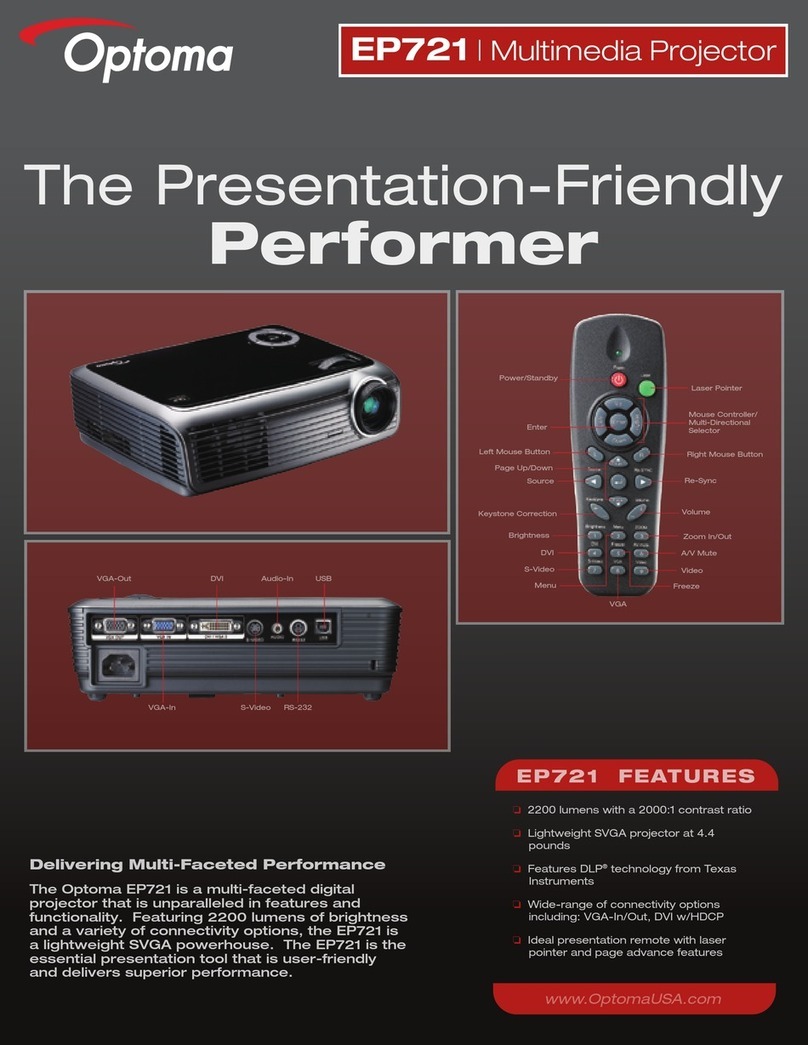
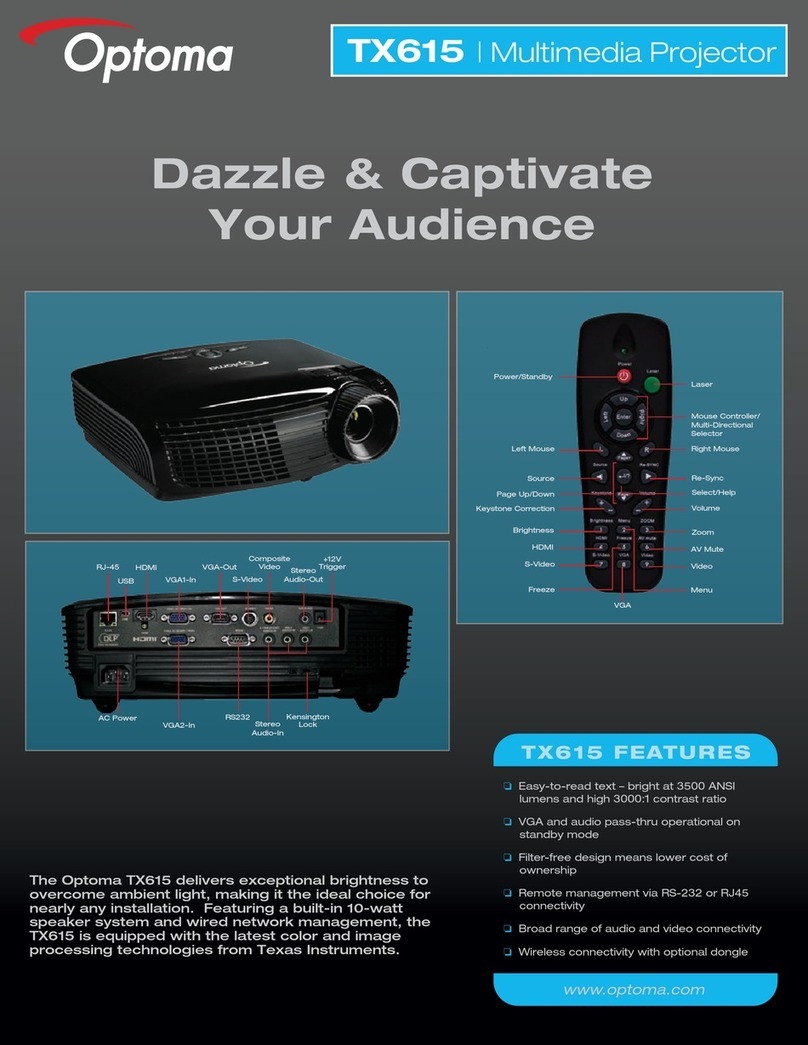
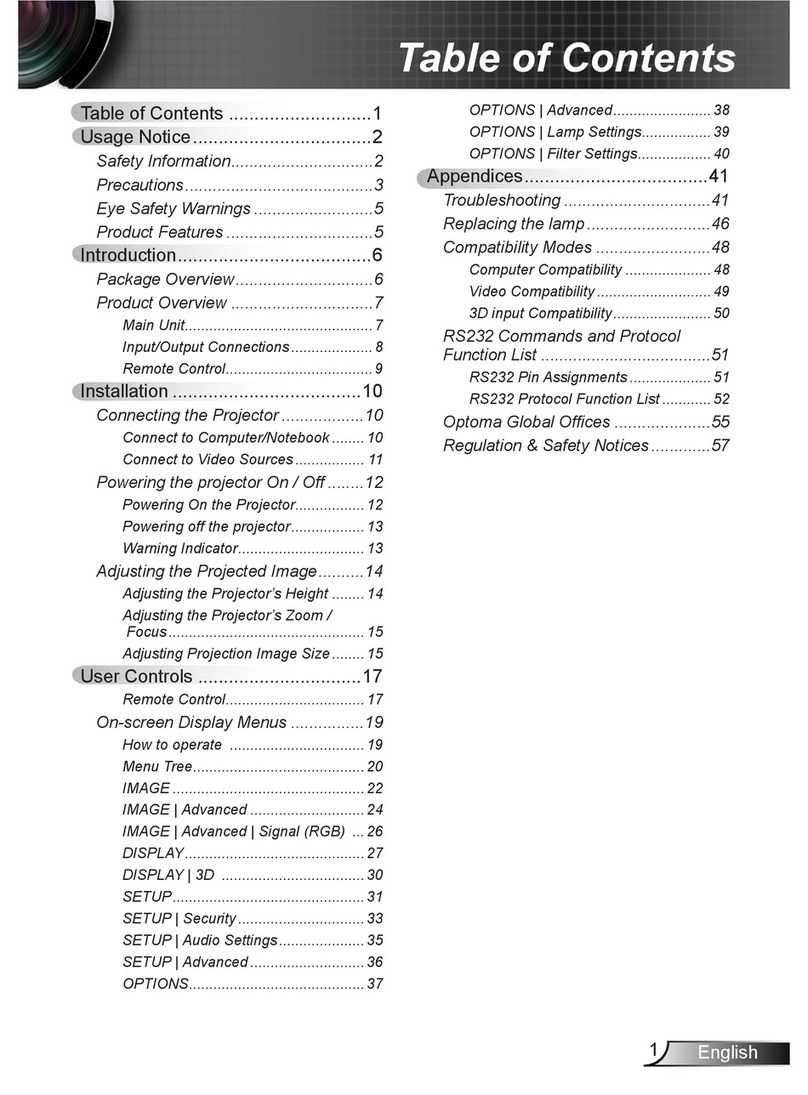
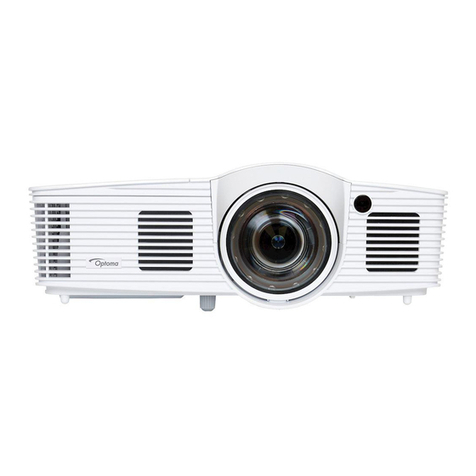
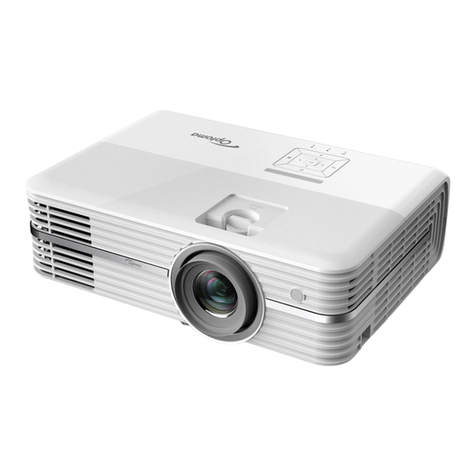
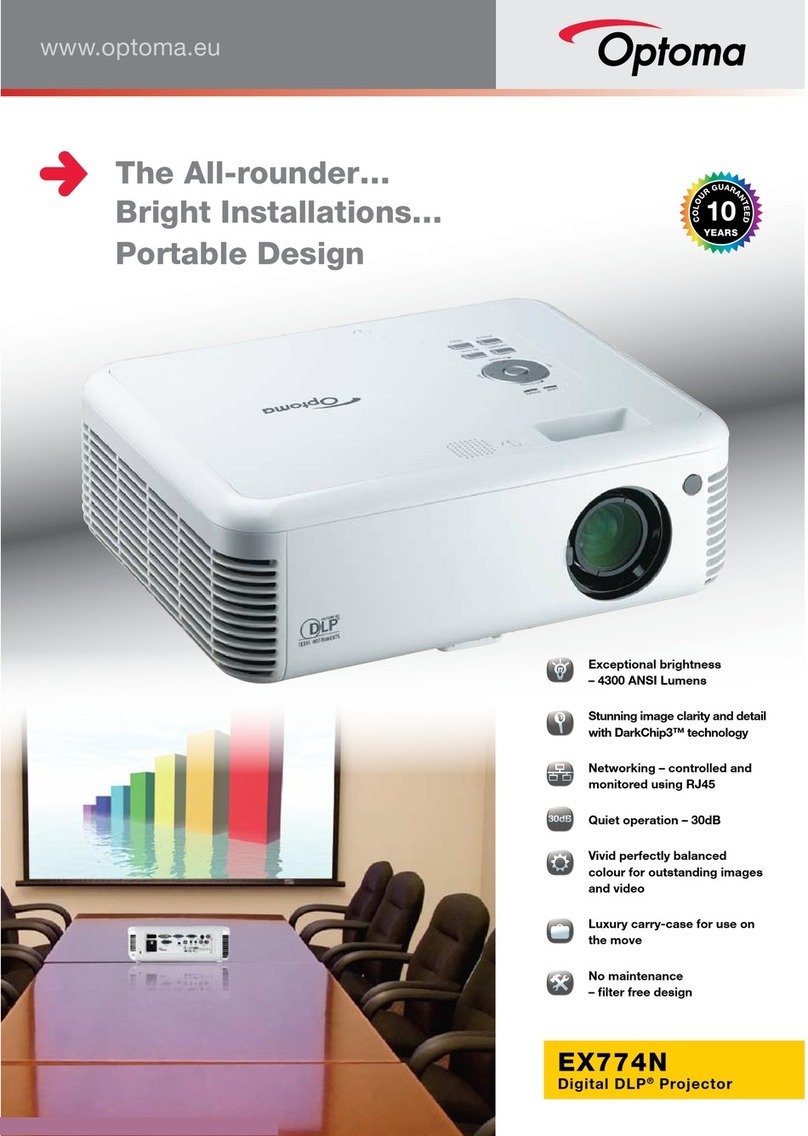
Optoma EH1020 User manual

SERVICE MANUAL
Prepared: Check: Approved:
Date Revise Version Description
2010.6.7 V1.0 Separate from Optoma HD20_HD200X_HD2200_HD20_HD200X_HD2200_
EH1020 V4.0 (DDP 3021, 36.8EG08G001) ServiceV4.0 (DDP 3021, 36.8EG08G001) Service
Manual
EH1020
Copyright June, 2010. All Rights Reserved

Condential
EH1020
Preface
This manual is applied to EH1020 projection system. The manual gives you a brief
description of basic technical information to help in service and maintain the product.
Your customers will appreciate the quick response time when you immediately identify
problems that occur with our products. We expect your customers will appreciate the
service that you offer them.
This manual is for technicians and people who have an electronic background. Please
send the product back to the distributor for repairing and do not attempt to do anything that
is complex or is not mentioned in the troubleshooting.
Notice:
The information found in this manual is subject to change without prior notice. Any
subsequent changes made to the data herein will be incorporated in future edition.
EH1020 Service Manual
Copyright June, 2010.
All Rights Reserved
Manual Version 1.0
i

EH1020 Condential
Table of Content
Chapter 1 Introduction
Highlight 1-1
Compatible Mode 1-2
Chapter 2 Disassembly Process
Equipment Needed & Product Overview 2-1
Repair notice 2-2
Disassemble Focus Ring 2-2
Disassemble Top Cover Module 2-2
Disassemble Main Board Module 2-2
Rod Adjustment 2-3
Re-write Lamp Usage Hour 2-4
Chapter 3 Troubleshooting
LED Lighting Message 3-1
Main Procedure 3-2
Chapter 4 Function Test & Alignment Procedure
Service Mode Instruction 4-1
Fan Speed Saving 4-2
Calibration 4-3
PC Mode 4-4
Optical Performance Measure 4-5
Test Inspection Procedure 4-6
Chapter 5 Firmware Upgrade
Section 1: Firmware Upgrade Procedure 5-1
iii

Condential
EH1020
Equipment Needed 5-1
Setup Procedure 5-1
Install USB Driver 5-1
Firmware Version Check 5-1
Section 2: 8051 Firmware Upgrade Procedure 5-2
Equipment Needed 5-2
8051 Firmware Upgrade Procedure Note 5-2
Chapter 6 EDID Upgrade
EDID Upgrade Procedure 6-1
Appendix A Exploded Image 1
Appendix B Serial Number Denition 19
PCBA Code Denition 20
iv

EH1020 1-1
Chapter 1
Introduction
1-1 Highlight
No
1
2
•
10
11
12

EH1020 1-2
HD
1-2 Compatible Mode
Computer Compatibility

EH1020
Power Book G4
HD
iMAC

EH1020 Condential 2-1
Chapter 2
Disassembly Process
2-1 Equipment Needed & Product Overview
(This section links to common service manual CH2)
1. Screw Bit (+): 105
2. Screw Bit (+): 107
3. Screw Bit (-): 107
4. Hex Sleeves 5 mm
5. Tweezers
6. Projector
* Before you start: This process is protective level II. Operators should wear electrostatic chains.
* Note: - If you need to replace the Main Board, you have to record the Lamp Usage Hour.

EH1020 Condential 2-2
2-2 Repair notice
2-2-1 Disassemble Focus
Ring
1. Rotate the Focus Ring clockwise until
you cannot rotate any more (as red
arrow direction).
2. Pull out the Focus Ring.
Note: - When you assemble the Focus Ring,
ensure the 3 card slot (as green square)
placed in the 3 double-screw bolt (as
yellow circle) properly, and the Focus
Ring can be well adjusted.
2-2-2 Disassemble Top
Cover Module
1. Unscrew 2 screws (as red circle) from the
Bottom Cover.
2. Press two sides of the projector as the
blue arrows point.
3. Remove the Top Cover Module.

EH1020 Condential 2-3
Note: - When you remove the Top Cover,
take care the connector (as yellow
square) of FPC cable which connect
Main Board and Keypad Board Module,
then unplug it from Keypad Board
Module.
- Avoid damaging by pulling keypad FPC
cable.
- Make sure the FPC cable plug into the
correct ports when assembling it.
2-2-3 Disassemble Main
Board
1.Please refer to the below table details of
each connector on Main Board.
A
BC
DE
E
F

EH1020 Condential 2-4
Item Male Connector
on Main Board The key feature Figure
ASpeaker Compose of Red/Black Wire and
Black wire tube (2 pin)
B Lamp Driver Black wire tube (5 pin)
CSystem Fan Compose of Red/Yellow/Black
Wire (3 pin)
D Photo Sensor Compose of Red/Black/White
Wire and Black wire tube (3 pin)
EBlower Compose of Black/Yellow/Red
Wire and Blue wire tube (3 pin)
FIR Compose of Black/Yellow/Red
Wire and Gray wire tube (3 pin)

EH1020 Condential 2-5
Z type driver
2-3 Rod Adjustment
1. Environment Adjustment
- The distance between the engine and
the screen is 1.95 M.
- This process should be done at a dark
environment (under 10 Lux).
2. Procedure Adjustment
- Change the screen to "white screen".
- Adjust the screws by using the rod
on the engine module to readjust the
image.
("screw 1" should be adjusted rst, and
then "screw 2". Adjust until the yellowish
or bluish parts disappeared.)
3. Abnormal image inspection
- It should not have any abnormal color
at the rim of the image by estimating
through the eyes.
Note: - To avoid over adjusting the rod.
- After the opreation, please use the glue
to x the screws.
- Please use Z type driver to adjust Rod
screw 1.
Screw 1
Screw 2

EH1020 Condential 2-6
2-4 Re-write Lamp Usage
Hour
1. Get into Service Mode
- Press "Power", "Left", "Left" and "Menu"
buttons sequentially to get into Service
Mode 1.
2. Re-write Lamp Hours (Normal)
- Use "up" or "down" buttons to select
"Lamp Hours (Normal)", then use "left"
or "right" buttons to re-write the Lamp
Hours.
3. Re-write Lamp Hours (ECO)
- The way of re-write "Lamp Hours (ECO)"
is the same as "Lamp Hours (Normal)".
4. Exit Service Mode
- Use "up" or "down" buttons to select
"Exit", then press "Enter" to exit the
Service Mode 1.
Note: left key = decrease lamp hour
right key =increase lamp hour

EH1020 Condential 3-1
Chapter 3
Trobleshooting
3-1 LED Lighting Message
Message ON/STANDBY LED
(Green/Amber)
Temp LED
(Red)
Lamp Led
(Red)
Standby State
(input power cord) Amber Ο Ο
Power on (Warming) Flashing Green Ο Ο
Lamp lighting Green Ο Ο
Power off (Cooling) Flashing Green Ο Ο
Error (Over Temp) Flashing Amber ☼Ο
Error (Fan fail) Flashing Amber Flashing Ο
Error (Lamp fail) Flashing Amber Ο☼
Note: * Steady light =>
☼,
No light =>
Ο
* ON/STANDBY LED be ON when OSD appears, be OFF when OSD disappears.

EH1020 Condential 3-2
3-2 Main Procedure
The other troubleshooting procedures please refer to common service manual
3-1.
No Symptom Procedure
1Auto Shut Down
- Check LED Status
a.
Over Temp: ON/STANDBY LED ashes amber, Temp LED
lights on red
- Check Fan
- Check Thermal Switch- Check Thermal Switch
- Check Main Board
b.
Fan fail: ON/STANDBY LEDON/STANDBY LED ashes amber, Temp LED
ashes red
- Check Fan
- Check Main Board
c.
Lamp fail: ON/STANDBY LED: ON/STANDBY LED ashes amber, Lamp LED
lights on red
- Check Lamp
- Check Lamp Driver
- Check Color Wheel
- Check Photo Sensor
- Check Main Board

EH1020 Condential 4-1
Chapter 4
Function Test & Alignment Procedure
4-1 Service Mode Instruction (This section links to common
service manual 4-2 Service Mode)
1. Turn on the projector.
2. (1) Press "Power ->Left ->Left ->Menu" button sequentially to get into factory mode 1
(2) Press "Power ->Left ->Up -> Down" button sequentially to get into factory mode 2
3. Factory mode will be shown. After conrming the conguration, press "Exit" to exit.
Order Symptom Pattern Criteria
1Bright pixes Gray 10 pattern A+B=0
2Dark pixels White pattern
A=0
B≤2
3Unstable pixels Any pattern A+B=0
4Adjacent pixels Any pattern A+B=0
5Dark blemish Blue 60 pattern
A=0
B≤4
(diameter<1 inch)
6 Bright blemish Gray 10 pattern
A=0
B≤4
(diameter<1 inch)
7Bright dots on frame Gray 10 pattern ≤1
Defect specication table

EH1020 Condential 4-2
SMPTE BAR
4-2 Fan Speed Saving
To adjust the operation temperature of projector, after replace main
board/blower, you need to do:
1. Hold "Left" then press "Power" button, release "Left" button
until the "Lamp" and "Temp" LED light red at the same time.
2. Press "Power ->Left ->Up -> Down" button sequentially to
get into service mode 2, guarantee that "W-Factory" is greater
than 4650 and the "Calculate W-Factory" should show "Pass",
if not, please follow step1 to do "fan speed saving" again.
4-3 Calibration
1. Video calibration
Procedure - Test equipment: video generator.
- Once formatter board is changed, Video
calibration should be done as well.
(1) Test signal: 720p @ 60HZ
(2) Test Pattern: SMPTE BAR
- Note
(1) Calibration pattern should be in full screen
mode.
(2) Press "Power ->Left ->Left ->Menu"
and choose ‘‘color setting’’.
(3) Choose and get into ‘‘Video Calibration’’,
press “Enter” button to adjust the screen to
its normal status. Choose “Menu” or “Exit” to
leave service mode 1.
Inspection item - Color saturation
Criteria - There should not have any lack of SMPTE BAR.
The color should appear normal and sort in right
order.

Condential 4-3
EH1020
16 Grays
- Color levels should be sufcient and normal.
2. PC calibration
Procedure - Test equipment: video generator
- Once formatter board is changed, PC calibration
should be done as well.
(1) Test signal analog: 800x600@60Hz
(2) Test Pattern: 16 Grays
- Note
(1) Calibration pattern should be in full
screen mode.
(2) Press "Power ->Left ->Left ->Menu"
and choose ‘‘color setting’’.
(3) Choose and get into PC Calibration for correc-
tion in service mode 1. Choose “exit” to leave
the service mode after all.
Inspection item - Color saturation
Criteria - Color levels should be sufcient and normal. (the
unidentied color levels on both left and right
sides should not be over 2 color levels.)
- Gray level should not have abnormal color or
heavy lines.
4-4 PC MODE
For EH1020,the native resolution of test signal is
1920x1080@60HZ. Other contents please refer to common service
manual 4-6.
4-5 Optical Performance Measure
1. Test equipment
Procedure - Press "Power ->Left ->Left ->Menu" to get into
service mode 1.

EH1020 Condential 4-4
4-6 Test Inspection Procedure
Update
Change parts
Main
Board Firmware Color
Wheel
Lamp
Module
Engine
Module Blower
Version Update v v
Color Wheel Index v v
PC
Calibration v
Video
Calibration v
Reset lamp hour v
OSD Reset v v
EDID v
Re-write Lamp Hour
Usage v
Fan Speed Saving v v
Rod adjustment v
- Select “Spoke Test”
2. Brightness
Criteria: 1200 ANSI Lumens
3. Contrast
Criteria: 1500:1
4. Uniformity
Criteria: 70%
Note: - If Color appears abnormal after changing Main Board Module, please do Color Wheel index
adjustment.
- After changing parts, check the information above table.

EH1020 Condential 5-1
Chapter 5
Firmware Upgrade
Section 1: System Firmware Upgrade
(This section links to common service manual 5-2 Pixelworks
for FW Upgrade (USB))
5-1-1 Equipment Needed
Software : (DDP 3021)
- EH1020_FW_xxx
Note: ''xxx'' represent software version.
Hardware :
- projector
- Mini USB cable
- PC or Laptop
- Power Cord (P/N 42.50115G001)
Note: we will show the hot key of fw mode, USB drivver Installe and how to check FW version,the
other contents please refer to common manual 5-2 .
Other manuals for EH1020
6
Table of contents
Other Optoma Projector manuals

Optoma
Optoma ZU720TST User manual

Optoma
Optoma HD66 User manual

Optoma
Optoma HD81-LV Technical manual

Optoma
Optoma TX665UST-3D User manual

Optoma
Optoma TW631-3D User manual

Optoma
Optoma Optoma TX612 Installation manual

Optoma
Optoma DX617 User manual

Optoma
Optoma H76 User manual

Optoma
Optoma ZH506T User manual

Optoma
Optoma TX542-3D User manual

Optoma
Optoma EX330 User manual

Optoma
Optoma HD25-LV User manual

Optoma
Optoma LV130 User manual

Optoma
Optoma EX550 User manual

Optoma
Optoma Optoma TX612 User manual

Optoma
Optoma DS329 User manual

Optoma
Optoma TW615-GOV User manual

Optoma
Optoma DV20 User manual

Optoma
Optoma HD7300 User manual

Optoma
Optoma CinemaX Pro Use and care manual