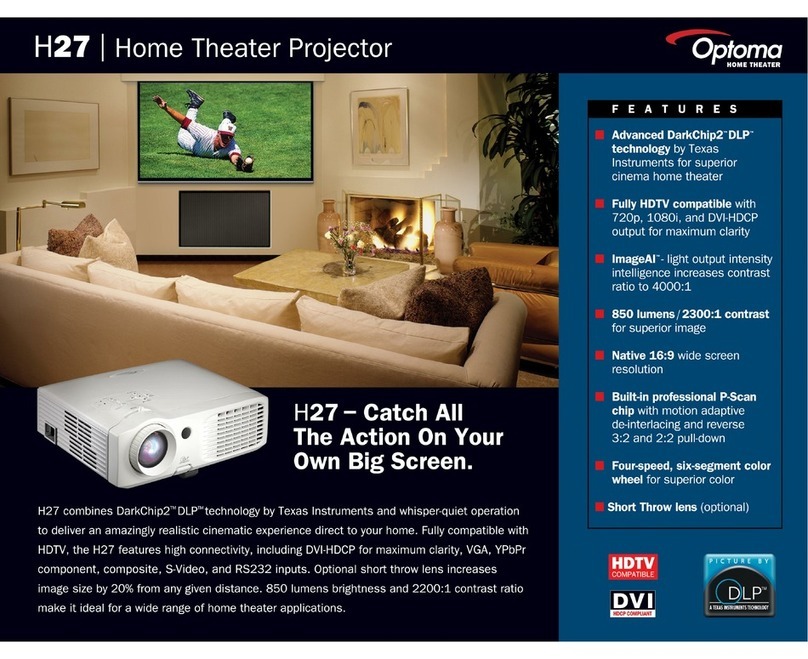
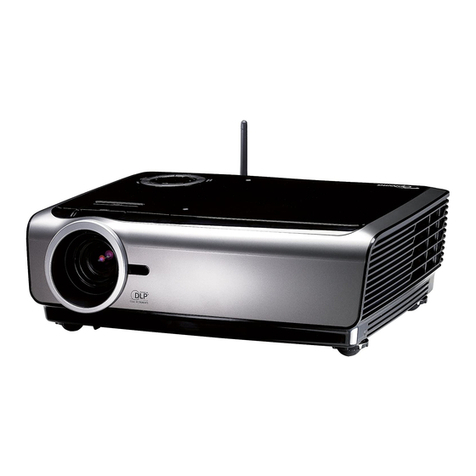
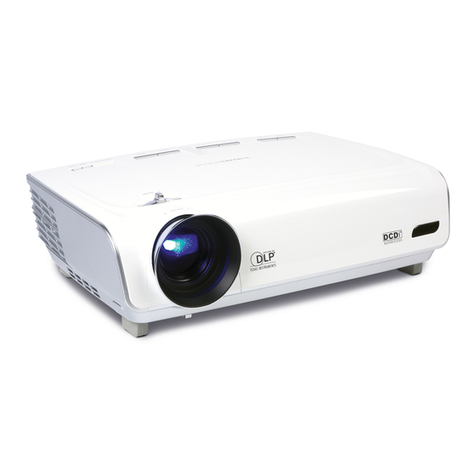
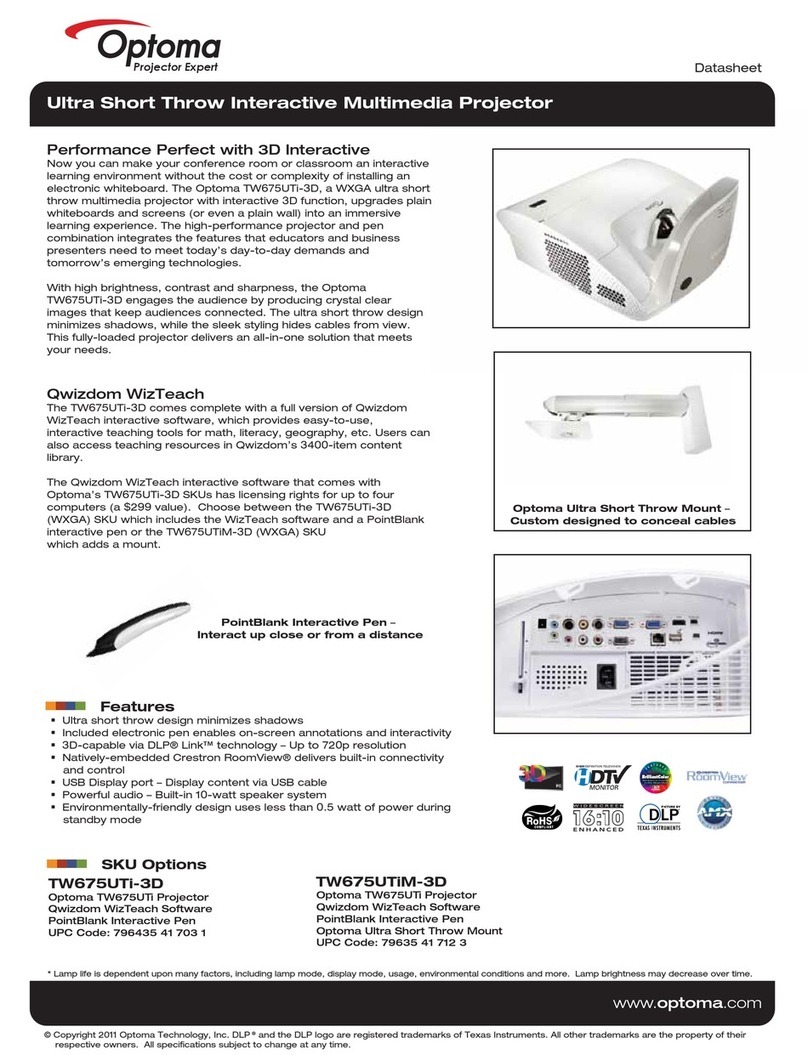
Optoma EP7150 User manual

ModelName:EP7150
SERVICEMANUAL
Date Revise Version Description
2006/8/3 V1.0 Initial Issue
CopyrightAugust, 2006 .All RightsReserved
Prepared bySI:
________________________________________
Prepared byTSE :
________________________________________
Checked by:
________________________________________
Approved by:
________________________________________

EP7150
i
Preface
Thismanualisapplied to EP7150 projection system. Themanualgivesyou abriefdescription ofbasic
technicalinformation to help in service and maintaining theproduct.
Yourcustomerswill appreciatethequick responsetimewhen you immediately identify problemsthatoccur
with ourproducts. We expectyourcustomerswill appreciatetheservice thatyou offerthem.
Thismanualisfortechniciansand peoplewho havean electronicbackground. Send theproductback to
thedistributorforrepairing and do notattemptto do anything thatiscomplex orisnotmentioned in the
troubleshooting.
NOTICE:
Theinformation found in thismanualissubjectto changewithoutpriornotice. Any subsequentchanges
madeto thedataherein will beincorporated in furtheredition.
Copyright2006, August
All RightsReserved
ManualVersion 1.0
Confidential

TableofContents
Chapter1Introduction 1-1
Highlight1-1
CompatibleMode 1-3
Chapter2DisassemblyofProcedure 2-1
EquipmentNeeded 2-1
RemoveLampModule2-2
RemoveTop Cover2-3
RemoveMainBoard2-4
RemoveLeft Cover/Speaker/ElevatorPushButtom2-5
RemoveBallastModule/RightCoverModule/FrontCoverModule2-6
RemoveFanModule/LightCut/ThermalSwitch/ColorWheel/2-7
PhotosensorBoard
RemoveEngine Module2-8
RemoveBlower/DCDC/BottomCoverModule 2-9
Chapter3Troubleshooting 3-1
EquipmentNeeded 3-1
LEDLighting Message 3-1
MainProcedure 3-2
Chapter4Function Testand AlignmentProcedure 4-1
TestEquipmentNeeded 4-1
ServiceMode 4-1
TestCondition 4-2
Inspection Procedure 4-2
Chapter5FirmwareUpgradeProcedure 5-1
EquipmentNeeded 5-1
Installation Procedure 5-2
FirmwareUpgrade Procedure 5-6
EP7150
Confidential

Chapter6EDIDKey-inProcedure 6-1
EquipmentNeeded 6-1
Setup Procedure 6-2
EDIDKey-inProcedure 6-2
AppendixA7-1
Exploded Overview7-1
AppendixB7-28
PCBACodeDefinition 7-28
AppendixC7-29
SerialNumberSystemDefinition 7-29
Reader’s Response 7-30
EP7150ii
Confidential

1-1 EP7150
Condential
Chapter 1
Introduction
1-1 Highlight
No Item Description
1Weight Approx. 2.8 lbs
2 Dimension (W x D x H) 169mm X 216mm X 62mm
3Cooling system Advanced air ow
Three fans with low system acoustic noise level
Temperature control by use of adaptive voltage-con-
trolled fan speeds
Maximum touch temperature follows the UL60950-1
4Connect I/O port - One D-Sub 15-pin female connector for VGA input
- D-Sub 15 VGA (RGB/YPbPr) with SCART/RGB sync
support
- One 3.5 mm phone jack for audio input
- One Mini DIN 4-pin for S-Video Input
- One RCA Jack for Composite Video Input
- One USB type B connector
- Kensington keylock hole
- One inlet vent
5Lamp housing - Lamp could be changed by customer, but should
follow the user manual insturction.
- Replacable Lamp should be provided by Coretronic or
its authouized agencies.
6Tilt angle: - 8 degree with elevator mechanism
7Lamp Door Protection - Lamp power supply shut off actomatically when door
open
8 Power supply - Inpu 100-240V, 50/60Hz
9Power Consumption - Normal operation: 250W(TBD), Typical.
- Standby mode: < 10W-(TBD)
10 Input signal spec. - PC Signal
- Hsync Frequency 15 ~ 100 kHz
- Vsync Frequency 43 ~ 85 Hz
10 Input signal spec. - Video
- Analog RGB 0.7 Vp-p, 75 ohms, separate TTL H&V
Sync
- Analog RGB 1.0 Vp-p, 75 ohms, Sync on Green
- Analog RGB 0.7 Vp-p, 75 ohms, composite TTL Sync

1-2 EP7150
Condential
NO Name Description
11 System Controller - TI DDP2000
12 Video compatibility - NTSC : M(3.58MHz),4.43 MHz
- PAL : B, D, G, H, I, M, N
- SECAM : B, D, G, K, K1, L
- HDTV : 480i/p, 576i/p, 720p, 1080i
13 UXGA/SXGA Compres-
sion
- UXGA/SXGA images will be compressed into XGA
display by DDP2000
14 Projector control key-
pad
- Power/Standby
- Menu
- Select
- Right Arrow/Re-sync,
- Left Arrow/Source
- Up Arrow/Keystone}+
- Down Arrow/Keystone-
15 Keystone correction - +/- 16 degree
16 Brightness - 1700 ANSI Lumens(Typical)
- 1400 ANSI Lumens (Minimum)
17 Contrast ratio - 1500 : 1 full on/full off (Typical)
- 1000 : 1 full on/full off (minimum)
18 Uniformity - 60% minimum
19 Projection lens - F# 2.35~2.47, f=21.83 ~23.81mm 1.10X Manual Zoom
Lens
20 Throw distance - 1.5~10m (Optical Performance)
- 1.2m to 12m (Mechanical travel)
21 Aspect ratio -Window mode is for displaying a 4:3 image inside a
16:9 screen.
22 LED indicator - Power : Power On/Off indicator
23 Lamp life - 2000 hours typical, 50% survival rate
24 Lamp type - Osram E17.5U/200W 1.0mm arc Lamp (user replace
able) dimmable to 180W
25 QSC - With 18 languages : English, German, French, Italian,
Spanish,Portuguese,Polish, Dutch, Russian, Finnish,
Swedish, Norweigian/Dannish, Traditional Chinese,
Simplied Chinese, Japanese, Korea, Greek
26 Quick shut down - 30 seconds
27 Input connectors - RGB / HDTV / or Component, S-Video,Composite
Video

1-3 EP7150
Condential
1-2 Computer Compatible
Compatibility Resolution V-Sync [Hz] H-Sync [KHz]
VGA 640x350 70 31.5
640x350 85 37.9
640x400 85 37.9
640x480 60 31.5
640x480 72 37.9
640x480 75 37.5
640x480 85 43.3
720x400 70 31.5
720x400 85 37.9
SVGA 800*600 56 35.2
800x600 60 37.9
800x600 72 48.1
800x600 75 46.9
800x600 85 53.7
XGA 1024x768 60 48.4
1024x768 70 56.5
1024x768 75 60.0
1024x768 85 68.7
SXGA 1152x864 70 63.8
1152x864 75 67.5
1152x864 85 77.1
1280x1024 60 63.98
1280x1024 75 79.98

1-4 EP7150
Condential
Compatibility Resolution V-Sync [Hz] H-Sync [KHz]
SXGA+ 1400x1050 60 63.98
UXGA 1600x1200 60 75
MAC LC 13” 640x480 66.66 34.98
MAC II 13” 640x480 66.68 35
MAC 16” 832*624 74.55 49.725
MAC 19” 1024x768 75 60.24
MAC 1152x870 75.06 68.68
MAC G4 640x480 60 31.35
i Mac DV 1024*768 75 60
i Mac DV 1152*870 75 68.49
i Mac DV 1280*960 75 75

EP7150
2-1
Condential
Equipment Needed
Chapter 2
Disassembly of Procedure
Item Photo Item Photo
Philips (+) : 107 Philips (+) : 102
Philips (+) : 101 Hex Screw :
5mm
Screw Bit :
6.0 X 100
Side Cutter
Pliers
Long Nose
Pliers Tweezers
Hexagon Keys

EP7150
2-2
Condential
No Procedure Photo
1Loosen 2 tenons to remove
the Lamp Cover.
2Unscrew 2 screws to remove
the Lamp Module.
2-1 Remove Lamp Module

EP7150
2-3
Condential
2-2 Remove Top Cover
No Procedure Photo
1Unscrew 4 screws in the
Bottom Cover and 1 screw in
the left Cover, then, unplug
1 FPC Cable to remove Top
Cover Module.
2Remove Keypad Board:
(1) Unscrew 2 screws and
unplug 1 FPC to remove the
Keypad Board.
(2) Separate all the keypad
components.

EP7150
2-4
Condential
No Procedure Photo
1Unscrew 2 screws in the IO
Cover to disassemble the
Rear Cover.
2Unscrew 3 screws, unplug
10 connectors and 1 DC DC
connector in the Bottom to
remove the Main Board.
2-3 Remove Main Board

EP7150
2-5
Condential
2-4 Remove Left Cover/Speaker/Elevator Push Buttom
No Procedure Photo
1Unscrew 2 screws to remove
the left cover.
2(1) Unscrew 2 screws to
remove the Speaker Module.
(2) Loosen 2 tenons to
remove the elevator push
button.
(2)Elevator Push Buttom (1)Speaker Module

EP7150
2-6
Condential
2-5 Remove Ballast Module /Right Cover Module/Front
Cover Module
No Procedure Photo
1Remove Ballast Module:
(1) Unscrew 3 screws and
unplug 3 connectors to
disassmble the Ballast.
(2) Unscrew 1 screw in the
grouding wire module.
2(1) Unscrew 1 screw to
disassemble the Right Cover
Module.Then, unscrew 2
screws to remove the Lamp
Blower / Air Duct in the Right
Cover Module.
(2) Unscew 3 screws to
disassemble the Front Cover
Module. Then, loosen 2
tenons to remove the IR Board
in the Front Cover Module.
(1) Front Cover Module (2) Right Cover Module

EP7150
2-7
Condential
2-6 Remove Fan Module/ Light Cut / Thermal Switch /
Color Wheel /Photosensor Board
No Procedure Photo
1. Remove Fan Module:
(1) Unscrew 2 screws to
remove the Fan Module.
(2) Pull out the Interupt Switch
Cable.
(3) Separate all the
components of the Fan
Module.
2Remove Light Cut / Thermal
Switch:
(1) Unscrew 1 screw to
remove the Light Cut.
(2) Unscrew 2 screws to
remove the Thermal Switch.
3Remove Color Wheel /
Photosensor Board:
(1) Unscrew 2 screws to
remove the Color Wheel.
(2) Unscrew 1 screw to
remove the Photosensor
Board.
(2) Thermal Switch
(1) Light Cut
(1) Color Wheel
(2) Photosensor BD

EP7150
2-8
Condential
2-7 Remove Engine Module
No Procedure Photo
1Unscrew 1 screw to remove
the Interrupt Switch.
2Unscrew 4 screws to
disassemble the Engine
Module.
3(1) Take off Fan Duct
(2) Unscrew 3 screws to
disassemble the Focus Ring.
(3) Unscrew 1 screw to
disassemble the Zoom Ring
Holder.
4 (1) Take off Copper Foil.
(2) Unscrew 4 screws and
then unscrew 2 screws to
disassemble the DMD Module.
(1) Fan Duct
(2) Focus Ring
(3) Zoom Ring Holder
(1) Fan Duct
(2) Focus Ring
(3) Zoom Ring Holder

EP7150
2-9
Condential
2-8 Remove Blower / DC DC / Bottom Cover Module
No Procedure Photo
1Remove Blower / DC DC:
(1) Unscrew 3 screws to
remove the Blower.
Notice: Please ensure the
blue wire arrangement (The
direction should be heading
forward as the picture shows)
while assembling the DC DC
Module.
(2) Unscrew 1 screw to
remove the DC DC Module.
2Remove the Bottom Cover:
(1) Unscrew 1 screw to
remove the Ballast-to-lamp
connector Module
(2) Unscrew 1 screw to
remove the Elevator Foot.
(1) Blower
(2) DC DC Module
The direction should be
heading forward
(1) Ballast-to-lamp
connector moduel
(2) Elevator Foot

EP7150
3-1
Condential
Chapter 3
Troubleshooting
3-1 Equipment Needed
- PC or Pattern Generator
- DVD Player (Video, S-Video, Audio)
- Quantum Data 802B or CHROMA 2327 (Pattern Generator)
3-2 LED Lighting Message

EP7150
3-2
Condential
3-3 Main Procedure
No Symptom Procedure
1No Power - Ensure the Power Cord and AC Power Outlet are securely connected
- Check Lamp Cover and Interrupt Switch
- Ensure all connectors are securely connected and aren’t broken
- Check DC-DC
- Check Ballast
- Check Main Board
2 Auto Shut Down - Check LED Status
a. Lamp LED Light
- Check Lamp
- Check Lamp Driver
- Check Main Board
b. Temp LED Light
- Check Thermal Sensor
- Check Thermal Switch
- Check Fan
c. Tem LED Blinking
- Check Fan
- Check Main Board
d. No Power
- Refer to “No Power” troubleshooting
3No Image - Ensure the Signal Cable and Source work as well
(If you connect multiple sources at the same time, use the “Source”
button on the control panel to swtich)
- Ensure all connectors are securely connected and aren’t broken
- Check Main Board
- Check DMD Board
- Check DMD Chip
4No Light On - Ensure all connectors are securely connected and aren’t broken
- Check Lamp Module
- Check DC-DC
- Check Ballast
- Check Main Board
5Mechanical Noise - Check Color Wheel
- Check Fan Module
6Line Bar / Line
Defect
- Sometimes it’s because of the DMD Chip and the DMD Board did
not assemble properly
- Check DMD Board
- Check DMD Chip
- Check Main Board

EP7150
3-3
Condential
No Symptom Procedure
7Image Flicker - Do “Reset” of the OSD Menu
- Ensure the Signal Cable and Source work as well
- Check Lamp Module
- Check Color Wheel
- Check DMD Board
- Check Main Board
8 Color Abnormal - Do “Reset” of the OSD Menu
- Adjust Color Wheel Index
- Check Main Board
- Check Color Wheel
9Poor Uniformity /
Shadow
- Ensure the Projection Screen without dirt
- Ensure the Projection Lens is clean
- Ensure the Brightness is within spec.
(Replace the Lamp if the Brightness is less than spec.)
- Ensure DMD Chip is clean
- Check Engine Module
10 Dead Pixel / Dust
(Out of spec.)
- Ensure the Projection Screen without dirt
- Ensure the Projection Lens is clean
- Clean DMD Chip and Engine Module
- Check DMD Chip
- Check Engine Module
11 Garbage Image - Ensure the Signal Cable and Source work as well
- Check Main Board
- Check DMD Board
12 ROD adjustment - If there are shadow at “TOP” & “Bottom” side of the screen, adjust
“Screw 1” to adjust ROD position.
- If there are shadow / yellow light / blue light at “Left” & “Right” side of
the screen, adjust “Screw 2” to adjust ROD position.
- “Screw 1” should be adjusted rst, and then “Screw 2”
Other manuals for EP7150
2
Table of contents
Other Optoma Projector manuals

Optoma
Optoma TH1020 User manual

Optoma
Optoma HD808 User manual

Optoma
Optoma HD30B User manual

Optoma
Optoma HD73 User manual

Optoma
Optoma EP716 User manual

Optoma
Optoma EX330 User manual

Optoma
Optoma EH416 User manual

Optoma
Optoma Optoma EP721 User manual

Optoma
Optoma DS219 User manual

Optoma
Optoma Pico PK301+ User manual

Optoma
Optoma EP910 SXGA+ User manual

Optoma
Optoma TX7855 User manual

Optoma
Optoma H76 User manual

Optoma
Optoma EH501 User manual

Optoma
Optoma EH500 User manual

Optoma
Optoma ZU500USTe User manual

Optoma
Optoma ML1000 User manual

Optoma
Optoma EP776 User manual

Optoma
Optoma L1 User manual

Optoma
Optoma UHD42 User manual