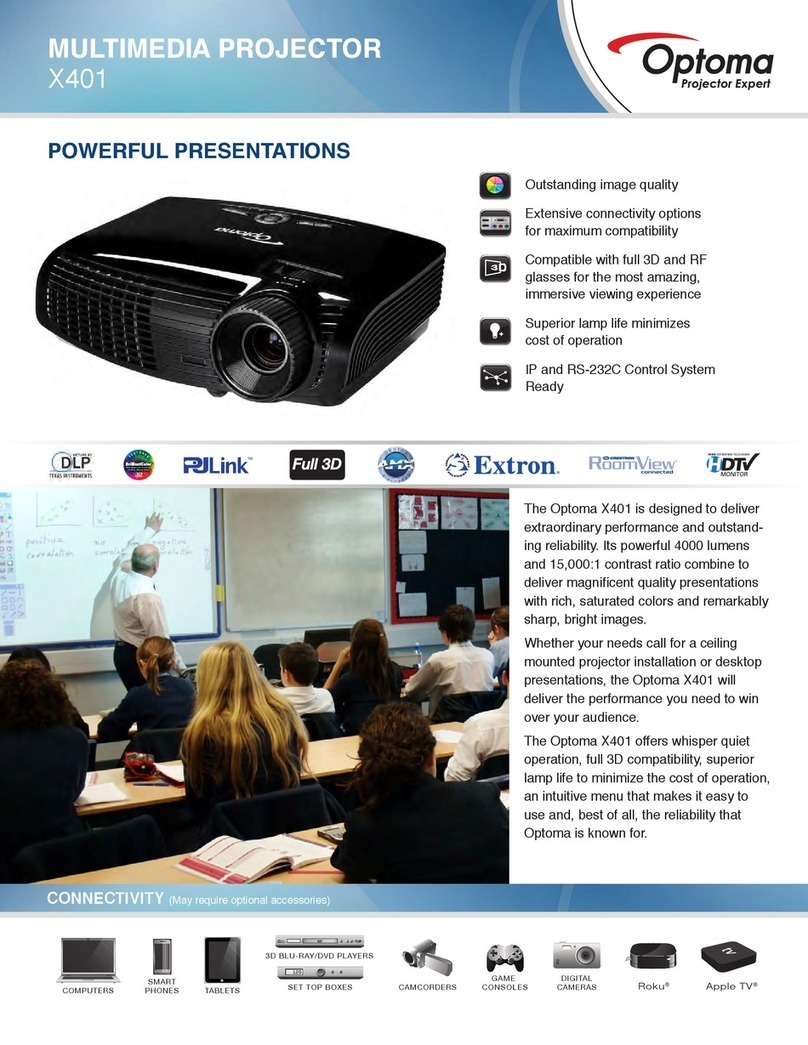
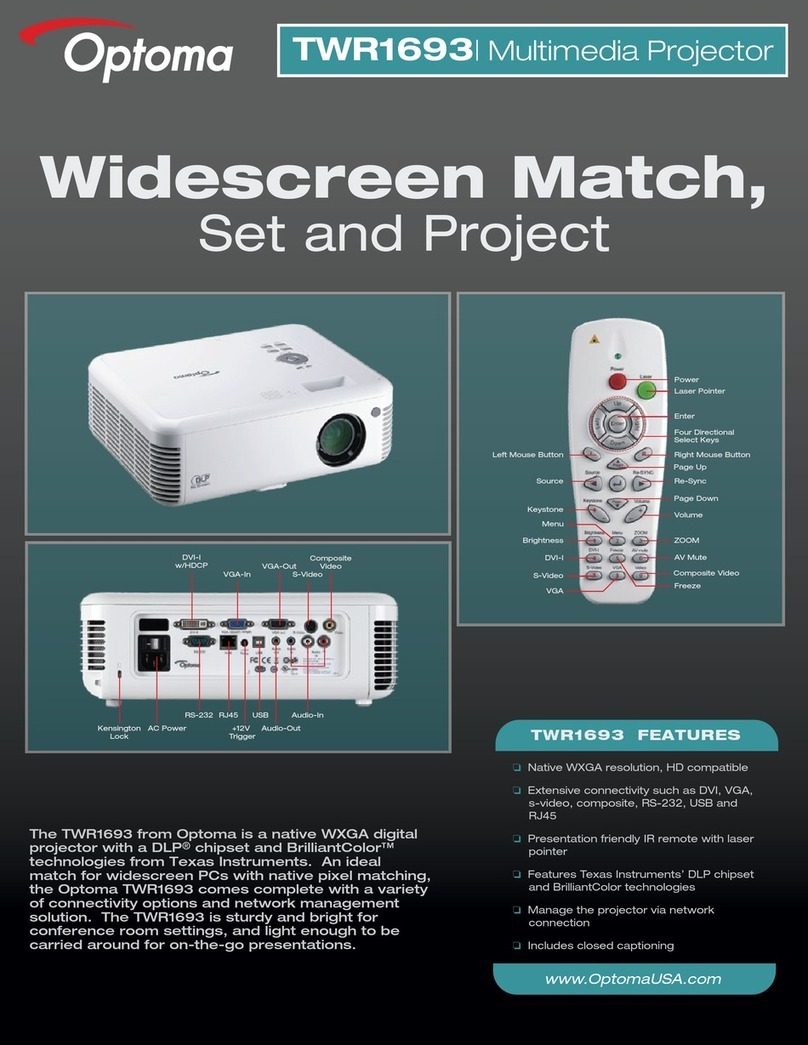
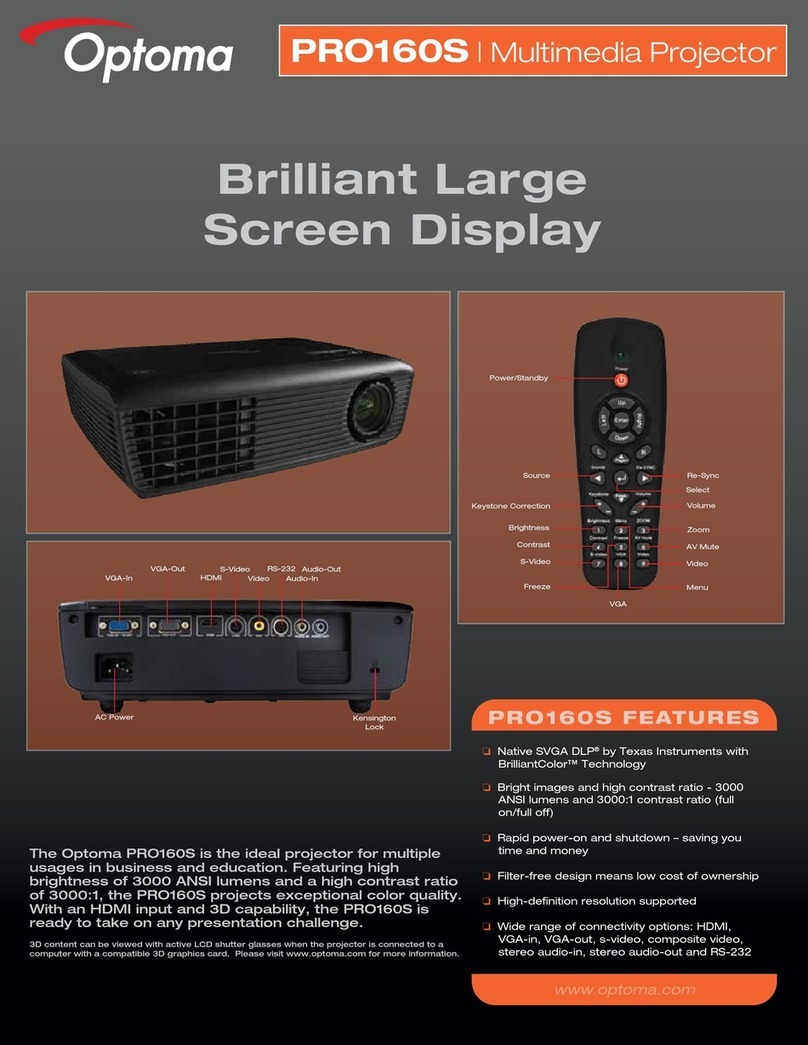
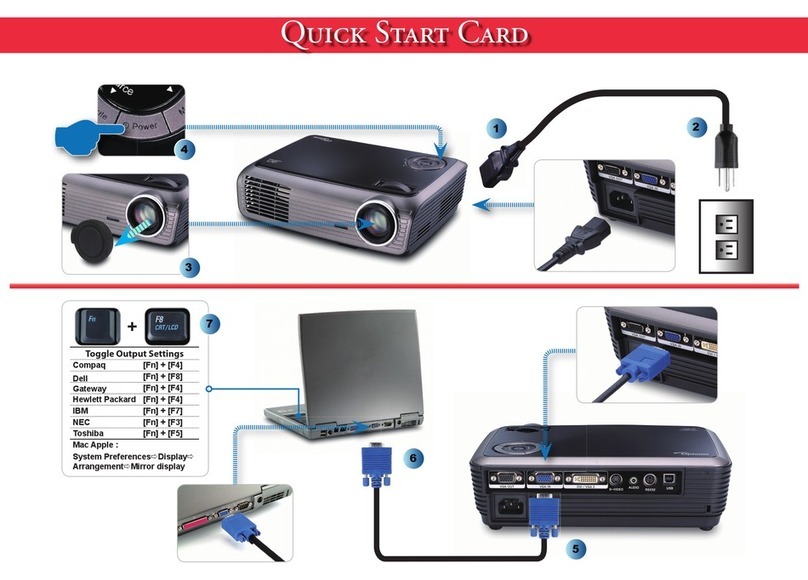
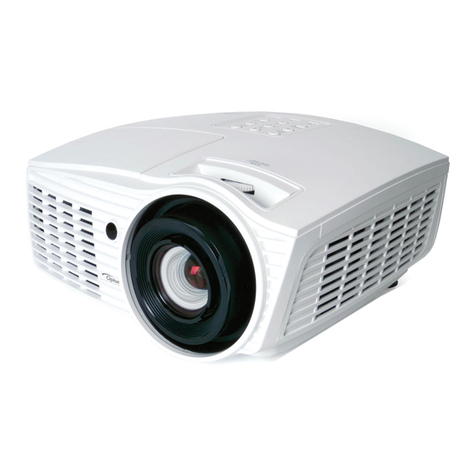
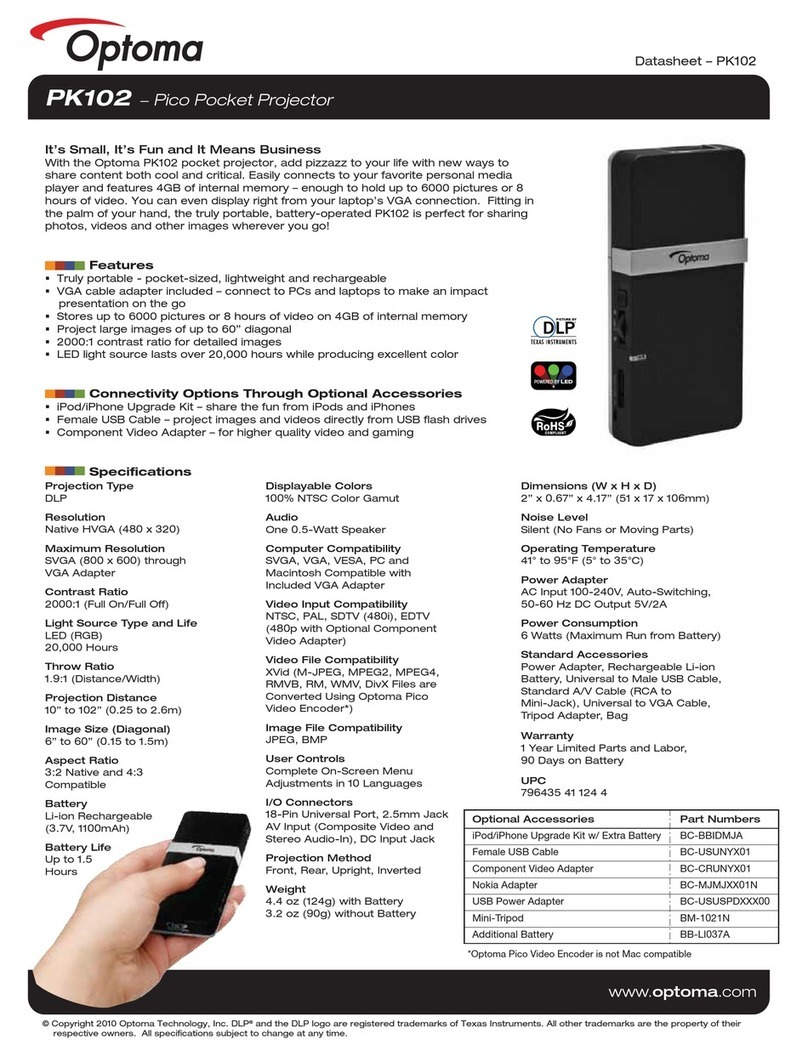
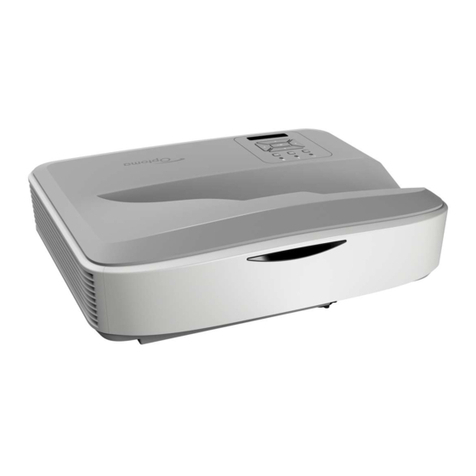
Optoma X401 User manual

SERVICE MANUAL
Prepared: Check: Approved:
Date Revise Version Description
2013.2.4 V1.0 Initial Issue
2013.7.29 V2.0
Change service mode:power,left,left,menuto power,
up,right,up,left,menu (P14,P24,P27,P33)
X401/W401
Copyright Jan. 2013. All Rights Reserved
Mina Amy

Condential
X401/W401
Preface
This manual is applied to X401/W401 projection system.The manual gives you a
brief description of basic technical information to help in service and maintain the product.
Your customers will appreciate the quick response time when you immediately identify
problems that occur with our products. We expect your customers will appreciate the
service that you offer them.
This manual is for technicians and people who have an electronic background. Please
send the product back to the distributor for repairing and do not attempt to do anything
that is complex or not mentioned in the troubleshooting.
Notice:
The information found in this manual is subject to change without prior notice. Any
subsequent changes made to the data herein will be incorporated in future edition.
X401/W401 Service Manual
Copyright Jul, 2013.
All Rights Reserved
Manual Version Rev 2.0
I

X401/W401 Condential
X401/W401 Comparison List
Parts W401 X401
ROD Module 70.8LM15GR01 70.8JS24GR01
DMD 48.8EJ01G003 48.8CQ01G005
Main BD 80.8TC01G011 80.8TE01G011
Engine Module 70.8TC08GR01 70.8TE19GR01
IO COVER 70.8TC09GR01 70.8TE18GR01
II

Condential
X401/W401
Table of Content
Chapter 1 Introduction
Highlight 1-1
Chapter 2 Disassembly Process
Equipment Needed & Product Overview 2-1
Repair notice 2-2
Rod Adjustment 2-5
Re-write Lamp Usage Hours 2-6
Repair Action 2-7
Chapter 3 Troubleshooting
LED Lighting Message For Projector 3-1
Main Procedure 3-2
Pin Assignment 3-3
Chapter 4 Function Test & Alignment Procedure
Test Equipment Needed 4-1
Test Condition 4-1
I/O Port Test 4-2
Run In Test 4-9
Test Inspection Procedure 4-9
Auto Waveform and Factory Fan RPM 4-10
ADC Calibration 4-11
RJ45 Port Test 4-12
III

X401/W401 Condential
Chapter 5 Firmware Upgrade
Section 1: System Firmware Upgrade 5-1
Equipment Needed 5-1
Get into FW mode 5-2
Check FW version 5-2
Section 2: MCU FW Upgrade Procedure 5-3
Equipment Needed 5-3
Setup Procedure 5-4
Upgrade Procedure 5-6
Network FW Upgrade Procedure 5-8
Equipment Needed 5-8
Write Down Projector IP 5-9
PC Hardware Link 5-11
Chapter 6 EDID Upgrade
EDID Upgrade Procedure 6-1
Appendix A Exploded Image I
Appendix B
Serial Number Denition I
PCBA Code Denition II
IV

X401/W401 Condential 1-1
Chapter 1
Introduction
1-1 Highlight
No Item Description
1Dimensions (WxDxH) ● 324x234x112mm (with feet)
● 324x234x97mm (w/o feet)
2 Power Supply ● Universal AC 100V-240V±10%, 50-60Hz
3 Power Consumption
● Bright (Normal): TYP 347W MAX 382W @110VAC
TYP 335W MAX 369W @220VAC
● ECO:TYP 294W MAX 323W@110VAC
TYP 285W MAX 314W@220VAC
4Keystone correction ● +/-40 degree
5 Throw ratio ● 1.6~1.92 (D/W) (For X401)
● 1.28~1.536 (D/W) (For W401)
6 Projection lens ● YM25
7 Lamp life
Bright Mode:
● 3000Hours Standard @280W, 50% Survival Rate
ECO Mode:
● 4000 Hours Typical @230W, 50% Survival Rate
8 Lamp ● 280W Lamp (Osram E20.8)
9DMD Chip&Number of
active dots
● 0.55” XGA, S450, Dark Chip 3 (For X401)
● 0.65” WXGA, S450, Dark Chip 3(For W401)
● Number of active dots: 1024x768 (For X401)
1280x800 (For W401)
10 Color wheel ● 6 segments (R78Y44G81C34W55B68)
11 System controller ● TI DDP 4421
12 Video compatibility
● NTSC: M/J,3.58MHz,4.43MHz
● PAL: B, D, G, H, I, M, N,4.43MHz
● SECAM: B, D, G, K, K1, L,4.25/4.4MHz
● SDTV: 480i/p, 576i/p,
● HDTV: 720p(50/60Hz), 1080i(50/60Hz),1080p(50/60Hz)

Condential 1-2
X401/W401
No Item Description
13 Input signal spec
● VGA-in: VGA in 1 (wireless dongle, YPbPr)
VGA in 2 (HDTV, YPbPr)
● Video x 1
● Audio-in (Green coded port):
• Audio-in 1, 2, 3 (Daughter Board)
• Mini Jack x 3
● HDMI: HDMI v1.4
● Audio-in connectivity grouping
• VGA-in1 -> Audio in1
• VGA-in2 -> Audio in2
• Video -> Audio in3
14 Altitude&Temperature
● Operating: 0~2,500 ft 5°C~40°C
2,500~5,000 ft 5°C~35°C
5,000~10,000 ft 5°C~30°C
1-2 Compatible Mode
Computer Compatibility (Analog)
Compatibility Resolution Refresh Rate (Hz) Analog HDMI
NTSC 720 x 480 60 - -
PAL/SECAM 720 x 576 50 - -
VGA 640 x 480 60 O O
640 x 480 67 O-
640 x 480 72.8 O-
640 x 480 85 O-
SVGA 800 x 600 56.3 O-
800 x 600 60.3 O O
800 x 600 72.2 O O
800 x 600 85.1 O O
800 x 600 120 O O
XGA 1024 x 768 60 O O
1024 x 768 70.1 O O
1024 x 768 75 O O
1024 x 768 85 O O
1024 x 768 120 O O

Condential 1-3
X401/W401
Note: If the Computer Compatibility supportive signal is different from User's Manual, please refer
to User's Manual.
Compatibility Resolution Refresh Rate (Hz) Analog HDMI
WSVGA 1024 x 600 60 -O
HDTV (720p) 1280 x 720 50 O O
1280 x 720 60 O O
1280 x 720 120 O O
WXGA 1280 x 768 60 O O
1280 x 768 75 O O
1280 x 768 85 O O
1280 x 800 60 O O
1366 x 768 60 O O
WXGA+ 1440 x 900 60 O O
SXGA 1280 x 1024 60 O O
1280 x 1024 75 O O
1280 x 1024 85 O O
SXGA+ 1400 x 1050 60 O O
UXGA 1600 x1200 60 O O
HDTV (1080p) 1920 x 1080 24 O O
1920 x 1080 30 -O
1920 x 1080 50 O O
1920 x 1080 60 O O
HDTV (1080i) 1920 x 1080 50 -O
1920 x 1080 60 -O
WUXGA 1920 x 1200 60 O O
SDTV (576i) 768 x 576 50 -O
SDTV (576p) 768 x 576 50 -O
SDTV (480i) 640 x 480 60 -O
SDTV (480p) 640 x 480 60 -O

X401/W401 Condential 2-1
Chapter 2
Disassembly Process
2-1 Equipment Needed & Product Overview
1. Screw Bit (+): 105
2. Screw Bit (+): 107
3. Screw Bit (-): 107
4. Hex Sleeves: 5 mm
5. Tweezers
6. Projector
* Before you start: This process is protective level II. Operators should wear electrostatic chains.
* Note: - If you need to replace the main board, you have to record the lamp usage hour.
- Some related contents please refer to common SM chapter 2.

X401/W401 Condential 2-2
2-2 Repair notice
Item Male Connector
on Main Board The key feature Figure
A & I Speaker
Compose of Red/
Black Wire and Black
wire tube (2 pin)
B Lamp Driver Black wire tube (5
pin)
CSystem Fan Compose of Red/Yel-
low/Black Wire (3 pin)
D Blower
Compose of Black/
Yellow/Red Wire and
Blue wire tube (3 pin)
EPhoto Sensor
Compose of Red/
Black/White Wire and
Black wire tube (3
pin)
FIR
Compose of Black/
Yellow/Red Wire and
Gray wire tube (3 pin)
2-2-1 Disassemble Main
Board
Please refer to the below table details of
each connector on Main Board.
G F D A
EHI B
C

X401/W401 Condential 2-3
Note:Please assemble the main board
follow the steps as gure.
1
23
8
Item Male Connector
on Main Board The key feature Figure
G ROD Fan
Compose of Black/
Gray/Red Wire and
Gray wire tube (3 pin)
H AXAL Fan Compose of Red/Yel-
low/Black Wire (3 pin)
4
911
6
5
10
12
7

X401/W401 Condential 2-4
2-2-2 Disassemble Lens
1.Unscrew 3 screws (as yellow circles)
2. Unscrew 3 screws (as yellow circles) to
disassemble lens .
Note:1.Before assemble the new
engine,please clean the dusty from
engine base by air gun rstly .
2.Locking 3 screws into the lens after
assemble the new engine.(as refer to
step1)
Lens Engine Base

X401/W401 Condential 2-5
2-3 Rod Adjustment
1. Environment Adjustment
- The distance between the engine and
the screen is 1.95M (For X401).
The distance between the engine and
the screen is 1.65M (For W401).
- This process should be done at a dark
environment (under 10 Lux).
2. Procedure Adjustment
- Change the screen to "white screen".
- Adjust the screws by using the rod
on the engine module to readjust the
image.
("screw 1" should be adjusted rst, and
then "screw 2". Adjust until the yellowish
or bluish parts disappeared.)
3. Abnormal image inspection
- It should not have any abnormal color
at the rim of the image by estimating
through the eyes.
Note: - To avoid over adjusting the rod.
- After the operation, please use the glue
to x the screws.
1
2

X401/W401 Condential 2-6
2-4 Re-write Lamp Usage Hours
1. Get into service mode
- Press “Power”, "up”, “right”,"up","left ","menu”
buttons.
2. Re-write Projection Hours
-Select Projection Hours and use “left” or “
right” buttons to re-write the projection
hours.
3. Re-write Lamp Hours(Normal)
-Select Lamp Hours(Normal) and use
“left” or “right” buttons to re-write the lamp
hours(Normal).
4. Re-write Lamp Hours(ECO)
-Select Lamp Hours(ECO) and use “left”
or “right” buttons to re-write the lamp
hours(ECO).
5. Choose “Exit”, press “Enter” to exit
Note: left key = decrease lamp hour
right key =increase lamp hour

X401/W401 Condential 2-7
Repair action
Change parts Software Description
page
Main
Board
Lamp
Module
Engine
Module
Lamp
Driver Blower Color
Wheel Firmware EDID
Firmware Update vvvChapter 5
Color Wheel Index v v Chapter
4-3-1.7
OSD Reset v v v v Chapter
4-5-2
EDID v Chapter 6
Re-write Lamp
Usage Hours vChapter
2-4
Video port test v chapter
4-3-4
Auto Waveform and
Factory Fan
RPM
v v v v v Chapter
4-6
Optical
Performance
Measure
vChapter
4-3-1.8
2-5 Repair Action

X401/W401 Condential 3-1
Chapter 3
Troubleshooting
3-1 LED Lighting Message For Projector
Message ON/STANDBY LED
(Red/Green)
Temp LED
(Red)
Lamp LED
(Red)
Standby State
(Input power cord) (Red)
Power on (Warming) Flashing
(Green)
Power on and Lamp
lighting (Green)
Power off (Cooling) Flashing
(Green)
Error
(Lamp failed)
Flashing
(Red) (Red)
Error
(Fan failed)
Flashing
(Red)
Flashing
(Red)
Error
(Over Temp.)
Flashing
(Red) (Red)
Note: Steady light No light

X401/W401 Condential 3-2
3-2 Main Procedure
The other troubleshooting procedures please refer to common service manual
3-1(Main Procedure).
No Symptom Procedure
1Auto Shut Down
- Check LED status
a. Lamp Fail: ON/STANDBY LED (ashes Red);
Lamp LED (lights red)
- Check Lamp
- Check Lamp Driver
- Check Main Board
- Check Color Wheel
- Check Photo Sensor
- Check whether Wireless status of OSD Menu is on
(conncet VGA1- IN port with VGA source)
b. Over Temp.: ON/STANDBY LED (ashes Red); Temp LED
(lights red)
- Check Fan
- Check Main Board
c. Fan Fail: ON/STANDBY LED (ashes Red);
Temp LED (Flashes red)
- Check Fan
- Check Main Board
- Check whether have execute auto Waveform and Factory Fan
RPM
23D Image
Abnormal
- Ensure the using 3D glasses is good and you must face the
projection.
- Ensure the CD in DVD is 3D format
- Ensure your standing distance is less than 6m from screen.
- Ensure the 3D function is on and execute “3D sync invert” in OSD
menu.
- Check main board

X401/W401 Condential 3-3
3-3 Pin Assignment
Power on the projector and measure the pins as below:
J23:16 PIN POWER From
LVPS J12:Blower
PIN Voltage(V) J23 PIN Voltage(V)
112.25V±5% 17.3±5%±5%
212.25V±5% 21.67±5%±5%
312.25V±5% 3 0
45V±5%
50
60J13:ROD FAN
7 0 PIN Voltage(V)
8PS-ON 18.91±5%±5%
90 2 L
10 0 3 0
11 0
12 0 J8 J14:ALAX FAN
13 0 PIN Voltage(V)
14 12.25V±5% 15.53±5%±5%
15 12.25V±5% 2L
16 12.25V±5% 3 0
J8:Lamp driver J3:IR
PIN Voltage(V) PIN Voltage(V)
1Flag / TxD+ (collector) 15.1±5%±5%
2Flag / TxD- (emitter) J11 2 0
3Common LED+ (anodes) 35.07±5%±5%
4SCI / Sync. (cathode LED)
5 DIM / RxD (cathode LED)
J9:Photo sensor
J11:SYS FAN J12 PIN Voltage(V)
PIN Voltage(V) 11.135±5%±5%
16.5±5%±5% 20.57±5%±5%
2L3 0
3 0
J3 J9
J13 J14

X401/W401 Condential 4-1
Chapter 4
Function Test & Alignment Procedure
4-1 Test Equipment Needed
- PC with HDTV resolution
- DVD player with Multi-system, equipped “Component”, “Composite”, “S-Video” and “HDMI”.
- HDTV Source (720P,1080P,1080i)
- Minolta CL-100
- Quantum Data 802B or CHROMA2327 (Color Video Signal & Pattern Generator)
4-2 Test Condition
- Circumstance brightness: Dark room less than 2 lux.
- Product must be warmed up for 3 minutes.
- Screen size: 60 inches diagonal.
Zone Denition
< Figure: Zone A(as green line) Denition >

Condential 4-2
X401/W401
4-3 I/O Port Test
4-3-1 VGA Port Test
Note:X401 the native resolution of test signal is 1024x768@60HZ.
W401 the native resolution of test signal is 1280x800@60HZ.
We take X401 for example here.
1. Frequency and tracking boundary
Procedure - Test equipment: video generator.
- Test signal: analog1024x768�60Hzx768�60Hz�60Hz
- Test Pattern: general-1 or master
- Check and see if the image sharpness is well
performed.
- If not, re-adjust by the following steps:
(1) Select “Frequency” function to adjust the image
appears to icker vertically.
(2) Select “Phase” function and use right or left
arrow key to image appears to be unstable orimage appears to be unstable or
ickers.
- Adjust Resync or Frequency/Phase/H. Position/V.
Position to the inner screen.
Inspection item - Eliminate visual wavy noise by Resync,
Frequency or Tracking selection.
- Check if there is noise on the screen.
- Horizontal and vertical position of the video should
be adjustable to the screen frame.
Criteria - If there is noise on the screen, the product is con-
sidered as failure product.
- If there is noise on the screen, use auto or manual
“frequency” function or “tracking” function to adjust
the screen.
- The PC mode functionally sure be workable include
support format with frequency and auto detected
functional will be workable.
Master
General-1
Other manuals for X401
3
This manual suits for next models
1
Table of contents
Other Optoma Projector manuals

Optoma
Optoma EW330 User manual

Optoma
Optoma HD72 User manual

Optoma
Optoma ZU720TST User manual

Optoma
Optoma X305ST User manual

Optoma
Optoma DX623 User manual

Optoma
Optoma EP709 User manual

Optoma
Optoma S29 User manual

Optoma
Optoma ET700XE User manual

Optoma
Optoma Optoma ThemeScene H77 User manual

Optoma
Optoma EP732B User manual

Optoma
Optoma EzPro 600 User manual

Optoma
Optoma TW675UST-3D User manual

Optoma
Optoma EP719 User manual

Optoma
Optoma ES522 User manual

Optoma
Optoma Neo-i User manual

Optoma
Optoma WU630 User manual

Optoma
Optoma DS305r User manual

Optoma
Optoma PRO250X User manual

Optoma
Optoma ZW400usti User manual

Optoma
Optoma H78DC3 User manual