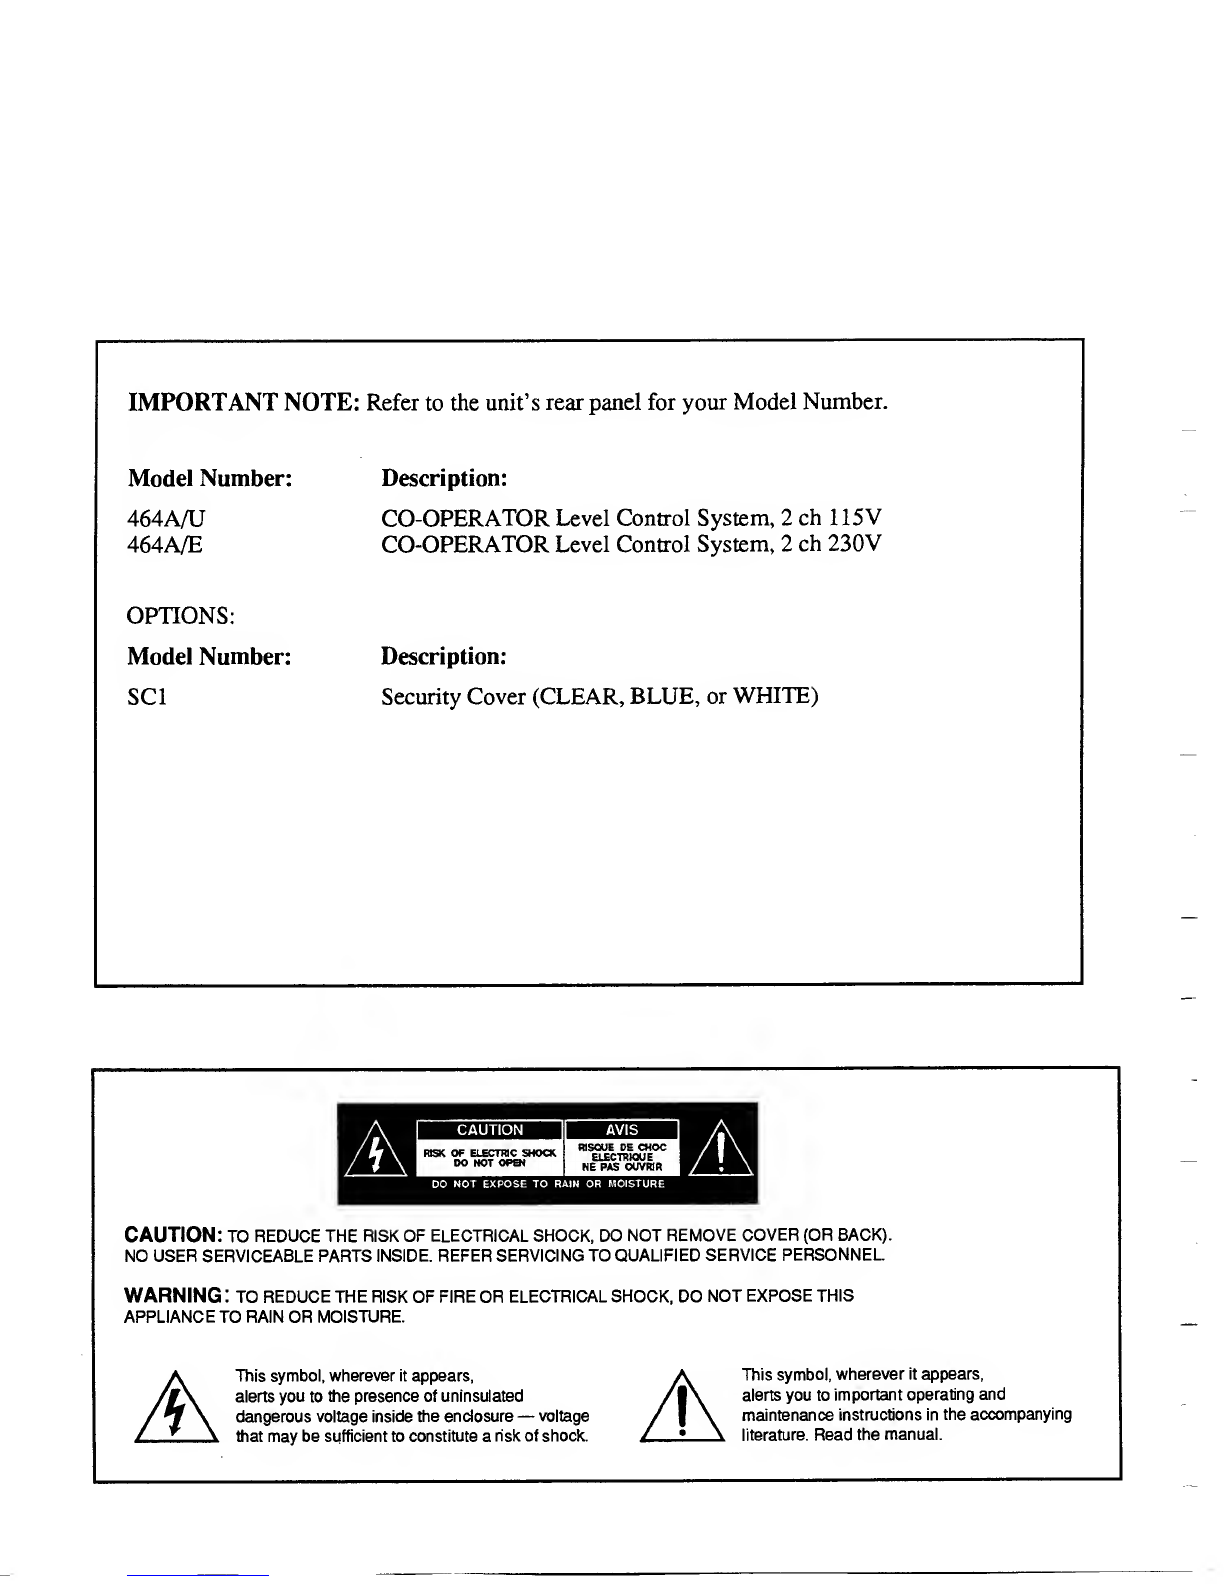
INTRODUCTION Orban Model 464A
Applications
The flexibility and natural sound of the Co-Operator are ideally suited to recording
studio, sound reinforcement, broadcast, motion picture, and video sound applications.
The defeatable high-frequency limiter can be used to prevent pre-emphasized mate-
rial from overloading tape recorders, disk cutters, high-frequency drivers in sound
systems, broadcast STLs (studio-transmitter links), FM SCAs (“subsidiary commu-
nications authorization”), and for controlling cassette masters which have excessive
high-frequency energy. Controlling high-frequency energy permits average recording
or transmission levels to be increased, yielding improved signal-to-noise ratios.
Recording Studios
With the RELEASE SHAPE control set to SOFT, the Co-Operator will subtly reduce the
dynamic range of an entire mix. The HARD setting provides effective gain riding on
single tracks, increasing “punch” and intelligibility while retaining the basic feel of
the performance and the apparent dynamic range of the voice or instrument. The
RELEASE TIME control is useful in governing the uniformity of loudness in the final
result.
Audio and Video Production
The Co-Operator can be used to protect VTRs, ATRs, or cart machines from overload
during transfer. On mic channels the Co-Operator’s smoothness and silence-gating
guarantee uniform, punchy voice quality without noise rush-up during pauses.
Cassette Duplication
Even with the latest advancements, such as “hot” tape and Dolby® HX Pro, there
are still some masters which can cause high-frequency saturation in cassette dupes.
The Co-Operator’s high-frequency limiter can be set to eliminate problems caused by
synthesizers, cymbals, and sibilance, while still permitting high average modulation
on the cassette. The broadband AGCAeveler can be defeated to permit use of the HF
limiter alone when automatic gain riding or broadband peak protection is not desired.
Sound Systems
The Co-Operator provides colorless protection for your system —whether it be a
fixed installation or traveling PA. For example, in an unattended bi-amped system,
the slow AGC leveler can efficiently ride gain while the faster compressor protects
the system from abrupt increases in level.
Placed after the mixer and equalizer and before an active two-way crossover, the
Co-Operator will protect power amps from excessive clipping and high-frequency
drivers from thermal overload.
Especially with constant-directivity horns, the selectable pre-emphasis of the HF
Limiter can protect the horn from the boost that is required to compensate for the
constant-power high-end roll-off. When horns and drivers are located 75 feet in the