manuals.online logo
Brands
  1. Home
  2. •
  3. Brands
  4. •
  5. Orion
  6. •
  7. Telescope
  8. •
  9. Orion StarBlast 4.5 User manual

Orion StarBlast 4.5 User manual

Other manuals for StarBlast 4.5

5

Other Orion Telescope manuals

Orion StarBlast 70 User manual

Orion

Orion StarBlast 70 User manual

Orion SkyQuest 10135XT12g User manual

Orion

Orion SkyQuest 10135XT12g User manual

Orion 7220 User manual

Orion

Orion 7220 User manual

Orion ED102T CF User manual

Orion

Orion ED102T CF User manual

Orion 7831 User manual

Orion

Orion 7831 User manual

Orion 7832 User manual

Orion

Orion 7832 User manual

Orion SkyView Deluxe 90mm 9401 User manual

Orion

Orion SkyView Deluxe 90mm 9401 User manual

Orion Observer 90mm User manual

Orion

Orion Observer 90mm User manual

Orion StarBlast 4.5 User manual

Orion

Orion StarBlast 4.5 User manual

Orion STARSEEK 5685 User manual

Orion

Orion STARSEEK 5685 User manual

Orion 9828 User manual

Orion

Orion 9828 User manual

Orion SpaceProbe 3 EQ User manual

Orion

Orion SpaceProbe 3 EQ User manual

Orion ATLAS 10 EQ User manual

Orion

Orion ATLAS 10 EQ User manual

Orion GoScope User manual

Orion

Orion GoScope User manual

Orion SkyQuest 10134 XT8g User manual

Orion

Orion SkyQuest 10134 XT8g User manual

Orion BX90 User manual

Orion

Orion BX90 User manual

Orion AstroView 120 EQ User manual

Orion

Orion AstroView 120 EQ User manual

Orion Premium 102mm f/7.0 ED Refractor User manual

Orion

Orion Premium 102mm f/7.0 ED Refractor User manual

Orion 9931 User manual

Orion

Orion 9931 User manual

Orion EON 85mm ED-X2 User manual

Orion

Orion EON 85mm ED-X2 User manual

Orion Deluxe Mini 50mm Guide Scope 13022 User manual

Orion

Orion Deluxe Mini 50mm Guide Scope 13022 User manual

Orion StarBlast 4.5 User manual

Orion

Orion StarBlast 4.5 User manual

Orion SkyView Pro User manual

Orion

Orion SkyView Pro User manual

Orion StarBlast 4.5 User manual

Orion

Orion StarBlast 4.5 User manual

Popular Telescope manuals by other brands

National Geographic 70/900 operating instructions

National Geographic

National Geographic 70/900 operating instructions

Meade 81005 Condor instruction manual

Meade

Meade 81005 Condor instruction manual

Celestron NexStar 6 SE Quick setup guide

Celestron

Celestron NexStar 6 SE Quick setup guide

Meade 114 EQ-DS instruction manual

Meade

Meade 114 EQ-DS instruction manual

Celestron C4.5 instruction manual

Celestron

Celestron C4.5 instruction manual

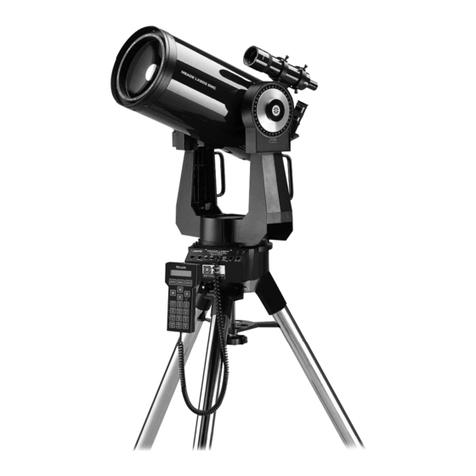
Meade LX200 CLASSIC instruction manual

Meade

Meade LX200 CLASSIC instruction manual

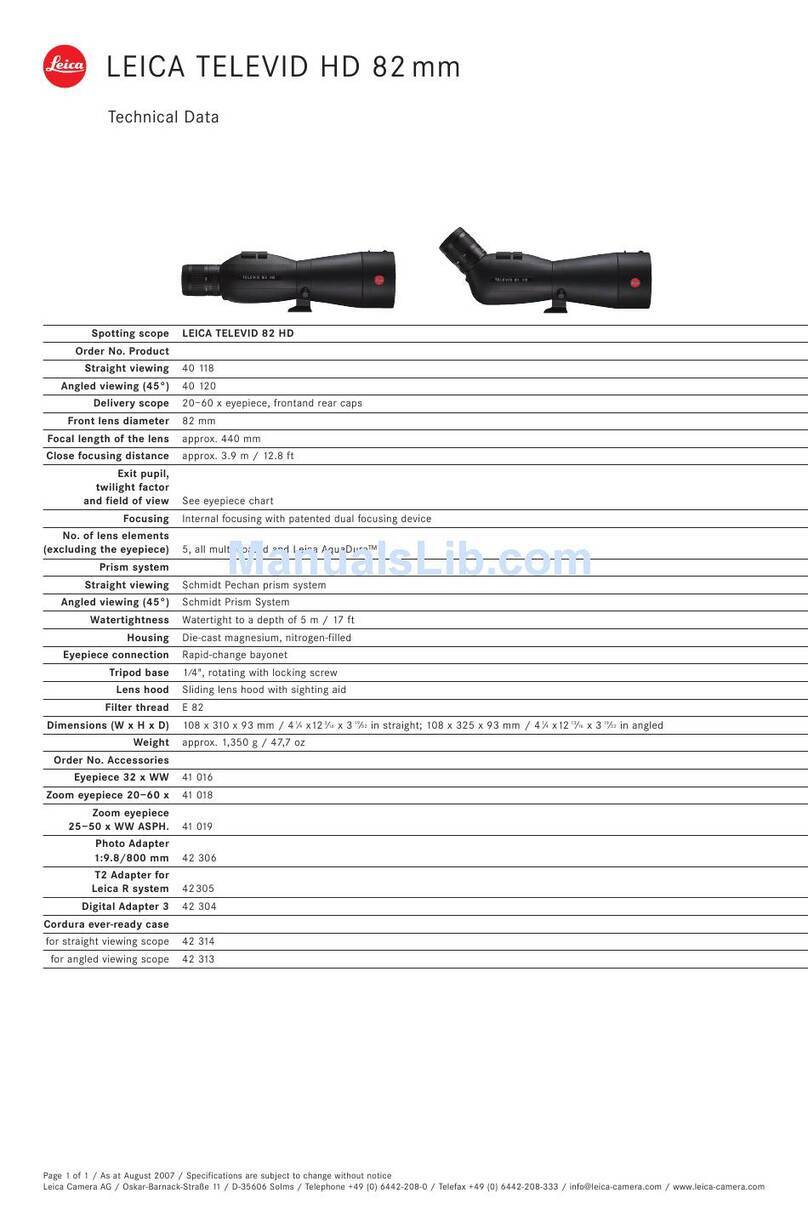
Leica 82 HD Specifications

Leica

Leica 82 HD Specifications

Celestron CPC DELUXE 800 HD instruction manual

Celestron

Celestron CPC DELUXE 800 HD instruction manual

EASTCOLIGHT 9920 instruction manual

EASTCOLIGHT

EASTCOLIGHT 9920 instruction manual

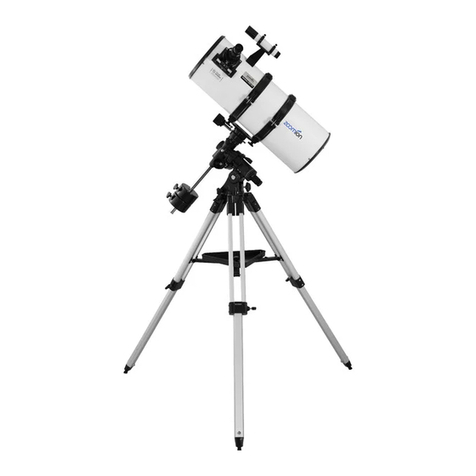
zoomion Genesis 200 EQ instructions

zoomion

zoomion Genesis 200 EQ instructions

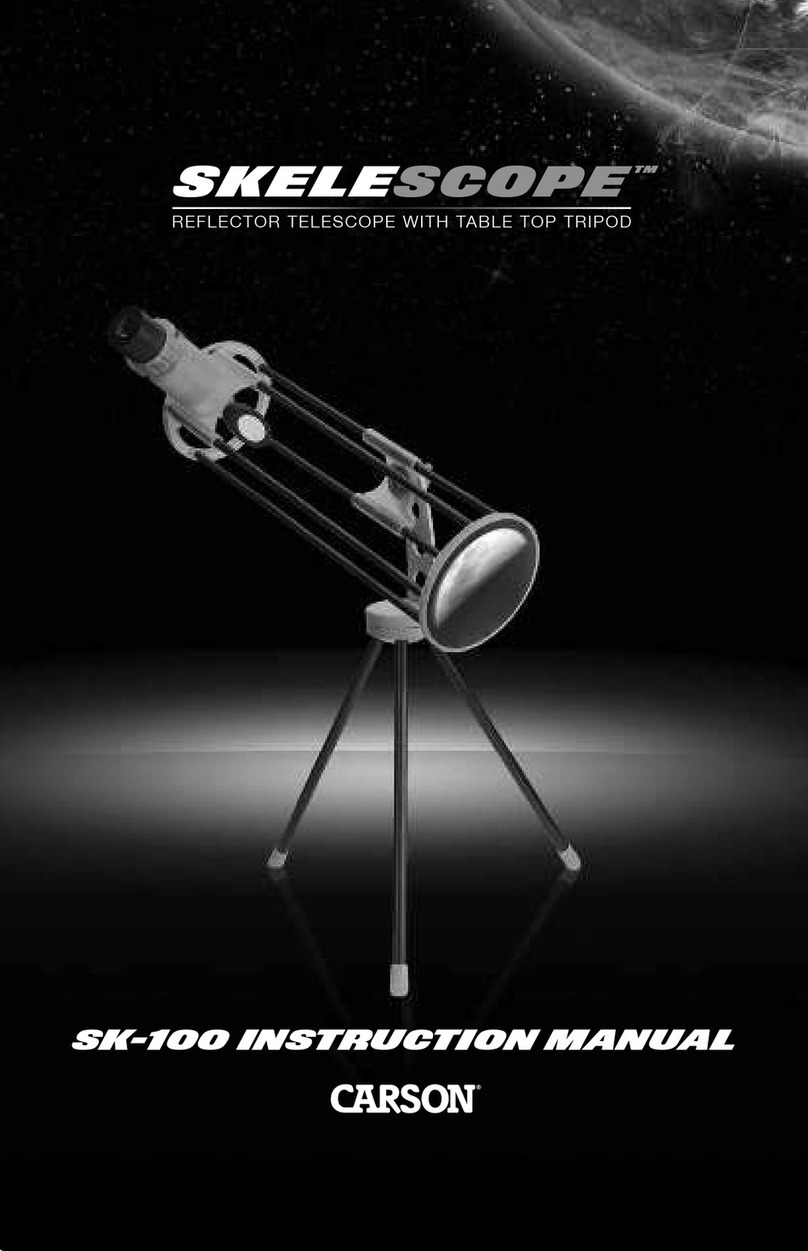
Carson Skelescope SK-100 instruction manual

Carson

Carson Skelescope SK-100 instruction manual

Celestron Novice 50 user guide

Celestron

Celestron Novice 50 user guide

SKY-WATCHER VIRTUOSO instruction manual

SKY-WATCHER

SKY-WATCHER VIRTUOSO instruction manual

cassini C-JRS operating instructions

cassini

cassini C-JRS operating instructions

nedis SCTE5060WT quick start guide

nedis

nedis SCTE5060WT quick start guide

PlaneWave CDK700 manual

PlaneWave

PlaneWave CDK700 manual

William Optics Synta Crayford user guide

William Optics

William Optics Synta Crayford user guide

Levenhuk Skyline Travel user manual

Levenhuk

Levenhuk Skyline Travel user manual

manuals.online logo
manuals.online logoBrands
  • About & Mission
  • Contact us
  • Privacy Policy
  • Terms and Conditions

Copyright 2025 Manuals.Online. All Rights Reserved.

1
Lynbrook Public Library
56 Eldert Street
Lynbrook, NY 11563
516-599-8630
Orion StarBlast 4.5" Telescope
INSTRUCTION MANUAL
June 2015
WARNING: Never look directly at the Sun through this telescope or its finder scope —even for
an instant —as permanent eye damage could result. Do not point the telescope at the Sun, as
parts will melt! Children should use this telescope only with adult supervision.
NEVER POINT THIS TELESCOPE AT THE SUN!
2
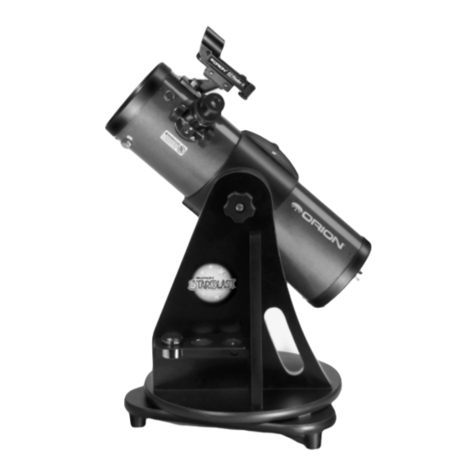
Telescope Parts
1) Eyepiece (Zoom 8 to 24 mm)
2) EZ Finder (replaced with finder scope)
3) Telescope Tube
4) Focuser
5) Tube Clamp
6) Altitude Clamp
7) Mirror Assembly
8) Support
9) Handle
10) Eyepiece Rack (removed)
11) Extra Eyepiece (removed)
12) Rubber Feet
13) Focus Wheels
14) Eyepiece securing screws (replaced)
3
The Telescope
This is a reflector telescope which has a primary mirror (4.5 inches wide) at the bottom of the tube that reflects and bends the light
coming into the tube to a point near the top of the tube where it bounces off a secondary mirror and directs it to the eyepiece where an
image is formed and magnified. The eyepiece is a Zoom eyepiece which enables you to change the setting from 8mm to 24mm
thereby increasing the magnification and decreasing the field of view.
Although we have tried to make the telescope simple to use and care for, it is still a very delicate instrument. Please handle it gently
and in will serve library users for years to come.
Transporting the Telescope
The easiest way to carry the scope is to place your forearm under the telescope tube when it is in a level position, and lift, holding the
upright support against your side. When in a car, simply place the scope on a seat and use a seatbelt to secure it. The lap belt goes
across the base, and the chest belt should cross the tube. When not in use, please keep the telescope in the padded container.
Care and Maintenance of the Telescope
Regarding cleaning the lenses or mirrors: Don’t. Let the Librarian know if they seem dirty. Eyepieces can get dirty fairly quickly,
particularly when poked with fingers. Please don’t poke them as it’s very easy to scratch the coatings.
Aligning the Mirrors: Again, please don’t. If it seems that the telescope is in need of adjustment, please tell the Librarian.
Fog on the mirrors and eyepieces: One of the odd things that happens when stargazing is that dew forms on pretty much everything
(and everyone). The primary mirror is tucked safely down at the bottom of the telescope, and so it does not get much dew on it.
Eyepieces, however, often have dew form on them, making them useless until they warm up and dry out. If the eyepiece fogs up,
wrap your hands around it for a few moments. As it warms up, the fog should disappear. Please don’t wipe the lens with a tissue or
cloth as it has special coatings on it that could be damaged if you do. Please ask people to not touch the lens… ever.
The eyepiece chart on the telescope shows what magnification you will have for each setting of the Zoom eyepiece. The “True Field”
describes the width of the image in the eyepiece. A full Moon is 30 minutes of a degree (or ½ of a degree) wide, so you could fit
about 4 full Moons in the field of view when using the 8mm setting. Change the Zoom setting until your target fits the eyepiece the
way you like. You will have to tweak the focus.
4
Modifications: We have tried to make this telescope very easy to use and hard to damage or lose parts. Many screws and knobs are
covered, glued into place or otherwise made difficult to turn. Please do not try to tighten or loosen any screws or knobs. As described
in this manual, you can move the focus wheels and you can turn the Zoom eyepiece to change the power of magnification but please
do not try to turn any other screws or knobs.
The various covers and caps are tied to the telescope to prevent loss. Please do not detach the various strings.
Getting Started
Please read the instructions and practice with the telescope inside before you take it out in the dark. The image will be much better if
you let the telescope cool down to air temperature before you start observing.
This is a “push-to” telescope. Once you find what you are looking for, you can either watch the object move through your “field of
view” (what you see through the eyepiece) and then reposition the telescope, or keep pushing the scope to hold the object in the center
of the eyepiece. The objects move through the field of view primarily due to the rotation of the Earth. Objects appear to move across
the field of view faster at higher magnifications. This is because the field of view becomes narrower.
Like many reflector telescopes, the image in the eyepiece is upside-down.
When looking at star charts you will have to keep this in mind.
Do You Wear Eyeglasses? If so, you will probably be able to observe with your glasses off by just refocusing the telescope to your
unaided vision. If your eyes are astigmatic, images will probably appear best with glasses on. This is because a telescope’s focuser
can accommodate for nearsightedness or farsightedness, but not astigmatism.
This is important enough to say again:
WARNING: Never look directly at the Sun through this telescope or its finder scope
- even for an instant - as permanent eye damage could result.
Young children should use this telescope only with adult supervision.
NEVER POINT THIS TELESCOPE AT THE SUN!
5
Focusing the Telescope: Try out the telescope during the day when you can see what you’re doing. Remove the dust caps from the
eyepiece and telescope tube. Do not point the telescope at the Sun.
The “power” of a given telescope depends upon the eyepiece you use. This scope has a Zoom eyepiece. Always start by using the
telescopes’ lowest-power (turn the body of the Zoom so the pointer is at “24”) to locate and center an object. Low magnification
shows a larger area of sky in the eyepiece, making finding and centering an object much easier.
With the eyepiece adjusted for low power (24 mm), aim the telescope in the general direction of an object at least 1/4-mile away.
Slowly rotate the focus wheels until the object comes into sharp focus. Go a little bit beyond sharp focus until the image starts to blur
again, then reverse the rotation of the knob, just to make sure you’ve hit the exact focus point. When focusing on stars, bring them to
as small a point as possible.
Many “deep-sky” objects are big, but dim. Low magnification will be better for them. Once you’ve centered an object in the
eyepiece, you can switch to a higher magnification by twisting the Zooms’barrel towards the “8”. This is recommended for small and
bright objects, like planets and double stars. The Moon also takes higher magnifications well. You may have to refocus a little after
changing power.
Operating the Finder Scope
The finder scope has a wider field of view than the telescope eyepieces so that it is easier to find what you want to see. Point the
telescope towards the object you wish to observe. Look through the finder scope and center the object in the cross hairs of the finder
scope. It may be difficult at first to use the finder scope but with a little experience it should become easy.
Once an object is centered in the finder scope it should be centered in the telescope eyepiece as well. If it is not, then the finder scope
will need to be adjusted. Inform the Librarian. Please do not try to adjust the finder scope yourself.
What to Expect
Depending upon what is in the sky; planets will look small, but you might be able to see cloud bands on Jupiter or the rings of Saturn.
Craters on the Moon will be clear and numerous, the waxing and waning of Venus should be visible, and many bright deep-sky
objects will fill the eyepiece. Don’t expect to see color as you do in NASA photos as our eyes are not sensitive enough to see color in
deep-sky objects, except in a few of the brightest ones. Remember that you are seeing these objects using your own eyes! Each
session with your telescope will be a learning experience. Each time you work with the telescope, it will get easier to use, and stellar
objects will become easier to find.
6
Objects to Observe:
The National Audubon Society Field Guide to the Night Sky is included with the telescope. It includes many things that will help
you to enjoy the night sky. Page references below refer to this field guide.
The Moon (pages 634 to 640 and plates 1 to 16) is one of the easiest and most interesting targets to view with any telescope. Lunar
craters, “seas”, and even mountain ranges can all be clearly seen from a distance of 238,000 miles away! With its ever-changing
phases, you’ll get a new view of the Moon every night it’s up. Make sure to observe the Moon when it is well above the horizon to get
the sharpest images. The best time to observe is during a partial phase, that is, when the Moon is not full. During partial phases,
shadows are cast on the surface which reveals more detail, especially right along the border between the dark and light portions of the
disk (called the “terminator”).
If the Moon is too bright for you (which it often is for many people when it is at full or gibbous phase), remove the small plug from
the dust cover and put the cover back on the telescope. This is called “stopping down” and reduces the light hitting your eye. The
Moon will still be visible but the brightness of it will be diminished
The Planets (pages 641 to 669 and plates 319 to 377) do not stay at “fixed” locations like the stars do. To find them you should refer
to the Sky Calendar (telescope.com), or to charts published monthly in Astronomy, Sky & Telescope, or other astronomy magazines
and web sites. Venus, Jupiter, and Saturn are the brightest objects in the sky after the Sun and the Moon and are very interesting to
observe.
•Jupiter’s bands and its four Galilean moons
•Saturn’s rings
•Venus’ phases (like the Moon)
Constellations (pages 423 to 621 and plates 69 to 211) The sky is divided into 88 constellations. Each constellation consists of many
stars and other objects, including star clusters, nebulas and galaxies. Certain constellations are not visible from the northern
hemisphere and other constellations are visible only at various times throughout the year. A few constellations are visible all year
long. The field guide lists each constellation in alphabetical order.
To see which constellations are visible at specific times look at the Monthly Sky Charts (plates 22 to 68). Once you determine which
constellations are visible, look at what can be seen in specific constellations.
7
Stars Even powerful telescopes cannot magnify a star to appear as more than a point of light. You can, however, enjoy the different
colors of the stars and locate many pretty double and multiple stars. (Look at the middle star in the handle of the Big Dipper, Mizar.
It is really two stars very close together. Being able to see the two stars separate is called “star splitting”. The gorgeous two-color
double star, Albireo, in Cygnus is a favorite. Defocusing a star slightly can help bring out its color.
Deep-Sky Objects: Under dark skies (which we do not have in Lynbrook, or even Nassau County), you can see lots of fascinating
deep-sky objects, including nebulas, star clusters, and a variety of different types of galaxies. In our area, there will be fewer such
items to see but some will be visible.
Most deep-sky objects are very faint, so if you can get to a dark location like eastern Suffolk County or other areas far from heavily
populated areas you will have much better luck than in Lynbrook. Generally speaking, star clusters will be a better bet than galaxies
from our area.
Take plenty of time to let your eyes adjust to the darkness. Do not expect these subjects to appear like the photographs you see in
books and magazines; many will look like dim gray smudges. As you become more experienced and your observing skills get
sharper, you will be able to ferret out more and more subtle details and structure.
Many constellations have numerous objects hidden within them that are only visible with a telescope or binoculars. Pay particular
attention to objects with a “Messier Number”, like the Orion Nebula (M-42) and the Andromeda Galaxy (M-31). First published in
1774, Charles Messier made this list to help observers identify objects that might be mistaken for comets. Messier’s list includes
some of the brightest and most attractive deep sky objects observable from the northern hemisphere.
Star Clusters are particularly pretty, usually bright and easy to see. Note that some Messier Objects are very faint, and will take a
while to find and see. A few are very dim, but may seem to appear like magic when you look at them “out of the corner of your eye”.
This is called “averted vision” and works well when looking at very dim objects.
Star Hopping: This term describes how one uses a star chart to find objects too dim to see without a
telescope. You likely already know how to do this, if you can find the North Star by following the “pointer
stars” of the Big Dipper. To find a deep sky object, look for a pattern of stars that can act as landmarks for it.
For example: To find the Pinwheel Galaxy, M 101, look for the last two stars of the Big Dippers handle.
They make the base of a triangle that has the M 101 at the top.
8
You can also try a low-power (24mm) scanning of the Milky Way: just cruise through the “star clouds” of our galaxy. You’ll be
amazed at the rich fields of stars and objects you’ll see!
When to go observing:
“Seeing” and Transparency: Atmospheric conditions vary significantly from night to night. “Seeing” refers to the steadiness of the
Earth’s atmosphere at a given time. In conditions of poor seeing, atmospheric turbulence causes objects viewed through the telescope
to “boil”.
In conditions of good seeing, star twinkling is minimal and images appear steady in the eyepiece. Seeing is best overhead, worst at the
horizon. Good “transparency” is especially important for observing faint objects. Transparency is judged by the magnitude of the
faintest stars you can see with the unaided eye (Mag.1 is very bright, 2 is dimmer, and so on… 4th magnitude or fainter is desirable).
Looking at the Little Dipper will show you how good the viewing is. If you can see all the stars, you are
doing pretty well. Be sure to wait until your eyes adapt to the dark.
9
One more time, and with FEELING!
WARNING: Never look directly at the Sun through this telescope or its finder scope —even for an instant —or permanent eye
damage could result. Do not point the telescope at the Sun, as parts will melt! Children should use this telescope only with adult
supervision.
NEVER POINT THIS TELESCOPE AT THE SUN!
*******
"The best thing that we're put here for's to see;
The strongest thing that's given us to see with's
a telescope. Someone in every town
seems to me owes it to the town to keep one.
In Littleton it may as well be me."
Brad McLaughlin, quoted by
Robert Frost
in “The Star Splitter”