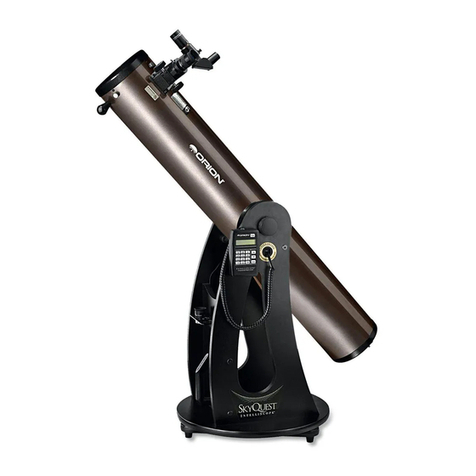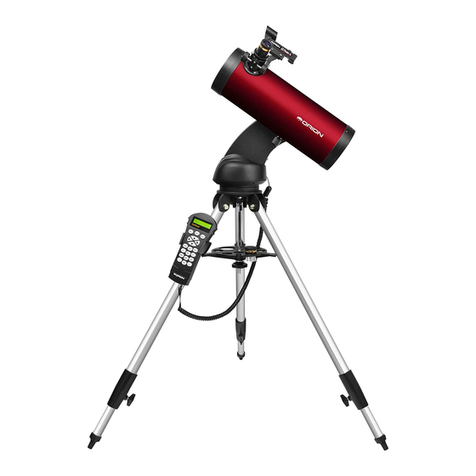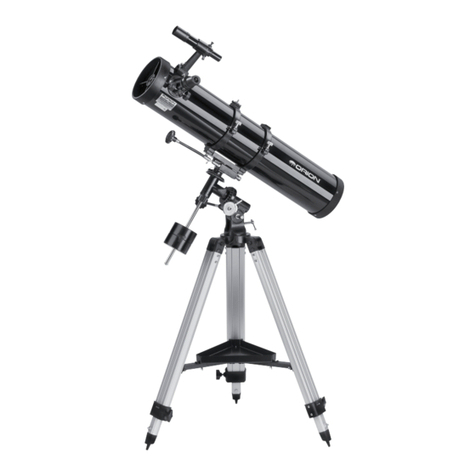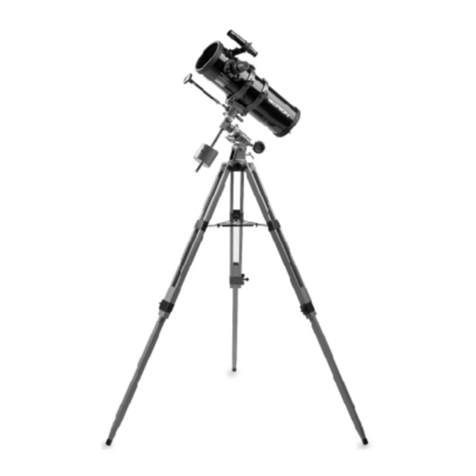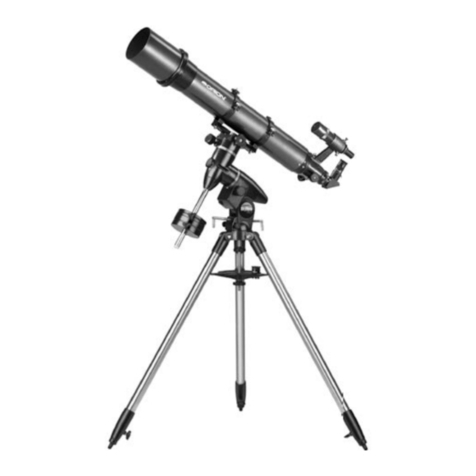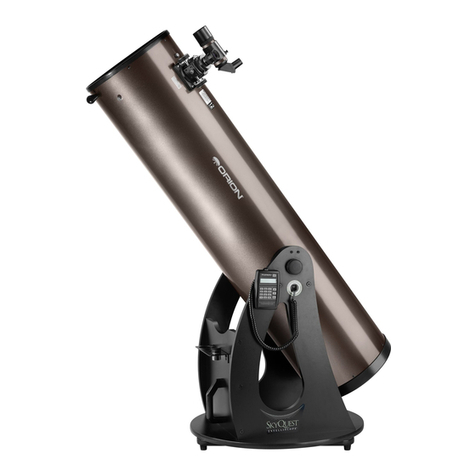
3
Introduction
Congratulations on your purchase of an Orion
StarSeeker IV GoTo telescope! Simple and friendly
to use, the StarSeeker combines state-of-the-art
GoTo pointing technology with sharp optics in a por-
table package that makes observing the night sky
both remarkably easy and wonderfully rewarding.
This manual covers a variety of different
StarSeeker models. Some sections may be specif-
ic to a particular type of telescope, but most apply
generally to features and procedures common to
all of the telescopes.
Take time to read through this manual before embarking
on your journey through the heavens. It may take a cou-
ple of observing sessions to become familiar with all of the
StarSeeker’s features. The StarSeeker’s hand controller dis-
plays step-by-step instructions to guide you through the align-
ment procedures needed to get the telescope up and running
in minutes. Use this manual in conjunction with the on-screen
instructions provided by the hand controller. The manual gives
detailed information regarding each step as well as needed
reference material and helpful hints guaranteed to make your
observing experience as easy and pleasurable as possible.
Parts List
Qty. Description
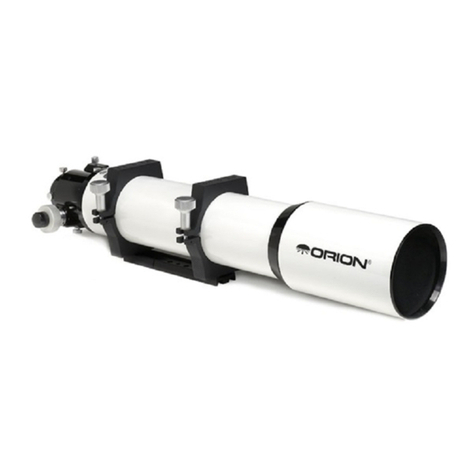
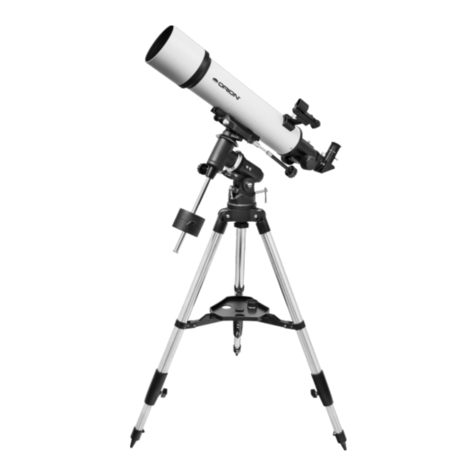
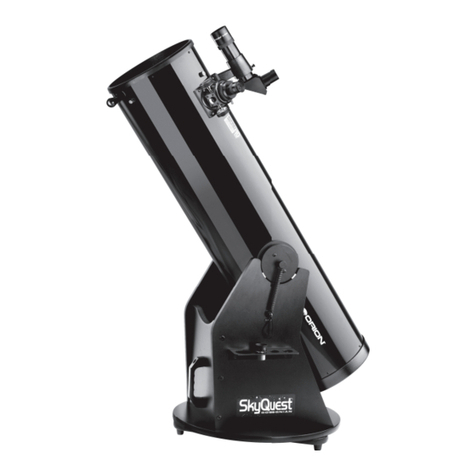
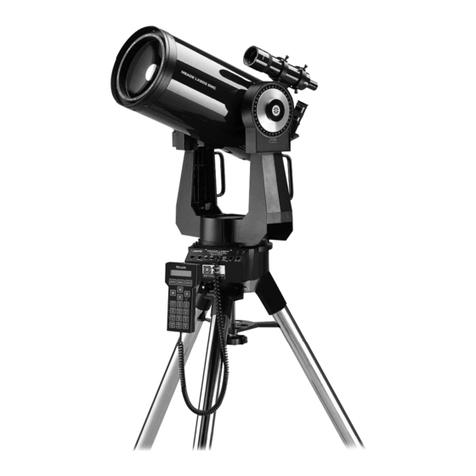
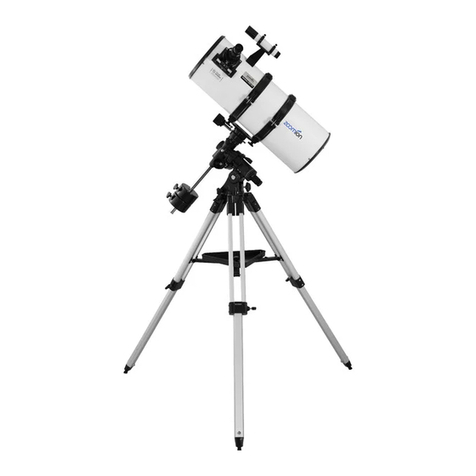
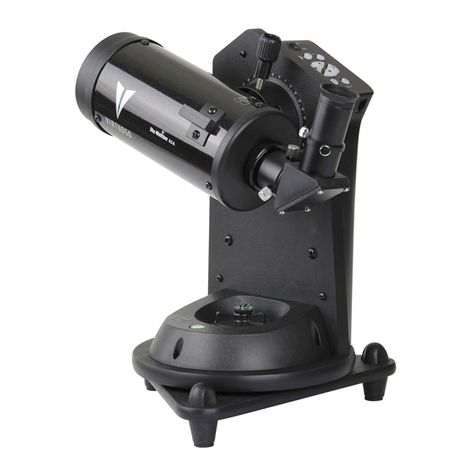
1 Optical tube assembly
1 Mount arm
1 Tripod
1 Accessory tray
1 GoTo hand controller
1 Hand controller cable
1 Hand controller holder
1 EZ Finder II reflex sight (with bracket)
1 23mm widefield 60-degree eyepiece
1 10mm widefield 60-degree Eyepiece
1 Star diagonal, 1.25" (Mak-Cass and Refractor
models only)
1 Quick-collimation Cap (Reflector models only)
1 Objective Cover
1 2mm Allen wrench (Reflector models only)
1 Serial RS-232 cable
1 DC power cable
1 Compass
1 Starry Night Software digital download insert
1 L-bracket (#13165 mount only)
1 Camera shutter control (SNAP) cable (#13165 mount only)
Table of Contents
Introduction ............................3
Parts List .............................. 3
Assembly ..............................4
Learning to Use the EZ Finder, Eyepieces,
and Focuser ............................8
The EZ Finder II ................................8
Eyepieces and Magnification ......................8
Focusing......................................9
Image Orientation...............................9
Powering the StarSeeker IV Mount ........ 10
The SynScan GoTo Hand Controller ....... 10
Initial Setup ........................... 11
Moving the Mount ...................... 12
GoTo Star Alignment .................... 12
Brightest Star Alignment. . . . . . . . . . . . . . . . . . . . . . . . . 13
2-Star Alignment...............................13
Locating Objects ....................... 14
SynScan’s Object Database......................14
Selecting an Object ............................14
Take a Guided Tour! ............................14
Select Using the Object Type Shortcut Keys .........14
Select Using the Object or Menu Shortcut Keys ......14
Identifying an Unknown Object....................14
Other Features & Functions .............. 15
Utility Functions ...............................15
Setup Functions ...............................15
Updating Firmware.............................15
Collimation of StarSeeker IV Reflectors .... 15
Appendix A – SynScan Menu Tree ........ 17
Appendix B – Time Zone Map ............ 18
Appendix C – Sky Maps (for selection of
alignment stars)........................ 19
WARNING: Never look directly at the Sun with the
naked eye or with a telescope – unless you have
a proper solar filter installed over the front of the
telescope! Otherwise, permanent, irreversible eye
damage may result.
