Orphan espresso Lido Basic User manual

Lido Basic Coffee Grinder Instruction Manual
If you have read the Quick Start Guide you have most of what you need to successfully operate the Lido Basic Grinder. Here
we will expand the information, give some tips, and set you on the way to making the best use of your Lido coffee grinder.
Parts of the Grinder:
Always turn the handle clockwise for grinding!
The Lido Basic arrives fully assembled, you have only to screw on the glass jar and you are ready to grind coffee.
The Lido Basic has 2 reference marks - one is on the burr carrier with a small dot (Fine), and a large dot (Coarse). Use this
reference point when setting the grind adjustment. The Adjustment ring has a painted line to be used as a reference to keep
track of your grind setting. To adjust you will turn the adjustment ring and monitor the number of marks as they pass by the
reference on the burr carrier.
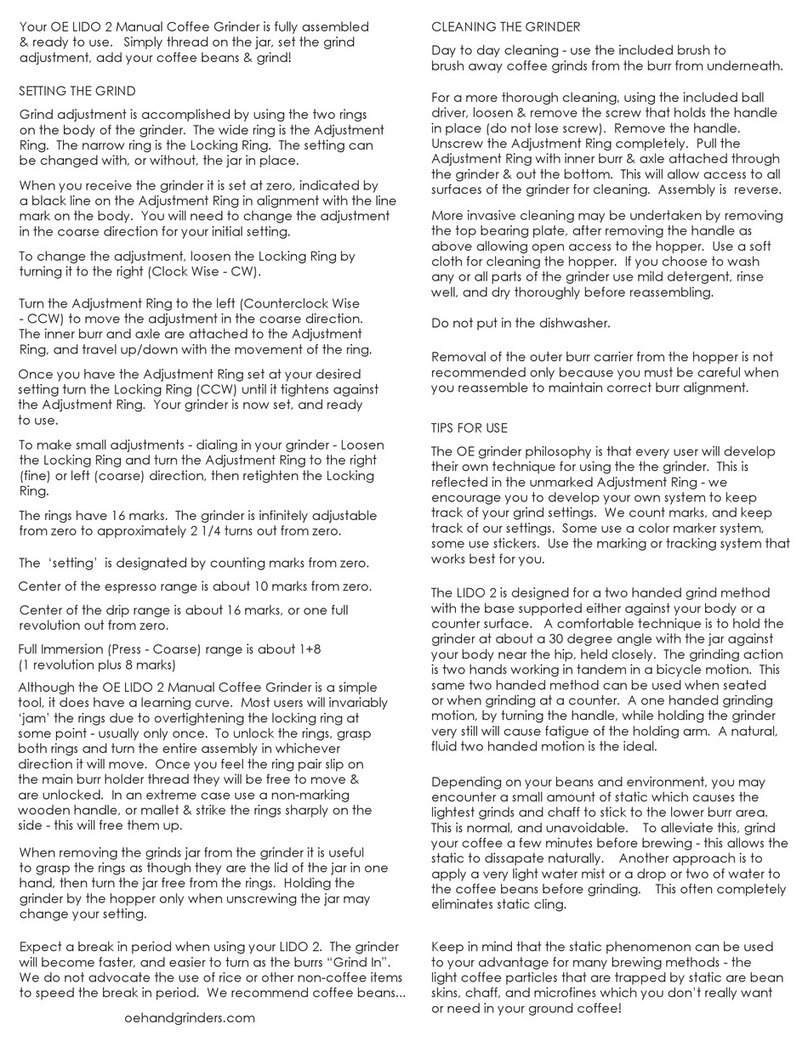
Grind setting out of the box will be at a reference mark of approximately zero. When you receive the grinder loosen the locking
pin on the adjustment ring, and turn the ring about ½ revolution (8 marks), tighten the locking pin (DO NOT OVERTIGHTEN),
then grind a few scoops of coffee. This will lubricate the grinding burrs.
To unscrew the catch jar, grasp the adjustment ring & hold it still while unscrewing the jar.
You will note the ability to set the adjustment ring ‘below’ the referenced zero - there will be burr rub at or below this point. There
is no artificial stop installed to prevent moving the adjustment below the reference zero. You can continue to turn the adjustment
ring in the Fine direction until the burrs lock together. This will not damage the burrs, but you can’t grind much coffee at this
adjustment level.
A “True Zero” is when the burrs are locked together. The Lido Basic system is designed to use a ‘Referenced Zero” and all
settings are relative to this. Also, over time, as the burr is seasoned through grinding coffee, there is a better & better mating
of the cone & ring burrs, as well as some lapping of the machined edges, so the “True Zero” will be finer & finer, and further
from the Reference Line on the Burr Carrier. Once the burrs are fully seasoned you can remove the paint line, and remark
the adjustment ring if you want!
Handle
Hopper
Ring Burr Carrier
Reference Marks
Lower Bearing Holder
Adjustment Ring
Grounds Jar
Upper Bearing Holder
Knob
Locking Pin

Adjusting the Grind Size
Caveat: Given the wide variations in beans (freshness, origin, processing, roast level, etc.), machines, techniques, trends,
fads, and expectations, we can ONLY provide some general recommendations of the initial settings to use for dialing
in your grind - YMMV.
General Grind Setting Guide
Extraction Method Marks from Reference
Turkish / Ibrik
Espresso
Moka Pot
Aeropress
Percolation/Pour Over
Automatic Brewer
Full Immersion
Cold Brew
0-1
1-3
4-5
4-6
8-10
10-14
14-16 & above
One full revolution
& above
The Lido Basic has a stepless adjustment system. Changes in grind size are referenced with marks around the adjustment ring
(16 for a full revolution). The system is so simple that it feels a bit odd to describe it: Loosen the locking pin, rotate the
adjustment ring to the desired setting, tighten the locking pin.
IMPORTANT: Please DO NOT OVERTIGHTEN the locking pin. Overtightening will shorten the life span of the nylon tip on
the pin. Take a moment to get a feel for the needed tightening of that pin – it does not take much to lock the adjustment ring
in place. So, as you are grinding beans to lubricate, and begin the burr seasoning process, experiment a little to see how
much/little the pin requires to hold the adjustment in place – finger tight is usually enough… Turn the pin until you make
contact, and see if the adjustment ring will move – if it does, tighten the pin just a little bit tighter. You may be shocked to
find how little force is needed to lock the adjustment ring!
NOTE: The point of the locking pin where it contacts the burr carrier for locking is below the threading on the carrier. The pin does
not lock on the threads (don’t worry, you can not damage the threading by overtightening, it will just shorten the life of the nylon tip)
As mentioned above, there are 16 marks on the adjustment ring. The thread pitch of the adjustment system is 2mm. Each mark
will allow the cone burr to drop 0.125mm Vertical Burr Movement (VBM) and 1 full revolution moves the burr 2mm up/down.
The VBM can be calculated if this is a number that feels relevant to you. VBM is not equivalent to grind size, or burr gap, but
there is relationship between them.
About Static:
When grinding certain beans under dry conditions you may encounter a fair amount of static in the grounds. We would
encourage you to grind through this period, since static is at it’s worst when burrs are new. Seasoning, and the grinding in of
the burrs will vastly reduce this issue. You may be tempted to reduce the static by the application of small amounts of water
to the beans before grinding. RDT (Ross Droplet Technique) has been shown to be an effective method for static reduction.
When applied carefully (not too much water - it only takes a drop or two!!!) it can help the static dissipate much more quickly.
BUT, keep in mind - your Lido Basic has uncoated, hardened steel burrs - if you choose to use RDT, be prepared to fastidiously
clean the burrs much more frequently, and you may see some discoloration because of it . Water can cause the burrs to rust...
Rust on burrs is not covered under warranty. Thorough seasoning of the burrs, by grinding coffee, reduces the static issue...
RDT does not prevent static - it shortens the time required for natural static dissipation. Time will accomplish the same thing!

Cleaning and Maintenance:
We are not overly obsessive about cleaning the burrs, particularly since we don’t use RDT.
Provided with your Lido Basic there are 3 tools - a 2.5mm Hex Screwdriver, a 2.5mm Hex L Key, and a toothbrush style brush.
There is very little retention of coffee in the burrs, when you do choose to clean the grinder, use the following procedure:
Using the Hex Screwdriver Tool, remove the screw at the top of the grinder that holds the handle to the axle. Remove the handle,
and set aside.
Loosen the locking pin, turn the adjustment ring all the way off the burr carrier, and pull the Adjustment ring with Axle and Cone
Burr out of the grinder. This allows access to the ring burr and the cone burr. Brush clean.
Make sure the threads of the burr carrier & adjustment ring are clean of coffee fines.
Compressed air, or a hand blower, are a great way to dust/clean it all out.
Assembly is the reverse - slide the axle up through the roller bearings, push up on the adjustment ring to ‘catch’ the threads
of the burr carrier, and screw the adjustment ring back into place.
Attach the handle in the appropriate position (it has a D socket so you must align it to the D at the top of the axle).
Attach the screw using the Hex Screwdriver.
You will note - there is a washer held with a screw on the bottom of the burr in the grinds chamber-this attaches the axle & burr
to the adjustment ring. If you wish to detach the axle/cone burr from the adjustment ring, hold the handle in one hand, and
remove this screw & washer, but it is not necessary for general cleaning. Wipe the grinder outside with a clean, soft cloth.
ONLY the glass jar may be washed in a dishwasher.
The Hex L-key is used for total disassembly of the grinder - this is not something generally that needs to be done, but we suspect
some will do it, so we provide the proper tool. If you want to wash the hopper, for example, you will need to fully disassemble
the grinder, and reassembly will require realignment of the grinder burrs. This process is covered in a video.
DO NOT PUT ANY PART OF THE GRINDER IN A DISHWASHER EXCEPT THE GLASS JAR
TIPS & Techniques:
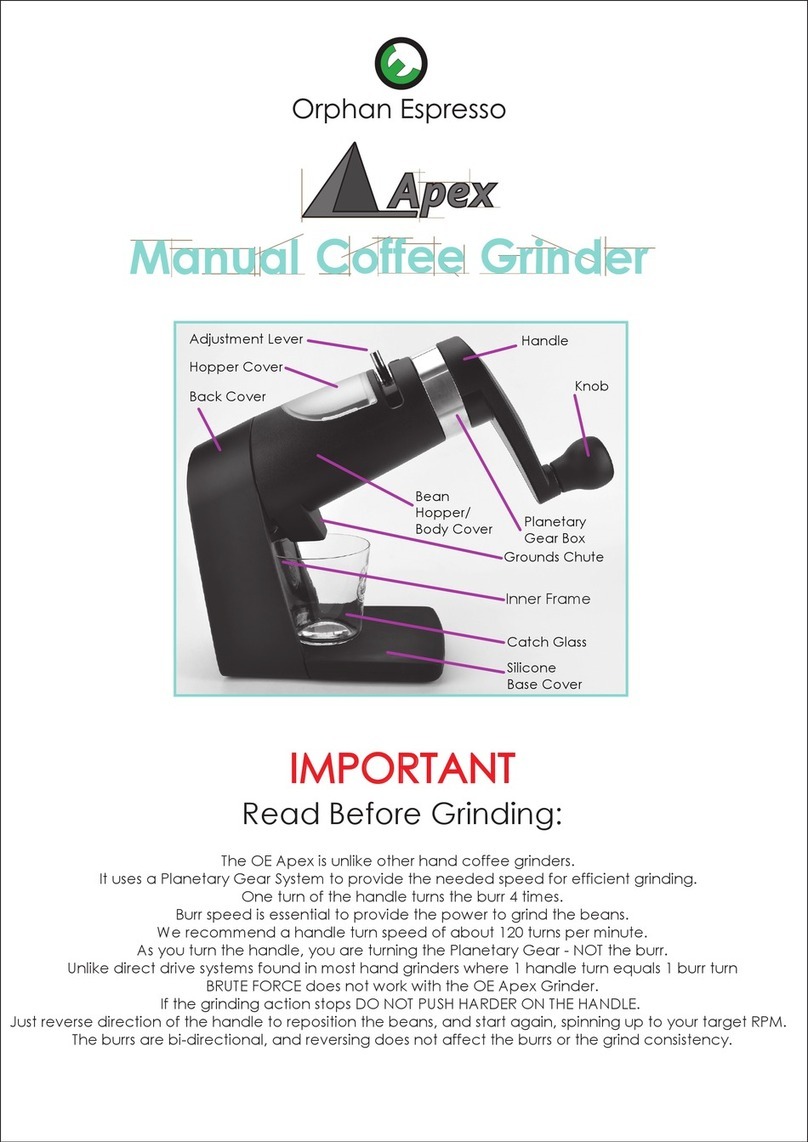
The OE Lido grinders have all been designed to use a technique we call “Base Supported Grinding”. We recommend either
supporting the base against your hip while standing to counteract the turning force, or supporting the base/jar on a counter
pad or towel while holding the grinder at about a 30 degree angle.
Rotate the handle, as well as the body of the grinder in a two handed motion. You can practice this by grasping the knob of the
handle, and turning ONLY the grinder, without moving your knob-hand position much at all! This grinding action results in a very
efficient use of your muscles without overstraining. By rotating the body of the grinder you also help create a very even feed of
the beans into the burrs.
Holding the grinder out in front of you and turning only the handle with no support is awkward , inefficient, slow and tiring!
Good technique makes all the difference!
When manipulating the grinder, particularly for grounds removal, don’t be afraid to treat it like the heavy duty tool it is - the glass
jar is quite strong, and tapping it on a counter pad or towel to shake the grounds down won’t hurt it. It’s not delicate!
Don’t abuse, but don’t be afraid of it either!
If your goal is repeatable settings, especially in the espresso range, be sure to always approach your setting from the same
direction. This is due to threading lash. In other words, if your espresso setting is 2 1/2 marks from reference zero, always
approach your mark from the zero side. or always from the + side - be consistent with your approach and your settings will
also be consistent.
When making adjustments, especially when dialing in for espresso, make small changes relative to the last shot. Go a little
coarser, or a little finer from the current position - there is no need to go back to zero each time.
Video links, & schematic can be found on the web: https://www.oehandgrinders.com/lido-manual-coffee-grinder-info-page.html
Remember, grind consistency will get better & better with burr seasoning - a new grinder needs to work in to be at it’s best!
Happy Grinding!
Barb & Doug Garrott
Orphan Espresso
Table of contents
Other Orphan espresso Coffee Grinder manuals
