CC30/KH30/ME30/MN30
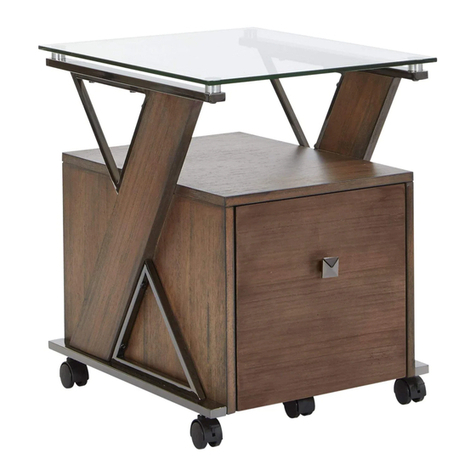
FILE CABINET
ASSEMBLY INSTRUCTIONS
© Office Star Products October 2008
IMPORTANT NOTE:
1. Use hand tools only for assembly as power tools may cause damage
2. Carefully remove any staples used for packaging.
3. Phillips Screwdriver also needed for assembly (not provided)
STEP 1 & 2
2L
13
2R
3
5
4
10
9
12
7R
6
14
1
DETAIL A
11
8
PART QTY
1. Top ........................1
2. Side Panel (2L & 2R) . . . . . . . . . . 2
3. Bottom Frame . . . . . . . . . . . . . . . . 1
4. Back Panel ..................1
5. Drawer Front .................2
6. Drawer Bottom . . . . . . . . . . . . . . . . 2
7. Drawer Side (7L & 7R). . . . . . . . . 4
8. Drawer Back .................2
9. Knob .......................2
10. Allen Screws . . . . . . . . . . . . . . . . 8
11. Short Wood Screws . . . . . . . . . . . 8
12. Long Wood Screws . . . . . . . . . . 24
13. Short Screws . . . . . . . . . . . . . . . . 2
14. L Brackets ..................2
15. Allen Wrench (Not Shown) . . . . . 1
Remove all parts from carton, separate by part numbers indicated on parts list, and verify part quantities.
DraWEr aSSEMBLy:
STEP 1. With groove facing inwards, attach Drawer Sides (7L & 7R) to Drawer Back (8) using three Long Wood Screws (12) for
each Drawer Side (7). Slide Drawer Bottom (6) into grooves of Drawer Sides (7L & 7R) and Drawer Back (8).
STEP 2 Attach Drawer Front (5) to Drawer Sides (7L & 7R) using three Long Wood Screws for each Drawer Side (7).
FULLY TIGHTEN ALL SCREWS. Attach Knob (9) to Drawer Front (5) by using one Short Screw (13).
Repeat STEP 1& 2 for second Drawer. FULLY TIGHTEN ALL SCREWS.
CaBInET aSSEMBLy:
STEP 3. Place Top (1) face down on soft surface. Align one Side Panel (2L) to side of Top (1) so that Back Panel (4) grooves
align. Secure using two Allen Screws (10). DO NOT FULLY TIGHTEN ALL SCREWS COMPLETELY.
STEP 4. Insert Back Panel (4) in grooves of Top (1) and installed Side Panel (2L). Align grooves in Bottom Frame (3) to Back
Panel (4) and attach to installed Side Panel (2L) using two Allen Screws (10).
DO NOT FULLY TIGHTEN ALL SCREWS. Align remaining Side Panel (2R) to Top (1), Bottom Frame (3), and Back Panel (4).
Secure using Allen Screws (10). APPLY FIRM PRESSURE TO ALIGN AND FULLY TIGHTEN ALL SCREWS.
STEP 5. Install one L Bracket (14) to each back inside corner of assembled cabinet using four Short Wood Screws (11) for
each L Bracket (14). FULLY TIGHTEN ALL SCREWS.
ATTENTION: MAKE SURE ALL SCREWS ARE FULLY TIGHTENED BEFORE USING CABINET.
STEP 3 & 4
STEP 4
12
7L
DETAIL B
DETAIL C
DETAIL D


