manuals.online logo
Brands
  1. Home
  2. •
  3. Brands
  4. •
  5. Ostermann
  6. •
  7. Indoor Furnishing
  8. •
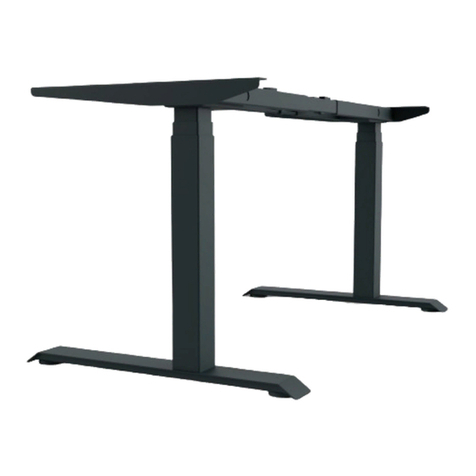
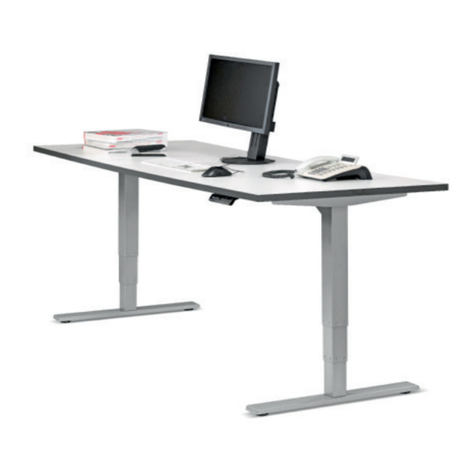
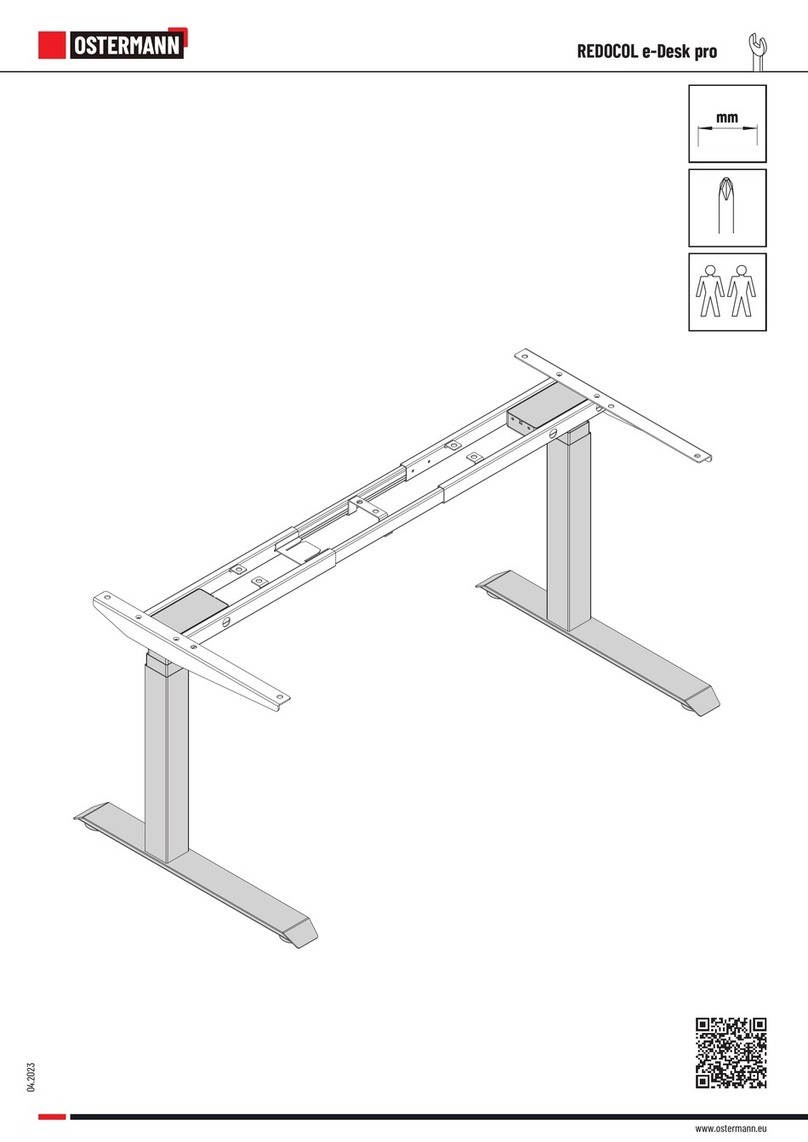
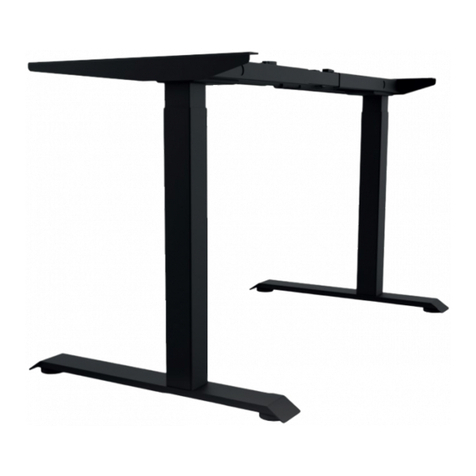
  9. Ostermann REDOCOL e-Desk Pro 90 Supplement

Ostermann REDOCOL e-Desk Pro 90 Supplement

Elektrisch höhenverstellbares Tischgestell / Electrical Height Adjustable Desk Frame
AUFBAU- & BEDIENUNGS- ANLEITUNG
ASSEMBLY & OPERATION MANUAL
REDOCOL e-Desk Pro 90
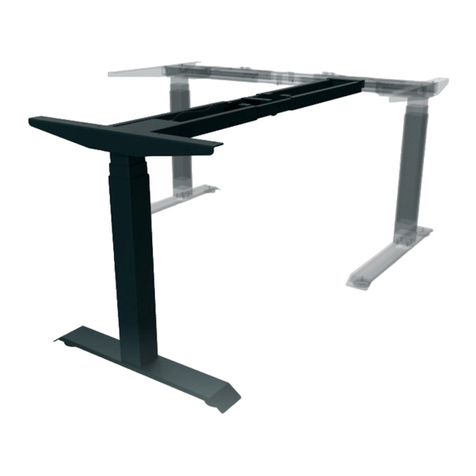
Anbauteil 90 / Extension 90
2
Before using this device, read these operating instructions careful-
ly and keep this user manual for future reference.
Before using the product, check the desk and power cables for any
visible signs of damage. If you notice cuts or deep scratches, do not
turn on the device.
Before using it, make sure that the length of the power cable is
sufficient for the full movement of the frame.
The height-adjustable desk contains electronic circuits and should
only be used in dry environments. Do not use outdoors or in very
dusty environments.
Keep all electrical components away from liquids. Never touch or
handle the desk, power supply, the control box, the panel control or
any other cable with wet hands.
Clean the product only with a clean, dry, soft cloth or cloth.
Disconnect from the power supply before moving or cleaning electrical
components.
Do not disassemble the columns, control box and control panel.
These actions are considered damage caused by the user.
This product contains small parts. Make sure they are out of
the reach of children. Do not allow children to play with the device.
Packing materials must not be used as toys.
Do not lay or sit on the worktop. This product is not for lifting people.
Do not exceed the maximum permissible load weight.
This product can be used in a 10% cycle (2 minutes of operation,
followed by 18 minutes pause).
The manufacturer cannot be held liable or responsable for any
damage or injuries resulting from improper use, in other words,
non-compliance with these safety instructions and warnings.
This sign indicates that this product must not be disposed
through regular household waste within the European Union.
To prevent possible harm to the environment or human health
from uncontrolled waste disposal, recycle it responsibly to
promote the sustainable reuse of material resources. To re-
turn your used device, please use the return and collection
systems or contact the retailer where the product was purchased. There
you can obtain all information necessary to dispose of this product properly.
(WEEE-Reg.-Nr. DE: 52242201)
TECHNISCHE DATEN
KORREKTE ENTSORGUNG
Dieses Zeichen bedeutet, dass dieses Produkt innerhalb
der Europäischen Gemeinschaft nicht mit dem normalen
Hausmüll entsorgt werden darf. Um mögliche Schäden
durch unsachgemäße Entsorgung von Umwelt und Mensch
fernzuhalten, ist eine sachgerechte Entsorgung sicherzu-
stellen. Im Entsorgungsfall wenden Sie sich bitte an den
verantwortlichen Entsorger oder den genannten Hersteller, um entspre-
chende Entsorgungsstellen zu nden. (WEEE-Reg.-Nr. DE: 52242201)
1. Elektrische Komponenten:
Eingangsspannung: 100-240V, 50/60 Hz
Nutzgrad: 10% max 2 min ein 18 min aus
Automatische Ausschaltung,
energiesparend
2. Tischgestell (in Verbindung mit Redocol e-Desk pro)
Minimalhöhe: 600 mm
Bewegungsdistanz: 650 mm
Dynamische Belastung: 160 kg max.
Statische Belastung: 180 kg max.
Geschwindigkeit: 38 mm/s
Betriebstemperatur: 0 - 40°C
5 Jahre
GARANTIE TECHNICAL SPECIFICATIONS
CORRECT DISPOSAL
1. Electric Components:
Input Voltage: 100-240V, 50/60 Hz
Duty Cycle: 10% max 2 min on 18 min o
Automatic power o,
low energy consumption
2. Desk Frame (in connection with Redocol e-Desk pro)
Minimum Height: 600 mm
Travel Distance: 650 mm
Dynamic Load: 160 kg max.
Static Load: 180 kg max.
Speed: 38 mm/s
Operating Temperature: 0 - 40°C
5-year
warranty
IMPORTANT SAFETY INSTRUCTIONSWICHTIGE SICHERHEITSHINWEISE
Bevor Sie das Gestell in Betrieb nehmen, lesen Sie diese Anlei-
tung sorgfältig durch und bewahren Sie diese sorgfältig auf.
Bevor Sie das Gestell nutzen, überprüfen Sie alle stromführenden
Kabel auf Beschädigungen. Sollten Sie erhebliche Beschädigungen
feststellen, nehmen Sie das Gestell bitte nicht in Betrieb.
Bitte stellen Sie sicher, dass das Stromkabel ausreichend lang ist
um die gesamte Höhenverstellung zu erlauben.
Das Gestell enthält elektrische Bauteile und sollte daher nur in
trockener Umgebung genutzt werden.
Alle elektrischen Bauteile von Flüssigkeit fernhalten. Niemals
diese Bauteile mit nassen Händen berühren.
Reinigen Sie das Produkt mit einem sauberen, trockenen Tuch. Bitte
vor der Reinigung der elektrischen Bauteile vom Strom trennen.
Die Hubsäulen, der Steuerkasten und die Handsteuerung dürfen
nicht geöffnet werden. Sie verlieren dadurch Ihren Garantieanspruch.
Dieses Produkt enthält kleine Teile. Stellen Sie sicher, dass Kinder
keinen Zugriff darauf haben. Dieses Produkt ist nicht geeignet für
Kinder. Das Verpackungsmaterial soll nicht zum Spielen genutzt
werden.
Bitte nicht auf den Tisch liegen oder sitzen. Das Gestell ist nicht
für die Bewegung von Personen ausgelegt.
Überschreiten Sie das zulässige Gesamtgewicht nicht.
Dieses Produkt kann in einem 10% Zyklus genutzt werden. (max.
2 Minuten aktiv innerhalb einer Zeitspanne von 20 Minuten).
Der Hersteller kann nicht für Schäden haftbar gemacht werden,
die durch unsachgemäße Nutzung entstehen.
3
2
Component parts
Standard height adjustable desk 90 Degree frame
-90 Degree frame parts list
1
3
5
2
4
6
8
7
91011
12 1413
15
1
2
3
4
5
6
7
8
9
10 11 12 13 14 15 16
171819
INHALT / CONTENT
(Redocol e-Desk pro vorausgesetzt /
Redocol e-Desk pro required)
Nr. Bauteil/component Menge/pcs
1M6x16 Schrauben / Screws 4
2Feder-Unterlegscheibe / Spring washer 4
3Unterlegscheibe / Washer 4
4Ausgleichsfüße / Leveling pads 2
5Kufe / Table Feet 1
6Hubsäule / Lifting column 1
7M6x12 Schrauben / Screws 4
812x3/4 Schrauben / Screws 10
9Seitenhalterung / Side brackets 1
10 Rahmenanschluss 1 / Top frame-1 1
Nr. Bauteil/component Menge/pcs
11 M6x10 Schrauben / Screws 10
12 Mittelschiene / Centre bracket 1
13 Mittelschienen / Centre rails 2
14 Rahmenanschluss 2 / Top frame-2 1
15 M6x12 Handschrauben / Hand bolts 2
16 Inbus / Allen wrench (4 mm) 1
17 Kabelbinder / Cable ties 2
18 Verbindungskabel Hubsäule /
Motor cable 1
4
1
3
2
Setzen Sie die Hubsäule in den Rahmen ein.
Fixieren Sie die Hubsäule mit 2 M6x12 Schrau-
ben und ziehen Sie anschließend die vorinstal-
lierten Bolzen, mithilfe des Inbus, fest.
Insert the lifting column to the top frame. Fix
the lifting columns with 4 pcs M6x12 screws
and then tighten the pre-installed bolts with the
Allen wrench.
MONTAGE / ASSEMBLY INSTRUCTIONS
Passen Sie die Länge des Rahmens so an, dass
er der Tischplatte entspricht.
Adjust the length of the top frame to match the
size of the table top.
Drehen Sie die Ausgleichsfüße in die Kufe.
Danach befestigen Sie die Kufe an der Hub-
säule mit 4 M6x16 Schrauben und jeweils 1
Unterlegscheibe und 1 Feder-Unterlegscheibe
pro Schraube.
Install the leveling pads on the table feet,
attach the table feet and fasten them with
4pcs M6x16 bolts and each 1 washer and 1
spring washer per bolt.
5
4
5
6
6
Step 5
Connect the 90 degree frame to the standard height adjustable desk,tighten the brackets with 2 pcs
Hand bolts
Step 6
Place the Adhesive pad on the top of frame,fix the table top with 22 pcs ST4x16 screws
Fix the contorl panel with 2 pcs ST4x16 bolts.
MONTAGE / ASSEMBLY INSTRUCTIONS
Befestigen Sie die Tischauage mit 2
Schrauben M6x12 - fest anziehen.
Install the side brackets with 2 pcs
M6x12 screws and make sure they are
completely tighten.
Befestigen Sie die Arbeitsplatte mit
Hilfe der 10 mitgelieferten Schrauben
12x3/4. Wenn Sie möchten, können
Sie die Handsteuerung lösen und neu
positionieren.
Mount the table top with 10 pcs
12x3/4 screws. If you want you can
loosen the handset and reposition it.
Verbinden Sie das Anbauteil mit dem
Basisgestell und xieren es mit den
beiden Grischrauben. Montieren Sie
die mittlere Halterung mit 10 M6x10
Schrauben.
Connect the 90 degree frame to the
standard height adjustable desk, tight-
en the brackets with 2 pcs Hand bolts.
Install the center bracket with 10 pcs
M6x10 screws.
6
7
8
A
B
8
Use Instructions
IMPORTANT:
PLEASE READ THE USE INSTRUCTIONS CAREFULLY BEFORE OPREATE THE DESK.
A. Parts list
1. Lifting Column …….. ............................................................................................................................... 3 pcs
2 Control panel/Keypad ............................................................................................................................ 1 pcs
3. Control Box ……...................................................................................................................................... 1 pcs
4. Motor Cable …................................................................................................................................... 3 pcs
5. Power Cord …………............................................................................................................................... 1 pcs
Connect the cables as shown in the photo below:
B. Technical Specifications
Input: 100-240VAC
Output Power: 29VDC
Maximum accepted weight: 160 kg (including tabletop weight)
Maximum speed: 38 mm/s
Minimum height: 610mm
Travel distance: 650 mm
Operating temperature: 0-40°C
Duty Cycle: Max.10% or 2 min on and 18 min pause
MONTAGE / ASSEMBLY INSTRUCTIONS
ERWEITERUNG AUF DRITTE SÄULE / CONNECT TO THIRD LEG
Befestigen Sie die Kontrollbox am Tisch-
gestell, verbinden Sie die Kabel und orga-
nisieren Sie diese mit den Kabelbindern.
Mount the control box to the desk frame,
connect the cables and zip the cables with
the cable ties.
A. Die Hubsäule des Anbauteils wird mit dem
Eingang M3 verbunden.
B. Stellen Sie sicher, dass alle Hubsäulen kom-
plett eingefahren bevor Sie die dritte Hubsäule
anschließen.
A. Third leg, please connect to M3.
B. Please make sure the all the lifting column
are same height when third legs connected.
WICHTIG: Der Auslieferzustand der Kontrollbox
ist für den Betrieb von 2 Hubsäulen. Die Kont-
rollbox hat die Anschlüsse M1, M2 und M3.
Die beiden Hubsäulen des Basismodells müssen
an M1 und M2 angeschlossen werden.
IMPORTANT: Original status is dual motor
model. Control box have M1, M2, M3.
Dual motor model, please connect to M1, M2.
7
9
UMPROGRAMMIERUNG / PROGRAMMING INSTRUCTIONS
Convert 3 motors to work together
1. Connected to third leg
2. Press “UP” ,”DOWN”, “3” at the same time, the handset will display
,and then will display
3. Please press “DOWN” button and no release till lifting column to lowest
position and slightly back. Handset will display “60.0”, 3 motors can work
together now. It is mean 3 motor model.
Convert 3 motors to 2 Motors
1. Unplug the third lifting column,handset will display
2. Press “UP” ,”DOWN”, “ 2” at the same time, the handset will display
,and then will display
3. Please press “DOWN” button and no release till lifting column to lowest
position and slightly back. Handset will display “60.0”, 2 motors can work
together now. It is mean 2 motor model.
Erweiterung zu einem 3 Hubsäulen Gestell
1. Drücken Sie die Tasten "Auf", "Ab" und "3" gleichzeitig. Im Display er-
scheint und dann .
2. Bitte führen Sie dann ein Reset aus indem Sie die Taste "AB" gedrückt
halten bis das Gestell die niedrigste Position erreicht und leicht zurück-
fährt. Dann erscheint "60.0" im Display und das Gestell operiert als
3 Säulen Gestell.
Von 3 Hubsäulen auf 2 Hubsäulen Betrieb ändern
1. Trennen Sie die 3. Hubsäule von der Kontrollbox indem Sie das Kabel aus
der Buchse M3 ziehen. Im Display erscheint .
2. Drücken Sie die Tasten "Auf", "Ab" und "2" gleichzeitig. Im Display er-
scheint und dann .
3. Bitte führen Sie dann ein Reset aus indem Sie die Taste "AB" gedrückt
halten bis das Gestell die niedrigste Position erreicht und leicht zurück-
fährt. Dann erscheint "60.0" im Display und das Gestell operiert als 2
Säulen Gestell.
Wichtig: Bei Gebrauch von 2 Hubsäulen sind die beiden Kabel unbedingt mit den Buch-
sen "1" und "2" der Steuereinheit zu verbinden. Die Buchse "3" darf nur in Zusammen-
hang mit einer dritten Hubsäule verwendet werden.
Important: When using only 2 lifting columns the connecting cables must be plugged
into the sockets marked "1" ans "2" on the control box. The socket marked "3" is only
to be used when connecting a third lifting column.
1
Electric Height Adjustable Desk
SHB310-Z650-3
Instruction Manual
Table of Contents
Component parts ............................................................................................................................................ 2
Assembly Instructions ……................................................................................................................................ 3
Use Instructions ………….................................................................................................................................... 8
Troubleshooting ………................................................................................................................................... 12
Important Safety Instructions ………………….................................................................................................... 13
Advanced Programming …………………............................................................................................................ 14
Redocol e-Desk 90
Aufbau- & Bedienungsanleitung
Assembly & Operation Manual
Stand: 07/2021 | Technische Änderungen vorbehalten / Technical changes reserved

Other Ostermann Indoor Furnishing manuals

Ostermann REDOCOL e-Desk Pro 90 Extension 90 Supplement

Ostermann

Ostermann REDOCOL e-Desk Pro 90 Extension 90 Supplement

Ostermann REDOCOL e-Desk pro Supplement

Ostermann

Ostermann REDOCOL e-Desk pro Supplement

Ostermann REDOCOL e-Desk eco Supplement

Ostermann

Ostermann REDOCOL e-Desk eco Supplement

Ostermann K253 Installation guide

Ostermann

Ostermann K253 Installation guide

Ostermann REDOCOL e-Desk eco Supplement

Ostermann

Ostermann REDOCOL e-Desk eco Supplement

Ostermann e-Desk 1+2 User manual

Ostermann

Ostermann e-Desk 1+2 User manual

Ostermann REDOCOL e-Desk pro User manual

Ostermann

Ostermann REDOCOL e-Desk pro User manual

Popular Indoor Furnishing manuals by other brands

Sierra Comfort SC-2000 user manual

Sierra Comfort

Sierra Comfort SC-2000 user manual

Habitat Hana II 805801 manual

Habitat

Habitat Hana II 805801 manual

Costway Go Plus HW62041 user manual

Costway

Costway Go Plus HW62041 user manual

CHERUBINI CLIMA PLUS RX instructions

CHERUBINI

CHERUBINI CLIMA PLUS RX instructions

RTA CLIQSTUDIOS Assembly instructions

RTA

RTA CLIQSTUDIOS Assembly instructions

Teamson VERSANORA VNF-00045 Assembly instructions

Teamson

Teamson VERSANORA VNF-00045 Assembly instructions

Polini kids Simple manual

Polini kids

Polini kids Simple manual

U-Line H-7822 quick start guide

U-Line

U-Line H-7822 quick start guide

HABAU 698 Assembly instructions

HABAU

HABAU 698 Assembly instructions

Next HEX 526273 Assembly instructions

Next

Next HEX 526273 Assembly instructions

Venjakob Sentino Assembly instruction

Venjakob

Venjakob Sentino Assembly instruction

Bestway 43413 manual

Bestway

Bestway 43413 manual

Furniture of America Calliope CM7751D&M Assembly instructions

Furniture of America

Furniture of America Calliope CM7751D&M Assembly instructions

Forward Industries HM-ST011-001 Assembly instructions

Forward Industries

Forward Industries HM-ST011-001 Assembly instructions

Vivo DESK-TOP60B instruction manual

Vivo

Vivo DESK-TOP60B instruction manual

SNUGSQUARE OSLO HEADBOARD quick start guide

SNUGSQUARE

SNUGSQUARE OSLO HEADBOARD quick start guide

Rockler Salice 56534 instructions

Rockler

Rockler Salice 56534 instructions

American Standard Brook Console Table 9373.100 Assembly/installation instructions

American Standard

American Standard Brook Console Table 9373.100 Assembly/installation instructions

manuals.online logo
manuals.online logoBrands
  • About & Mission
  • Contact us
  • Privacy Policy
  • Terms and Conditions

Copyright 2025 Manuals.Online. All Rights Reserved.