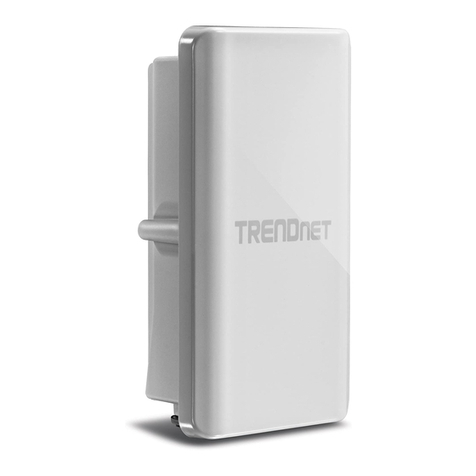
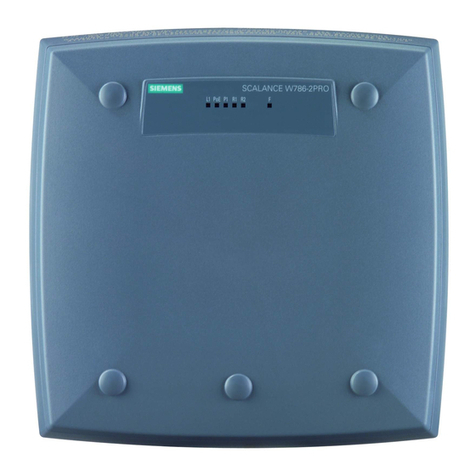
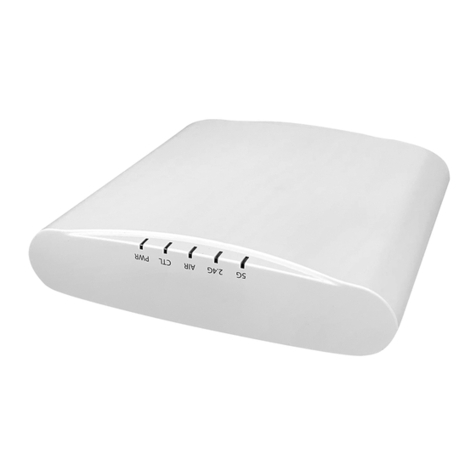
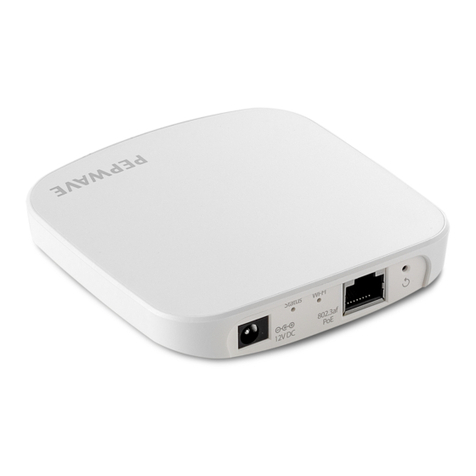
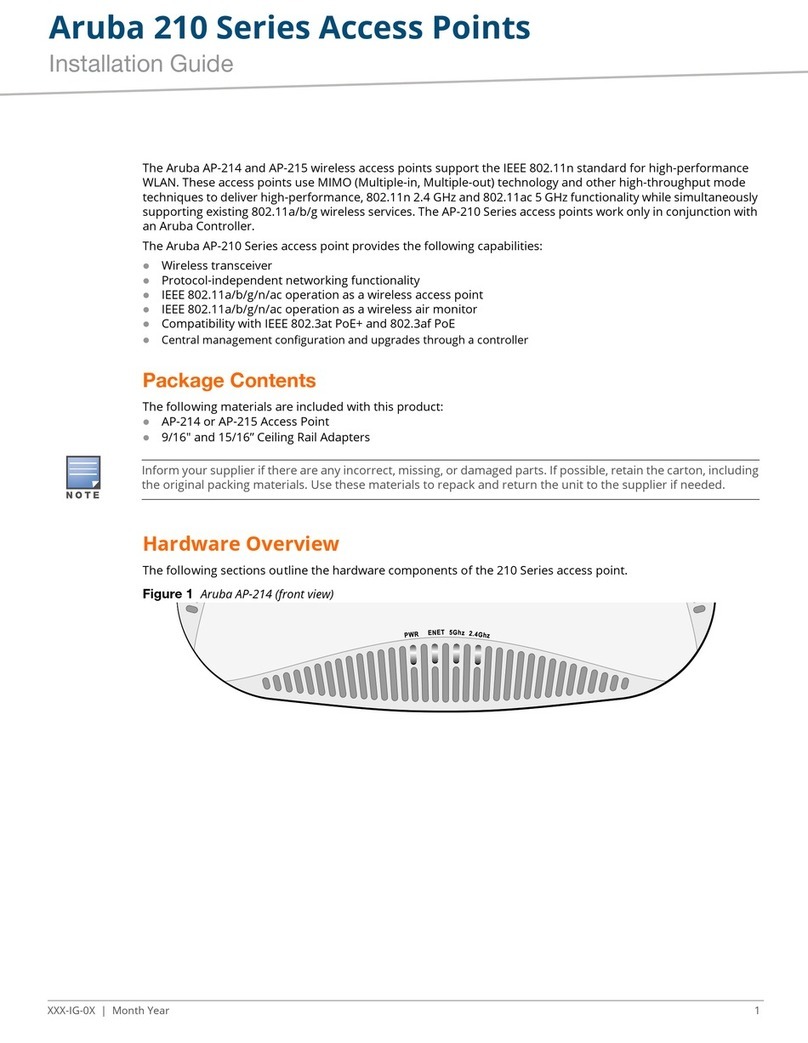
Otai Gini CCAP-300 User manual

Ceiling
Wireless
Access Point MIMO/AC
User Manual
always innovative
1
CCAP300CCAP300
g
n

1
Product Properties
always innovative
Gini CCAP-300 Ceiling Access Point
The unique ceiling mounted device powered by premium quality Airgain high performance
5dBi OMNI antenna.
Key Features
• VLAN Tagging.
• Multiple SSID upto 4.
• Passive PoE, 12/24V (option).
• 802.11n & 802.11b/g standard.
• Support access controller system.
• Standard IEEE 802.3af PoE, 48V.
• Wireless speed upto 300/1200Mbps.
• 2 x 10/100Mbps Rj45 WAN/LAN ports.
• 500mW/1000mW high power for long range distance.
• Multiple operation mode : AP, Repeater, Gateway, WISP,WDS.
2
Product Interface
16.80 cm
16.80 cm
4.5cm
DC Injector
WAN Indicator
LAN Indicator
LAN Port
LAN / WAN PoE Port
(PoE 48V 3af Complied)
Reset
Ceiling / Wall
Mounting Plate

always innovative
AP Powered by 48V 3af PoE Injector (AP Gateway)
In some cases when PoE ports are full or not available OTAi offers innovative wall plug Gigabit power over ethernet.
In these case the device will get powered by Wall-Plug PoE Injector.
Network cable gets terminated on LAN port of Injector and PoE Gig port gives us PoE output without compromising speed.
It also act as range extender for data cable.
Internet
DSL Modem
LAN PoE
48V PoE Adapter
LAN / WAN PoE
Wi-Fi Repeater
The ceiling AP can work as LAN extender as shown in picture.
Internet
DSL Modem
AP Mode
Plug and play, suitable for hotel, hospitals, school, banks, super market etc.
Internet
DSL Modem
LAN / WAN PoE
3
LAN PoE
48V PoE Adapter
12Vdc Adapter
12Vdc
AP Powered by PoE Switch
For simple network please connect internet cable from network device to uplink of PoE switch. PoE switch ports will deliver
power and data on rest of the ports. Please connect any of PoE port to Ceiling AP’s WAN (back) port.
Devices can be connected to Access Point over wired or wirelessly depending on the requirements.
Internet
48V PoE Switch PoE
LAN / WAN PoE
upto 80m
upto 80m upto 80m

2
Getting Started
always innovative
Once Ceiling AP is power on, connect AP LAN port to the
host computer / laptop.
Go to : My Network places → Manage Network Connection → Properties →
12 3
New Tab
http://192.168.188.253
Please set one of the below IP address for
the host device (computer / laptop.)
IP Address : 192.168.188.2 to 192.168.188.10 / Subnet : 255.255.255.0
Open any internet browser, Input http://192.168.188.253/ in the address bar and press “Enter” to login Fusion 256 Web management
interface.
Authentication Required
The server http://192.168.188.253 requires a username and
password. The server says: OTAi.
User Name:
Password:
admin
otai
Log In Cancel
X
Type username : admin
Password : otai (Factory default)
Ethernet
cable
4

always innovative
5
3
Gateway / Router functionality
After a successful log in, The rst page displays the information about the Router's Setup Wizard.
Gini CCAP 300 is a smart, high performance Enterprise AP with best coverage and functional features in its own.
Gini CCAP 300 can be used as an stand alone SOHO / Enterprise Router / AP / Repeater or it can be
used with Centrally Managed Controller OTAi Fusion-256.
While using Gini CCAP 300 with controller, it does not require to do any programing with the device simply power
up and install the unit in the network and follow the instruction manual / user manual of OTAi Wireless Controller
Fusion-256.

always innovative
This device support WAN setting as PPPoE and Dynamic IP. By choosing PPPoE in WAN setting you have to input username
& password of your ISP.
1. Click on
Internet Setting.
3. Type user name
& Password
Provided by your
service provider.
2. Select
PPPoE (ADSL).
4. Type SSID.
4. Apply to Save
Changes.
6
1. Gini CCAP300 as Gateway
3. Gini CCAP300 as AP Operation Mode
1. Click on
Wireless Coverage.
2. Change SSID
as desire
(Default - otai)
3. Input
Authentication-
WPA2PSK
Encryption -
TKIP/AES
Key- otai@999
(change as desire)
4. Apply to Save
Changes.
5. Set the PC IP Address to obtain an IP Address Automatically, and the PC will get the internet access.

2. Gini CCAP300 as WiFi Repeater
To Congure AP as a Wireless Repeater.
1. Click on
Wireless Repeater.
2. Click on Scan AP
3. Select AP
4. Input
Authentication-
WPA2PSK
Encryption - TKIP/AES
Key- otai@999
(change as desire)
5.Apply and OK
to Reboot
always innovative
7

4. System Tool
1. Click on
System Tool
2. Input the host IP
address, ping count
and ping size to
check the ping
4. Apply to Save
Changes.
always innovative
8
4
AP Management Status
1.
Click on
Advance Setting.
Backup : Click on Backup tab to save the conguration le.
Restore : Click on restore tab to restore the conguration.
Restet default : Click on Reset tab to make the AP factory default.
Reboot : Click on reboot to restart the AP.
1. Backup & Restore
The wireless AP can be restored to factory default by press the Reset button around 15 seconds. Then Wi-Fi LED ash off, System
reboot and restore to factory default.

always innovative
2. Upgrade Firmware
Go to Management > Upgrade Firmware > Choose File > Upgrade
3. System Time
Synchronization with the host : Synchronization time with connected PC or router .
Status : Enable or Disable NTP.
NTP Server : Select the NTP server.
Custom NTP Server : Setting user-dened synchronization server IP address.
Time Zone : Select the country time zone.
Go to Management System Time Enable Select your country time zone Apply.> > > >
9
www.onnettechnologies.com
ONNET TECHNOLOGIES AND INNOVATIONS L.L.C.
P.O. BOX # 23170, Ajman, UAE, Ph:+971 6 7480204, Email:info@onnettechnologies.com
Table of contents
