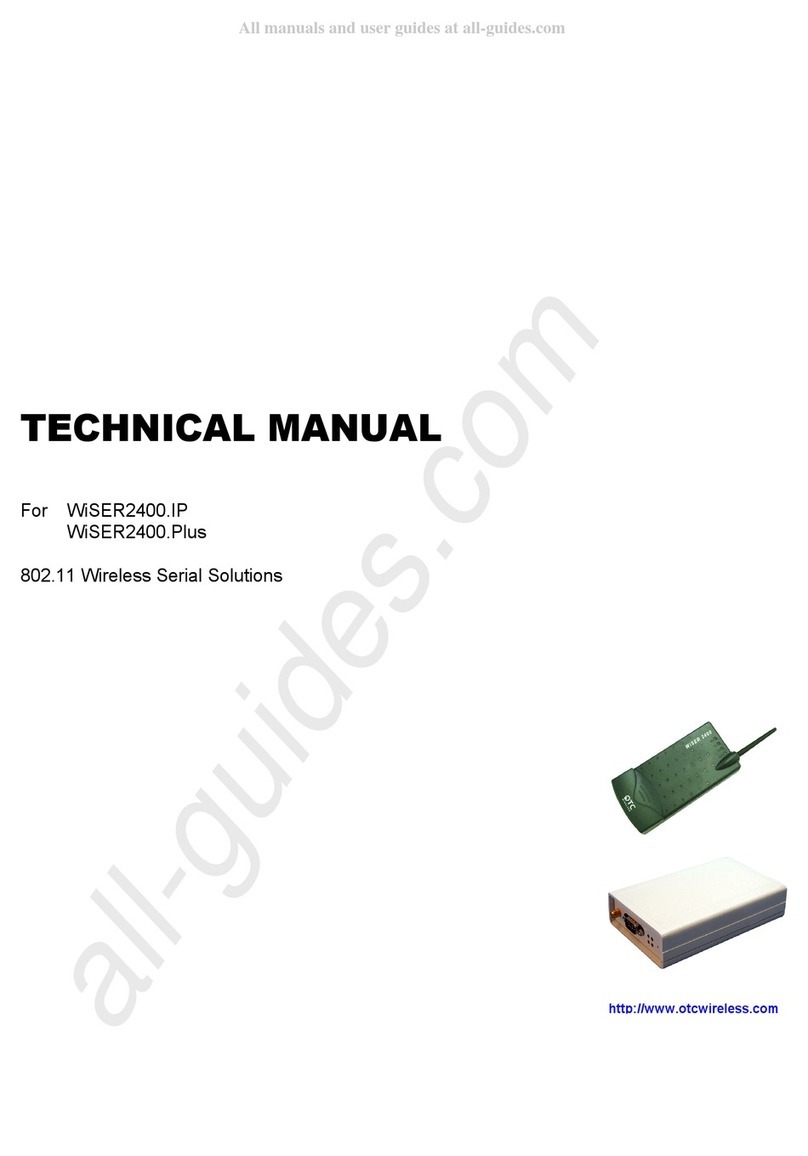
OTC Wireless ACR-201 User manual

i
ASR-102 / ACR-201 Ethernet Dongle
User’s Manual
Rev:01
2002/09/19

Wireless LAN Card User’s Manual
ii
Information in this document is subject to change without notice. No part of this document may be reproduced or
transmitted in any form or by any means, electronic or mechanical, for any purpose, without the express written
permission of the seller.
The seller provides this documentation without warranty, term, or condition of any kind. The seller may make
improvements or changes in the product(s) and/or the program(s) described in this documentation at any time.
Other product and company names herein may be trademarks of their respective owners.
2002/09/19
Rev:01
000020-wlp

iii
Safety Notes
For Installation
Use only the type of power source indicated on the marking labels.
Use only the power adapter supplied with the product.
Do not overload wall outlet or extension cords as this may increase the risk of electric shock or file. If the power
cord is frayed, replace it with a new one.
Proper ventilation is necessary to prevent the product overheating. Do not block or cover the slots and openings
on the device, which are intended for ventilation and proper operation. It is recommended to mount the product
with a stack.
Do not place the product near any source of heat or expose it to direct sunshine.
Do not expose the product to moisture. Never spill any liquid on the product.
Do not attempt to connect with any computer accessory or electronic product without instructions from
qualified service personnel. This may result in risk of electronic shock or file.
Do not place this product on an unstable stand or table.
For Using
Power off and unplug this product from the wall outlet when it is not in use or before cleaning. Pay attention to
the temperature of the power adapter. The temperature might be high.
After powering off the product, power on the product at least 15 seconds later.
Do not block the ventilating openings of this product.
When the product is expected to be not in use for a period of time, unplug the power cord of the product to
prevent it from the damage of storm or sudden increases in rating.
For Service
Do not attempt to disassemble or open covers of this unit by yourself. Nor should you attempt to service the product
yourself, which may void the user’s authority to operate it. Contact qualified service personnel under the following
conditions:
If the power cord or plug is damaged or frayed.
If liquid has been spilled into the product.
If the product has been exposed to rain or water.
If the product does not operate normally when the operating instructions are followed.
If the product has been dropped or the cabinet has been damaged.
If the product exhibits a distinct change in performance.
Warning
This equipment must be installed and operated in accordance with provided instructions and a minimum 20 cm
spacing must be provided between computer mounted antenna and person’s body (excluding extremities of
hands, wrist and feet) during wireless modes of operation.
This device complies with Part 15 of the FCC Rules. Operation is subject to the following two conditions: (1)
this device may not cause harmful interference, and (2) this device must accept any interference received,
including interference that may cause undesired operation.
Caution
Any changes or modifications not expressly approved by the party responsible for compliance could void the
authority to operate equipment.

Wireless LAN Card User’s Manual
iv

Contents
v
Contents
Before you use ................................................................................ vii
Wireless LAN Basics................................................................................ vii
Local Area Network (LAN) .............................................................. vii
Ad Hoc Network ............................................................................ vii
Infrastructure Network .................................................................. vii
Roaming ...................................................................................... vii
System Requirements............................................................................ viii
Unpacking............................................................................................ viii
Chapter 1: Overview ......................................................................... 1
Physical Outlook ..................................................................................... 1
Front Panel ................................................................................... 1
Real Panel..................................................................................... 1
Chapter 2: Installation ...................................................................... 3
Install the Wireless LAN Card .................................................................... 3
Uninstall the Wireless LAN Card................................................................. 3
Chapter 3: Configuration................................................................... 5
Setting TCP/IP on Client PC ...................................................................... 5
For Windows 98 ............................................................................. 5
For Windows ME ............................................................................ 9
For Windows NT............................................................................. 9
For Windows 2000 ........................................................................13
For Windows XP ............................................................................15
Renew IP Address on Client PC.................................................................16
For Windows 98 ............................................................................16
For Windows ME ...........................................................................17
For Windows NT............................................................................17
For Windows 2000 ........................................................................18
For Windows XP ............................................................................18
Chapter 4: Web Configuration ......................................................... 19
Using the Web-Based Manager.................................................................19
To Have the New Settings Take Effect ..............................................19
Info......................................................................................................19
Wireless................................................................................................19
IP Address ............................................................................................21
Stations ................................................................................................21
Admin ..................................................................................................22
Chapter 5: Troubleshooting............................................................. 23
Radio Interference..................................................................................23
Card Not Detected..................................................................................23
Cannot Connect to Another Wireless LAN Card ...........................................23
Poor Link Quality....................................................................................23
Cannot Connect to Access Point................................................................23

Wireless LAN Card User’s Manual
vi
Chapter 6: Glossary......................................................................... 25
Appendix: Specifications ................................................................. 27
Software......................................................................................27
Hardware.....................................................................................28

Before You Use
vii
B
Be
ef
fo
or
re
e
y
yo
ou
u
u
us
se
e
This Wireless LAN Card is an IEEE 802.11b Wireless LAN adapter. It allows your computer to connect to a wireless
network and to share resources, such as files or printers without being bound to the network wires. Operating in
2.4GHz Direct Sequence Spread Spectrum (DSSS) radio transmission, the Wireless LAN Card transfers data at
speeds up to 11Mbps. Both Ad-Hoc and Infrastructure mode are supported. For network security concern, 64/128-bit
Wired Equivalent Protection (WEP) algorithm is used. In addition, its standard compliance ensures that it can
communicate with any 802.11b networks.
This User’s Manual contains information on how to install and configure your Wireless LAN Card. Your Wireless
LAN Card will allow you to connect your computer to other Wireless LAN Card equipped computers.
Wireless LAN Basics
This section conations some Wireless LAN basics to help you better understand how the product work together to
create a wireless network.
L
Lo
oc
ca
al
l
A
Ar
re
ea
a
N
Ne
et
tw
wo
or
rk
k
(
(L
LA
AN
N)
)
Simply put, a LAN is a network that exists in a relatively limited area. A network is two or more computers
connected together sharing files and peripheral devices such as printers.
The Wireless LAN Card allows you to interact with other computers without having to run cables normally
associated with networks. This lets you move your computer around while staying connected to your network.
There are two ways to use the Wireless LAN Card. One way is to connect directly to one or more Wireless LAN
Card equipped computers, forming an Ad Hoc wireless network. The second way is to connect to an Access Point
that gives you access to an existing wired LAN, forming an Infrastructure wireless network.
A
Ad
d
H
Ho
oc
c
N
Ne
et
tw
wo
or
rk
k
The Ad Hoc network offers peer to peer connections between workstations, allowing communication between
computers within range that have an 802.11b DSSS compatible PC card installed. A wireless Ad Hoc network can
also access a wired LAN’s TCP/IP service (such as e-mail and the Internet) by using a TCP/IP software on an
Ethernet equipped PowerBook or notebook.
I
In
nf
fr
ra
as
st
tr
ru
uc
ct
tu
ur
re
e
N
Ne
et
tw
wo
or
rk
k
The infrastructure network uses an access point (or several access points) as a gateway, linking the wireless network
to a wired LAN. As a result, portable workstations or desktops on your wireless network have access to all of the
features of your wired LAN including e-mail, Internet access, network printers and files server.
R
Ro
oa
am
mi
in
ng
g
Multiple Access Points can be installed to extend the wireless service coverage area for seamless wireless access.
Within an extended service area, all Access Points and wireless clients must have the same Service Set Identity
(SSID). Roaming among different Access Points is controlled automatically to maintain the wireless connectivity at
all times.

Wireless LAN Card User’s Manual
vii
System Requirements
To use the Wireless LAN Card, your computer must meet the following minimum requirements:
Windows 98/98(SE)/Me/2000/XP
32 MB of RAM, additional memory recommended
Unpacking
After unpack the Wireless LAN Card, please check the contents of the package with the checklist stated below. If you
find any item is missing, please contact the dealer directly.
Wireless LAN Card
5V Power Adapter and power cord

Chapter 1: Overview
1
C
Ch
ha
ap
pt
te
er
r
1
1:
:
O
Ov
ve
er
rv
vi
ie
ew
w
Before installing the card, please take a look at the front panel and real panel of the card. Getting acquainted with
both panels will be helpful for installation later.
Physical Outlook
F
Fr
ro
on
nt
t
P
Pa
an
ne
el
l
The LEDs on the Wireless LAN Card indicate connection status and data transfer operation status, as described
below:
LED Indicators
LED Color State Description
Link Red Blinking Transmission mode. The faster the LED blinks, the
higher the data exchange rate.
RX Green Blinking Indicates that the data is receiving from outside.
TX Green Blinking Indicates that the data is transferring to remote side.
On Green On The adapter is plugged into your computer.
R
Re
ea
al
l
P
Pa
an
ne
el
l
Take a look at the real panel of this wireless LAN card.
PWR - Power connector.
LAN - LAN port. 10/100 Base-TX.

Wireless LAN Card User’s Manual
2

Chapter 2: Installation
3
C
Ch
ha
ap
pt
te
er
r
2
2:
:
I
In
ns
st
ta
al
ll
la
at
ti
io
on
n
Install the Wireless LAN Card
To install the wireless LAN card onto your computer, please do the following:
1. Plug one end of the Ethernet cable to the Ethernet port (LAN) on the wireless LAN card.
2. Insert the other end of the cable to the Ethernet port on the Network card of your computer.
3. Connect the supplied power adapter to the PWR port of the wireless LAN card, and plug the other end to a
power outlet.
4. Turn on the power and then go to do the web configuration for the wireless LAN card.
Note: The red LED on the Wireless LAN Card will light when the Wireless LAN Card is connected
to your computer.
To set up the TCP/IP address or the subnet mask, refer to Setting Up TCP/IP section for details.
Uninstall the Wireless LAN Card
Should you need to uninstall the Wireless LAN Card and application software for any reason,, you should remove the
hardware from your computer and then uninstall the associated software. Please proceed as follows.
1. Turn off the power of your computer.
2. Disconnect the supplied power adapter to the PWR port of the wireless LAN card.
3. Unplug the cable to the Ethernet port on the Network card of your computer.
4. Unplug the cable to the Ethernet cable to the Ethernet port (LAN) on the wireless LAN card.
5. The card is removed successfully.

Wireless LAN Card User’s Manual
4

Chapter 3:Configuration
5
C
Ch
ha
ap
pt
te
er
r
3
3:
:
C
Co
on
nf
fi
ig
gu
ur
ra
at
ti
io
on
n
This section contains instructions for configuring the TCP/IP protocol of the Wireless LAN Card. The IP address
policy depends on your wireless network. You should configure your TCP/IP protocol as instructed by your network
administrator.
Setting TCP/IP on Client PC
F
Fo
or
r
W
Wi
in
nd
do
ow
ws
s
9
98
8
1. Click on the Start menu, point to Settings and click on Control Panel.
2. Double-click the Network icon.
3. The Network window appears. On the Configuration tab, check out the list of installed network components.
Option 1: If you have no TCP/IP protocol, click Add.
Option 2: If you have TCP/IP protocol, go to Step 6.

Wireless LAN Card User’s Manual
6
Your network
interface card.
Check out if TCP/IP
for your NIC is
installed or not.
4. Highlight Protocol and click Add.

Chapter 3: Configuration
7
5. On the left side of the windows, highlight Microsoft and then select TCP/IP on the right side. Then click OK.
6. When returning to Network window, highlight TCP/IP protocol for your NIC and click Properties.
7. On IP Address tab:
Enable Specify an IP address option. Enter the IP Address: 192.168.1.x (x is between 2 and 254) and Subnet
Mask: 255.255.255.0 as in figure below.
8. When returning to Network window, click OK.

Wireless LAN Card User’s Manual
8
9. Wait for Windows copying files.
10. When prompted with System Settings Change dialog box, click Yes to restart your computer.

Chapter 3: Configuration
9
F
Fo
or
r
W
Wi
in
nd
do
ow
ws
s
M
ME
E
Step 1 Click on the Start menu, point to Settings and click on Control Panel.
Step 2 Double-click the Network icon.
Step 3 The Network window appears. On the Configuration tab, check out the list of installed network
components.
Option 1: If you have no TCP/IP protocol, click Add.
Option 2: If you have TCP/IP protocol, go to Step 6.
Step 4 Highlight Protocol and click Add.
Step 5 On the left side of the windows, highlight Microsoft and then select TCP/IP on the right side. Then click
OK.
Step 6 While returning to Network window, highlight TCP/IP protocol for your NIC and click Properties.
Step 7 On the IP Address tab, select Specify an IP address. Enter the IP address: 192.168.1.x (x is between 2 and
254) and Subnet Mask: 255.255.255.0. Then click OK.
Step 8 While returning to the Network window, click OK.
Step 9 Wait for Windows copying files.
Step 10 When prompted with the System Settings Change dialog box, click Yes to restart your computer.
F
Fo
or
r
W
Wi
in
nd
do
ow
ws
s
N
NT
T
1. Click Start, point to Settings, and then click Control Panel.

Wireless LAN Card User’s Manual
10
2. Double-click the Network icon.
3. The Network window appears. On the Protocols tab, check out the list of installed network components.
Option 1: If you have no TCP/IP Protocol, click Add.
Option 2: If you have TCP/IP Protocol installed, go to Step 7.
4. Highlight TCP/IP Protocol and click OK.

Chapter 3: Configuration
11
5. Click Yes to use DHCP.
6. Insert the Windows NT CD into your CD-ROM drive and type the location of the CD. Then click Continue.
7. Returning to the Network window, you will find the TCP/IP Protocol among the list. Select TCP/IP Protocol
and click Properties.

Wireless LAN Card User’s Manual
12
8. Enable Specify an IP address option. Enter the IP Address: 192.168.1.x (x is between 2 and 254) and Subnet
Mask: 255.255.255.0 as in figure below.
9. When returning to Network window, click Close.
10. When prompted with Network Settings Change dialog box, click Yes to restart your computer.
Other manuals for ACR-201
1
This manual suits for next models
1
Table of contents
Other OTC Wireless Network Card manuals
Popular Network Card manuals by other brands
Cisco
Cisco PA-POS-1OC3 Installation and configuration guide
Belkin
Belkin F5D9000 user manual
Telit Wireless Solutions
Telit Wireless Solutions WE866E4-P Hardware user's guide
Acces I/O products
Acces I/O products MPCIE-LAN-GBE Hardware manual
AMX
AMX NetLinx Integrated Controller NI-2100 Specifications

Harman
Harman AMX NXC-ME260 quick start guide
