Otn ELMO Operating instructions

Peripheral Equipment Use
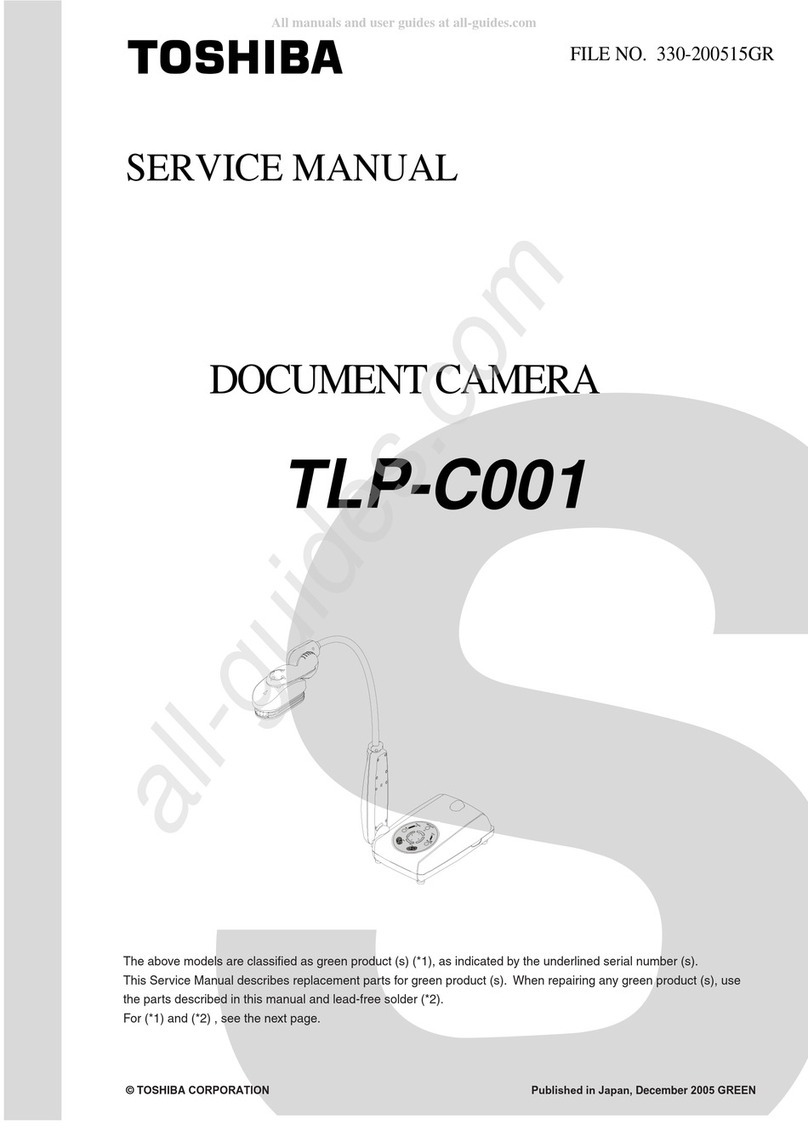
ELMO Document Camera

Peripheral Equipment Use – ELMO Document Camera
Contents
1. ELMO Document Camera Components.....................................................................4
2. Preparing the Document Camera for an Event......................................................5
3. Operating the Equipment ..............................................................................................7
4. Troubleshooting ................................................................................................................9
5. Cleaning the Equipment ............................................................................................... 10
Aug 2013

Peripheral Equipment Use – ELMO Document Camera
Learning Objectives
Upon completion of this chapter, you will be able to:
Identify the Document Camera components
Demonstrate how to switch from the main videocamera to the Document
Camera view
Demonstrate the proper use of the Document Camera
and its functionality
Identify basic troubleshooting issues and resolution and articulate how to
contact the OTN Service Desk
Demonstrate the ability to properly clean the Document Camera
Duration
This chapter should take approximately 30 minutes to complete.
Legend
Reminder
Key Tips
Reference to Other Materials
Web / E-mail Address
Phone / Fax Number
Aug 2013

Peripheral Equipment Use – ELMO Document Camera
1. ELMO Document Camera Components
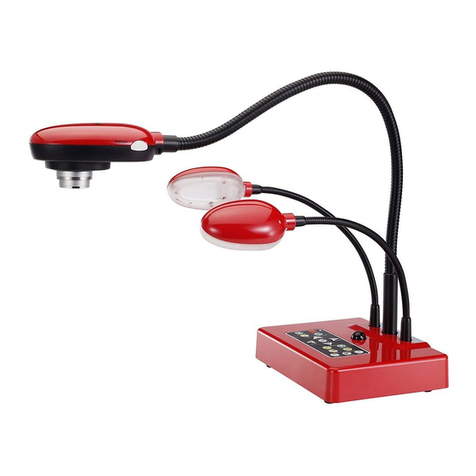
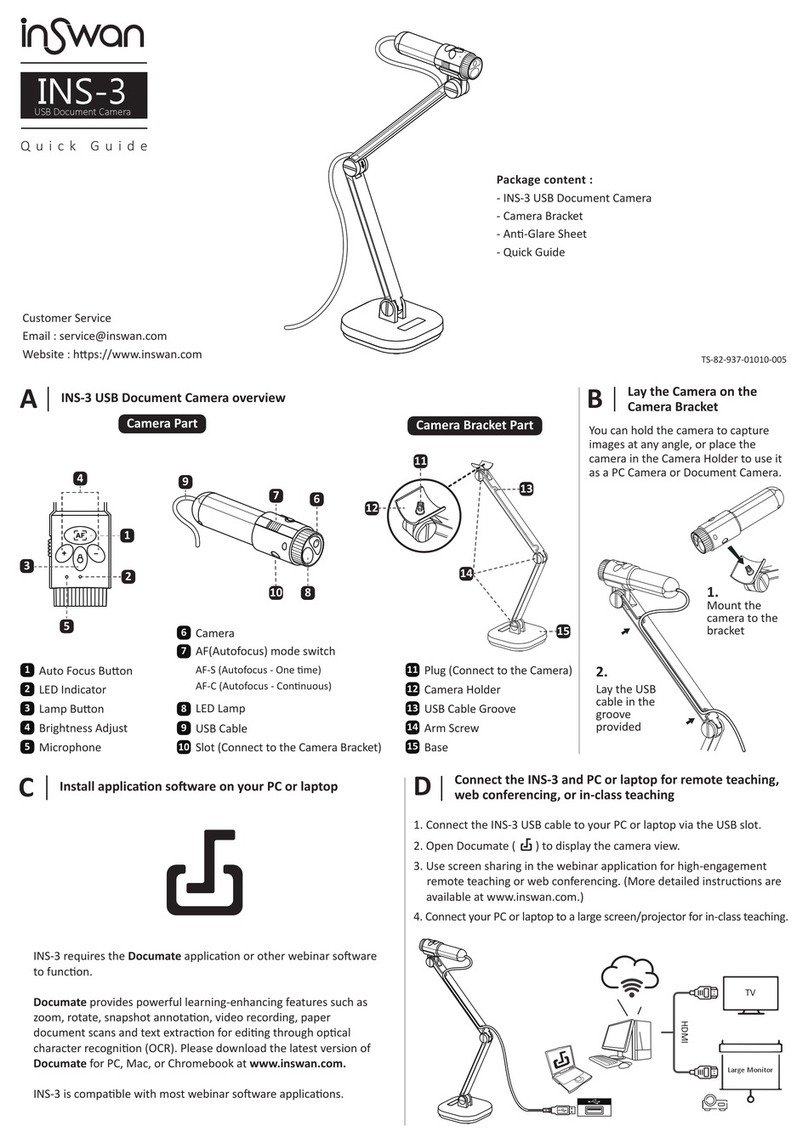
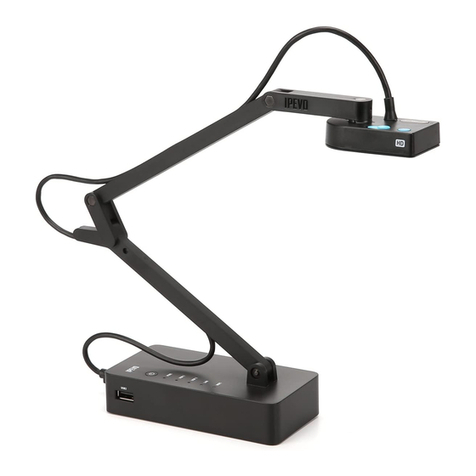
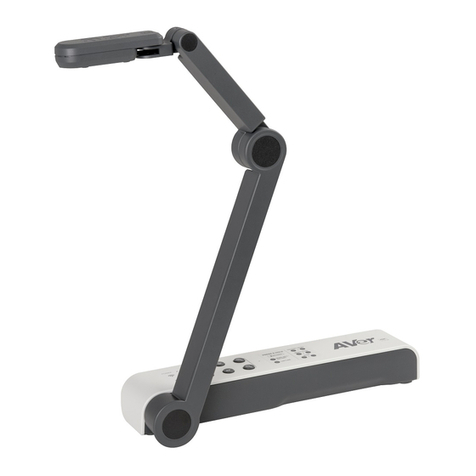
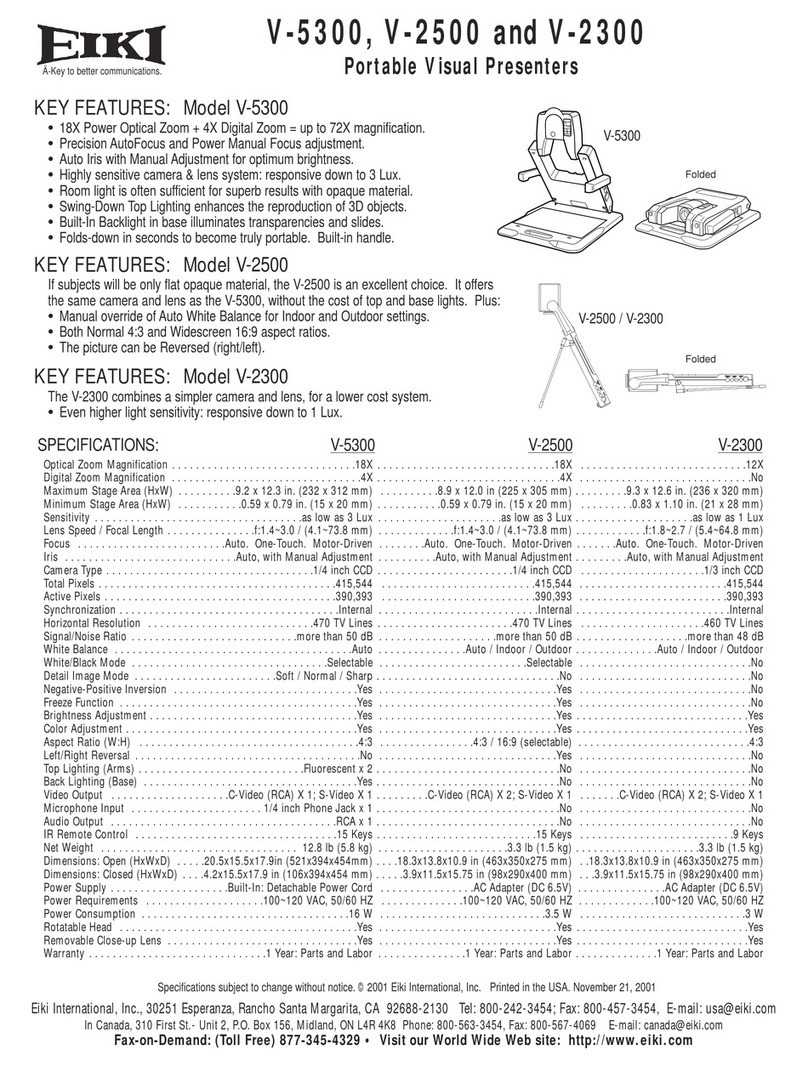
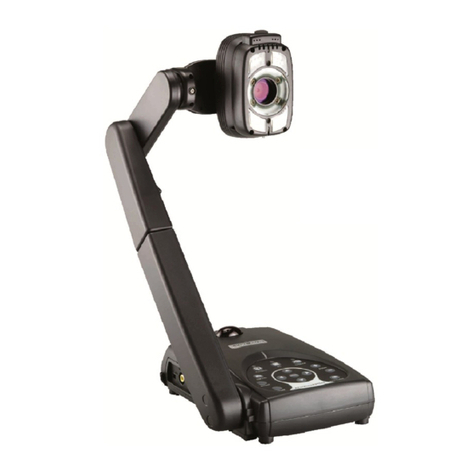
The ELMO Document Camera is a device which allows images from
x-ray film, paper,
and transparencies to be transmitted to a
telemedicine system. The following are the
major components of the
ELMO Document Camera. Note: Different versions of the
Document
Camera may have slightly different set-ups than indicated here.
Camera Head: The camera head captures the image of
the
document which is then transmitted to the screen
of the telemedicine
system
Lamp Arm: The lamp arm is the light source for the
stage
Stage: The stage is used to hold the document to be
viewed
Front Panel: The front panel is a dashboard and
controls the
functionality of the Document Camera.
The following are some of
the buttons and associated
indicator lights. Please note that different
versions of
the Document Camera will have slightly different
setups.
Lamp: Upper (On/Off), Base (On/Off)
Input: Internal, AV1, AV2
POSI/NEGA: P,N
Color/B&W: C, B&W
Zoom: Tele, Wide
Focus: Manual (N,F), Auto
Aug 2013

Peripheral Equipment Use – ELMO Document Camera
2. Preparing the Document Camera for an Event
The following steps will help prepare the Document Camera for use
Ensure that the Document Camera is connected: The Document Camera should
already be connected to the videoconference system. Before using the camera,
check to ensure that all of the cables are properly connected:
Polycom iDoc: Connect the cable to the EXT. port located on the back of the
iDoc system.
Polycom Room-Based System: Connect the cable to the S- Video port on the
back of a Polycom system.
Tandberg Intern II: Connect the cable to the S-Video port located on the front
panel of the Tandberg Intern II.
Connect to power: Connect the A/C power cable to the power outlet on the wall.
Ensure that the power plug is firmly pushed into the power port at the back of the
Document Camera.
For those using a Polycom iDoc or Tandberg Intern II system,
remember to use an alternative power outlet located on the wall of the
room – DO NOT use the power bar on the videoconference system
itself.
Turn on the Document Camera: Turn the Document Camera on by
toggling the power switch located on the rear right hand corner of
the Document Camera.
Position the Main Column and Lighting Unit Arms: The
next step is to set up the camera for use. This involves
setting up the main camera column and lighting unit
arms.
To release the camera column arm, press the lock
button located at the rear left side of the Document
Camera and raise the camera head. Next, unfold the
lighting unit arms so that they are positioned as in
the diagram on the previous page.
To store the Document Camera, turn off the power
switch and unplug the unit from the wall outlet. Turn
the camera head so that it may be ready to be stored
with the camera eye facing forward. Press the
column lock release button and fold down the main
column. Fold down the lighting unit arms – right side
folds down first.
Aug 2013

Peripheral Equipment Use – ELMO Document Camera
Adjusting the White Balance: The white balance refers to the
correctness of color reproduction under various lighting
conditions. To adjust the white balance of the camera:
With the stage surface clear of material, press the
WHITE BALANCE button on the front panel.
The indicator lamp will blink and then light up indicating
the white balance is fixed for the current color
temperature.
Pressing the white balance again will cause the indicator
lamp to go out and the mode returns to the AUTO
mode.
For some versions of the Document Camera, the iris adjustment and
white balance buttons are located on the camera head.
Switching to the Document Camera view: Switch from the main videoconference
camera to the Document Camera by selecting the input device using the
videoconference system remote control. For single monitor systems, you will need
to switch the PiP view.
iDoc Systems: Push the Camera button to bring the three input icons
onscreen. Use the arrow keys to select the #2 (Document Camera) icon and
press Select to ready the monitor to receive input from the Document Camera.
Make sure that the switchbox located at the side of the iDoc has been set to
“Document Camera”.
Tandberg Systems: Select the “Document Camera” or “Aux” camera view,
depending on which port your Document Camera is connected to.
Aug 2013

Peripheral Equipment Use – ELMO Document Camera
3. Operating the Equipment
The following are some of the basic operating features of the Document Camera.
Viewing Documents: In order to properly view documents, position the document on
the viewing surface (the stage) and move it to allow the image to be displayed.
To turn on the lights, use the ‘Lamp’ button which is located on the front right
hand corner of the panel. As you press this button (wait a few seconds
between each press), the Document Camera lights will toggle from upper,
base, and off settings.
oUse the overhead light to view non-transparent objects such as EKGs
and printed objects.
oUse the base light setting to view transparencies and x-rays.
Use the POSI/NEGA button to view negative films. This button is located to
the left of the Lamp button on the front panel.
oPress the N button until the green light appears over the N.
oPress again to return to normal viewing mode P.
Use the Contrast button to produce sharper contrasts between light and dark
images.
Adjusting the Brightness: The iris is used to change the brightness of an image by
adjusting the diaphragm of the lens in the camera.
The auto iris (system default and recommended setting) will adjust the level of
brightness automatically according to the object on the stage.
The manual iris can be initialized by pressing on the auto/manual button on
the front panel. Pressing this button will toggle between the manual (indicator
light on) and auto (indicator light off) settings.
When in manual mode, press the Iris ‘open’ button or ‘close’ button to increase
or decrease respectively the amount of light in the image.
You can return to auto iris mode by pressing on the auto- manual button again
(the indicator light will go out).
Note: For some versions of the Document Camera, the iris adjustment
and white balance buttons are located on the camera head.
Adjusting the Focus: The autofocus button (AF) located on the front panel to the
right of the zoom buttons can be used to bring an image into
focus. Pressing on this button will cause an indicator light to
blink until the object on stage is brought into focus.
The manual focus mode can be engaged by pressing the
Focus-Near or Focus-Far buttons on the ELMO’s remote.
You may need to use the manual focus if objects have:
little or excessive contrast, fine repeated patterns, glitter,
motion.
Aug 2013

Peripheral Equipment Use – ELMO Document Camera
Using the Zoom Function: Use the ‘TeleZoom Wide’ buttons in
the middle section of the front panel to adjust the image size
on the screen.
By continuously pressing the zoom button, the speed of
zooming in/out becomes faster.
Rotating an Image: The Image Rotate button can be used to rotate the view of the
image.
Every time the image rotation button is pressed, the image rotates counter-
clockwise by 90 degrees.
Freezing an Image: You may wish to capture an image on the screen
To pause or freeze an image, press the pause button located on the front
panel.
To unfreeze an image, press Pause again and the pause is cancelled.
Aug 2013

Peripheral Equipment Use – ELMO Document Camera
4. Troubleshooting
The following troubleshooting tips could help to solve some of the more common
issues that may arise when using the Document Camera
Eliminating Color Halos
If colored lines or halos present themselves on film, press on
the Color / B&W button.
Note: For some versions of the Document Camera, the
remote control is required in order to adjust the Color /
B&W settings. The remote control should be located in the
front drawer of the Document Camera.
For any additional issues that cannot be addressed using these
troubleshooting tips, please contact the OTN Service Desk at 1-866-
454-OTN1 (6861).
Aug 2013

Peripheral Equipment Use – ELMO Document Camera
5. Cleaning the Equipment
The ELMO Document Camera should be cleaned periodically. When doing so, please
keep the following guidelines in mind.
Cleaning the equipment: The following guidelines should be kept in
mind when cleaning the ELMO Document Camera:
Unplug the Document Camera and platform from the wall outlet
before cleaning.
Do not use liquid cleaners or aerosol cleaners.
Use a damp cloth for cleaning.
Never spill liquid of any kind on the Document Camera.
Aug 2013
Table of contents
