14 15
TB30 -Telephony services
ELEPHONY SERVICES
T
TB30 -Telephony services
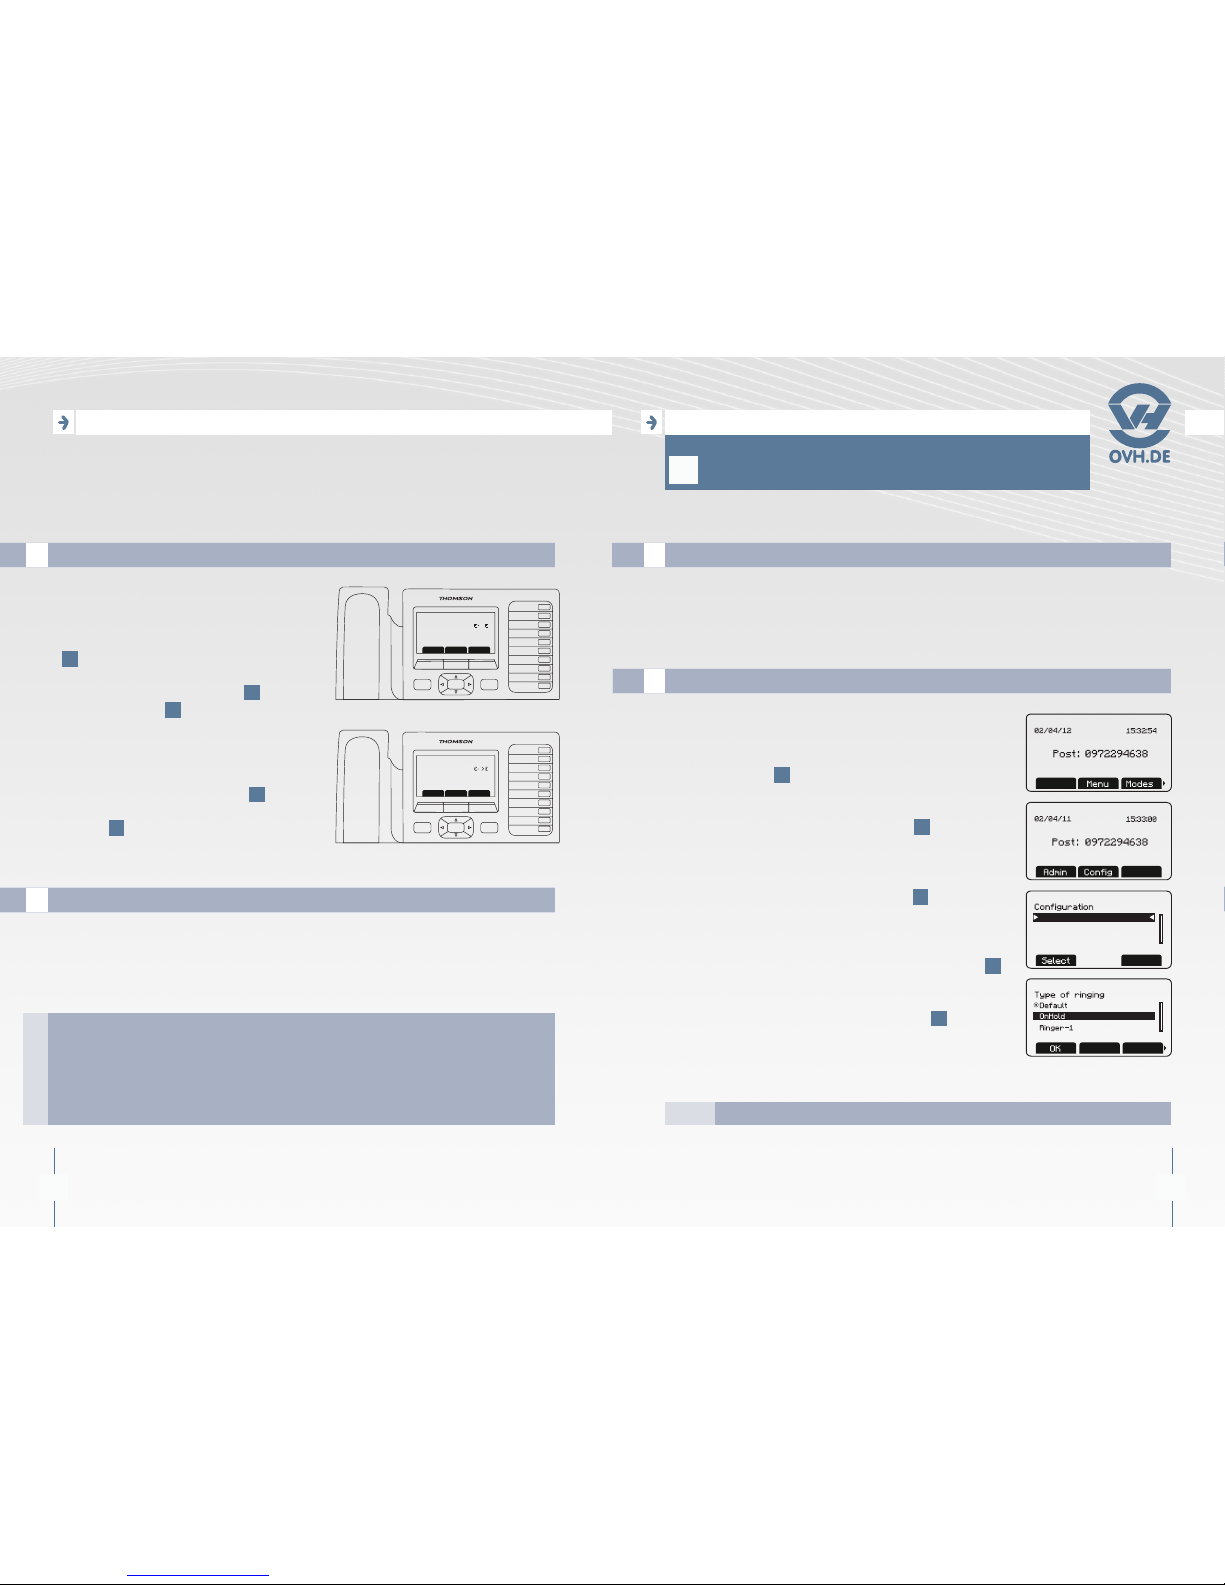
Manage the call transfers
A
1. Take the call, put the caller on hold
pressing the «Hold» [le selecon
buon 4].
2. Press «Call» [le selecon buon 4]
and press the OK buon 1.
3. Type the number with the numeric keypad
14 or from the phone Book 7, and press
the Tran selecon buon [right navigaon
buon 1then right selecon buon 4].
F1
F2
F3
F4
F5
F6
F7
F8
F9
F10
MENU C
OK
NewcallHold End
On call
out *2*1*09721010
10#
00:00:04
Call Retriv
Call waiting
In Line 1
00:00:13
F1
F2
F3
F4
F5
F6
F7
F8
F9
F10
MENU C
OK
F1
F2
F3
F4
F5
F6
F7
F8
F9
F10
MENU C
OK
Swap Call Conf
Out Line 1
In Line 2
you can also use numbers in shortcut keys (e.g. F1) following the following
procedure:
- Pick up the call,
- Press the shortcut key (e.g. F1)
- Select «Trsf» at the bottom of the screen.
TIP
TIP
Call logs
B
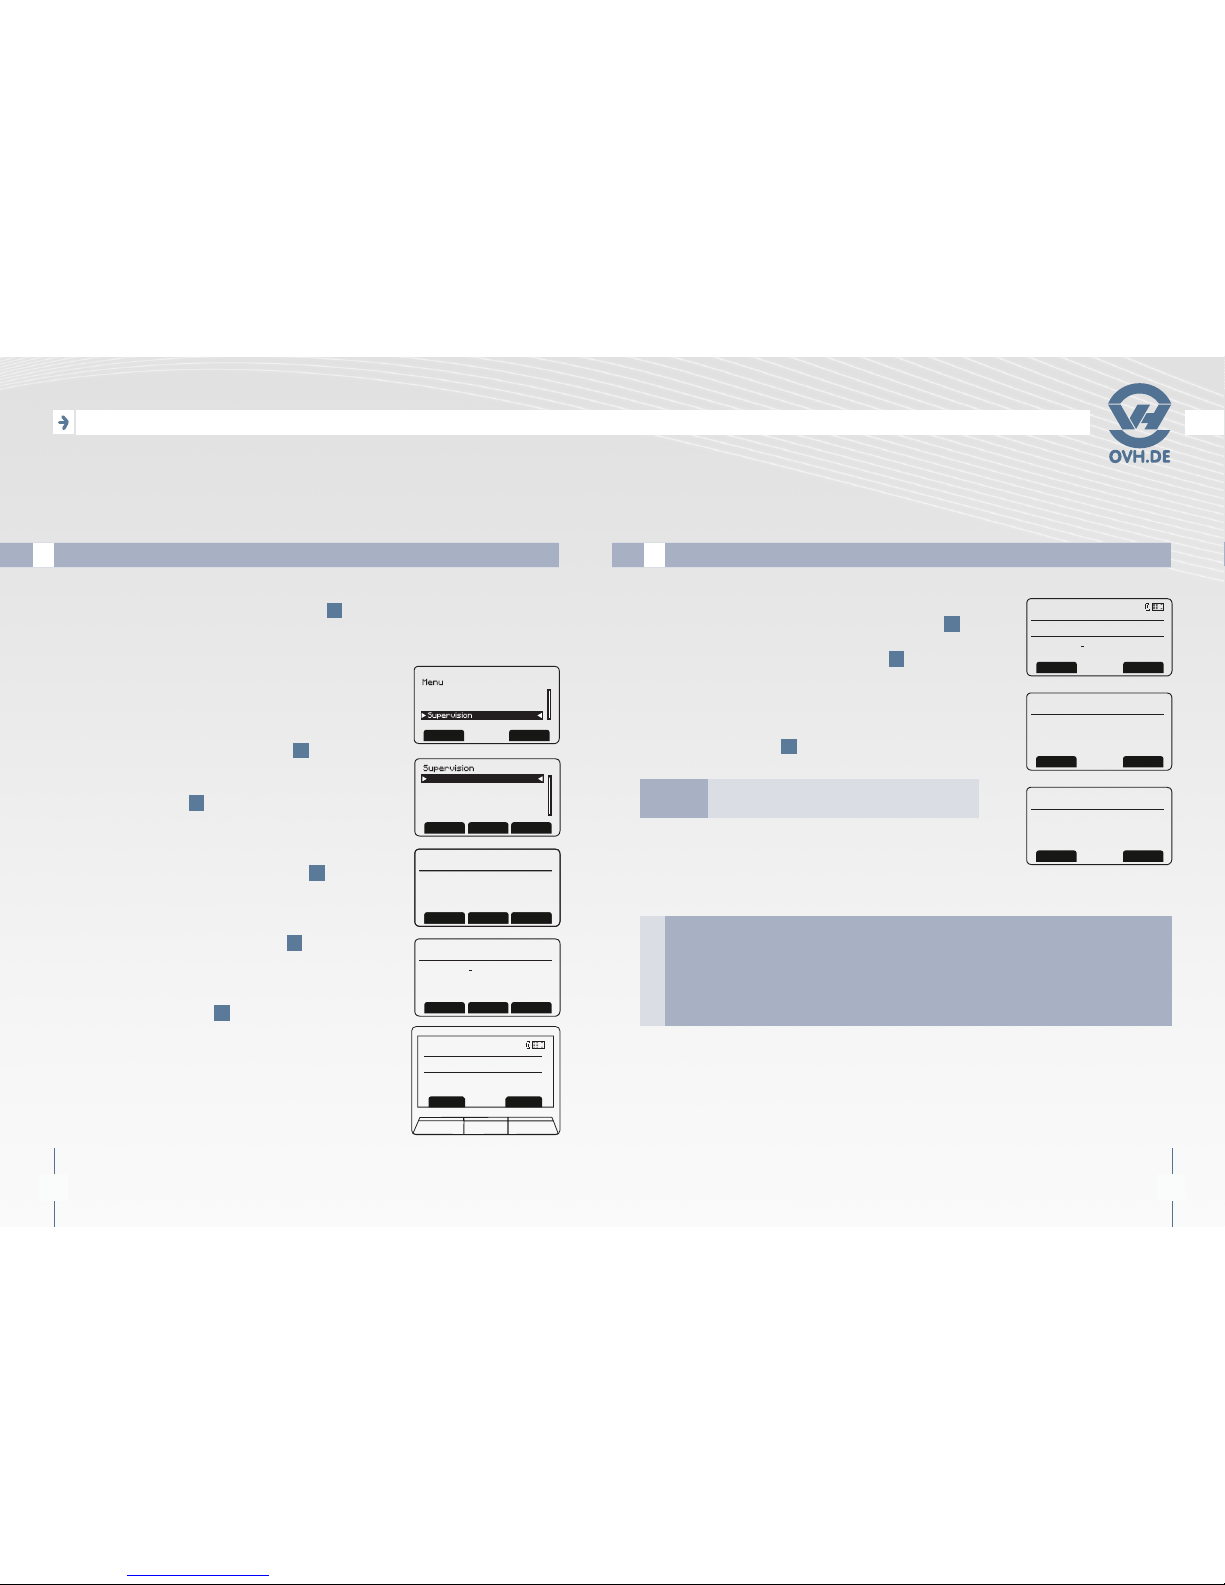
THE PHONE’S DISPLAY CAN GIVE YOU INFORMATION
ON THE VARIOUS INCOMING AND OUTGOING CALLS
FROM YOUR PHONE:
1. Press «History» [le selecon buon 4 ] to access
the calls menu.
2. On the screen, select «Missed calls» on the menu for
a list of missed calls on your phone, and press the OK
buon 1 .
3. On the screen, select «Outgoing calls» on the menu for
a list of outgoing calls from your phone, and press
the OK buon 1 .
4. On the screen, select «Received Calls» in the menu
for a list of incoming calls to your phone, and press
the OK buon 1 .
5. On the screen, select «Clear log» in the menu to reset
all call lists (missed, dialed and incoming), and press the
buon OK 1 .
History
Select Exit
Call history
Missed calls
Outgoing calls
Received calls
Select Exit
Call history
Missed calls
Outgoing calls
Received calls
Select
Call history
Missed calls
Outgoing calls
Received calls
Exit
Select
Call history
Outgoing calls
Received calls
Clear log
Exit
When a call is added to the list of missed calls, a message will appear on
the home page of your phone. To clear this warning, you have two options:
- Go to «Clear log» in the «History» to reset your list,
- Go to «Missed calls» in the «History» to clear the warning.
NOTE
NOTE