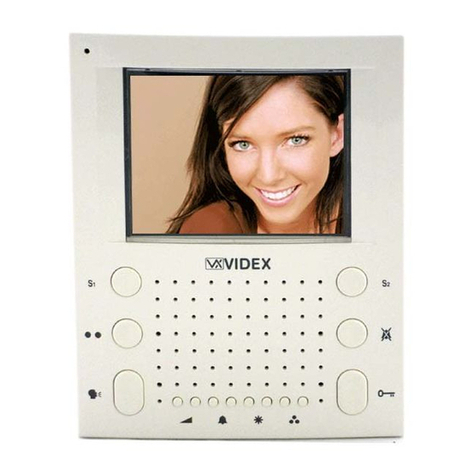
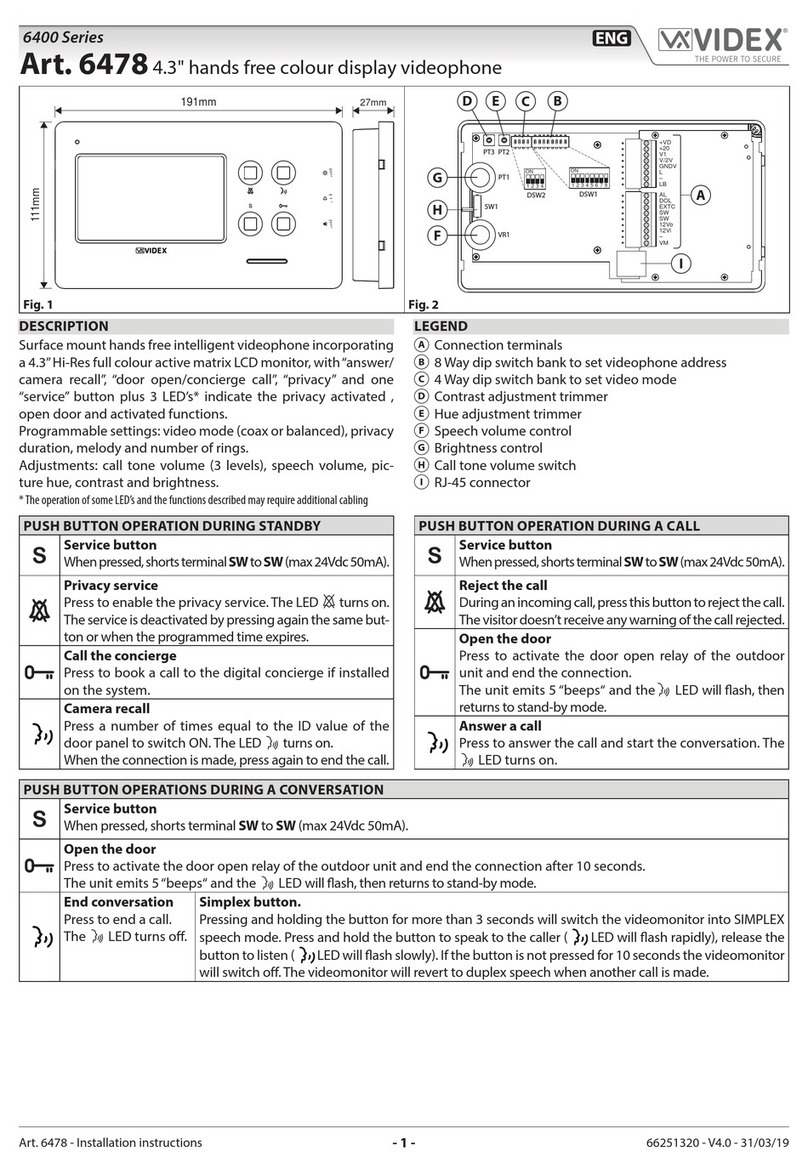
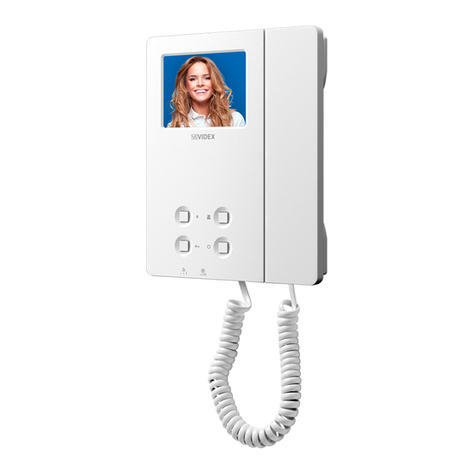
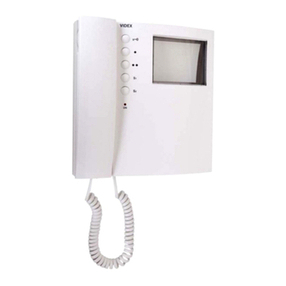
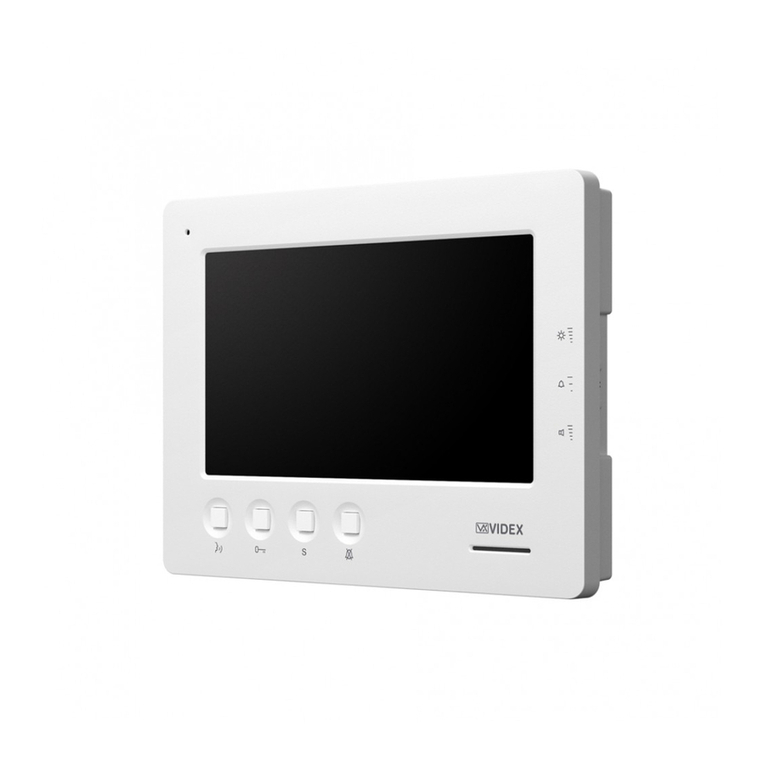
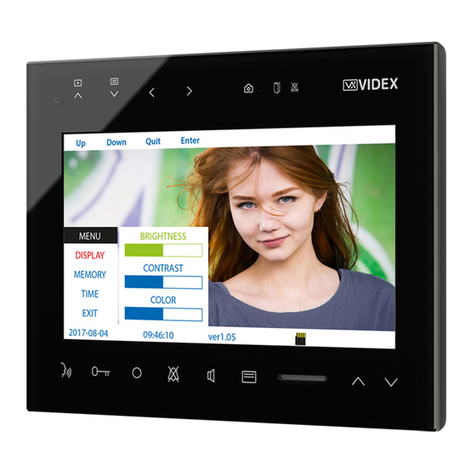
PUSH BUTTONS
Answer push button.
On an incoming call, operation of this button allows the user to answer and converse with the visitor. The relevant LED will
illuminate.
Switch o button.
With the system switched on (monitor on), momentary operation of the button will switch the video monitor o. The
videomonitor will also automatically switch o after a time delay if the button is not pressed. The relevant LED will switch o.
Camera Recall push button.
Press as many times as the DEVICE N. of the door station to switch on.
Simplex button.
Pressing and holding the button for more than 3 seconds will switch the videomonitor into SIMPLEX speech mode. Press
and hold the button to speak to the caller ( LED will ash rapidly), release the button to listen ( LED will ash slowly).
If the button is not pressed for 10 seconds the videomonitor will switch o. The videomonitor will revert to duplex speech
when another call is made.
LEDS
LED
Privacy on LED
It illuminates when the privacy service is ena-
bled.
LED
Generic use LED
It is controlled from the terminals +DOL and
–DOL. Normally used to signal the door status
(open or closed).
LED
ON LED
It illuminates when the videophone is switched
ON.
CONTROLS
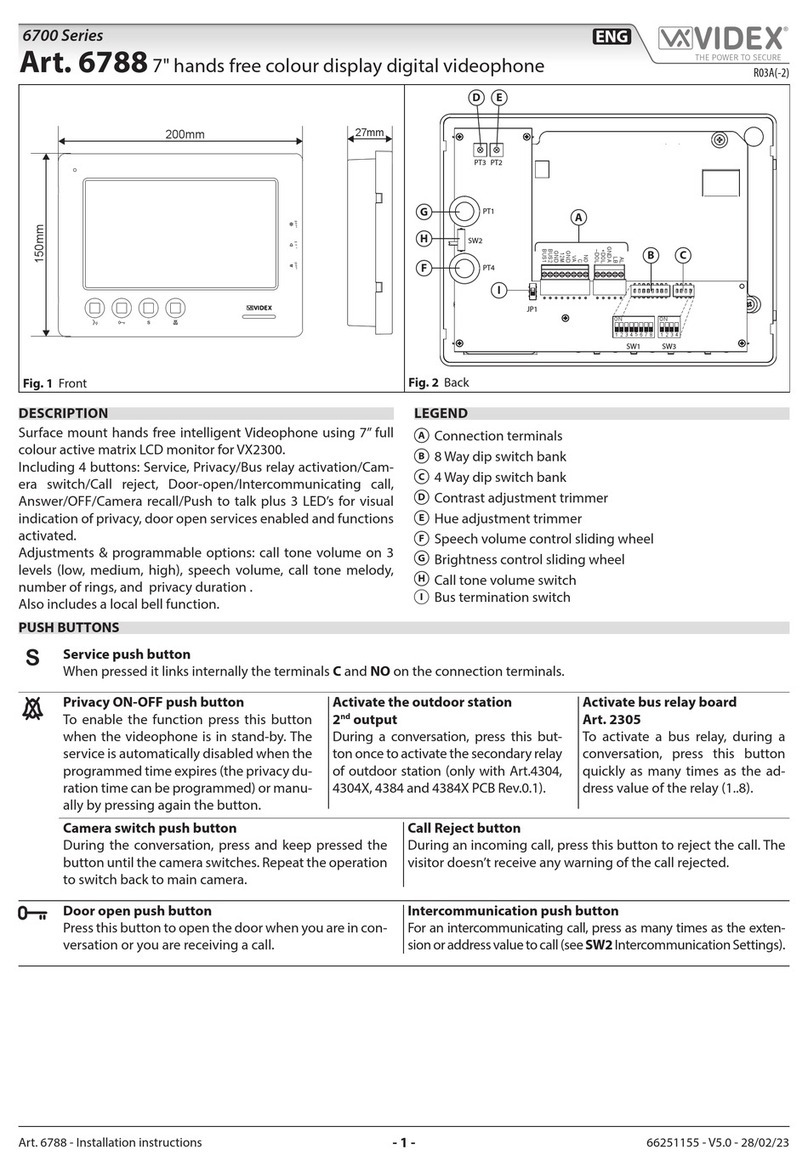
PT4 Speech volume control
(sliding wheel).
SW2 Call tone volume control
(3 levels).
PT1 Brightness control
(sliding wheel).
PT2 Colour intensity control trimmer
(rotate left to increase or right to decrease).
PT3
Contrast control trimmer*
(rotate left to increase or right to decrease).
*Not available in some LCD versions.
JP1
Bus termination switch
(lower position = BUS termination active, upper
position = BUS termination disabled).
PROGRAMMING
The videophone setup consists of the following settings:
• Number of rings;
• Melody selection;
• Privacy duration;
• Unit address (1..127, switches 1 to 7 of SW1);
• Bus Termination (open or close, jumper JP1);
• Intercommunication mode (between apartments or within apartment, switch 1 of SW3);
• Extension address (1..4, switches 2,3 of SW3);
• Slave switch on mode (switch 4 of SW3).
The programming of the number of rings, melody and privacy duration are carried out through the videophone push buttons, all
other settings are carried out on the two dip-switch banks (SW1 and SW3) on the rear side of the video monitor (all the settings can
be done without opening the videophone).
It is necessary to remove temporary the power supply after making any programming changes.
NUMBER OF RINGS, MELODY SELECTION AND PRIVACY DURATION
All programming options are available only when the system is in stand-by.
NUMBER OF RINGS.
• Keep pressed the button until the two LEDs and switch on.
• Press the button for the number of times corresponding to the required number of rings to set. A beep conrms each time
the button is pressed.
• Once the required number of rings is reached, wait approx 5 seconds for the two LED’s to switch o. The new value is stored.
MELODY SELECTION
• Keep pressed the button until the two LEDs and switch on. The unit emits the current selected melody.
• Press the button and keep it pressed to listen the next melody. Repeat the operation until the required melody is found.
• Once the required melody is found, wait approx 5 seconds for the two LED’s to switch o. The new melody is set.
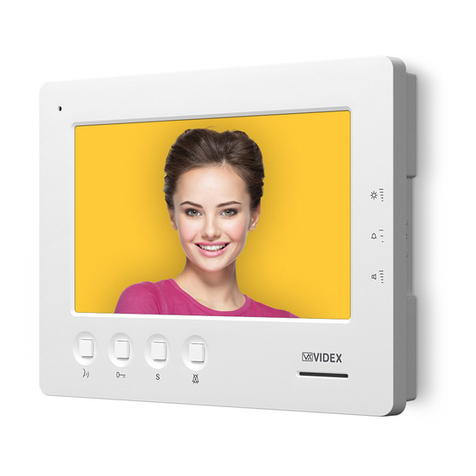
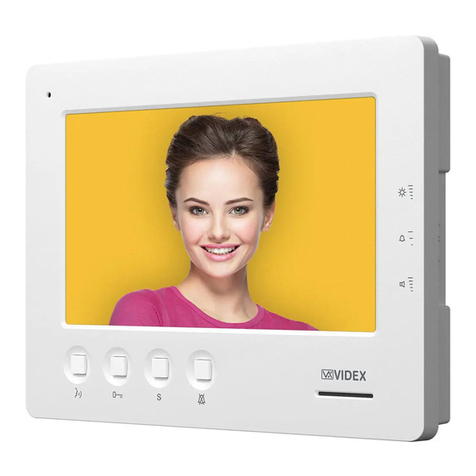
Art.6788 7" hands free colour display digital videophone
