Before You Begin
◼Register your new appliance at http://support.paloaltonetworks.com (Assets tab) so you can access the latest software updates and activate
support for your appliance.
◼Obtain the IP addresses for your DNS servers and an IP address for the management (MGT) interface. Optionally, obtain IP
addresses for additional Ethernet ports. The M-300 and M-700 appliances have two 100/1000/10000Mbps interfaces. The M-700 appliance
has two additional 10Gbps interfaces (Eth2 and Eth3).
◼Rack-mount and power on the appliance as described in the M-300 and M-700 Appliance Hardware Reference:
https://docs.paloaltonetworks.com/hardware.
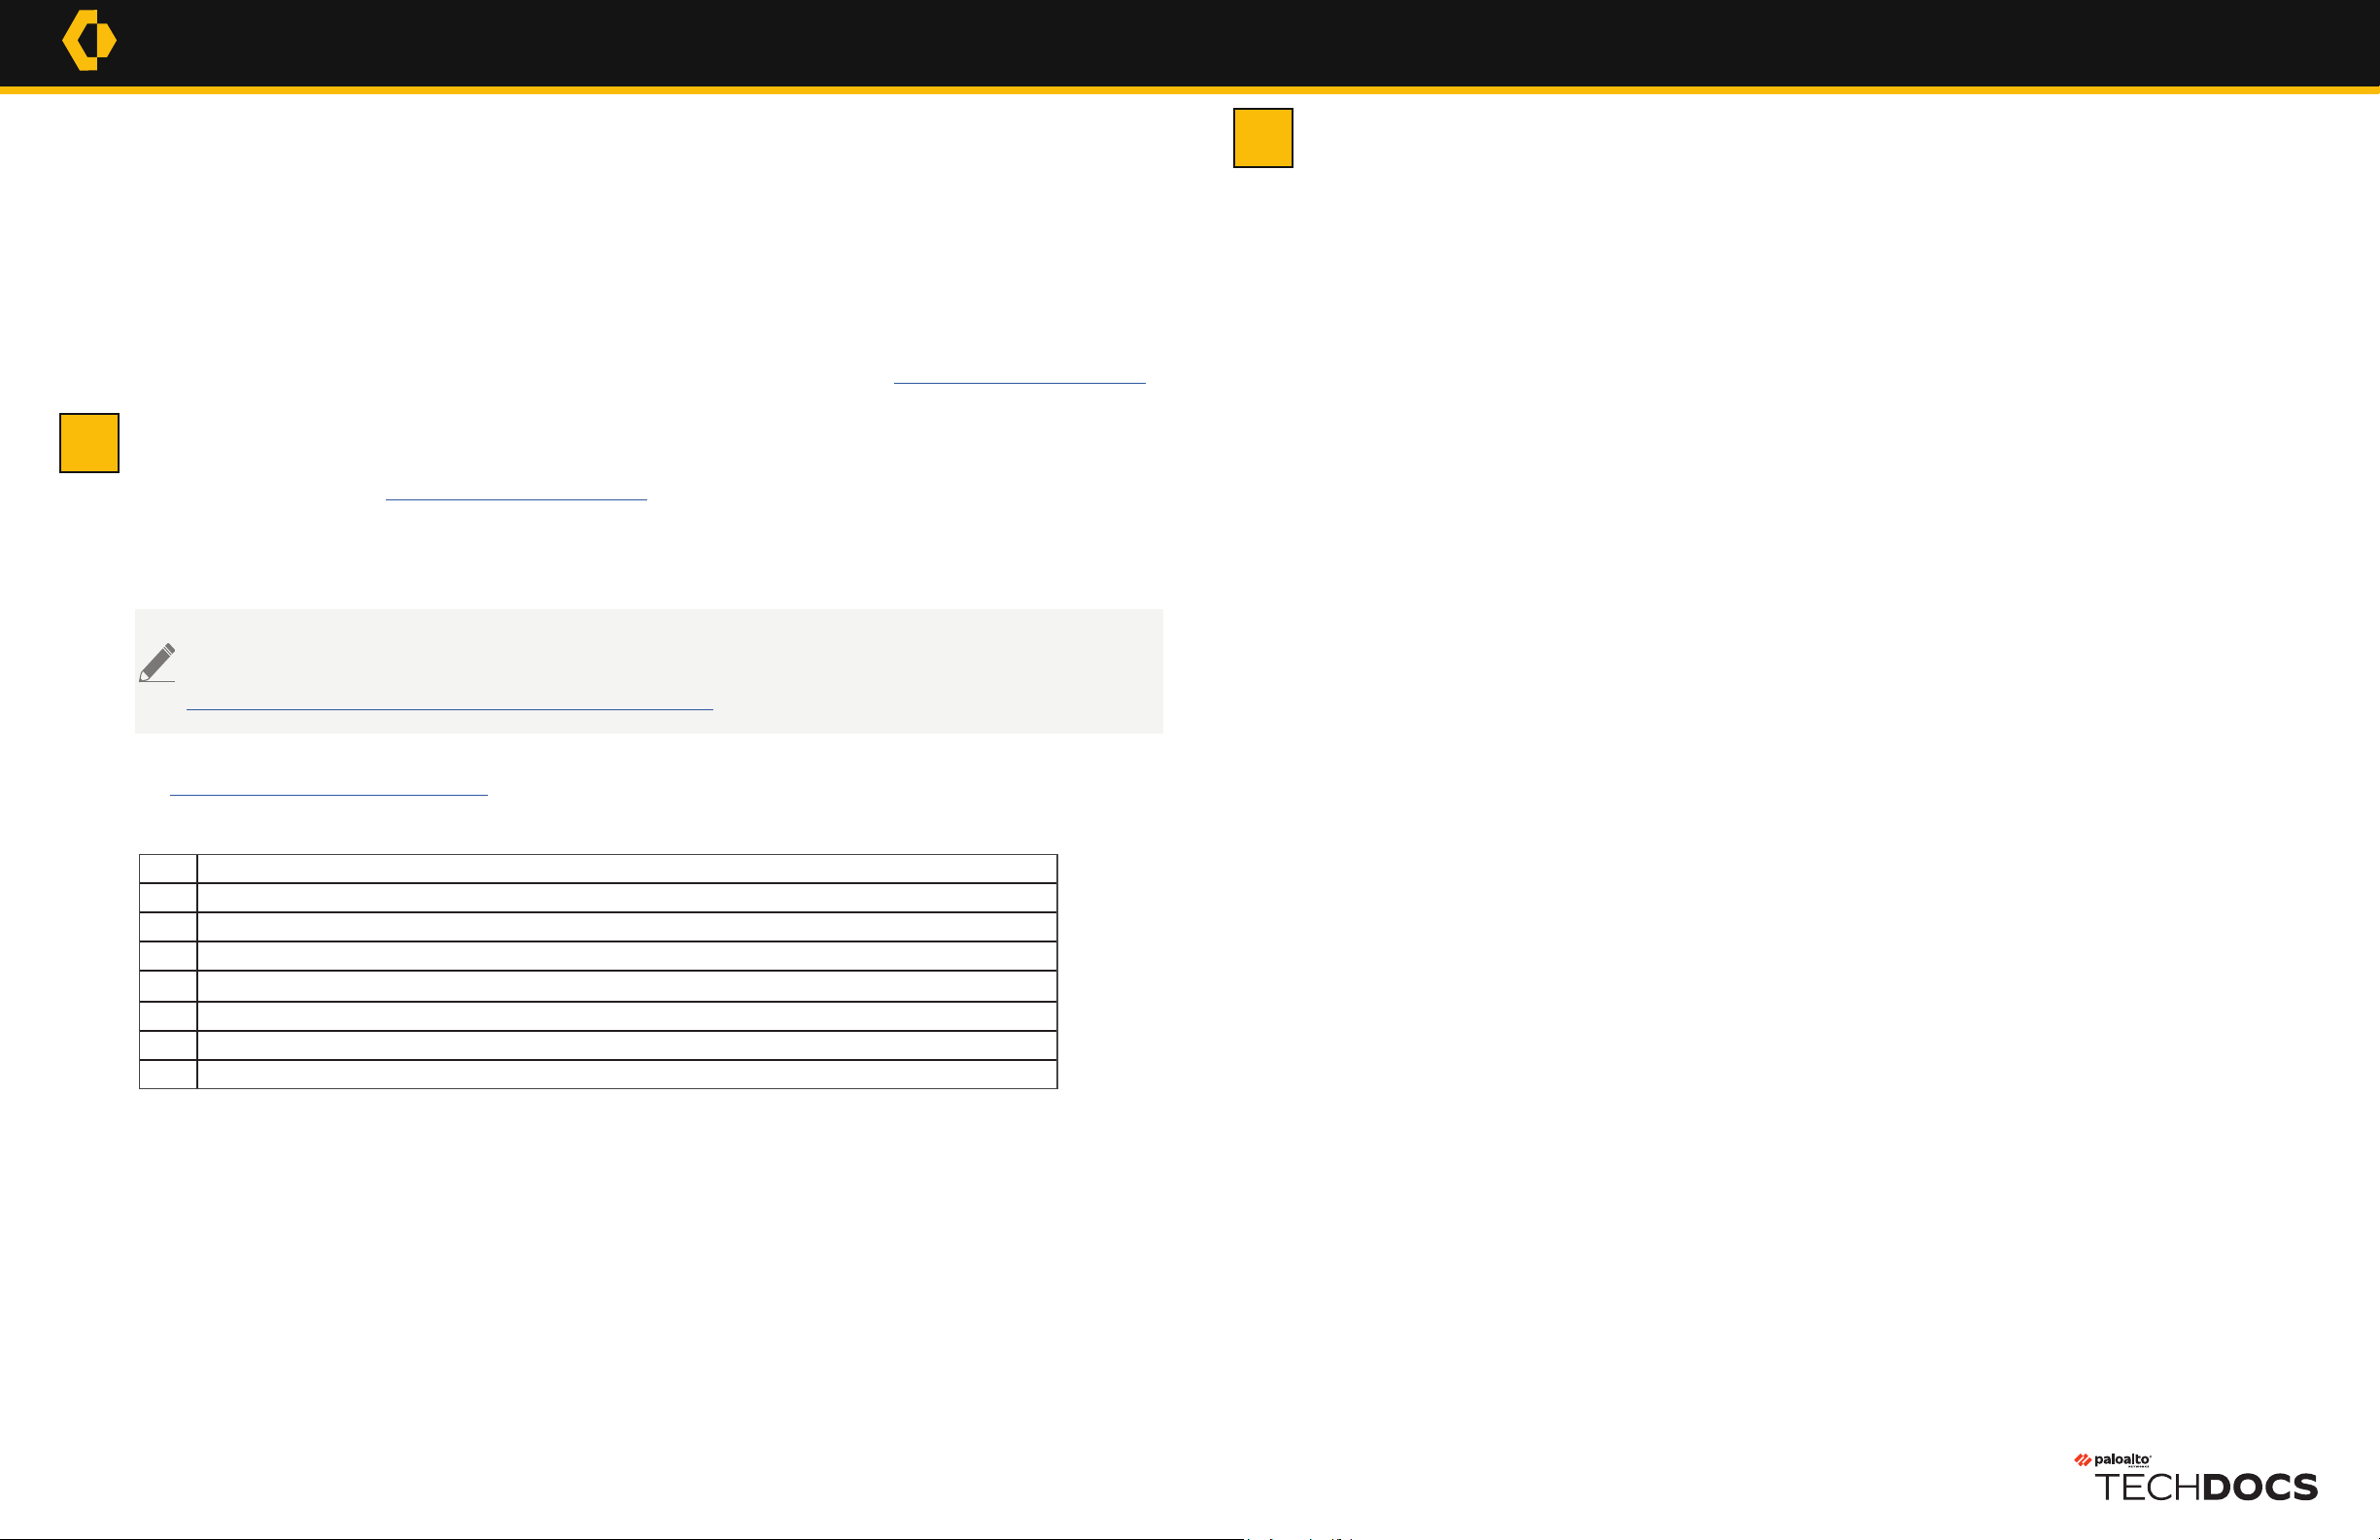
◼Unpack the equipment and verify that you received the following items:
Perform the Initial Configuration
Use the following procedure to connect a management computer to the appliance and to configure basic management access.
Step 1 | Connect your computer to the appliance.
1 Take note of the existing IP address on your computer in case you need it in Step 6.
2 Change the IP address on your computer to an address in the 192.168.1.0/24 network, such as 192.168.1.2.
3 Connect an RJ-45 Ethernet cable from your computer to the MGT port on the appliance.
4 Launch a web browser on your computer and enter https://192.168.1.1. At the login prompt, enter the default username and password (admin/
admin).
Step 2 | Change the default administrator password on the appliance.
1 Click admin (lower-left portion of the management console) to display the password change prompt.
2 Type the Old Password, type the New Password, and then Confirm New Password.
3 Click OK to save the new password.
The Palo Alto Networks®M-300 and M-700 appliances are multifunction appliances you can configure in one of several modes:
◼Panorama™ mode (default) — Performs both central management and log collection for Palo Alto Networks firewalls and M-Series appliances running
in Log Collector mode.
◼Management-only mode — Performs central management for Palo Alto Networks firewalls and Log Collectors but the Panorama server does not collect
or store logs; all managed firewall logs are stored on Log Collectors.
◼Log Collector mode — Functions as a Dedicated Log Collector that you can manage using a virtual Panorama appliance or an M-Series appliance running
in Panorama mode.
◼PAN-DB Private Cloud mode (M-700 only) — Functions as a private URL filtering solution that Palo Alto Networks firewalls use for URL filtering
lookups. This solution is suitable for organizations that prohibit or restrict the use of the PAN-DB public cloud service. For more information, refer to the
PAN-OS Administrator’s guide specific to your release (guides are located on the Technical Documentation portal: https://docs.paloaltonetworks.com/).
M-300 and M-700 Quick Start Guide
1
2
By default, all communication between an M-300 or an M-700 appliance and managed firewalls occurs over the management interface. In
an environment with heavy log traffic, you can configure Panorama to distribute traffic for various functions to other Ethernet interfaces
In PAN-DB mode, this applies only to the MGT and Eth1 interfaces. For more information, refer to the Panorama Administrator’s Guide:
https://docs.paloaltonetworks.com/panorama/10-1/panorama-admin.html.
docs.paloaltonetworks.com Page 1 of 2
Qty Description
1M-300 or M-700 appliance.
2AC power cords.
1DB9 to DB9 console cable.
1CAT6 Ethernet cable.
1End User License Agreement label.
1Limited Warranty document.
1China Restriction of Hazardous Substances (RoHS) declaration.
Step 3 | Assign a new IP address to the management interface and enable management
services.
1 Select Panorama > Setup > Interfaces and click the Management interface.
2 Enter the new management interface information (IP Address, Netmask, and Default Gateway) for your network.
3 Enable the following device management services if they are not already enabled:
◼Device Management and Device Log Collection
◼Collector Group Communication
◼Device Deployment
4 Enable HTTPS and SSH network connectivity services. We recommend you disable HTTP and Telnet.
Step 4 | Configure the hostname, time zone, and general settings.
1 Select Panorama > Setup > Management and edit General Settings.
2 Configure the Panorama clock and the clock on all managed firewalls to use the same Time Zone (for example, GMT or UTC). The firewall
records timestamps when it generate logs and Panorama records timestamps when receiving the logs. Aligning the time zones ensures that
timestamps and the processes for querying logs and generating reports on Panorama are in sync.
3 Enter a Hostname for the server. Panorama uses this hostname as the display name (label) for the appliance. For example, this hostname
is the name that displays as part of the CLI prompt and also in the Collector Name field if you add the appliance as a managed collector
(Panorama > Managed Collectors).
4 Enter the Latitude and Longitude for the physical location of the server to enable accurate placement of the M-Series appliance on the world
map (used for App Scope > Traffic Maps and App Scope > Threat Maps).
5 Click OK to save your changes.
Step 5 |Configure DNS servers and the Palo Alto Networks Update Server.
1 Select Panorama > Setup > Services and edit Services.
2 Enter the URL or static IP address of the Update Server (default is updates.paloaltonetworks.com).
3 Enter the IP address of the Primary DNS Server and, optionally, the Secondary DNS Server.
4 (Optional) Verify Update Server Identity if you want Panorama to verify that the Update Server from which it downloads
software or content packages has an SSL certificate signed by a trusted authority. This option adds an additional level of security for
communication between the Panorama management server and the Update Server.
5 Click OK to save and then Commit. Select Panorama as the Commit Type, and click Commit again.